
Drill Please grab your skeleton and sit with your partner Have your lab manual out too Types of Muscle There are 3 types of muscle in our bodies Skeletal Smooth Cardiac Each has different characteristics that we will look at today ID: 934274
Download Presentation The PPT/PDF document "Muscle Rules! HBS – 4.2.1" is the property of its rightful owner. Permission is granted to download and print the materials on this web site for personal, non-commercial use only, and to display it on your personal computer provided you do not modify the materials and that you retain all copyright notices contained in the materials. By downloading content from our website, you accept the terms of this agreement.


Slide1
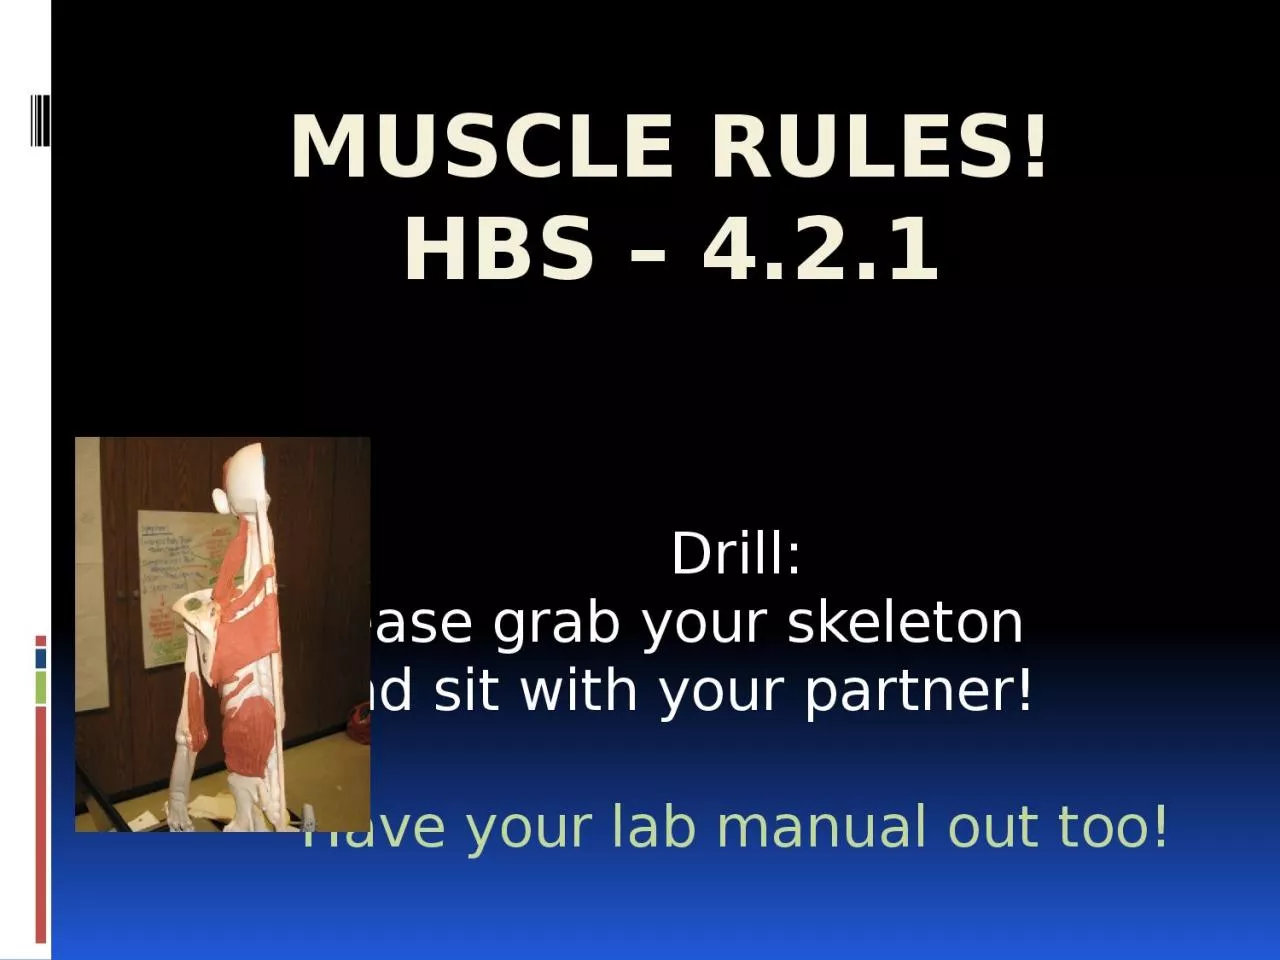
Muscle Rules!HBS – 4.2.1
Drill: Please grab your skeleton and sit with your partner! Have your lab manual out too!
Slide2Slide3Types of MuscleThere are 3 types of muscle in our bodies
SkeletalSmoothCardiacEach has different characteristics that we will look at today.
Slide4Skeletal Muscle
Voluntary – we control the movementStriated – looks like long fibers with striations at the Z-zonesLinked to bones by tendonsFunction – to help us move / move our bones
Slide5Smooth Muscle
Involuntary Action – controlled by our CNSNon-striatedFound in arteries, veins, intestines, etc.Function : Maintain organ dimensions – stretch and recoil
Slide6Cardiac Muscle
InvoluntaryStriated – but fibers tend to be branched which is unlike skeletal muscle.Found in walls of the heartFunction : To pump the heart!!!!Highly resistant to fatigue w/ lots of mitochondria
Slide7Let’s Start By Building a Muscle from Spaghetti!
Pick up one piece of spaghetti. Each piece of spaghetti will represent one skeletal muscle cell or fiberEach muscle fiber is enclosed by a delicate membrane called the
endomysium
.
(For the purposes of this activity, the yellow outer coating of the spaghetti represents this membrane. Each fiber contains many myofibrils.)
Slide8Spaghetti Muscle Cont’d
Pick up a handful of spaghetti. This bundle of fibers represents a
fascicle
.
Each fascicle, however, is covered by a membrane called the
perimysium
.
Place the bunch of spaghetti on the end of a piece of plastic wrap.
Roll the spaghetti up in the plastic used to represent the perimysium.
Hold up the completed fascicle. Pull the ends taut, and notice that this tissue has little to no bumps. These ends represent dense regular connective
tissue.
Slide9Spaghetti Muscle Cont’d
Fascicles group together to form a skeletal muscle.Combine your fascicle w/ three other pairs’ to form a whole muscle. These fascicles are bound together by an even tougher outer membrane called the epimysium.
Wrap the combined fascicles in another piece of plastic wrap.
This layer of wrap will represent the
epimysium
.
Twist the plastic wrap on each end of the completed muscle.
At the ends of the muscle, the
epimysia
blend together to form tendons, cordlike structures that attach muscle to bone, cartilage or other connective tissue.
Slide10Step 1Locate the ventral side and use a pencil to place a dot on the lateral and medial side of the radial groove (about halfway up the humerus).
Slide11Step 2Locate the ulna just below the fold of the elbow. Help the students see the hollowed out area in the
antecubital region. Place a pencil dot above this area.
Slide12Step 2 Cont’d - Rule 1
These dots each represent an attachment point for a muscle. Note that there are at least two attachments (in this case three) and the muscle will cross a joint at the elbow. This leads us to Muscle Rule #1: Muscles must have at least two attachments and must
cross at least one joint.
Slide13Step 3 – Brachialis Muscle
Using terra cotta clay, form two balls about the diameter of a nickel.Rolling the clay between the tabletop and a palm, roll each ball into a long carrot. The total length of the carrots should stretch from the humeral attachment to the ulnar attachment.
Bring the fat part of the carrots together, leaving the tops free
(
rabbit ears
).
Slide14Step 3 – Brachialis Muscle Cont’D
Attach the two free ends to the humeral attachments. Place the combined fat end across the elbow and attach the end to the ulnar attachment. Pinch off any extra clay.
Use
your thumb to
press
the
clay muscle onto
the
arm.
Slide15Step 4 – Rule 2
Using your left thumb to represent the humeral attachments and your left middle finger to represent the ulnar attachment, place the left hand on the right arm where the attachments would be.Make
sure to cross the joint.
Pull your
forearm towards
your heart
and
watch the position of
your fingers. You should notice that your
index finger and thumb are closer together than when you started.
This lead to
rule 2:
Muscles always “pull” and get shorter.
Slide16Step 5 – Rule 3
Repeat the motion and identify which attachment is “pulling” or moving closer to the other attachment. The attachment that moves is known as the
insertion
of the muscle.
The
insertion is usually the distal attachment.
The
attachment that does not move and pulls the other attachment toward it is referred to as the
origin. The origin is usually the proximal attachment.
This leads to Rule 3:The attachment that moves is known as the insertion and the attachment that remains stationary is known as the origin.
Slide17Step 6
Extend your arms out in front of their bodies. Notice this angle is 180°. Show the movement again of
the muscle
you
have
just built
.
This
time pay attention to what happens to this angle when the muscle shortens.
Notice that the angle decreases. Do you remember what we call motion at a joint that decreases the angle between articulating
bones?
Flexion
and thus a muscle such as this is referred to as a
flexor
.
Slide18Step 7 – Rule 4
Flex your arms one more time, but stop at the end of the movement.If muscles only pull, then how can the arm be straightened?What do we call motion at a joint that increases the angle between articulating bones?Extension and thus a muscle that controls this movement is referred to as an
extensor
.
Muscles
that decrease the angle between ventral surfaces of the body are known as flexors. Muscles that increase the angle between ventral surfaces of the body are known as extensors
Slide19Step 8
Place a pencil dot halfway up the dorsal side of the humerus. Place another dot just distal of the elbow onto the ulna
Slide20Step 9 –triceps medial head
Using terra cotta clay, form a ball the diameter of a nickel. Roll the ball into an even tube. Attach the ends of the clay tube to dots on the humerus and on the ulna. Since the back of the humerus is flat, the muscle shapes to the bone and is also flat.
Use your
thumbs to flatten
the clay
.
Remove
any clay that
makes its way
to the ventral side.
Slide21Step 9 Cont’d
Act out the action of this muscle. With the right arm in the flexed position, place the left thumb on the back of the humerus and the left index finger on the back of the elbow. “Pull” with your index fingers and the angle should increase to 180°.
Repeat
the motion and
think of Rules
2, 3 and 4.
Since
the angle in this motion increases, the muscle is an extensor.
Slide22The TricepsOrigin = proximal half of dorsal humerus
Insertion = distal of elbow on the ulnaAction = extends elbow
Slide23Flexors and Extensors
Flexors are on the ventral side of the body and extensors are located dorsally. “For smooth movements to occur, can both extensors and flexors be contracting at the same time?” When the flexors are pulling, the extensors are relaxing.
This brings us to
Rule #5:
Muscles
work in opposing pairs
.
Slide24Rule # 6
Muscle fibers point to the attachments and show the direction of pull.
Slide25Naming Muscles
Each muscle is given a Latin name based on one or more of its featuresTake a look at the following muscle names and brainstorm what you can tell about these muscles simply by their namesTrapezius
and Rhomboid minor
Gluteus
maximus
and Gluteus
minimus
Frontalis
and Temporalis
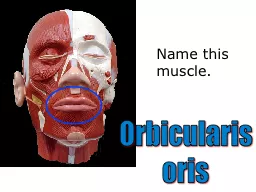
Orbicularis
Oculi
and Transverse
abdominis
Flexor
Carpi
Ulnaris
and Extensor
digitorum
longus
SternoCleidomastoid
and
Brachioradialis
Biceps
Brachii
and Triceps
Brachii