

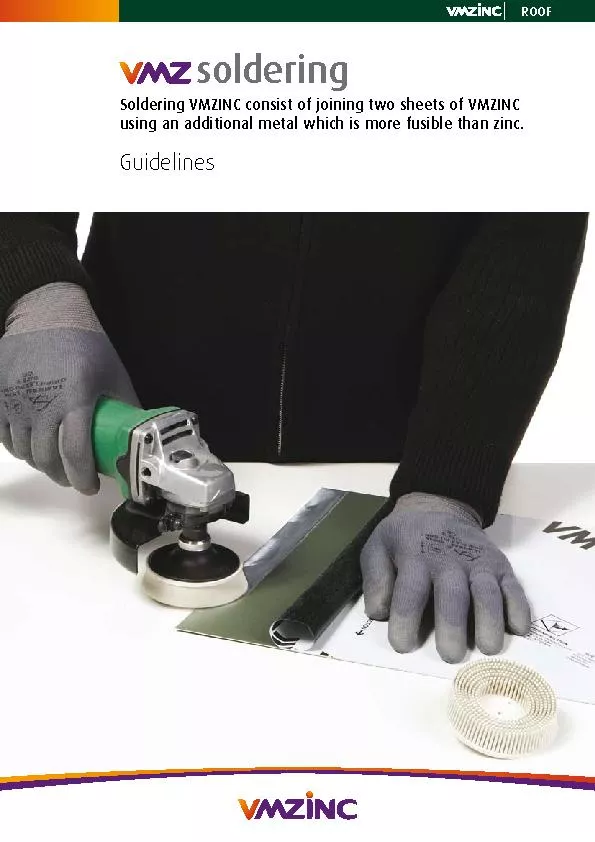
SRNorr UMD Definition Soldering A process in which two or more items usually metal are joined together by melting and putting a filler metal solder into the joint the filler metal having a lower melting point than the adjoining metal The intent is to create a strong MECHANICAL jo ID: 697775
Download Presentation The PPT/PDF document "Soldering! (Rhymes with Doddering)" is the property of its rightful owner. Permission is granted to download and print the materials on this web site for personal, non-commercial use only, and to display it on your personal computer provided you do not modify the materials and that you retain all copyright notices contained in the materials. By downloading content from our website, you accept the terms of this agreement.


Slide1
Soldering!
(Rhymes with Doddering)
S.R.Norr
, UMDSlide2
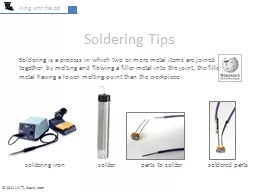
Definition: Soldering
A process in which two or more items (usually metal) are joined together by melting and putting a filler metal (
solder
) into the joint, the filler metal having a lower melting point than the adjoining metal. The intent is to create a strong MECHANICAL joint
In electrical soldering, electrical conductivity of the joint is equally importantSlide3
Composition of Electrical Solder
Lead is great! But Lead is also BAD (poisonous)!
60/40 Solder, comprised of 60% Tin and 40% Lead, is a great general purpose solder
63/37 Solder is eutectic, having a sharp phase transition from liquid to solid
Different alloys have different melting points and different mechanical strength
Under the RoHS Directive (Restriction of Hazardous Substances), Lead is banned from modern electronics
Most lead-free solders are SAC – Tin, Silver and Copper alloys
Avoid using Lead alloys with components that are silver coated
Flux Core (Rosin Core or Acid) – Many solders have flux inside the wire, to improve adhesion to the joint by chemically cleaning the surfacesSlide4
The Rules of Soldering
The first Rule of Soldering club is, “Don’t talk about..
NO. The first Rule of Soldering is,
“Keep your Tip Clean!”
Clean the soldering tip by washing it in solder, then dabbing it on a wet sponge or brass shavings
This serves two purposes:
It minimizes contamination in the solder joints (carbon,
etc
)
It prevents the tip from oxidizing (IMPORTANT)
The second Rule is that solder
flows toward heat
. Get your parts hot with the tip, then bring your solder into the heat.
If your parts aren’t hot enough before the solder arrives, you’ll get poor adhesion. Slide5
General Rules of Thumb
1. Less is more – Use just enough solder to cover the joint. You’ll notice that excessive solder will “bead up”. The correct amount will tend to lay flat.
2. Pay attention to mechanical strength – Don’t expect solder to be the primary mechanical fastener for parts that receive a lot of wear and tear
3. Most soldering is very quick, a few seconds to heat up a joint and apply the solder. If you have a lot of connections on a single part, it will get hot. Try to alternate the locations on the part and/or take a break to let things cool down. Consider a heat sink on the part to delay the temperature rise.Slide6
Soldering Temperature
Temperature is important
You must have a temperature high enough to get your parts hot enough to attract solder
You want to avoid temperatures higher than necessary to protect your parts and reduce oxidation of the solder and your tip
A general purpose temperature is
350 Celsius (660 F)Slide7
Soldering Irons:
15 Watt Pencil
70 Watt StationSlide8
The TIP:
“B” Series – general purpose, Needle tip – Fine work,
chisel tip – Parts RemovalSlide9
Joining Two Wires:
The Western Union Splice:
Then tin it with solder
Then cover with heat shrink
electronics.stackexchange.comSlide10
Soldering Through-Hole Components:
electronics.stackexchange.com
dansdata.com
angelfire.com Slide11
De-Soldering – A Nasty Business
Solder Suckers
Wicking Braid
pakronics.com.au
starwarsbulgaria.comSlide12
Surface Mount Components
Soldering of surface-mount parts is usually performed with automation
Soldering paste is applied to a printed circuit board, usually using a stencil or screen printing
Parts are placed on their proper pads (covered now with paste) with a “pick and place” robot
The board is inserted into a Re-Flow Oven and baked to make the solder paste liquify and adhere to the parts and board