
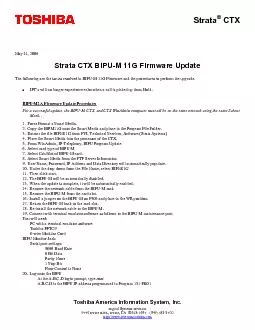
May 31 2006 The following are the issues resolved in BIPUM 11G Firmware and the procedures to perform the upgrade IPT ID: 847719
Download Pdf The PPT/PDF document "Toshiba America Information System Inc D..." is the property of its rightful owner. Permission is granted to download and print the materials on this web site for personal, non-commercial use only, and to display it on your personal computer provided you do not modify the materials and that you retain all copyright notices contained in the materials. By downloading content from our website, you accept the terms of this agreement.


1 Toshiba America Information System, Inc.
Toshiba America Information System, Inc. Digital Systems Division 9740 Irvine Blvd., Irvine, CA 92618-1697 (949) 583-3700 http://www.telecom.toshiba.com May 31, 2006 The following are the issues resolved in BIPU-M 11G Firmware and the procedures to perform the upgrade. IPTs will no longer experience echo when a call is picked up from Hold. BIPU-M2A Firmware Update Procedure: For a successful update, the BIPU-M, CTX, and CTX WinAdmin computer must all be on the same network using the same Subnet 1. Force Format a Smart Media. 2. Copy the BIPM11G onto the Smart Media and place in the Program File Folder. 3. Extract the file BIPM11G from FYI, Technical Services, Software (Strata Systems) 4. Place the Smart Media into the processor of the CTX. 5. From WinAdmin, IP-Telephony, BIPU Program Update 6. Select card type of BIPU-M 7. Select Cab/Slot of BIPU-M card. 8. Select Smart Media from the FTP Server Information 9. User Name, Password, IP Address and Data Directory will automatically populate. 10. Under the drop down from the File Name, select BIPM11G 11. Then click start. 12. The BIPU-M will be automatically disabled. 13. When the update is complete, it will be automati
2 cally enabled. 14. Remove the network
cally enabled. 14. Remove the network cable from the BIPU-M card. 15. Remove the BIPU-M from the card slot. 16. Install a jumper on the BIPU-M on P303 and place in the WR position. 17. Return the BIPU-M back to the card slot. 18. Re-install the network cable to the BIPU-M. 19. Connect with terminal emulator software as follows to the BIPU-M maintenance port. You will need: PC with a terminal emulator software Toshiba PPTC9 6-wire Modular Cord BIPU Monitor Jack: Serial port settings: 9600 Baud Rate 8 Bit Data Parity None 1 Stop Bit Flow Control is None 20. Log onto the BIPU At the A.B.C.D login prompt, type root A.B.C.D is the BIPU IP address programmed in Program 151-FK01 BIPU-M2A Firmware Update Procedures (contd): 21. Enter in the following command (This is case sensitive.) ./bootUpdate (only U in Update is upper case and make sure there is a period at the beginning). The BIPU-M card will display the boot update is completed. 22.Remove the Network Cable from the BIPU-M card 23.Remove the BIPU-M from the card slot. 24.Re-install the BIPU-M in the card slot. 25.Re-install the Network Cable. 26.Press the reset button on the BIPU-M card. 27.Update complete