
T 25 Topic 1 Lesson 3 Drivers Seating Position Adjust so drivers heel can pivot smoothly between foot pedals Adjust to allow at least 10 between drivers chest and the steering wheel ID: 1033843
Download Presentation The PPT/PDF document "Driver Readiness Tasks" is the property of its rightful owner. Permission is granted to download and print the materials on this web site for personal, non-commercial use only, and to display it on your personal computer provided you do not modify the materials and that you retain all copyright notices contained in the materials. By downloading content from our website, you accept the terms of this agreement.


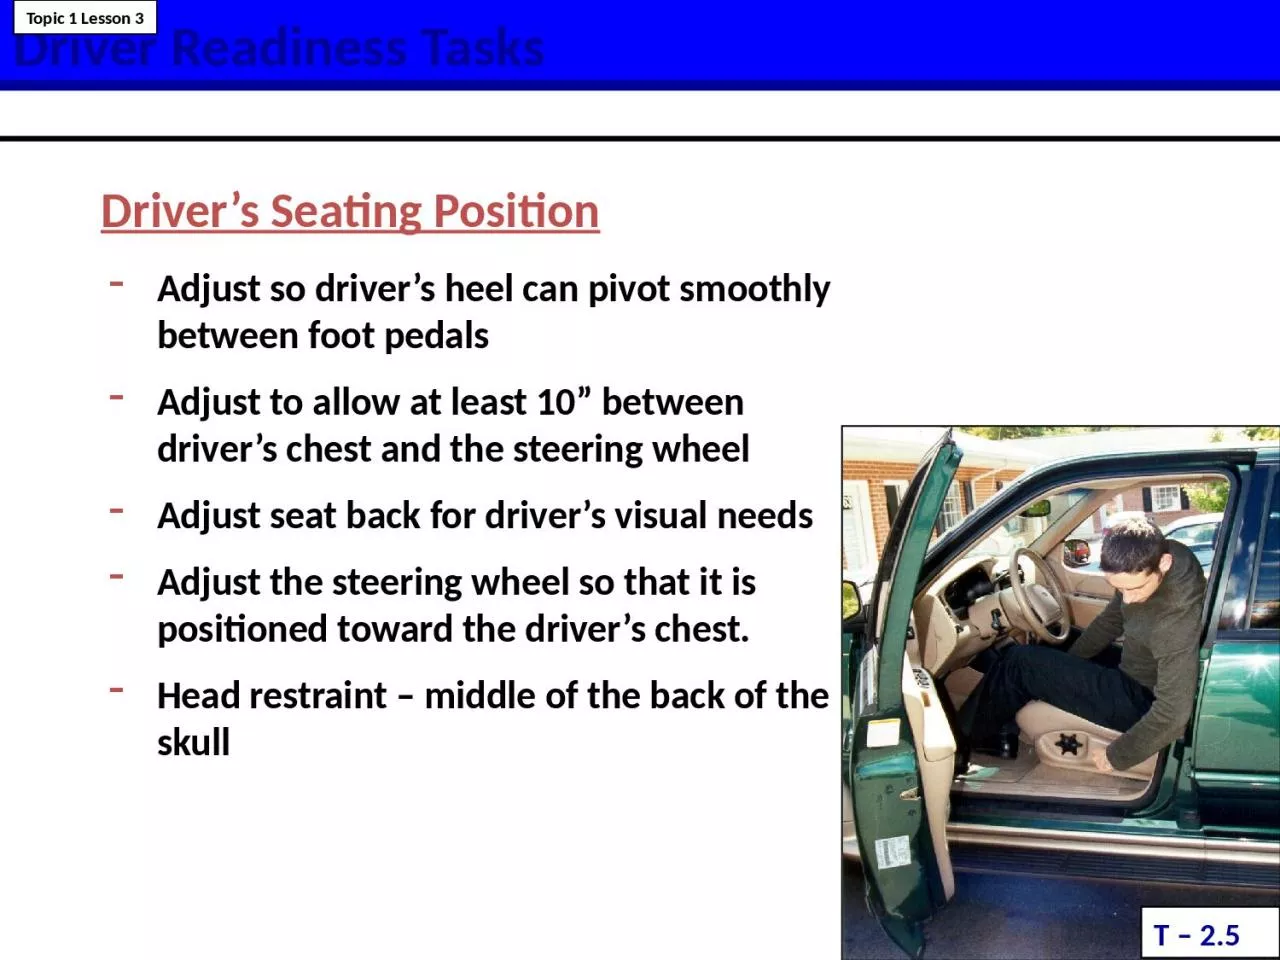
1. Driver Readiness TasksT – 2.5 Topic 1 Lesson 3Driver’s Seating PositionAdjust so driver’s heel can pivot smoothly between foot pedalsAdjust to allow at least 10” between driver’s chest and the steering wheelAdjust seat back for driver’s visual needsAdjust the steering wheel so that it is positioned toward the driver’s chest.Head restraint – middle of the back of the skull
2. Driver Readiness TasksT – 2.6 Topic 1 Lesson 3Adjust the seat, place your lower back firmly against the seat and sit up straight (if equipped with adjustable center post mountings for shoulder belt height, adjust height setting so the belt does not rub against your neck)The shoulder belt should go over the shoulder and across the chest and rest against the body. If a crash occurs and a person has not taken the slack out of the shoulder belt, the extra forward movement of the body will increase the chance of injury.The lap part of the belt should be worn low and snug on the hips, barely touching the thighs. If a crash were to occur, the force would then be applied to the strong pelvic bones and not the abdomen, reducing the chance of serious internal injuries.snug the lap belt by pulling down on the buckle end as you pull up on the shoulder belt. Check frequently for snug fit.Your number one defense to prevent severe injuries is to wear your safety belt.Adjusting Safety Belt for Proper FitSafety belt positioned across chest and over pelvis (strongest skeletal bones)
3. Safety Restraints for AdultsAir Bag in Steering WheelRaise seat or adjust steering wheel to direct air bag toward chest and not at the facial areaAdjust seat for a minimum 10-inch clearance between chest and steering wheelHand position should be at 8 and 4Avoid 10 and 2 hand position to prevent blow hole burns to hands and armsT – 8.22Topic 3 Lesson 110 inches
4. Safety Restraints for AdultsNo passenger under 12 years ofage should sit in the front seatProtect driver or passengers from sustaining severe head and chest injuriesThe speed of bag inflation is critical to prevent body contact with the steering wheelAir Bags in Dash or Steering WheelT – 8.21Topic 3 Lesson 1The air bag inflates in the blink of an eye, at speeds as high as 200 miles per hour.
5. Safety Restraints for YouthBelt and Seat Restraint UseT – 8.24Topic 3 Lesson 1Safest if seated in back center seatInfant seats/rear facing/birth to 20 lbs.Use child seats up to 40 lbs.Use booster seats up until age 8.Infant Car BedRear Facing Infant SeatForward Facing Child RestraintsBooster Seats
6. Vehicle ControlVehicle Direction / Speed RequirementsSteering Wheel ControlHand position on steering wheelHolding top or upper half of wheel (excessive steering and air bag injury risk)Hands located on lower half of wheel (relaxed, balanced control)Steering techniquesPreferred technique: Hand-to-hand steering (Push/Pull/Slide)Hand-over-hand steering (top third of wheel)Evasive steering (ABS wheel limitation)One-hand steering is used:To reach controlsAt top when backing straightAt bottom when backing a trailerVideo: http://www.youtube.com/watch?v=VnRaRaDEssc&safety_mode=true&persist_safety_mode=1&safe=activeT – 2.31Topic 4 Lesson 2
7. Driver Readiness TasksTopic 1 Lesson 3Set rear view mirror to see 200 feet to the rear.Set side view mirror 15 degrees out to view adjacent lane.MirrorsT – 2.6a NOTE: If rear view is blocked, adjust side view mirrors to see the side of vehicle and area behind the vehicle. This mirror setting will increase your blind spot.VIDEO LINK: http://loudounvision.net/file.php/370/Mirror_Settings.wmv
8. Traditional Mirror Views and Blind SpotsNotice the large blind zone areas and the overlap between the side and rear mirrors when using traditional mirror settings.T – 2.34Topic 5 Lesson 1Rear view mirror ( )Left side view mirrorRight side view mirrorLeft mirror blind zoneRight mirror blind zone
9. Mirror Blind Spot and Glare Elimination (BGE)BGE LEFT SIDE MIRROR VIEWBGE RIGHT SIDE MIRROR VIEWREAR MIRROR VIEWReference: Blindzone & Glare Elimination (BGE) Mirror Settings (G. Platzer, 1996)Adjusting the side mirror setting 15 degree outward (BGE) allows you to see the lanes to the sides and does not overlap as much with the area you can already see in your rear view mirror T – 2.35Topic 5 Lesson 1Peripheral Vision AreaPeripheral Vision Area