04
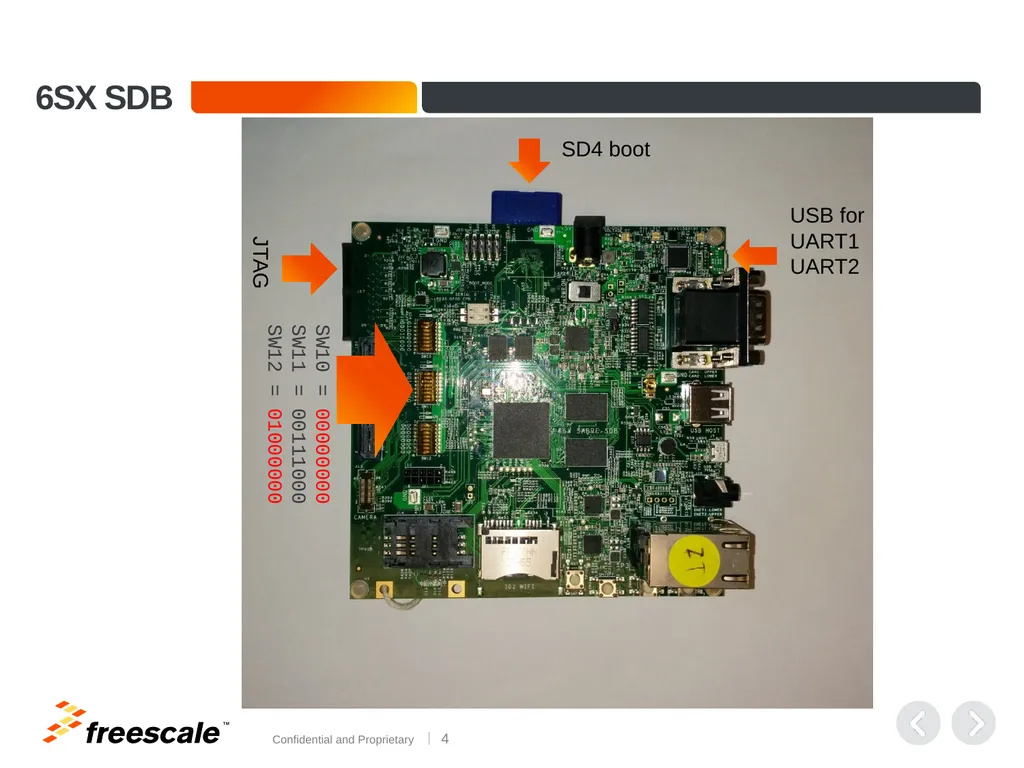
6SX SDB SD4 boot USB for
UART1
UART2 SW10 = 00000000
SW11 = 00111000
SW12 = 01000000 JTAG<br>
05
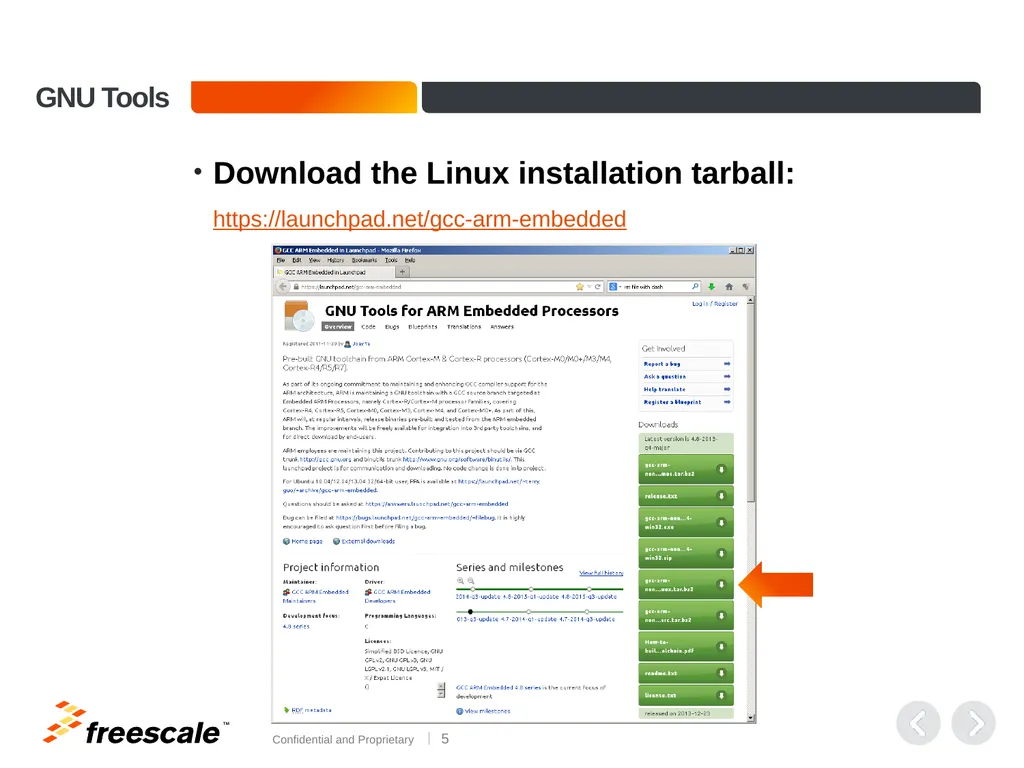
GNU Tools Download the Linux installation tarball:
https://launchpad.net/gcc-arm-embedded<br>
06
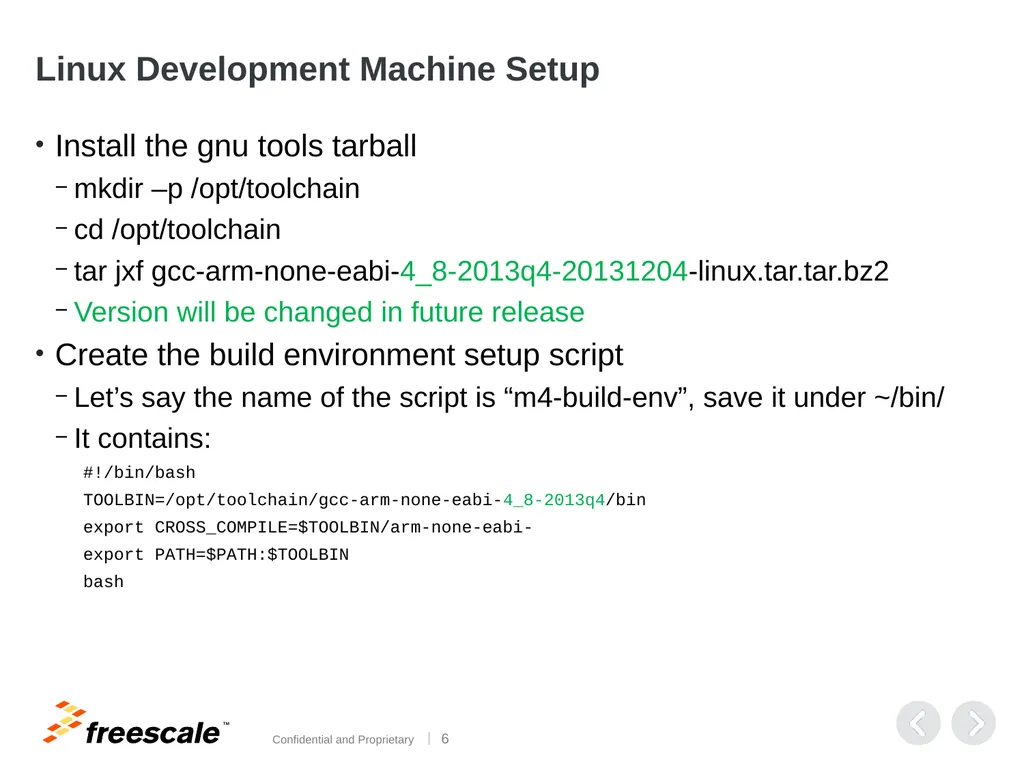
Linux Development Machine Setup Install the gnu tools tarball
mkdir –p /opt/toolchain
cd /opt/toolchain
tar jxf gcc-arm-none-eabi-4_8-2013q4-20131204-linux.tar.tar.bz2
Version will be changed in future release
Create the build environment setup script
Let’s say the name of the script is “m4-build-env”, save it under ~/bin/
It contains:
#!/bin/bash
TOOLBIN=/opt/toolchain/gcc-arm-none-eabi-4_8-2013q4/bin
export CROSS_COMPILE=$TOOLBIN/arm-none-eabi-
export PATH=$PATH:$TOOLBIN
bash<br>
07
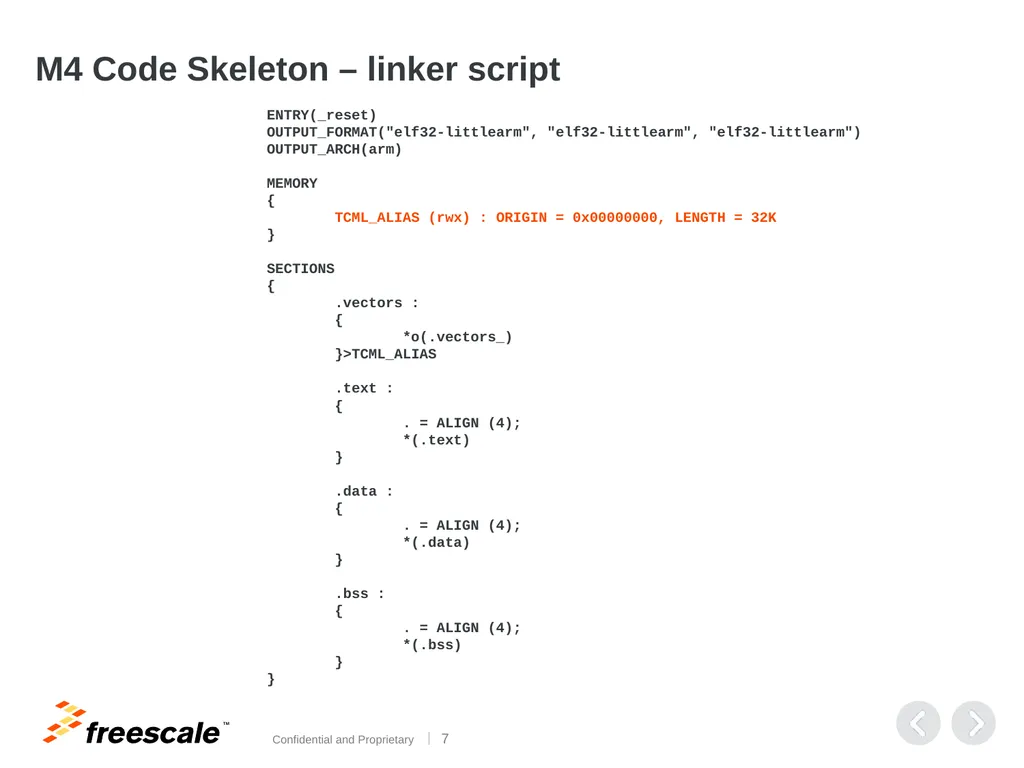
M4 Code Skeleton – linker script ENTRY(_reset)
OUTPUT_FORMAT("elf32-littlearm", "elf32-littlearm", "elf32-littlearm")
OUTPUT_ARCH(arm)
MEMORY
{
TCML_ALIAS (rwx) : ORIGIN = 0x00000000, LENGTH = 32K
}
SECTIONS
{
.vectors :
{
*o(.vectors_)
}>TCML_ALIAS
.text :
{
. = ALIGN (4);
*(.text)
}
.data :
{
. = ALIGN (4);
*(.data)
}
.bss :
{
. = ALIGN (4);
*(.bss)
}
}<br>
08
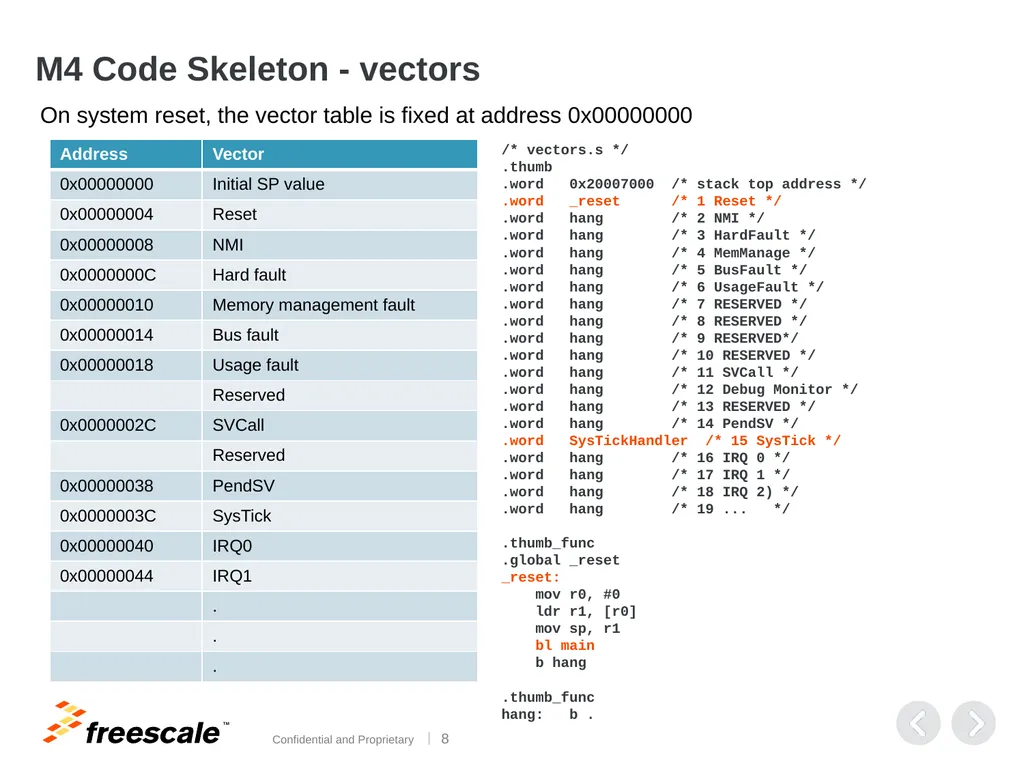
M4 Code Skeleton - vectors On system reset, the vector table is fixed at address 0x00000000 /* vectors.s */
.thumb
.word 0x20007000 /* stack top address */
.word _reset /* 1 Reset */
.word hang /* 2 NMI */
.word hang /* 3 HardFault */
.word hang /* 4 MemManage */
.word hang /* 5 BusFault */
.word hang /* 6 UsageFault */
.word hang /* 7 RESERVED */
.word hang /* 8 RESERVED */
.word hang /* 9 RESERVED*/
.word hang /* 10 RESERVED */
.word hang /* 11 SVCall */
.word hang /* 12 Debug Monitor */
.word hang /* 13 RESERVED */
.word hang /* 14 PendSV */
.word SysTickHandler /* 15 SysTick */
.word hang /* 16 IRQ 0 */
.word hang /* 17 IRQ 1 */
.word hang /* 18 IRQ 2) */
.word hang /* 19 ... */
.thumb_func
.global _reset
_reset:
mov r0, #0
ldr r1, [r0]
mov sp, r1
bl main
b hang
.thumb_func
hang: b .<br>
09
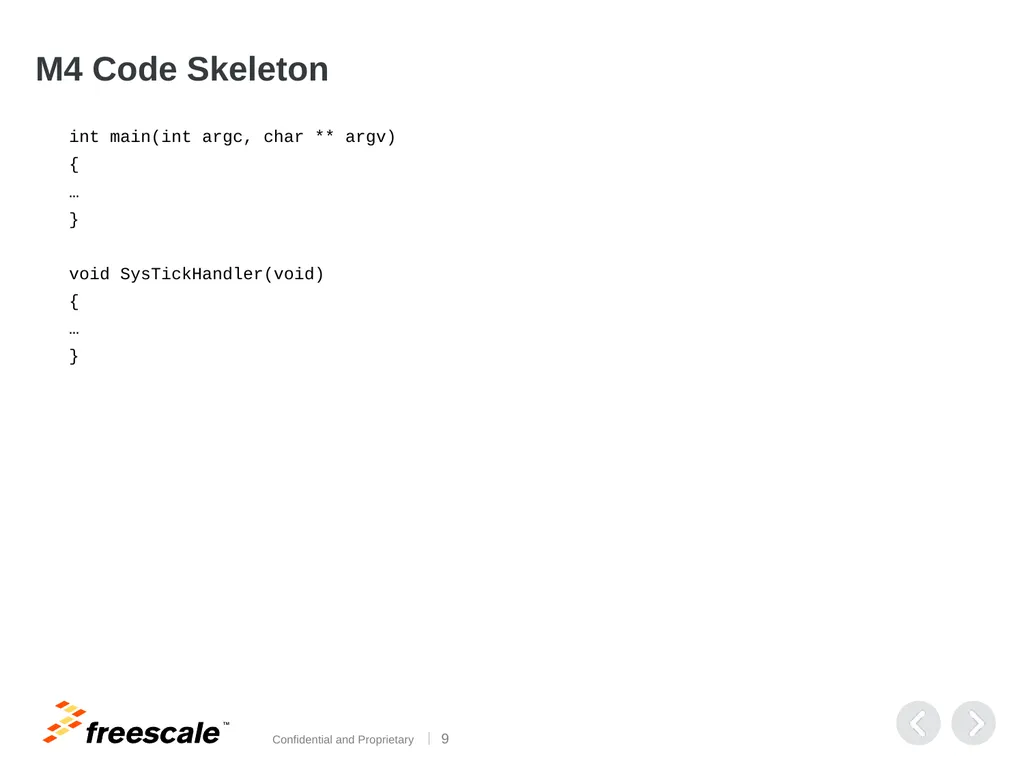
M4 Code Skeleton int main(int argc, char ** argv)
{
…
}
void SysTickHandler(void)
{
…
}<br>
10
Example code for M4 Purpose: To print “Hello World” on UART2
It is a bare metal code which can build under GNU toolchain under linux host
The source include:
Vector Table: vectors.s
Link Script: cortex_m4.ld
C code: main() …
Usage
tar zxf the m4_apps.tar.gz
cd m4_apps
m4-build-env
make<br>
11
Example code for M4 What the “make” does:
Compile with “-mcpu=cortex-m4 -mthumb” options
arm-none-eabi-gcc -mcpu=cortex-m4 -mthumb -c -g vectors.s -o vectors.o
arm-none-eabi-gcc -mcpu=cortex-m4 -mthumb -c -g main.c -o main.o
arm-none-eabi-gcc -mcpu=cortex-m4 -mthumb -c -g iomux-v3.c -o iomux-v3.o
arm-none-eabi-gcc -mcpu=cortex-m4 -mthumb -c -g timer.c -o timer.o
arm-none-eabi-gcc -mcpu=cortex-m4 -mthumb -c -g uart.c -o uart.o
Link
arm-none-eabi-ld -g -T cortex_m4.ld vectors.o main.o iomux-v3.o timer.o uart.o -o cortex_m4.elf
- Extract the binary from elf
arm-none-eabi-objcopy -O binary cortex_m4.elf cortex_m4.bin
Convert cortex_m4.bin to m4_binary[ ]
C char array
It will be loaded to TCM by A9
echo "unsigned char M4_binary[] = {" > m4_bin.h
bin2chex cortex_m4.bin >> m4_bin.h
echo "};" >> m4_bin.h<br>
12
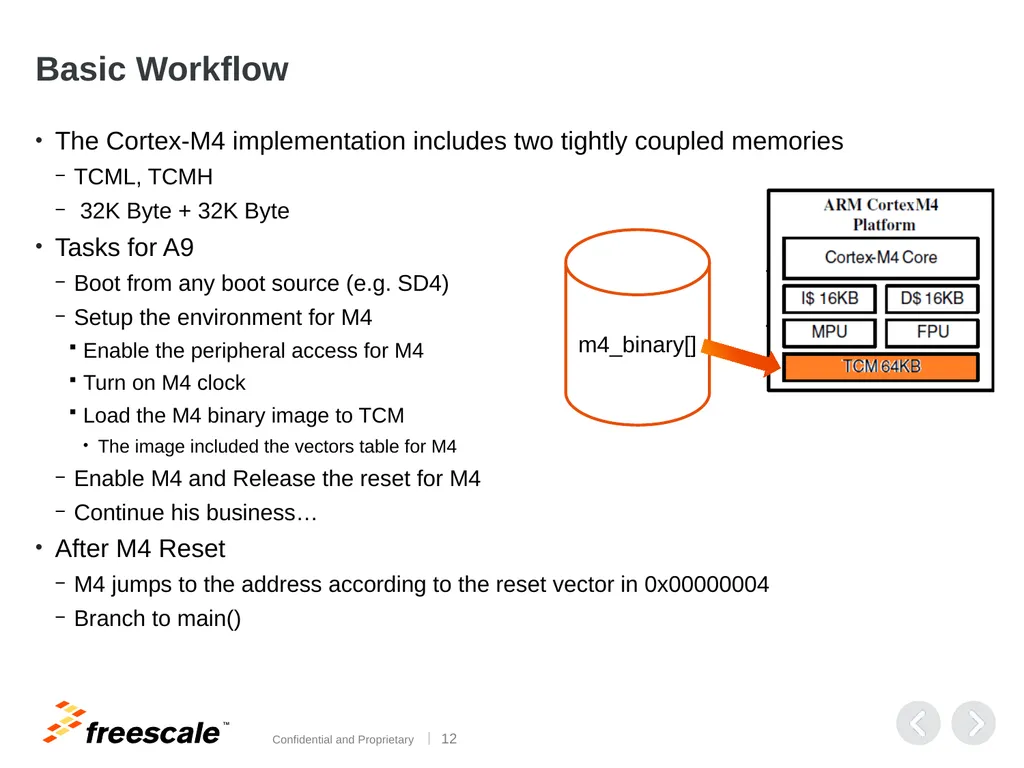
Basic Workflow The Cortex-M4 implementation includes two tightly coupled memories
TCML, TCMH
32K Byte + 32K Byte
Tasks for A9
Boot from any boot source (e.g. SD4)
Setup the environment for M4
Enable the peripheral access for M4
Turn on M4 clock
Load the M4 binary image to TCM
The image included the vectors table for M4
Enable M4 and Release the reset for M4
Continue his business…
After M4 Reset
M4 jumps to the address according to the reset vector in 0x00000004
Branch to main() m4_binary[]<br>
13
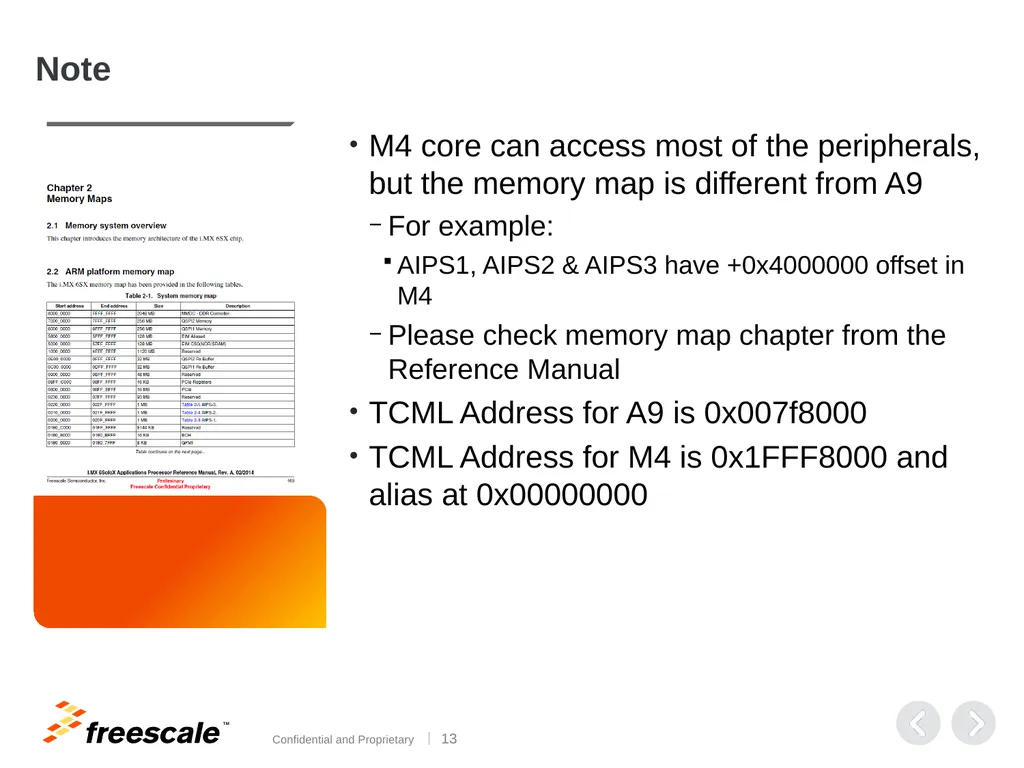
Note M4 core can access most of the peripherals, but the memory map is different from A9
For example:
AIPS1, AIPS2 & AIPS3 have +0x4000000 offset in M4
Please check memory map chapter from the Reference Manual
TCML Address for A9 is 0x007f8000
TCML Address for M4 is 0x1FFF8000 and alias at 0x00000000<br>
14
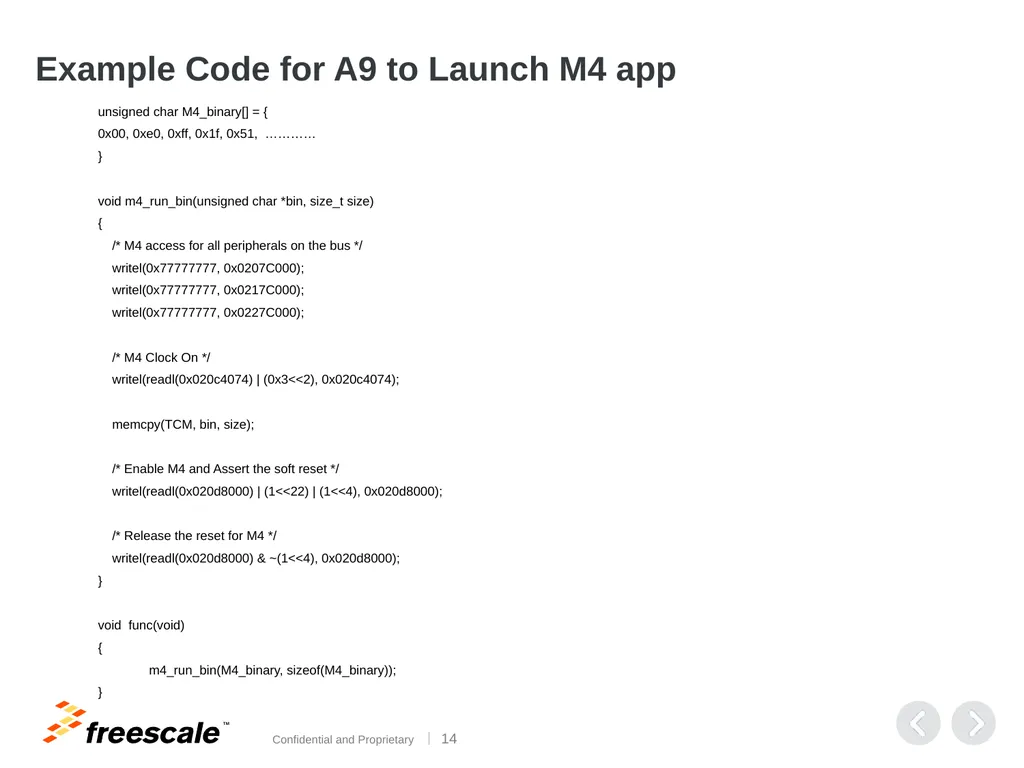
Example Code for A9 to Launch M4 app unsigned char M4_binary[] = {
0x00, 0xe0, 0xff, 0x1f, 0x51, …………
}
void m4_run_bin(unsigned char *bin, size_t size)
{
/* M4 access for all peripherals on the bus */
writel(0x77777777, 0x0207C000);
writel(0x77777777, 0x0217C000);
writel(0x77777777, 0x0227C000);
/* M4 Clock On */
writel(readl(0x020c4074) | (0x3<<2), 0x020c4074);
memcpy(TCM, bin, size);
/* Enable M4 and Assert the soft reset */
writel(readl(0x020d8000) | (1<<22) | (1<<4), 0x020d8000);
/* Release the reset for M4 */
writel(readl(0x020d8000) & ~(1<<4), 0x020d8000);
}
void func(void)
{
m4_run_bin(M4_binary, sizeof(M4_binary));
}<br>
15
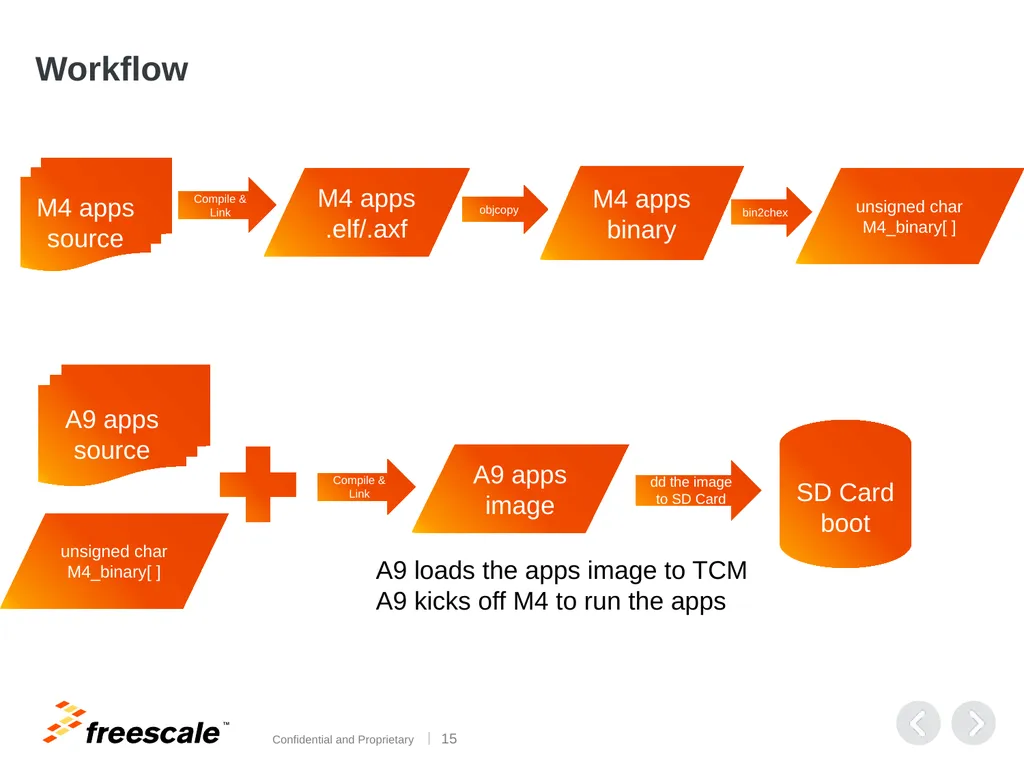
Workflow objcopy M4 apps
source Compile & Link M4 apps
.elf/.axf M4 apps
binary unsigned char M4_binary[ ] bin2chex A9 apps
source unsigned char M4_binary[ ] Compile & Link A9 apps image SD Card boot dd the image to SD Card A9 loads the apps image to TCM
A9 kicks off M4 to run the apps<br>
16
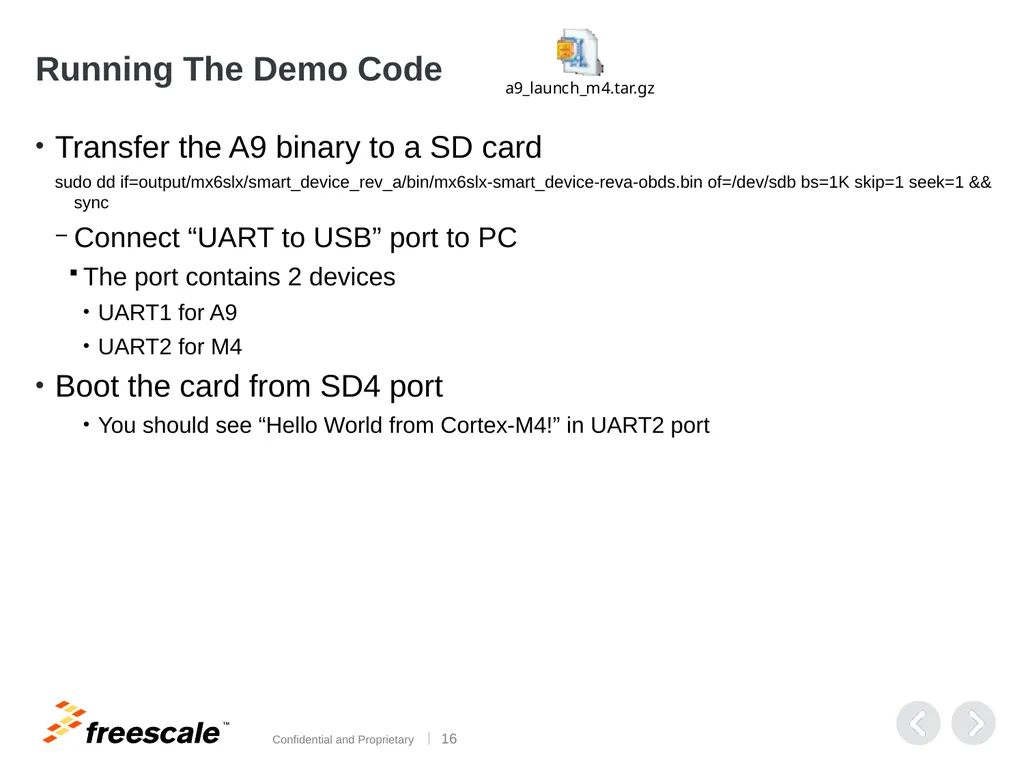
Running The Demo Code Transfer the A9 binary to a SD card
sudo dd if=output/mx6slx/smart_device_rev_a/bin/mx6slx-smart_device-reva-obds.bin of=/dev/sdb bs=1K skip=1 seek=1 && sync
Connect “UART to USB” port to PC
The port contains 2 devices
UART1 for A9
UART2 for M4
Boot the card from SD4 port
You should see “Hello World from Cortex-M4!” in UART2 port<br>
17
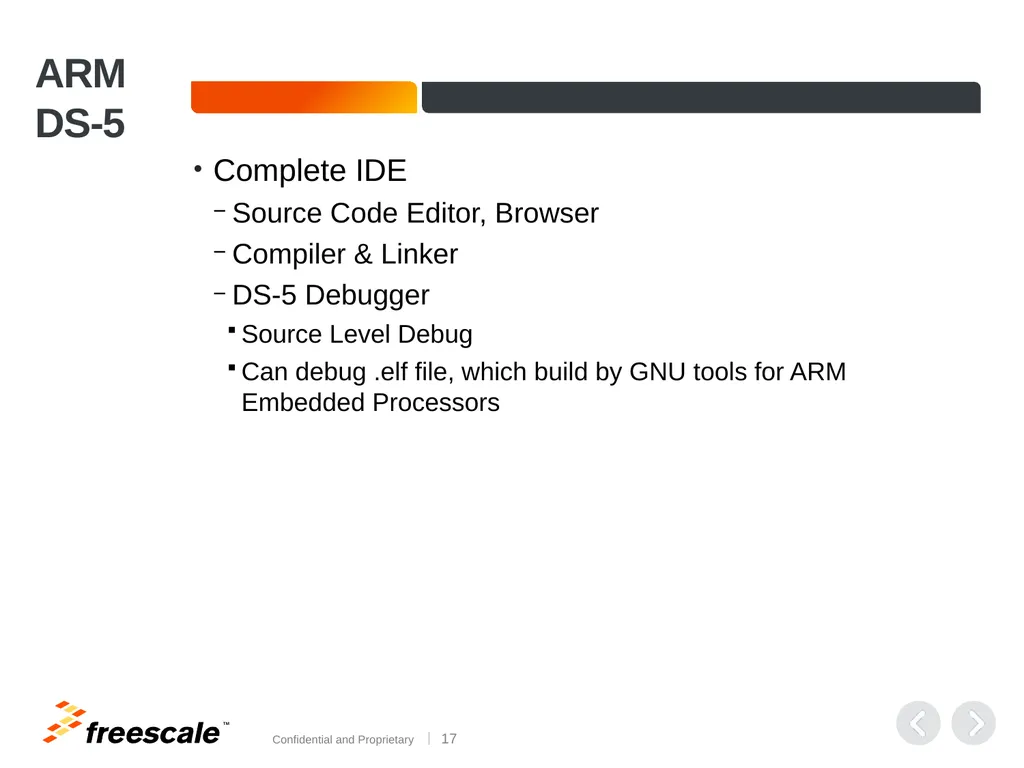
ARM DS-5 Complete IDE
Source Code Editor, Browser
Compiler & Linker
DS-5 Debugger
Source Level Debug
Can debug .elf file, which build by GNU tools for ARM Embedded Processors<br>
18
DS-5 Setup: i.MX6 Solo X Debug Target Besides the DS-5 installation & software license, you also need the debug target files for 6SX
Unzip attached files and copy them to:
C:\Program Files\DS-5\sw\debugger\configdb\Boards\Freescale<br>
19
ARM DS-5 Demo Video 01_Import_Project_Build.mp4
Import Existing Project
Build the project
Generate .axf – ARM Executable & Linkable Format file<br>
20
ARM DS-5 Demo Video 02_Configure_DS-5_Debug.mp4
Open DS-5 Debugger
Create 2 debug configurations for 6SX
Connect A9 core, Run init script
Set up the environment for M4
For the first connection after power up, the debugger cannot control the target and the init script failed to run
The problem can be solved by “Interrupt”, then “Connect” once again
Disconnect A9
Connect M4 core
Load and Execute the apps
Source Level Debugging
Add/Toggle Breakpoint<br>
21
ARM DS-5 Demo Video 03_Edit_Source_Build_Debug.mp4
Return to the project source code
Edit Source
Build
Open DS-5 Debugger
Connect the A9 then M4
Load and Execute the modified apps
Debug the apps<br>