
Physics 124: Lecture 1 Course Structure Crash
Description: Physics 124: Lecture 1 Course Structure Crash Course for Arduino Crash Course in C Course Structure MWF Lecture, at least for first 5 weeks 7 of course grade on participationattendance Structured Labs first 4 weeks (building blocks)
Related Topics
Download Presentation
"Physics 124: Lecture 1 Course Structure Crash" is the property of its rightful owner. Permission is granted to download and print the materials on this website for personal, non-commercial use only, and to display it on your personal computer provided you do not modify the materials and that you retain all copyright notices contained in the materials. By downloading content from our website, you accept the terms of this agreement.
Presentation Transcript
slide1. Physics 124: Lecture 1 Course Structure
Crash Course for Arduino
Crash Course in C<br>
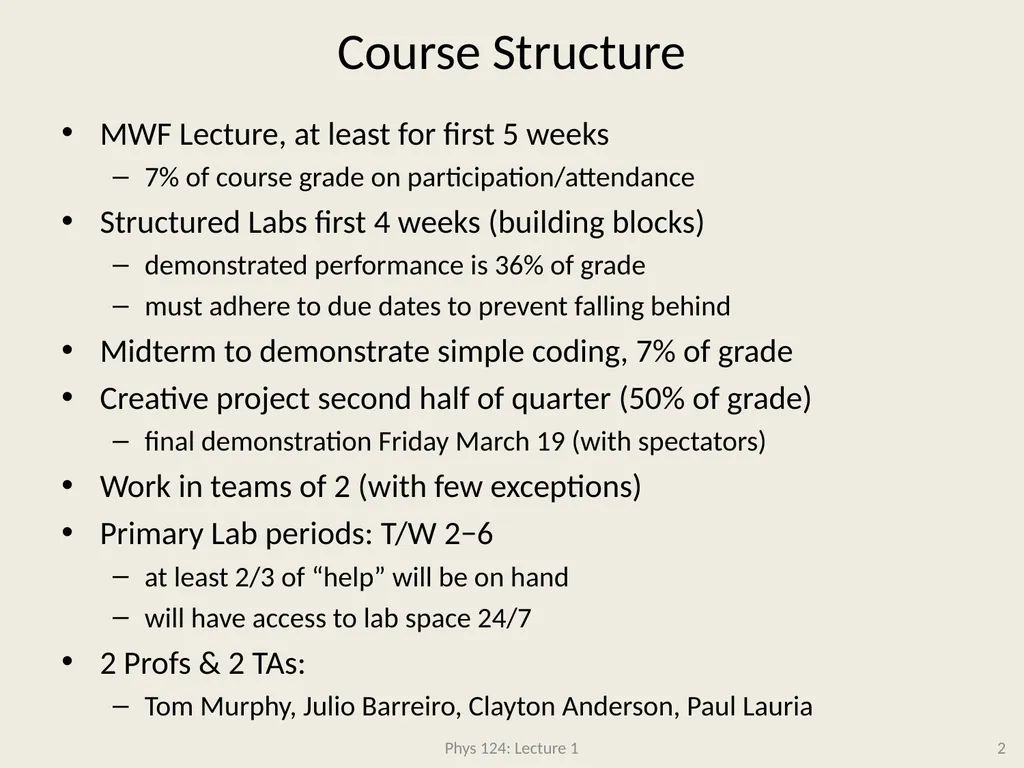
slide2. Course Structure MWF Lecture, at least for first 5 weeks
7% of course grade on participation/attendance
Structured Labs first 4 weeks (building blocks)
demonstrated performance is 36% of grade
must adhere to due dates to prevent falling behind
Midterm to demonstrate simple coding, 7% of grade
Creative project second half of quarter (50% of grade)
final demonstration Friday March 19 (with spectators)
Work in teams of 2 (with few exceptions)
Primary Lab periods: T/W 2−6
at least 2/3 of “help” will be on hand
will have access to lab space 24/7
2 Profs & 2 TAs:
Tom Murphy, Julio Barreiro, Clayton Anderson, Paul Lauria 2 Phys 124: Lecture 1<br>
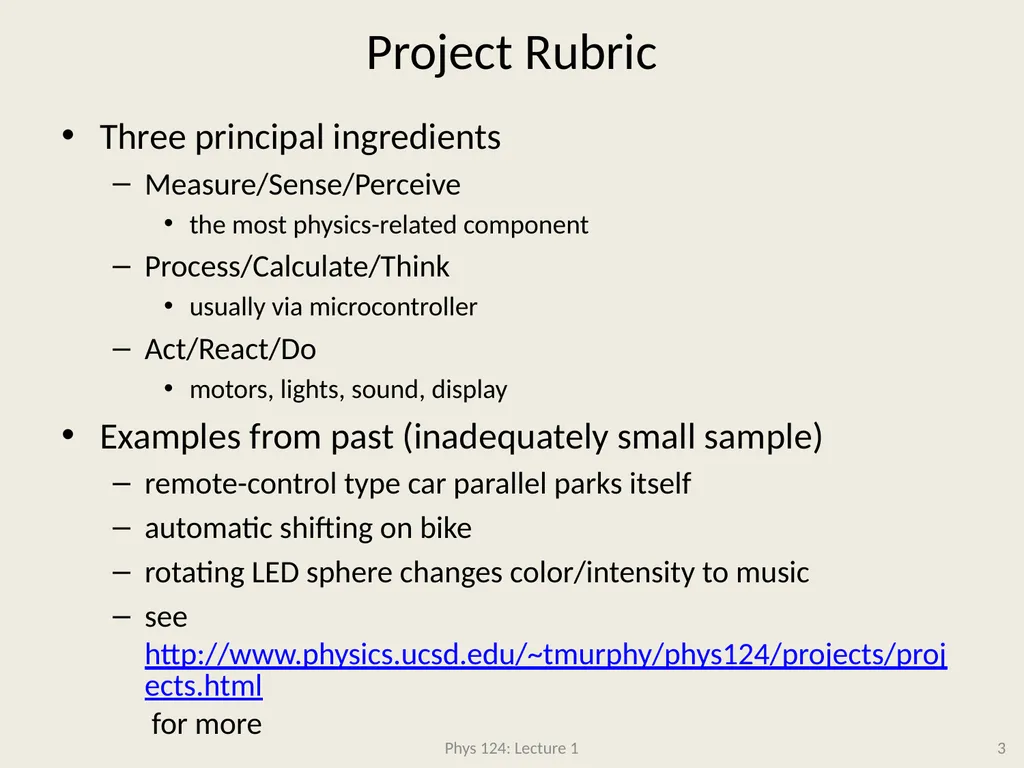
slide3. Project Rubric Three principal ingredients
Measure/Sense/Perceive
the most physics-related component
Process/Calculate/Think
usually via microcontroller
Act/React/Do
motors, lights, sound, display
Examples from past (inadequately small sample)
remote-control type car parallel parks itself
automatic shifting on bike
rotating LED sphere changes color/intensity to music
seehttp://www.physics.ucsd.edu/~tmurphy/phys124/projects/projects.html for more Phys 124: Lecture 1 3<br>
slide4. Why is this a Physics Course? What about this is physics? Why do we bother?
True that this is not front/center in physics research
BUT…
has been useful in research (mine and former students)
learn about sensors
proficiency with a tool that can help control experiments
learn some coding in C (well-used language in physics)
more familiar with practical electronics
learn team dynamics/communication
deadlines
gain confidence in ability to do something unique
Goal is fun enough to motivate real investment
a necessary ingredient to real learning Phys 124: Lecture 1 4<br>
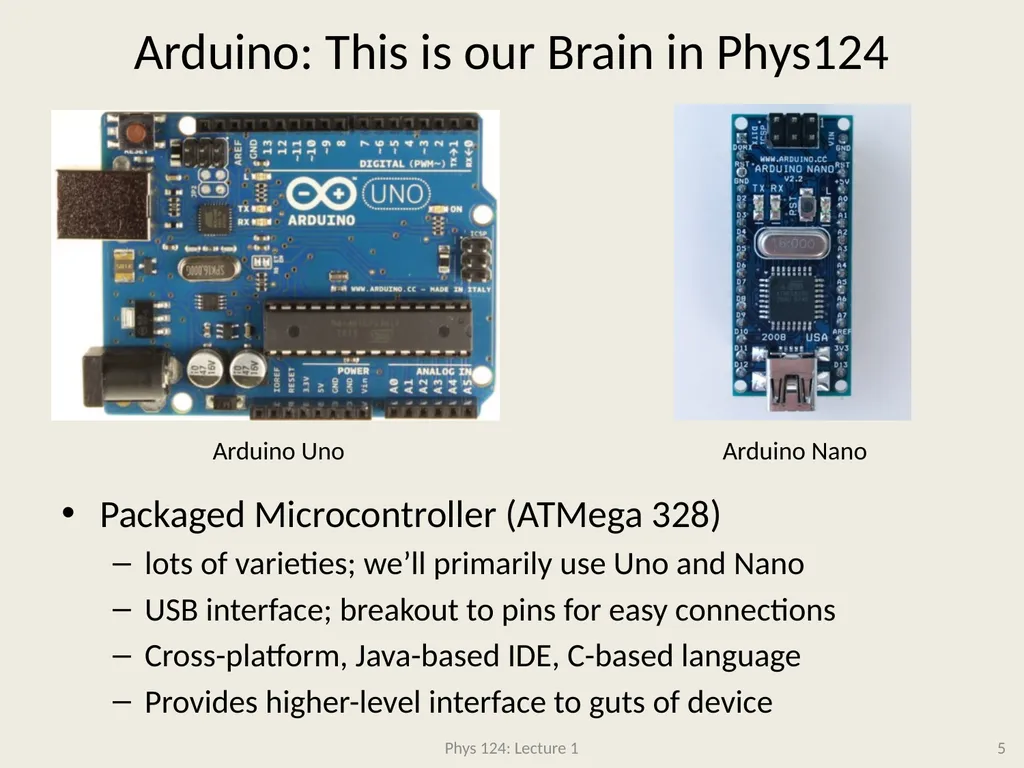
slide5. Arduino: This is our Brain in Phys124 Packaged Microcontroller (ATMega 328)
lots of varieties; we’ll primarily use Uno and Nano
USB interface; breakout to pins for easy connections
Cross-platform, Java-based IDE, C-based language
Provides higher-level interface to guts of device Phys 124: Lecture 1 5 Arduino Uno Arduino Nano<br>
slide6. Arduino Core Capabilities Arduino makes it easy to:
have digital input/output (I/O) (14 channels on Uno)
analog input (6 channels on Uno; 8 on Nano)
“analog” (PWM) output (6 of the digital channels)
communicate data via serial (over USB makes easy)
Libraries available for:
motor control; LCD display; ethernet; SPI; serial; SD cards, and lots more
“Shields” for hardware augmentation
stepper motor drivers
LCD display
GPS receiver
bluetooth, SD card, ethernet, wireless, and lots more Phys 124: Lecture 1 6<br>
slide7. Why Arduino? Previous incarnations of this course used the PIC microcontroller from Microchip Technology
Why switch to something new?
Arduino allows Mac/Linux users to have fun
many students are smart enough to avoid Windows
Arduino is cheap ($25−$35 range is typical)
so students can afford to play on their own (encouraged!)
Arduino programming usefully transfers to research
C rather than assembly code
High-level functions mean less time at register/bit level
more time to learn about sensors, put amazing projects together, rather than dwell on computer engineering
Yet loss of low-level understanding is unfortunate cost Phys 124: Lecture 1 7<br>
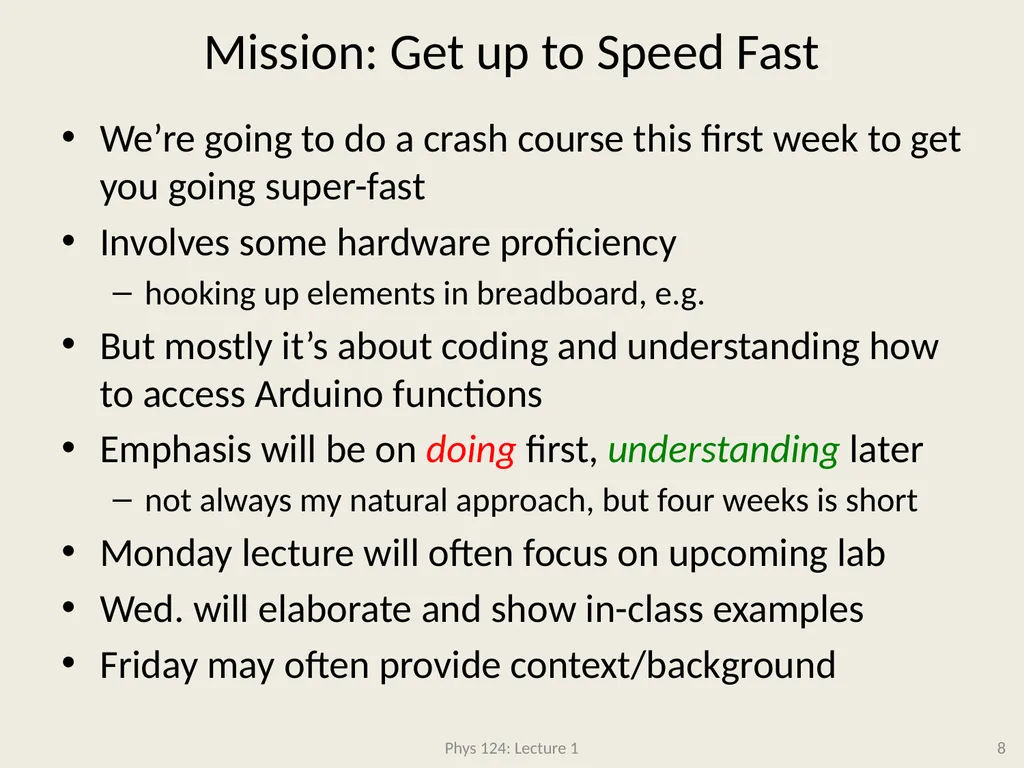
slide8. Mission: Get up to Speed Fast We’re going to do a crash course this first week to get you going super-fast
Involves some hardware proficiency
hooking up elements in breadboard, e.g.
But mostly it’s about coding and understanding how to access Arduino functions
Emphasis will be on doing first, understanding later
not always my natural approach, but four weeks is short
Monday lecture will often focus on upcoming lab
Wed. will elaborate and show in-class examples
Friday may often provide context/background Phys 124: Lecture 1 8<br>
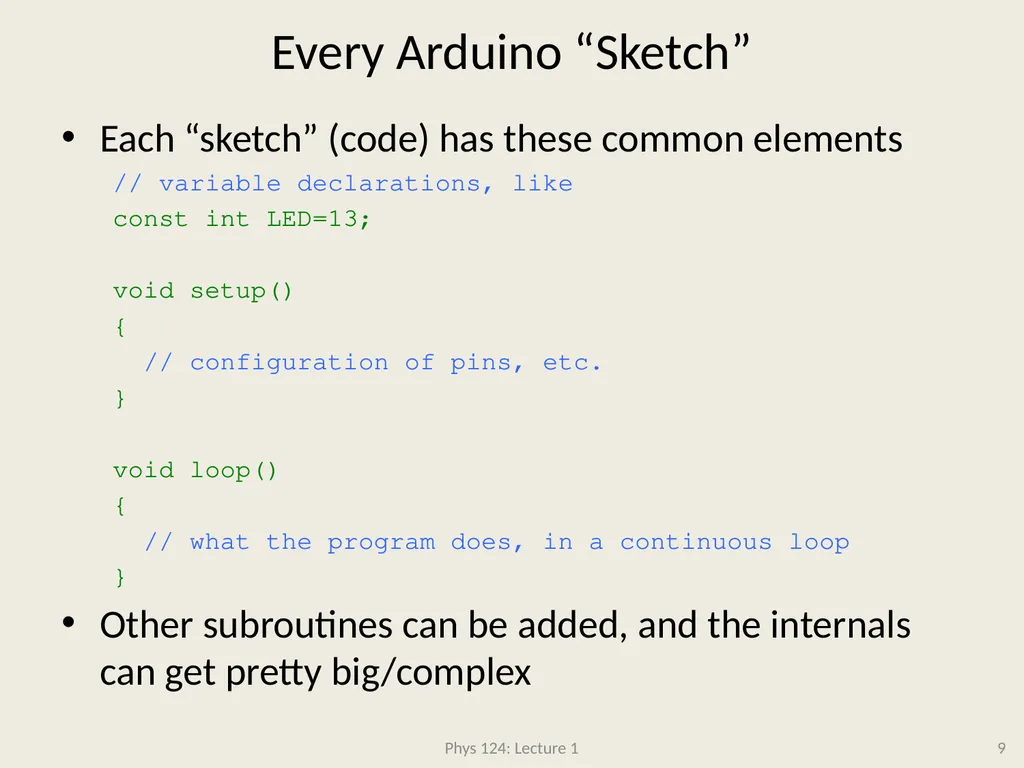
slide9. Every Arduino “Sketch” Each “sketch” (code) has these common elements
// variable declarations, like
const int LED=13;
void setup()
{
// configuration of pins, etc.
}
void loop()
{
// what the program does, in a continuous loop
}
Other subroutines can be added, and the internals can get pretty big/complex Phys 124: Lecture 1 9<br>
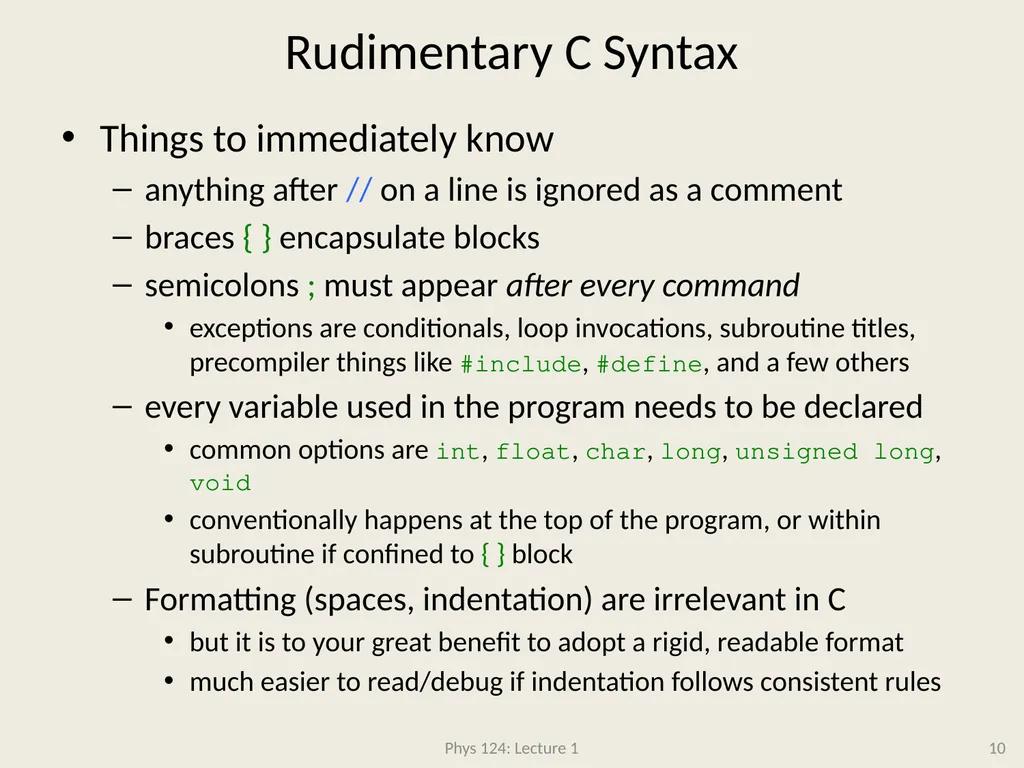
slide10. Rudimentary C Syntax Things to immediately know
anything after // on a line is ignored as a comment
braces { } encapsulate blocks
semicolons ; must appear after every command
exceptions are conditionals, loop invocations, subroutine titles, precompiler things like #include, #define, and a few others
every variable used in the program needs to be declared
common options are int, float, char, long, unsigned long, void
conventionally happens at the top of the program, or within subroutine if confined to { } block
Formatting (spaces, indentation) are irrelevant in C
but it is to your great benefit to adopt a rigid, readable format
much easier to read/debug if indentation follows consistent rules Phys 124: Lecture 1 10<br>
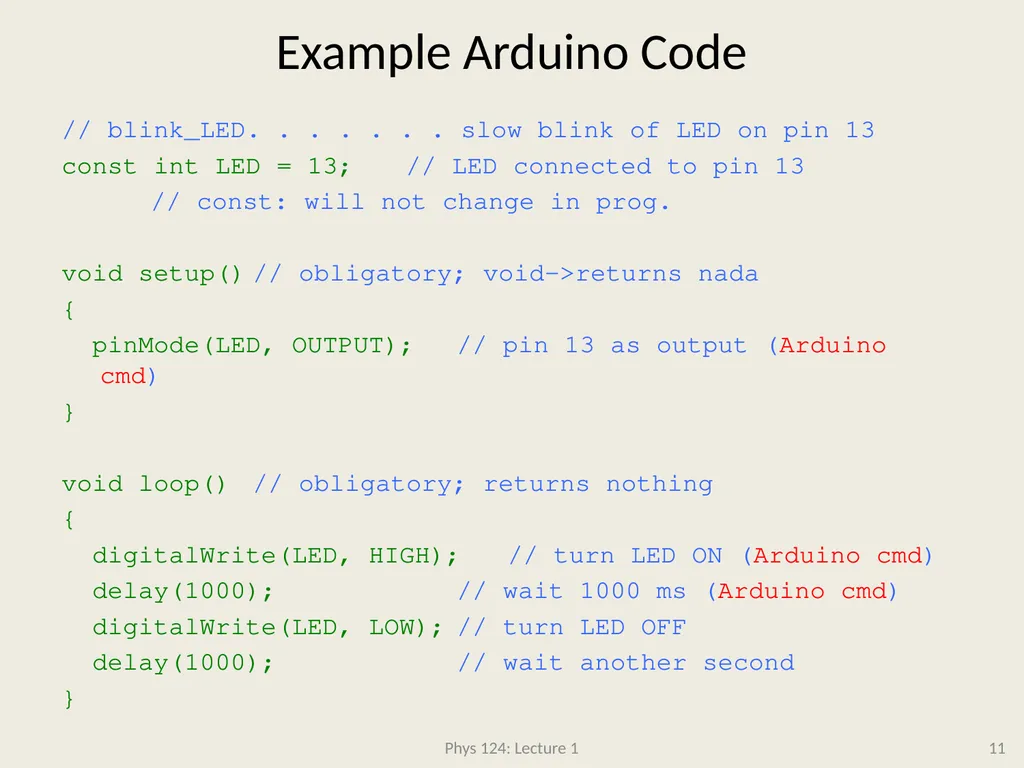
slide11. Example Arduino Code // blink_LED. . . . . . . slow blink of LED on pin 13
const int LED = 13; // LED connected to pin 13
// const: will not change in prog.
void setup() // obligatory; void->returns nada
{
pinMode(LED, OUTPUT); // pin 13 as output (Arduino cmd)
}
void loop() // obligatory; returns nothing
{
digitalWrite(LED, HIGH); // turn LED ON (Arduino cmd)
delay(1000); // wait 1000 ms (Arduino cmd)
digitalWrite(LED, LOW); // turn LED OFF
delay(1000); // wait another second
} Phys 124: Lecture 1 11<br>
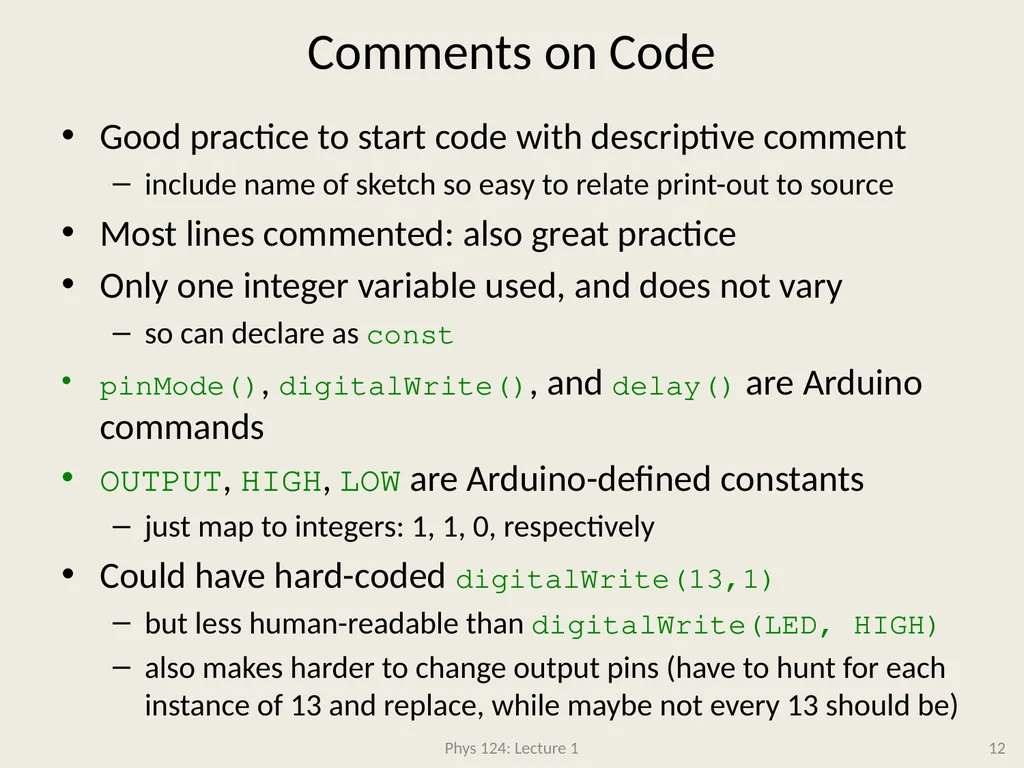
slide12. Comments on Code Good practice to start code with descriptive comment
include name of sketch so easy to relate print-out to source
Most lines commented: also great practice
Only one integer variable used, and does not vary
so can declare as const
pinMode(), digitalWrite(), and delay() are Arduino commands
OUTPUT, HIGH, LOW are Arduino-defined constants
just map to integers: 1, 1, 0, respectively
Could have hard-coded digitalWrite(13,1)
but less human-readable than digitalWrite(LED, HIGH)
also makes harder to change output pins (have to hunt for each instance of 13 and replace, while maybe not every 13 should be) Phys 124: Lecture 1 12<br>
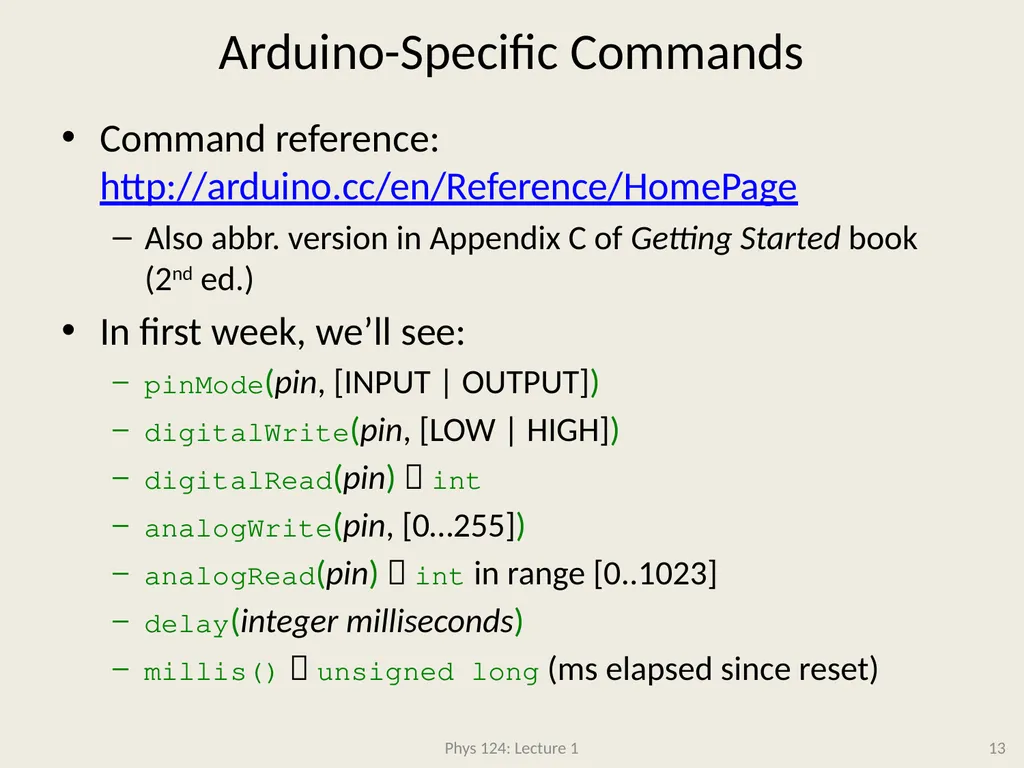
slide13. Arduino-Specific Commands Command reference: http://arduino.cc/en/Reference/HomePage
Also abbr. version in Appendix C of Getting Started book (2nd ed.)
In first week, we’ll see:
pinMode(pin, [INPUT | OUTPUT])
digitalWrite(pin, [LOW | HIGH])
digitalRead(pin) int
analogWrite(pin, [0…255])
analogRead(pin) int in range [0..1023]
delay(integer milliseconds)
millis() unsigned long (ms elapsed since reset) Phys 124: Lecture 1 13<br>
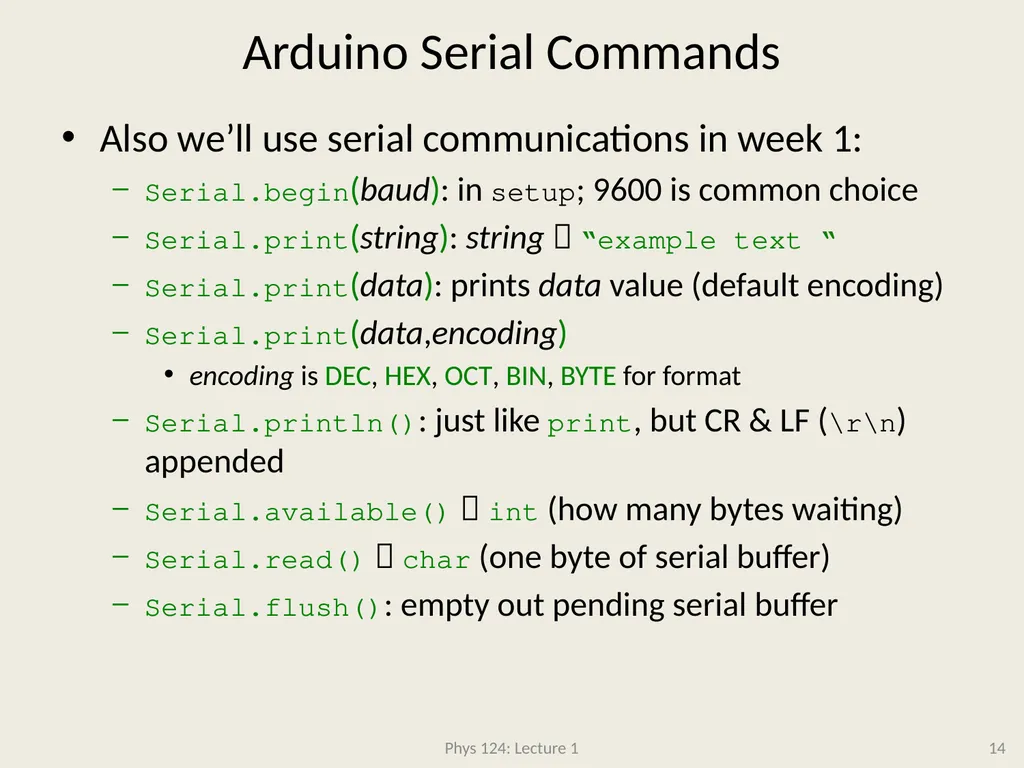
slide14. Arduino Serial Commands Also we’ll use serial communications in week 1:
Serial.begin(baud): in setup; 9600 is common choice
Serial.print(string): string “example text “
Serial.print(data): prints data value (default encoding)
Serial.print(data,encoding)
encoding is DEC, HEX, OCT, BIN, BYTE for format
Serial.println(): just like print, but CR & LF (\r\n) appended
Serial.available() int (how many bytes waiting)
Serial.read() char (one byte of serial buffer)
Serial.flush(): empty out pending serial buffer Phys 124: Lecture 1 14<br>
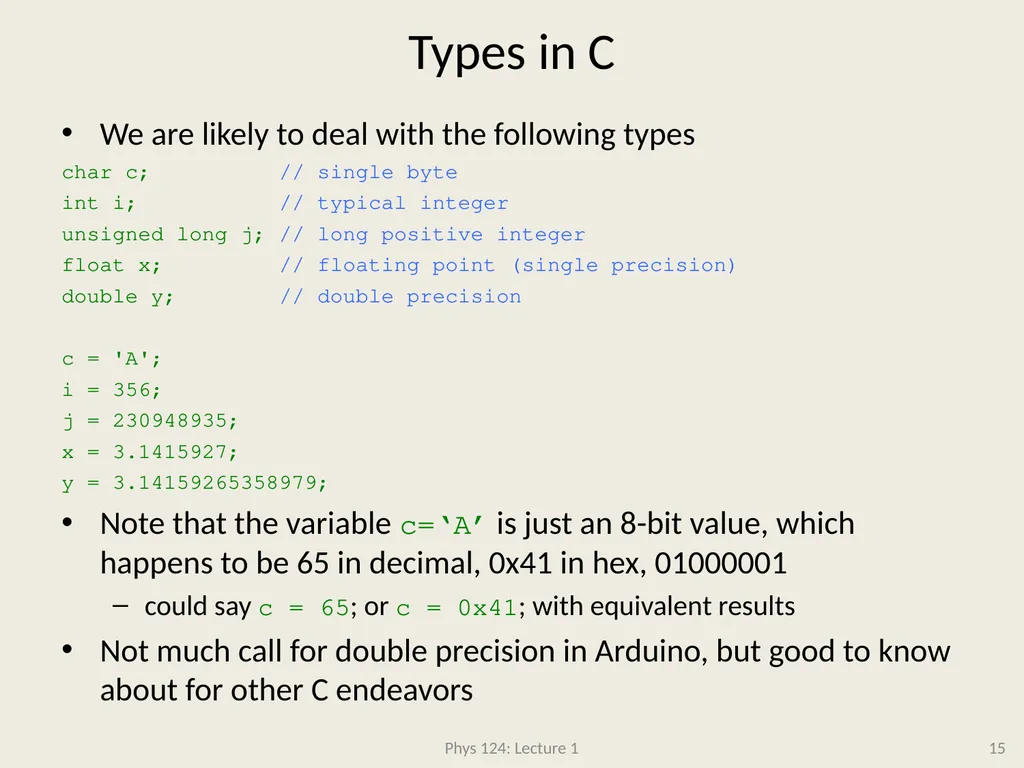
slide15. Types in C We are likely to deal with the following types
char c; // single byte
int i; // typical integer
unsigned long j; // long positive integer
float x; // floating point (single precision)
double y; // double precision
c = 'A';
i = 356;
j = 230948935;
x = 3.1415927;
y = 3.14159265358979;
Note that the variable c=‘A’ is just an 8-bit value, which happens to be 65 in decimal, 0x41 in hex, 01000001
could say c = 65; or c = 0x41; with equivalent results
Not much call for double precision in Arduino, but good to know about for other C endeavors Phys 124: Lecture 1 15<br>
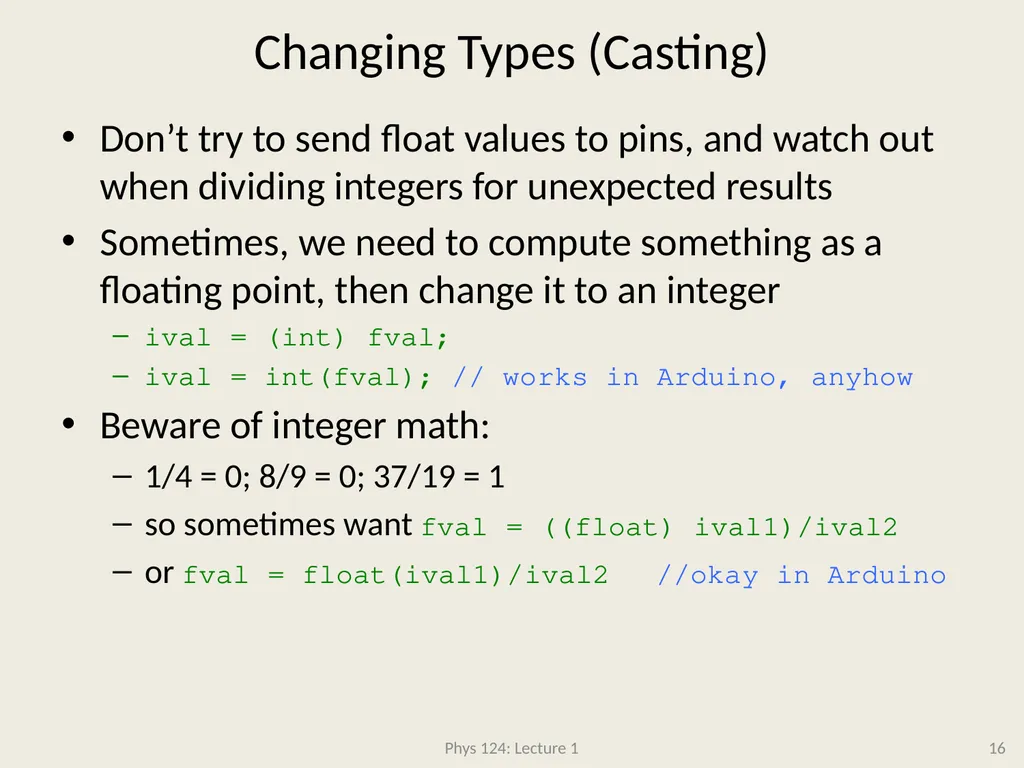
slide16. Changing Types (Casting) Don’t try to send float values to pins, and watch out when dividing integers for unexpected results
Sometimes, we need to compute something as a floating point, then change it to an integer
ival = (int) fval;
ival = int(fval); // works in Arduino, anyhow
Beware of integer math:
1/4 = 0; 8/9 = 0; 37/19 = 1
so sometimes want fval = ((float) ival1)/ival2
or fval = float(ival1)/ival2 //okay in Arduino Phys 124: Lecture 1 16<br>
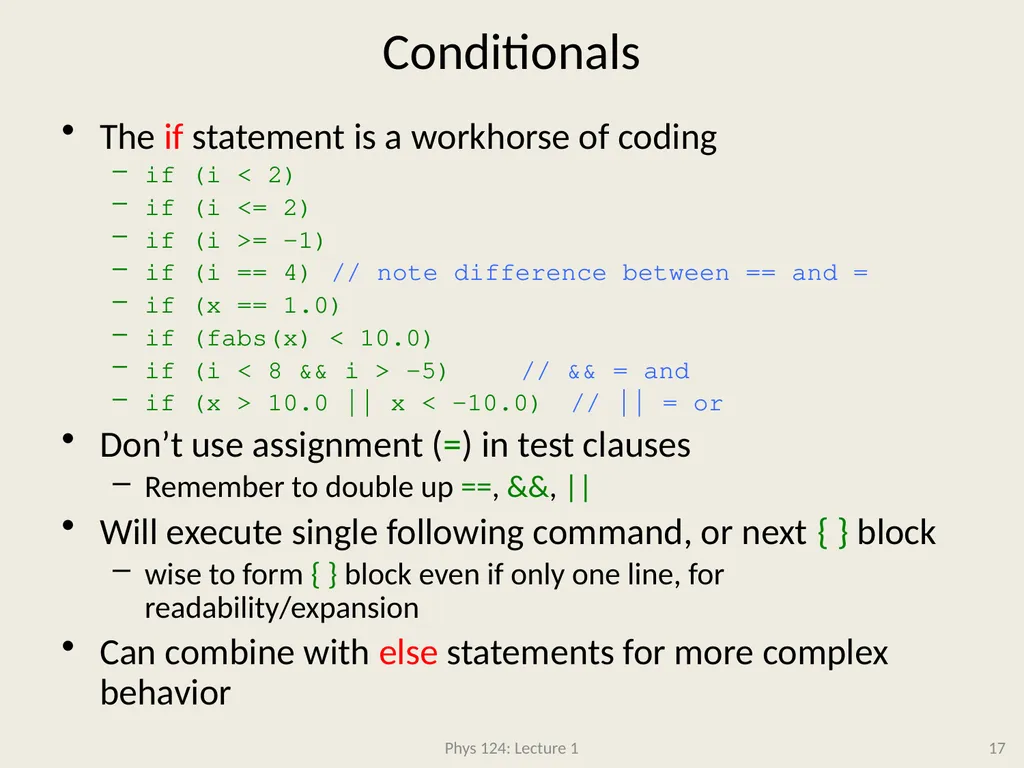
slide17. Conditionals The if statement is a workhorse of coding
if (i < 2)
if (i <= 2)
if (i >= -1)
if (i == 4) // note difference between == and =
if (x == 1.0)
if (fabs(x) < 10.0)
if (i < 8 && i > -5) // && = and
if (x > 10.0 || x < -10.0) // || = or
Don’t use assignment (=) in test clauses
Remember to double up ==, &&, ||
Will execute single following command, or next { } block
wise to form { } block even if only one line, for readability/expansion
Can combine with else statements for more complex behavior Phys 124: Lecture 1 17<br>
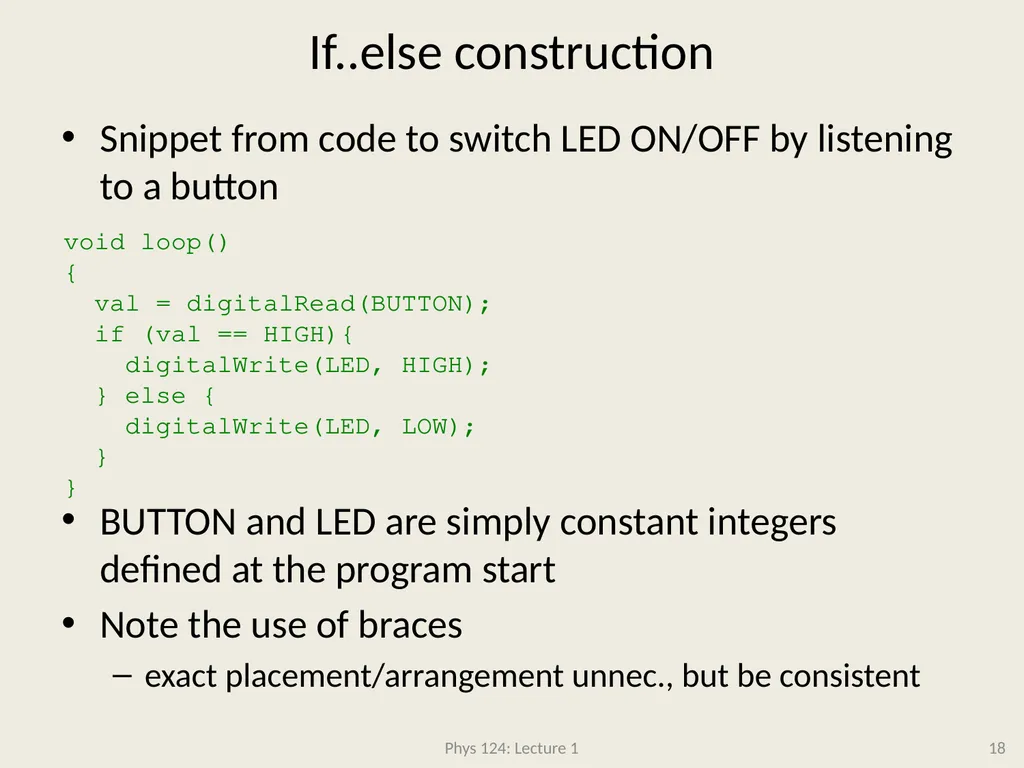
slide18. If..else construction Snippet from code to switch LED ON/OFF by listening to a button
BUTTON and LED are simply constant integers defined at the program start
Note the use of braces
exact placement/arrangement unnec., but be consistent Phys 124: Lecture 1 18 void loop()
{
val = digitalRead(BUTTON);
if (val == HIGH){
digitalWrite(LED, HIGH);
} else {
digitalWrite(LED, LOW);
}
}<br>
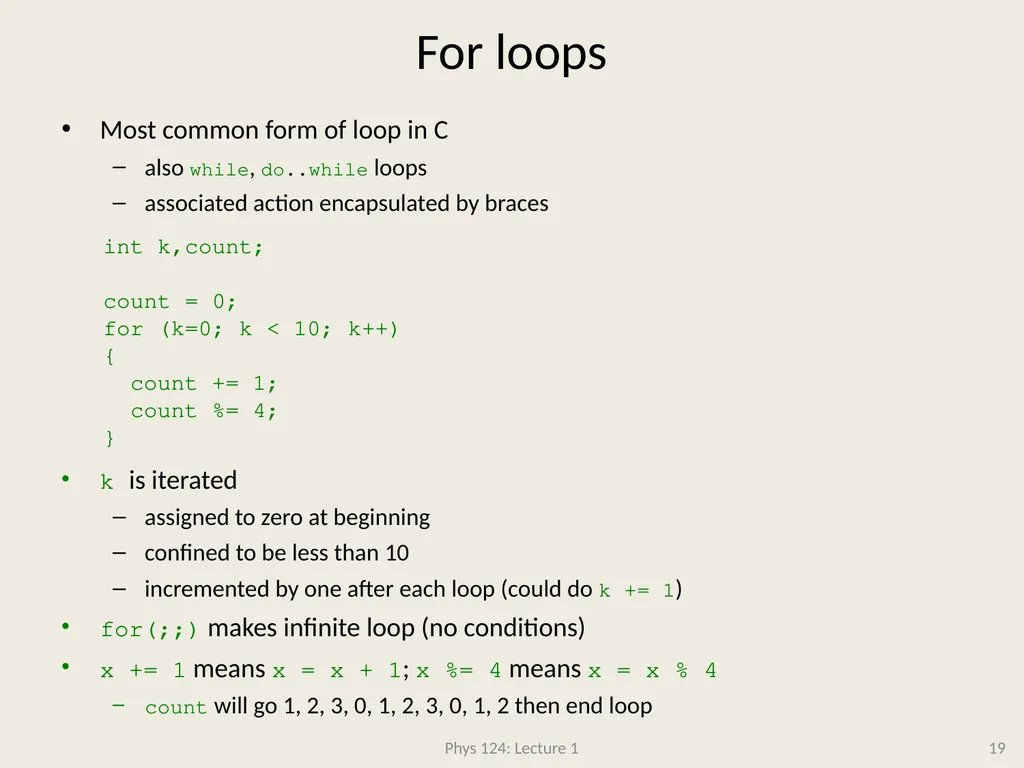
slide19. For loops Most common form of loop in C
also while, do..while loops
associated action encapsulated by braces
k is iterated
assigned to zero at beginning
confined to be less than 10
incremented by one after each loop (could do k += 1)
for(;;) makes infinite loop (no conditions)
x += 1 means x = x + 1; x %= 4 means x = x % 4
count will go 1, 2, 3, 0, 1, 2, 3, 0, 1, 2 then end loop Phys 124: Lecture 1 19 int k,count;
count = 0;
for (k=0; k < 10; k++)
{
count += 1;
count %= 4;
}<br>
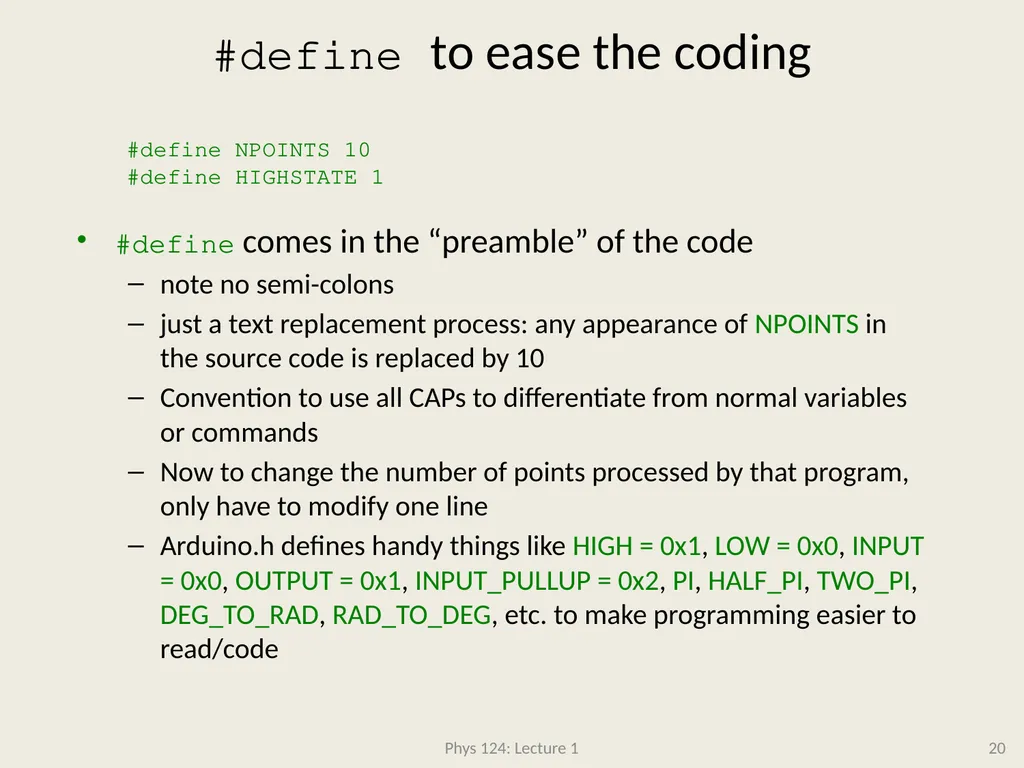
slide20. Phys 124: Lecture 1 20 #define to ease the coding #define comes in the “preamble” of the code
note no semi-colons
just a text replacement process: any appearance of NPOINTS in the source code is replaced by 10
Convention to use all CAPs to differentiate from normal variables or commands
Now to change the number of points processed by that program, only have to modify one line
Arduino.h defines handy things like HIGH = 0x1, LOW = 0x0, INPUT = 0x0, OUTPUT = 0x1, INPUT_PULLUP = 0x2, PI, HALF_PI, TWO_PI, DEG_TO_RAD, RAD_TO_DEG, etc. to make programming easier to read/code #define NPOINTS 10
#define HIGHSTATE 1<br>
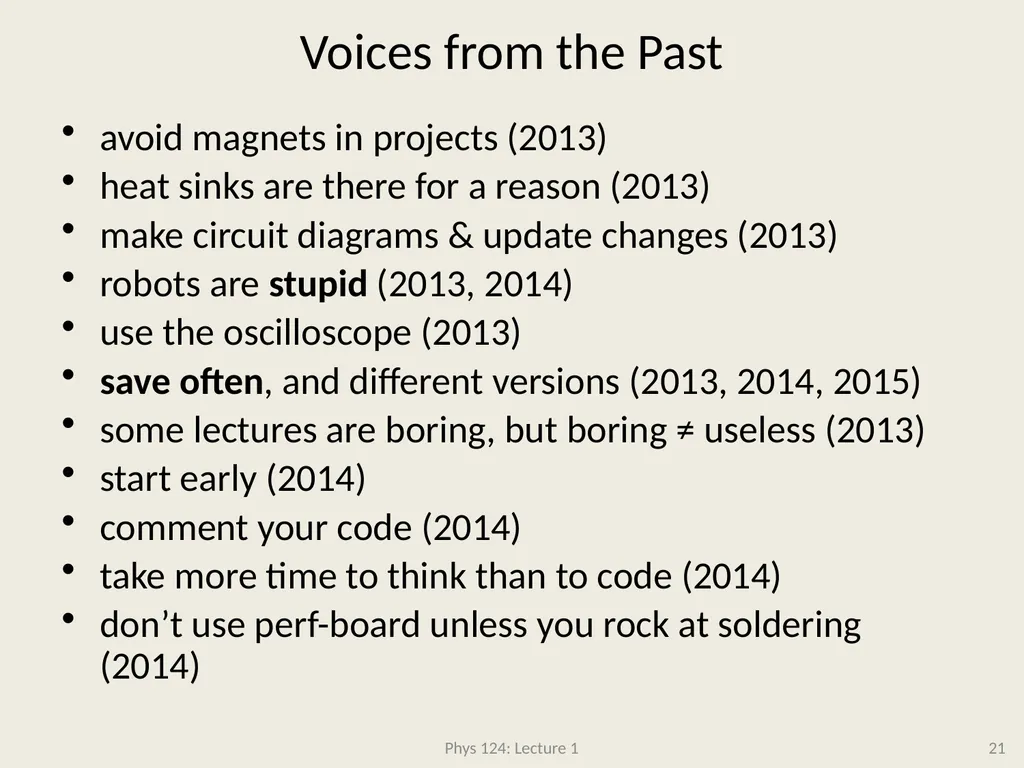
slide21. Voices from the Past avoid magnets in projects (2013)
heat sinks are there for a reason (2013)
make circuit diagrams & update changes (2013)
robots are stupid (2013, 2014)
use the oscilloscope (2013)
save often, and different versions (2013, 2014, 2015)
some lectures are boring, but boring ≠ useless (2013)
start early (2014)
comment your code (2014)
take more time to think than to code (2014)
don’t use perf-board unless you rock at soldering (2014) Phys 124: Lecture 1 21<br>
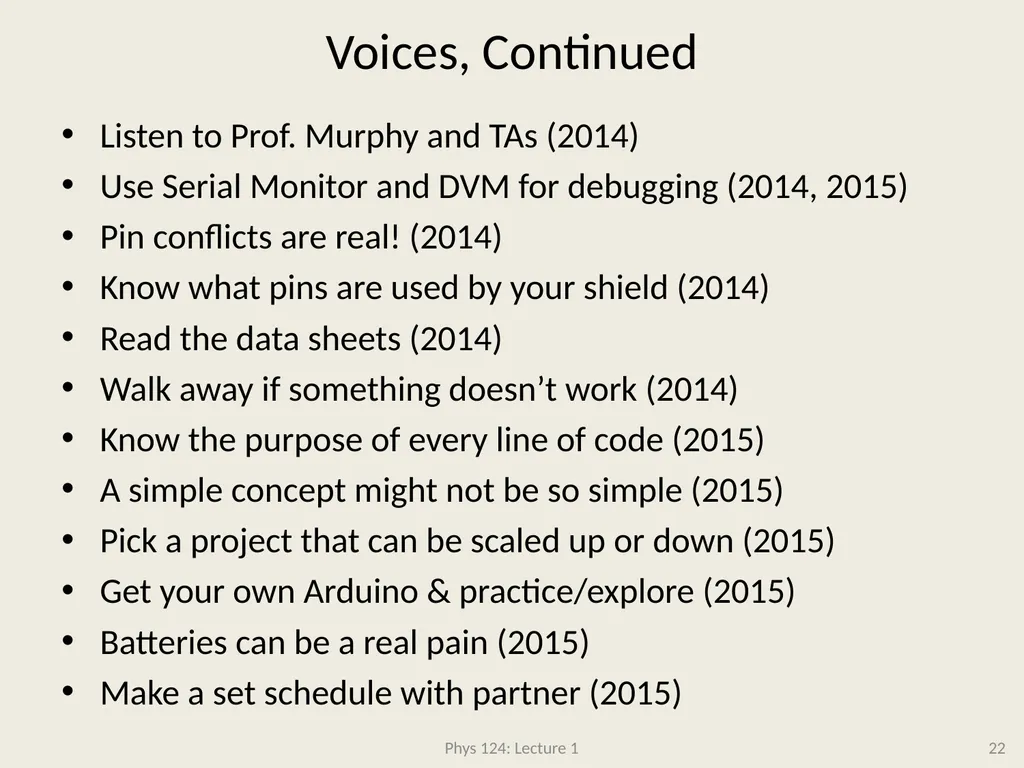
slide22. Voices, Continued Listen to Prof. Murphy and TAs (2014)
Use Serial Monitor and DVM for debugging (2014, 2015)
Pin conflicts are real! (2014)
Know what pins are used by your shield (2014)
Read the data sheets (2014)
Walk away if something doesn’t work (2014)
Know the purpose of every line of code (2015)
A simple concept might not be so simple (2015)
Pick a project that can be scaled up or down (2015)
Get your own Arduino & practice/explore (2015)
Batteries can be a real pain (2015)
Make a set schedule with partner (2015) Phys 124: Lecture 1 22<br>
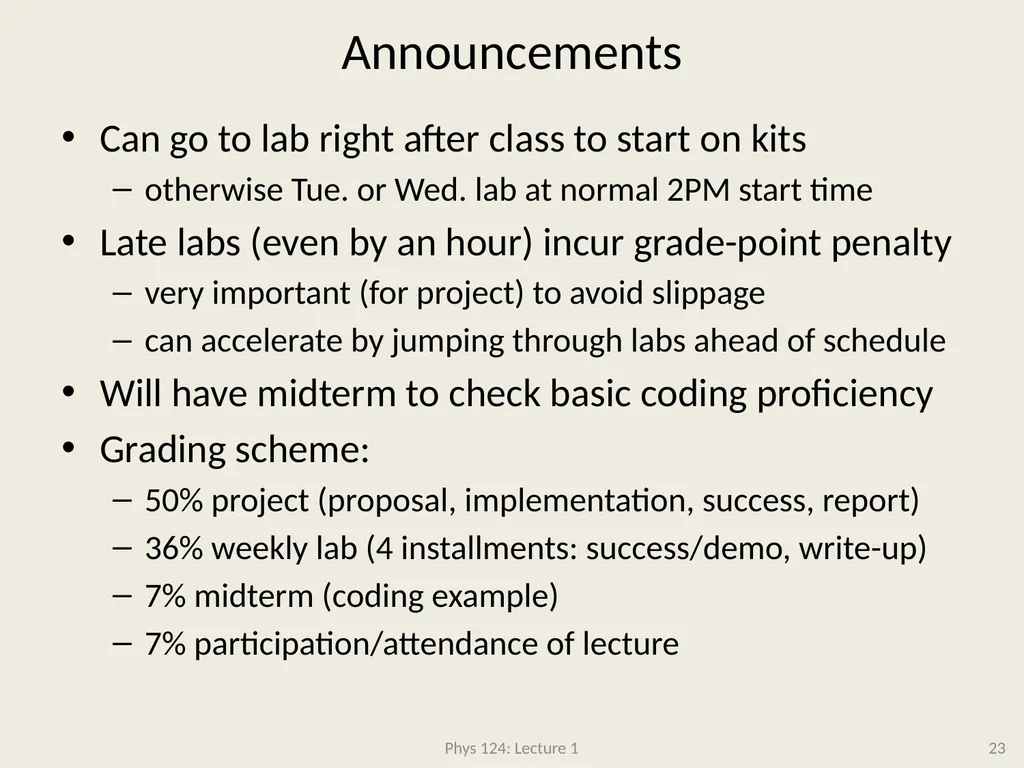
slide23. Announcements Can go to lab right after class to start on kits
otherwise Tue. or Wed. lab at normal 2PM start time
Late labs (even by an hour) incur grade-point penalty
very important (for project) to avoid slippage
can accelerate by jumping through labs ahead of schedule
Will have midterm to check basic coding proficiency
Grading scheme:
50% project (proposal, implementation, success, report)
36% weekly lab (4 installments: success/demo, write-up)
7% midterm (coding example)
7% participation/attendance of lecture Phys 124: Lecture 1 23<br>
slide24. Course Website Visit http://www.physics.ucsd.edu/~tmurphy/phys124/
Assignments
Lab Exercises
Useful Links
Contact Info & Logistics
May want to look at Lecture 2 for Week 1 Lab
especially you Tuesday folks… Phys 124: Lecture 1 24<br>
Crash Course for Arduino
Crash Course in C<br>
slide2. Course Structure MWF Lecture, at least for first 5 weeks
7% of course grade on participation/attendance
Structured Labs first 4 weeks (building blocks)
demonstrated performance is 36% of grade
must adhere to due dates to prevent falling behind
Midterm to demonstrate simple coding, 7% of grade
Creative project second half of quarter (50% of grade)
final demonstration Friday March 19 (with spectators)
Work in teams of 2 (with few exceptions)
Primary Lab periods: T/W 2−6
at least 2/3 of “help” will be on hand
will have access to lab space 24/7
2 Profs & 2 TAs:
Tom Murphy, Julio Barreiro, Clayton Anderson, Paul Lauria 2 Phys 124: Lecture 1<br>
slide3. Project Rubric Three principal ingredients
Measure/Sense/Perceive
the most physics-related component
Process/Calculate/Think
usually via microcontroller
Act/React/Do
motors, lights, sound, display
Examples from past (inadequately small sample)
remote-control type car parallel parks itself
automatic shifting on bike
rotating LED sphere changes color/intensity to music
seehttp://www.physics.ucsd.edu/~tmurphy/phys124/projects/projects.html for more Phys 124: Lecture 1 3<br>
slide4. Why is this a Physics Course? What about this is physics? Why do we bother?
True that this is not front/center in physics research
BUT…
has been useful in research (mine and former students)
learn about sensors
proficiency with a tool that can help control experiments
learn some coding in C (well-used language in physics)
more familiar with practical electronics
learn team dynamics/communication
deadlines
gain confidence in ability to do something unique
Goal is fun enough to motivate real investment
a necessary ingredient to real learning Phys 124: Lecture 1 4<br>
slide5. Arduino: This is our Brain in Phys124 Packaged Microcontroller (ATMega 328)
lots of varieties; we’ll primarily use Uno and Nano
USB interface; breakout to pins for easy connections
Cross-platform, Java-based IDE, C-based language
Provides higher-level interface to guts of device Phys 124: Lecture 1 5 Arduino Uno Arduino Nano<br>
slide6. Arduino Core Capabilities Arduino makes it easy to:
have digital input/output (I/O) (14 channels on Uno)
analog input (6 channels on Uno; 8 on Nano)
“analog” (PWM) output (6 of the digital channels)
communicate data via serial (over USB makes easy)
Libraries available for:
motor control; LCD display; ethernet; SPI; serial; SD cards, and lots more
“Shields” for hardware augmentation
stepper motor drivers
LCD display
GPS receiver
bluetooth, SD card, ethernet, wireless, and lots more Phys 124: Lecture 1 6<br>
slide7. Why Arduino? Previous incarnations of this course used the PIC microcontroller from Microchip Technology
Why switch to something new?
Arduino allows Mac/Linux users to have fun
many students are smart enough to avoid Windows
Arduino is cheap ($25−$35 range is typical)
so students can afford to play on their own (encouraged!)
Arduino programming usefully transfers to research
C rather than assembly code
High-level functions mean less time at register/bit level
more time to learn about sensors, put amazing projects together, rather than dwell on computer engineering
Yet loss of low-level understanding is unfortunate cost Phys 124: Lecture 1 7<br>
slide8. Mission: Get up to Speed Fast We’re going to do a crash course this first week to get you going super-fast
Involves some hardware proficiency
hooking up elements in breadboard, e.g.
But mostly it’s about coding and understanding how to access Arduino functions
Emphasis will be on doing first, understanding later
not always my natural approach, but four weeks is short
Monday lecture will often focus on upcoming lab
Wed. will elaborate and show in-class examples
Friday may often provide context/background Phys 124: Lecture 1 8<br>
slide9. Every Arduino “Sketch” Each “sketch” (code) has these common elements
// variable declarations, like
const int LED=13;
void setup()
{
// configuration of pins, etc.
}
void loop()
{
// what the program does, in a continuous loop
}
Other subroutines can be added, and the internals can get pretty big/complex Phys 124: Lecture 1 9<br>
slide10. Rudimentary C Syntax Things to immediately know
anything after // on a line is ignored as a comment
braces { } encapsulate blocks
semicolons ; must appear after every command
exceptions are conditionals, loop invocations, subroutine titles, precompiler things like #include, #define, and a few others
every variable used in the program needs to be declared
common options are int, float, char, long, unsigned long, void
conventionally happens at the top of the program, or within subroutine if confined to { } block
Formatting (spaces, indentation) are irrelevant in C
but it is to your great benefit to adopt a rigid, readable format
much easier to read/debug if indentation follows consistent rules Phys 124: Lecture 1 10<br>
slide11. Example Arduino Code // blink_LED. . . . . . . slow blink of LED on pin 13
const int LED = 13; // LED connected to pin 13
// const: will not change in prog.
void setup() // obligatory; void->returns nada
{
pinMode(LED, OUTPUT); // pin 13 as output (Arduino cmd)
}
void loop() // obligatory; returns nothing
{
digitalWrite(LED, HIGH); // turn LED ON (Arduino cmd)
delay(1000); // wait 1000 ms (Arduino cmd)
digitalWrite(LED, LOW); // turn LED OFF
delay(1000); // wait another second
} Phys 124: Lecture 1 11<br>
slide12. Comments on Code Good practice to start code with descriptive comment
include name of sketch so easy to relate print-out to source
Most lines commented: also great practice
Only one integer variable used, and does not vary
so can declare as const
pinMode(), digitalWrite(), and delay() are Arduino commands
OUTPUT, HIGH, LOW are Arduino-defined constants
just map to integers: 1, 1, 0, respectively
Could have hard-coded digitalWrite(13,1)
but less human-readable than digitalWrite(LED, HIGH)
also makes harder to change output pins (have to hunt for each instance of 13 and replace, while maybe not every 13 should be) Phys 124: Lecture 1 12<br>
slide13. Arduino-Specific Commands Command reference: http://arduino.cc/en/Reference/HomePage
Also abbr. version in Appendix C of Getting Started book (2nd ed.)
In first week, we’ll see:
pinMode(pin, [INPUT | OUTPUT])
digitalWrite(pin, [LOW | HIGH])
digitalRead(pin) int
analogWrite(pin, [0…255])
analogRead(pin) int in range [0..1023]
delay(integer milliseconds)
millis() unsigned long (ms elapsed since reset) Phys 124: Lecture 1 13<br>
slide14. Arduino Serial Commands Also we’ll use serial communications in week 1:
Serial.begin(baud): in setup; 9600 is common choice
Serial.print(string): string “example text “
Serial.print(data): prints data value (default encoding)
Serial.print(data,encoding)
encoding is DEC, HEX, OCT, BIN, BYTE for format
Serial.println(): just like print, but CR & LF (\r\n) appended
Serial.available() int (how many bytes waiting)
Serial.read() char (one byte of serial buffer)
Serial.flush(): empty out pending serial buffer Phys 124: Lecture 1 14<br>
slide15. Types in C We are likely to deal with the following types
char c; // single byte
int i; // typical integer
unsigned long j; // long positive integer
float x; // floating point (single precision)
double y; // double precision
c = 'A';
i = 356;
j = 230948935;
x = 3.1415927;
y = 3.14159265358979;
Note that the variable c=‘A’ is just an 8-bit value, which happens to be 65 in decimal, 0x41 in hex, 01000001
could say c = 65; or c = 0x41; with equivalent results
Not much call for double precision in Arduino, but good to know about for other C endeavors Phys 124: Lecture 1 15<br>
slide16. Changing Types (Casting) Don’t try to send float values to pins, and watch out when dividing integers for unexpected results
Sometimes, we need to compute something as a floating point, then change it to an integer
ival = (int) fval;
ival = int(fval); // works in Arduino, anyhow
Beware of integer math:
1/4 = 0; 8/9 = 0; 37/19 = 1
so sometimes want fval = ((float) ival1)/ival2
or fval = float(ival1)/ival2 //okay in Arduino Phys 124: Lecture 1 16<br>
slide17. Conditionals The if statement is a workhorse of coding
if (i < 2)
if (i <= 2)
if (i >= -1)
if (i == 4) // note difference between == and =
if (x == 1.0)
if (fabs(x) < 10.0)
if (i < 8 && i > -5) // && = and
if (x > 10.0 || x < -10.0) // || = or
Don’t use assignment (=) in test clauses
Remember to double up ==, &&, ||
Will execute single following command, or next { } block
wise to form { } block even if only one line, for readability/expansion
Can combine with else statements for more complex behavior Phys 124: Lecture 1 17<br>
slide18. If..else construction Snippet from code to switch LED ON/OFF by listening to a button
BUTTON and LED are simply constant integers defined at the program start
Note the use of braces
exact placement/arrangement unnec., but be consistent Phys 124: Lecture 1 18 void loop()
{
val = digitalRead(BUTTON);
if (val == HIGH){
digitalWrite(LED, HIGH);
} else {
digitalWrite(LED, LOW);
}
}<br>
slide19. For loops Most common form of loop in C
also while, do..while loops
associated action encapsulated by braces
k is iterated
assigned to zero at beginning
confined to be less than 10
incremented by one after each loop (could do k += 1)
for(;;) makes infinite loop (no conditions)
x += 1 means x = x + 1; x %= 4 means x = x % 4
count will go 1, 2, 3, 0, 1, 2, 3, 0, 1, 2 then end loop Phys 124: Lecture 1 19 int k,count;
count = 0;
for (k=0; k < 10; k++)
{
count += 1;
count %= 4;
}<br>
slide20. Phys 124: Lecture 1 20 #define to ease the coding #define comes in the “preamble” of the code
note no semi-colons
just a text replacement process: any appearance of NPOINTS in the source code is replaced by 10
Convention to use all CAPs to differentiate from normal variables or commands
Now to change the number of points processed by that program, only have to modify one line
Arduino.h defines handy things like HIGH = 0x1, LOW = 0x0, INPUT = 0x0, OUTPUT = 0x1, INPUT_PULLUP = 0x2, PI, HALF_PI, TWO_PI, DEG_TO_RAD, RAD_TO_DEG, etc. to make programming easier to read/code #define NPOINTS 10
#define HIGHSTATE 1<br>
slide21. Voices from the Past avoid magnets in projects (2013)
heat sinks are there for a reason (2013)
make circuit diagrams & update changes (2013)
robots are stupid (2013, 2014)
use the oscilloscope (2013)
save often, and different versions (2013, 2014, 2015)
some lectures are boring, but boring ≠ useless (2013)
start early (2014)
comment your code (2014)
take more time to think than to code (2014)
don’t use perf-board unless you rock at soldering (2014) Phys 124: Lecture 1 21<br>
slide22. Voices, Continued Listen to Prof. Murphy and TAs (2014)
Use Serial Monitor and DVM for debugging (2014, 2015)
Pin conflicts are real! (2014)
Know what pins are used by your shield (2014)
Read the data sheets (2014)
Walk away if something doesn’t work (2014)
Know the purpose of every line of code (2015)
A simple concept might not be so simple (2015)
Pick a project that can be scaled up or down (2015)
Get your own Arduino & practice/explore (2015)
Batteries can be a real pain (2015)
Make a set schedule with partner (2015) Phys 124: Lecture 1 22<br>
slide23. Announcements Can go to lab right after class to start on kits
otherwise Tue. or Wed. lab at normal 2PM start time
Late labs (even by an hour) incur grade-point penalty
very important (for project) to avoid slippage
can accelerate by jumping through labs ahead of schedule
Will have midterm to check basic coding proficiency
Grading scheme:
50% project (proposal, implementation, success, report)
36% weekly lab (4 installments: success/demo, write-up)
7% midterm (coding example)
7% participation/attendance of lecture Phys 124: Lecture 1 23<br>
slide24. Course Website Visit http://www.physics.ucsd.edu/~tmurphy/phys124/
Assignments
Lab Exercises
Useful Links
Contact Info & Logistics
May want to look at Lecture 2 for Week 1 Lab
especially you Tuesday folks… Phys 124: Lecture 1 24<br>