
Presentation title Presentation subtitle Notes to
LD
Published · 15 slides · 0 views

1 / 1


Description
Presentation title Presentation subtitle Notes to the template The template includes a range of predefined layouts that you can insert. These have been designed to cater for text, text and images and for picture arrangements. There are also
Related Topics
Share
Embed code
Download this presentation From Below
"Presentation title Presentation subtitle Notes to" is the property of its rightful owner. Permission is granted to download and print the materials on this website for personal, non-commercial use only, and to display it on your personal computer provided you do not modify the materials and that you retain all copyright notices contained in the materials. By downloading content from our website, you accept the terms of this agreement.
Presentation Transcript
01
Presentation title Presentation subtitle<br>
02
Notes to the template The template includes a range of predefined layouts that you can insert. These have been designed to cater for text, text and images and for picture arrangements. There are also layouts for Title and Divider slides.
Each custom layout includes the correct colour palette, type levels and formatting.
You can choose 1 of the layouts using the ‘New Slide’ button on the Home tab. You can also change the layout for a current slide using the ‘Layout’ list on the Home tab. Footer goes here and can be edited via Insert > Header & Footer 3 Custom layouts and example slides<br>
Each custom layout includes the correct colour palette, type levels and formatting.
You can choose 1 of the layouts using the ‘New Slide’ button on the Home tab. You can also change the layout for a current slide using the ‘Layout’ list on the Home tab. Footer goes here and can be edited via Insert > Header & Footer 3 Custom layouts and example slides<br>
03
Notes to the template The standard text area has 5 predefined type levels.
You can move up or down the levels using the increase or decrease indent buttons in the home tab.
We recommend that you do not use the bullet button, as this does not apply the correct bullet formatting. Please increase list level to level 4 to apply bullets.
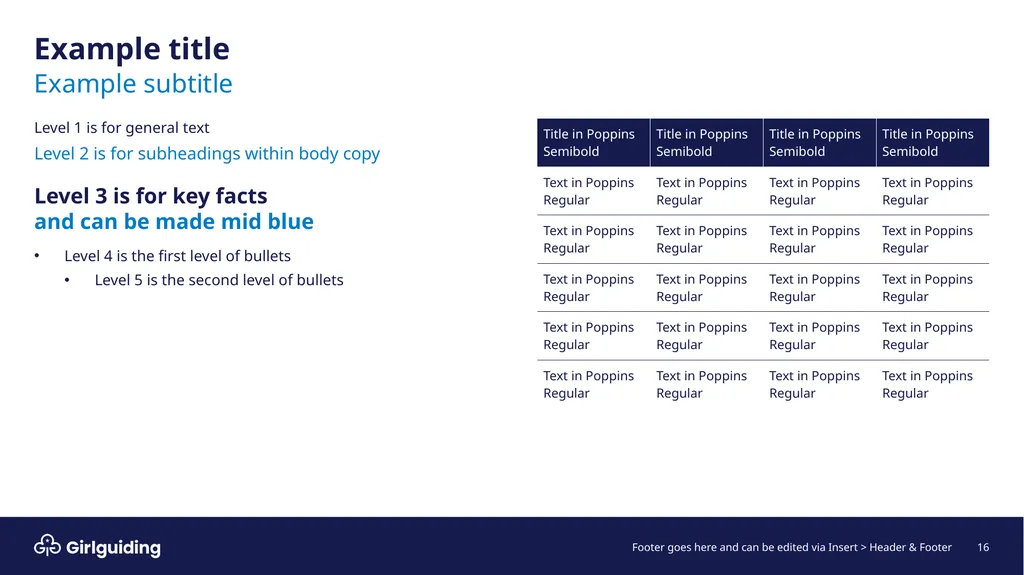
Level 1 is for general text
Level 2 is for subheadings within body copy
Level 3 is for key facts and can be made mid blue
Level 4 is the first level of bullets
Level 5 is the second level of bullets Footer goes here and can be edited via Insert > Header & Footer 4 Type levels and bullets<br>
You can move up or down the levels using the increase or decrease indent buttons in the home tab.
We recommend that you do not use the bullet button, as this does not apply the correct bullet formatting. Please increase list level to level 4 to apply bullets.
Level 1 is for general text
Level 2 is for subheadings within body copy
Level 3 is for key facts and can be made mid blue
Level 4 is the first level of bullets
Level 5 is the second level of bullets Footer goes here and can be edited via Insert > Header & Footer 4 Type levels and bullets<br>
04
Notes to the template The Cover and Title slides are predefined with picture placeholders that help you to manage the logo you add into the field.
To add your localised Girlguiding master brand logo to the Cover and Title slides at the start of the presentation:
Click the button in the middle of the field to select and import the logo you want to use. You will need to use the .png version of your logo otherwise the box will fill with a background. The picture field will automatically fill the field with the logo.
You can edit the position of the logo using the crop tool, which is in the ‘Picture Tools > Format menu. This menu appears when you click on an image.
The crop tool allows you to enlarge, adjust position or crop the logo to fit. Footer goes here and can be edited via Insert > Header & Footer 5 Adding your logo<br>
To add your localised Girlguiding master brand logo to the Cover and Title slides at the start of the presentation:
Click the button in the middle of the field to select and import the logo you want to use. You will need to use the .png version of your logo otherwise the box will fill with a background. The picture field will automatically fill the field with the logo.
You can edit the position of the logo using the crop tool, which is in the ‘Picture Tools > Format menu. This menu appears when you click on an image.
The crop tool allows you to enlarge, adjust position or crop the logo to fit. Footer goes here and can be edited via Insert > Header & Footer 5 Adding your logo<br>
05
Notes to the template The picture slides are predefined with picture placeholders that help you to manage the image you add into the field.
Click the button in the middle of the field to select and import the picture you want to use. The picture field will automatically fill the field with the image.
You can edit the position of the image using the crop tool, which is in the ‘Picture Tools > Format menu. This menu appears when you click on an image.
The crop tool allows you to enlarge, adjust position or crop the image to fit. Footer goes here and can be edited via Insert > Header & Footer 6 Using picture placeholders<br>
Click the button in the middle of the field to select and import the picture you want to use. The picture field will automatically fill the field with the image.
You can edit the position of the image using the crop tool, which is in the ‘Picture Tools > Format menu. This menu appears when you click on an image.
The crop tool allows you to enlarge, adjust position or crop the image to fit. Footer goes here and can be edited via Insert > Header & Footer 6 Using picture placeholders<br>
06
Notes to the template Type levels
Always use the type levels in the predefined content placeholders, supplied with each layout.
Text boxes
If you use text boxes, please note that they do not include the type levels. Any formatting has to be manually applied, and we recommend you adhere to the brand rules.
Footers
The footer and page number can be modified and turned on or off. To do this, go to the Insert tab on the ribbon, then click Header & Footer.
Fonts
If you are using a PC, Poppins Bold can be used by choosing Poppins (Body) and pressing the Bold button.
On a Mac, you will need to select Poppins Bold from the font menu. Colour palette
Always select a colour from the supplied colours.
The top row represents the correct brand colours and are automatically used in charts and diagrams.
The Standard Colors row is supplied by Office and does not follow brand guidelines. Please do not use these colours in your documents.
Brand colours Footer goes here and can be edited via Insert > Header & Footer 7 Tips and recommendations<br>
Always use the type levels in the predefined content placeholders, supplied with each layout.
Text boxes
If you use text boxes, please note that they do not include the type levels. Any formatting has to be manually applied, and we recommend you adhere to the brand rules.
Footers
The footer and page number can be modified and turned on or off. To do this, go to the Insert tab on the ribbon, then click Header & Footer.
Fonts
If you are using a PC, Poppins Bold can be used by choosing Poppins (Body) and pressing the Bold button.
On a Mac, you will need to select Poppins Bold from the font menu. Colour palette
Always select a colour from the supplied colours.
The top row represents the correct brand colours and are automatically used in charts and diagrams.
The Standard Colors row is supplied by Office and does not follow brand guidelines. Please do not use these colours in your documents.
Brand colours Footer goes here and can be edited via Insert > Header & Footer 7 Tips and recommendations<br>
07
Introduction Footer goes here and can be edited via Insert > Header & Footer 8 This slide is used to introduce the main subject of the presentation.
Level 1 is for general text
Level 2 is for heading text within body copy
Level 3 is for key points<br>
Level 1 is for general text
Level 2 is for heading text within body copy
Level 3 is for key points<br>
08
Example title The standard text area has 5 predefined type levels.
You can move up or down the levels using the increase or decrease indent buttons in the home tab.
We recommend that you do not use the bullet button, as this does not apply the correct bullet formatting.
Level 1 is for general text
Level 2 is for subheadings within body copy
Level 3 is for key facts and can be made mid blue
Level 4 is the first level of bullets
Level 5 is the second level of bullets Example subtitle Footer goes here and can be edited via Insert > Header & Footer 9<br>
You can move up or down the levels using the increase or decrease indent buttons in the home tab.
We recommend that you do not use the bullet button, as this does not apply the correct bullet formatting.
Level 1 is for general text
Level 2 is for subheadings within body copy
Level 3 is for key facts and can be made mid blue
Level 4 is the first level of bullets
Level 5 is the second level of bullets Example subtitle Footer goes here and can be edited via Insert > Header & Footer 9<br>
09
Example title The standard text area has 5 predefined type levels.
You can move up or down the levels using the increase or decrease indent buttons in the home tab.
We recommend that you do not use the bullet button, as this does not apply the correct bullet formatting. Level 1 is for general text
Level 2 is for subheadings within body copy
Level 3 is for key facts and can be made mid blue
Level 4 is the first level of bullets
Level 5 is the second level of bullets Example subtitle Footer goes here and can be edited via Insert > Header & Footer 10<br>
You can move up or down the levels using the increase or decrease indent buttons in the home tab.
We recommend that you do not use the bullet button, as this does not apply the correct bullet formatting. Level 1 is for general text
Level 2 is for subheadings within body copy
Level 3 is for key facts and can be made mid blue
Level 4 is the first level of bullets
Level 5 is the second level of bullets Example subtitle Footer goes here and can be edited via Insert > Header & Footer 10<br>
10
Example title The standard text area has 5 predefined type levels.
You can move up or down the levels using the increase or decrease indent buttons in the home tab.
We recommend that you do not use the bullet button, as this does not apply the correct bullet formatting. Level 1 is for general text
Level 2 is for subheadings within body copy
Level 3 is for key facts and can be made mid blue
Level 4 is the first level of bullets
Level 5 is the second level of bullets Example subtitle Lorem ipsum dolor sit amet, consectetuer adipiscing elit. Maecenas porttitor congue massa. Fusce posuere, magna sed pulvinar ultricies, purus lectus malesuada libero, sit amet commodo magna eros quis urna.
Nunc viverra imperdiet enim. Fusce est. Vivamus a tellus. Footer goes here and can be edited via Insert > Header & Footer 11<br>
You can move up or down the levels using the increase or decrease indent buttons in the home tab.
We recommend that you do not use the bullet button, as this does not apply the correct bullet formatting. Level 1 is for general text
Level 2 is for subheadings within body copy
Level 3 is for key facts and can be made mid blue
Level 4 is the first level of bullets
Level 5 is the second level of bullets Example subtitle Lorem ipsum dolor sit amet, consectetuer adipiscing elit. Maecenas porttitor congue massa. Fusce posuere, magna sed pulvinar ultricies, purus lectus malesuada libero, sit amet commodo magna eros quis urna.
Nunc viverra imperdiet enim. Fusce est. Vivamus a tellus. Footer goes here and can be edited via Insert > Header & Footer 11<br>
11
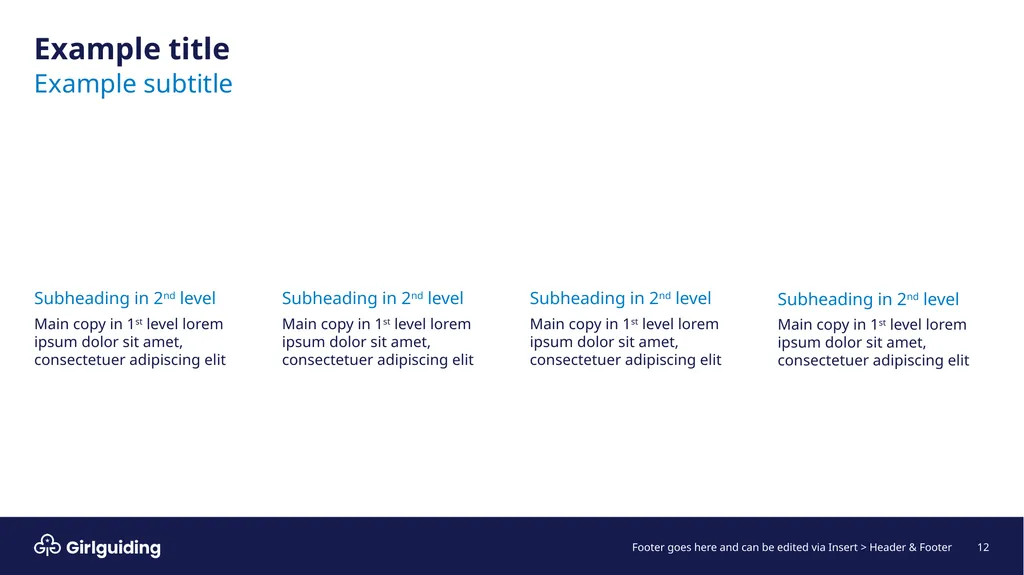
Example title Subheading in 2nd level
Main copy in 1st level lorem ipsum dolor sit amet, consectetuer adipiscing elit Subheading in 2nd level
Main copy in 1st level lorem ipsum dolor sit amet, consectetuer adipiscing elit Footer goes here and can be edited via Insert > Header & Footer 12 Example subtitle Subheading in 2nd level
Main copy in 1st level lorem ipsum dolor sit amet, consectetuer adipiscing elit Subheading in 2nd level
Main copy in 1st level lorem ipsum dolor sit amet, consectetuer adipiscing elit<br>
Main copy in 1st level lorem ipsum dolor sit amet, consectetuer adipiscing elit Subheading in 2nd level
Main copy in 1st level lorem ipsum dolor sit amet, consectetuer adipiscing elit Footer goes here and can be edited via Insert > Header & Footer 12 Example subtitle Subheading in 2nd level
Main copy in 1st level lorem ipsum dolor sit amet, consectetuer adipiscing elit Subheading in 2nd level
Main copy in 1st level lorem ipsum dolor sit amet, consectetuer adipiscing elit<br>
12
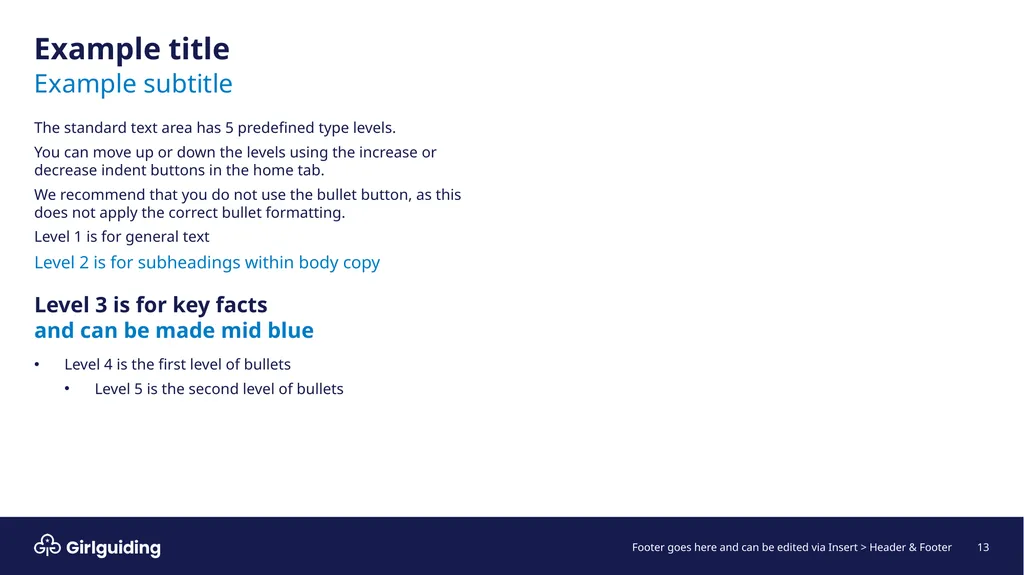
Example title The standard text area has 5 predefined type levels.
You can move up or down the levels using the increase or decrease indent buttons in the home tab.
We recommend that you do not use the bullet button, as this does not apply the correct bullet formatting.
Level 1 is for general text
Level 2 is for subheadings within body copy
Level 3 is for key facts and can be made mid blue
Level 4 is the first level of bullets
Level 5 is the second level of bullets Footer goes here and can be edited via Insert > Header & Footer 13 Example subtitle<br>
You can move up or down the levels using the increase or decrease indent buttons in the home tab.
We recommend that you do not use the bullet button, as this does not apply the correct bullet formatting.
Level 1 is for general text
Level 2 is for subheadings within body copy
Level 3 is for key facts and can be made mid blue
Level 4 is the first level of bullets
Level 5 is the second level of bullets Footer goes here and can be edited via Insert > Header & Footer 13 Example subtitle<br>
13
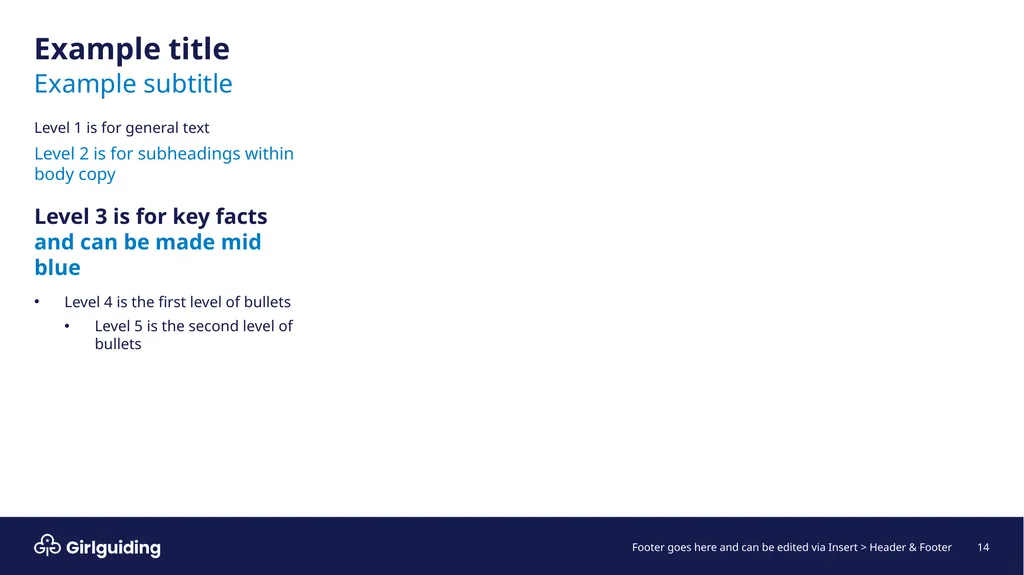
Example title Level 1 is for general text
Level 2 is for subheadings within body copy
Level 3 is for key facts and can be made mid blue
Level 4 is the first level of bullets
Level 5 is the second level of bullets Example subtitle Footer goes here and can be edited via Insert > Header & Footer 14<br>
Level 2 is for subheadings within body copy
Level 3 is for key facts and can be made mid blue
Level 4 is the first level of bullets
Level 5 is the second level of bullets Example subtitle Footer goes here and can be edited via Insert > Header & Footer 14<br>
14
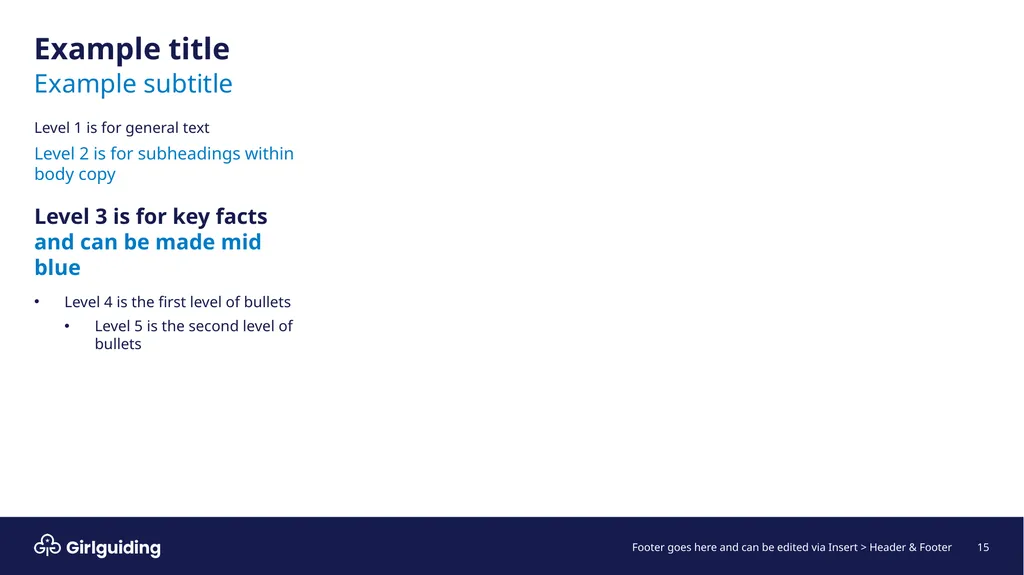
Example title Level 1 is for general text
Level 2 is for subheadings within body copy
Level 3 is for key facts and can be made mid blue
Level 4 is the first level of bullets
Level 5 is the second level of bullets Footer goes here and can be edited via Insert > Header & Footer 15 Example subtitle<br>
Level 2 is for subheadings within body copy
Level 3 is for key facts and can be made mid blue
Level 4 is the first level of bullets
Level 5 is the second level of bullets Footer goes here and can be edited via Insert > Header & Footer 15 Example subtitle<br>
15
Example title Level 1 is for general text
Level 2 is for subheadings within body copy
Level 3 is for key facts and can be made mid blue
Level 4 is the first level of bullets
Level 5 is the second level of bullets Footer goes here and can be edited via Insert > Header & Footer 16 Example subtitle<br>
Level 2 is for subheadings within body copy
Level 3 is for key facts and can be made mid blue
Level 4 is the first level of bullets
Level 5 is the second level of bullets Footer goes here and can be edited via Insert > Header & Footer 16 Example subtitle<br>
16
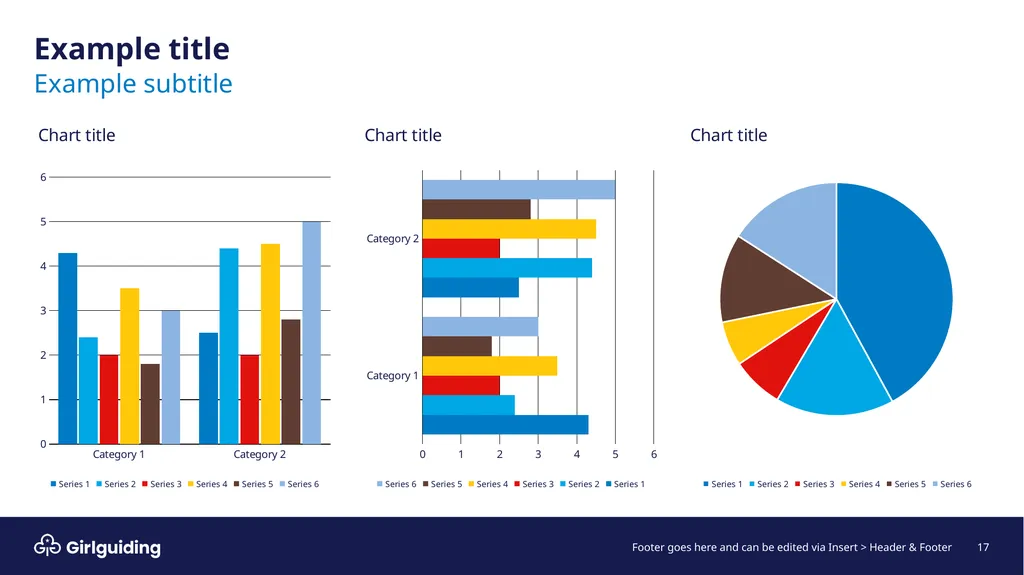
Example title Example subtitle Footer goes here and can be edited via Insert > Header & Footer 17<br>
17
Section heading goes here with highlights in light blue<br>
18
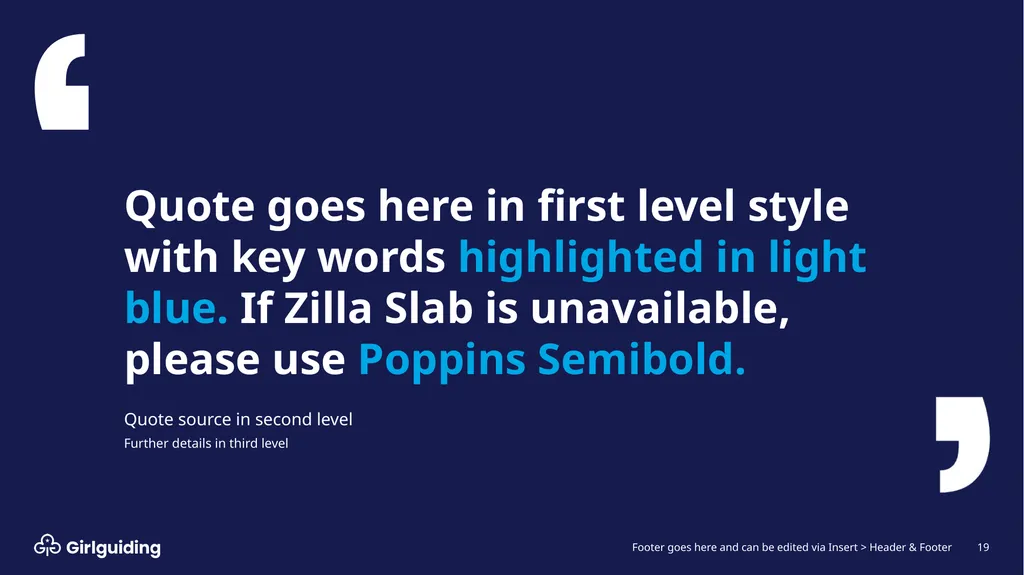
Quote goes here in first level style with key words highlighted in light blue. If Zilla Slab is unavailable, please use Poppins Semibold.
Quote source in second level
Further details in third level Footer goes here and can be edited via Insert > Header & Footer 19<br>
Quote source in second level
Further details in third level Footer goes here and can be edited via Insert > Header & Footer 19<br>
19
Example title Example subtitle Footer goes here and can be edited via Insert > Header & Footer 20<br>