/
CALIBRATION OF LABORATORY GLASSWARE: BUTYROMETER, PIPETTES, LACTOMETERS, THERMOMETER AND CALIBRATION OF LABORATORY GLASSWARE: BUTYROMETER, PIPETTES, LACTOMETERS, THERMOMETER AND

CALIBRATION OF LABORATORY GLASSWARE: BUTYROMETER, PIPETTES, LACTOMETERS, THERMOMETER AND - PowerPoint Presentation

gabriella
gabriella . @gabriella
Follow
67 views
Uploaded On 2023-09-25

CALIBRATION OF LABORATORY GLASSWARE: BUTYROMETER, PIPETTES, LACTOMETERS, THERMOMETER AND - PPT Presentation

DTC 311 Chemical Quality Assurance Binod Kumar Bharti Assistant Professor cum Jr Scientist Department of Dairy Chemistry Sanjay Gandhi Institute of Dairy Technology Bihar Animal Sciences University Patna ID: 1020883

milk calibration solution method calibration milk method solution point water butyrometers lactometer volume mercury pipette molal bis fat pipettes

Share:

Link:

Embed:

Download Presentation from below link

Download Presentation The PPT/PDF document "CALIBRATION OF LABORATORY GLASSWARE: BUT..." is the property of its rightful owner. Permission is granted to download and print the materials on this web site for personal, non-commercial use only, and to display it on your personal computer provided you do not modify the materials and that you retain all copyright notices contained in the materials. By downloading content from our website, you accept the terms of this agreement.


Presentation Transcript

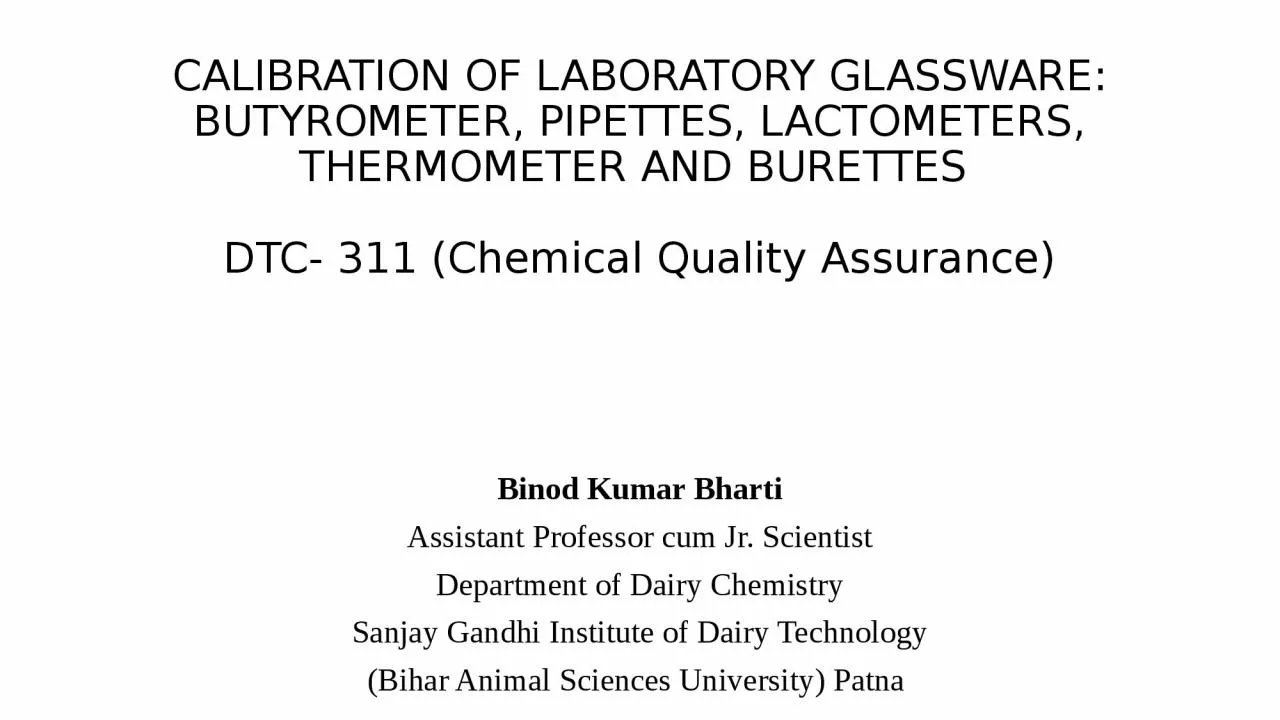
1. CALIBRATION OF LABORATORY GLASSWARE: BUTYROMETER, PIPETTES, LACTOMETERS, THERMOMETER AND BURETTES DTC- 311 (Chemical Quality Assurance) Binod Kumar BhartiAssistant Professor cum Jr. ScientistDepartment of Dairy ChemistrySanjay Gandhi Institute of Dairy Technology(Bihar Animal Sciences University) Patna

2. ContentsIntroductionCalibration of Milk ButyrometerCalibration of milk pipettes Calibration of Lactometers Calibration of Thermometers Calibration of BuretteConclusionReferences

3. Introduction ● Milk is critically analyzed in dairy plant, for its composition and quality during reception, processing and subsequent dispatch for sale. ● It is required for pricing, checking suitability of milk for processing and its compliance with the legal standards. ● In spite of the utmost care taken during analysis of milk and milk products, sometimes the results of the analysis can be wrong due to use of inaccurately calibrated glassware. ● Therefore, it is essential to check the calibration of glassware before being used for analysis of milk and milk products. ● Laboratory glasswares are made mostly from distinct types of glass like sodalime (soft) and hard or borosilicate glass (pyrex, phoenix etc.).● Some of the basic apparatus which are of universe use and are general purposes containers used in all laboratory purposes are1. Burette 4. Test tubes 7. Beakers2. Pipette 5. Thermometers3. Flasks 6. Cylinders

4. The specific apparatus are being used in dairy laboratories1. Butyrometers 3. Hydrometers2. Lactometers 4. Milk pipette● Most of the apparatus supplied by the large laboratory furnishers is now standardized to conform to its designs drawn by the standard institutions. ● Practically any apparatus ordered from laboratory supply houses must be guaranteed to conform to its standard specifications and also must be suitable for the purpose for which it is intended. ● For very accurate work, it may be necessary to calibrate a particular piece of apparatus in the laboratory.● Proper calibration and manufacture of glassware form a reliable source is a critical issue at present. There are a number of manufacturers for butyrometers and lactometers are available but very few of them use the ISI mark.

5. The personnel using such types of glasswares are also not so stringent on the calibration, accuracy and source of manufacture. So, the calibration of glasswares is necessary for :• Control of quality of the product• Control of process• Legal requirements• Analytical accuracy• Economics to producers/consumers

6. Calibration of Milk Butyrometer● Calibration means establishing and recording the measurement uncertainty of measuring equipment. ● Proper calibration does not involve any adjustment of an instrument but may demonstrate the need for adjustment. ● Calibration is a comparison between measurements--one of known magnitude or correctness made or set with one device and another measurement made in as similar a way as possible with a second device. -The device with the known or assigned correctness is called the standard/references. The second device is the unit under test (UUT), test instrument (TI), or any of several other names for the device being calibrated.

7. Calibration of milk butyrometers Following are some of the methods: (i) Comparison method and (ii) BIS Method (i) Comparison method ● This is not accurate method, however, sometimes and usually this method is mostly used. In this the accuracy of newly purchased butyrometers is compared by estimating fat by Gerber method in a one milk sample, along with the butyrometers of the previous batch, well calibrated and known to be accurate. ● If the readings of the fat values of new butyrometers are the same as of old ones, then the new butyrometers are accepted otherwise it will be rejected. ● Limitation- The previous butyrometers may not be accurate or their internal volume may have been changed due to acid corrosion.

8. (ii) BIS Method ● A specially designed mercury pipette is used to calibrate the butyrometers to this method. ● This method is based on the principle that the internal volume of the graduated tube of the milk butyrometer i.e. 0.125 ml corresponding to each 1% fat range. ● Then the full scale of graduated tube from 0 to 10% fat marks, has the internal volume of 1.25 ml. Accordingly an automatic mercury pipette has been designed to dispense exactly 0.3125 ml mercury which fills the tube corresponding to 2.5% fat graduation limits. ● To calibrate the full scale from 0 to 10% fat marks, the bulb of the butyrometer is first filled up to mark of 10% graduation as the base point. Then the mercury is filled in the butyrometer from the mercury pipette 3-4 times, each time dispensing exactly 0.3125 ml of mercury corresponding to 2.5% fat graduation limit on the butyrometer column.● If the graduated column of the butyrometers are exactly filled from 0 to 10% fat marks in four deliveries of the mercury pipette, then the butyrometers are accepted, otherwise rejected.

9. The selection of mercury as the filling liquid due to its following properties because- (a) It does not stick to the sides of the butyrometer, hence any error due to sticking of liquid at the unwanted sides of the butyrometers will not be there. (b) Mercury has very high density, therefore, a small change in volume, will be shown clearly by a great change in weight. ● For cream butyrometer, calibration may be checked at each 10% graduation (at any three points). In cream butyrometer, the internal volume of each 10% graduation is checked which should be 0.568 ± 0.004 ml. ● For cheese butyrometer, calibration may be checked at each 5% graduation (at any three points). In cheese butyrometer, the internal volume of each 5% graduation is checked which should be 0.169 ± 0.002 ml.

10. Calibration of milk pipettes There are two methods for calibration of Milk Pipettes : Comparison method and (ii) BIS method(i) Comparison method● This is not accurate method, however, sometimes and usually this method is mostly used. In this the accuracy of newly purchased pipettes is compared by estimating fat by Gerber method in a one milk sample, along with the pipettes of the previous batch, well calibrated and known to be accurate. ● If the readings of the fat values of new pipettes are the same as of old ones, then the new pipettes are accepted otherwise rejected. ● Limitation- In this method, the previous pipettes may not be accurate or their internal volume may have been changed due to breakage of their tips.

11. (ii) BIS method ● This method is based upon the definition of milk pipette as given by BIS. ● According to BIS the milk pipette is defined as to dispense 10.75 ± 0.03 ml of distilled water at 27ºC when holding time for 15 s. ● For calibrating the milk pipettes, the water dispensed by the pipette is taken in a previously weighed beaker and its mass is recorded. Density of the water at 27ºC i.e. 0.99654, The volume of the water dispensed is calculated as Volume of water = (Mass of water dispensed)/(0.99654) ● If the calculated volume of water dispensed by the pipette is equal to 10.75 ± 0.03 ml, then the pipette is accepted, otherwise rejected.

12. Calibration of lactometers ● Lactometer are works on the Archimedes principle, is basically a specific gravity (sp. gr.) hydrometer specifically designed for milk. ● Stem of the BIS lactometer has graduation marks in range of 20-35. ● Its calibration can be checked by the following methods: (i) Comparison method (ii) BIS methods (i) Comparison method● In comparison method each lactometer is calibrated before use by floating side by side in a liquid, against a standard lactometer. ● If the lactometer readings of newly purchased lactometers resemble with that of standard lactometer, then the new lactometers should be accepted otherwise rejected.

13. (ii) BIS method of testing accuracy of BIS lactometer ● Dissolve appropriate mass of anhydrous sodium carbonate given below in 300 ml of distilled water. Add 50 ml 92% ethanol to the solution so obtained and make up the total volume of 500 ml with distilled water. Compare the accuracy of each and every lactometer in all the solutions. ● Specific gravity and lactometer reading of pure Sodium carbonate solution Sl. No.Wt. of Na2Co3 (gm/500ml)Sp. Gravity at 27C (gm/ml)Lactometer Reading (LR)119.21.02525221.61.03030324.01.03434

14. (iii) BIS method of testing accuracy of Quevenne lactometer ● This can be conveniently done by taking the specific gravity of suitable salt solutions at 15.5ºC. Specific gravity of pure Sodium Chloride Solution Sl.No.Pure Sodium Chloride SolutionSp. Gravity at 15.5º (gm/ml)Lactometer Reading (LR)13.863%1.0262624.4151.03232● The sp. gr. of these salt solutions must be checked by a sp. gr. bottle, and then the lactometer readings are taken in exactly the same way as with milk.

15. Calibration of thermometers ● There are several types of thermometers depending upon the types of temperatures and their measuring ranges. ● In milk testing glassware, mainly two types of thermometers are used- (a) thermometer (range 0 to 100ºC) and (b) freezing point depression thermometer (range –0.5 to 0ºC). Following are the methods to calibrate these thermometers: Calibration of 0-100°C thermometer (i) Comparison method ● It is not very accurate method, however, usually it is mostly used. In this thermometers are compared with one or more thermometers which are known to be accurate. ● At least two different temperature marks (preferably nearer to lower and upper limits) are compared.

16. (ii) Physical method ● In this method the zero point is located by dipping the mercury bulb of the thermometer in the melting ice kept in a wide funnel. Where the temperature becomes stationary, mark that 0°C point. ● The 100°C point is located by keeping the mercury bulb of the thermometer in steam at normal pressure. If the pressure is not 760 mm then appropriate correction is applied. ● In general at the natural atmospheric pressure 0.038°C is added or deducted from the observed boiling point per mm pressure of mercury lower or higher than 760 mm, respectively.

17. Calibration of Freezing Point Depression Thermometer ● Before calibration of these thermometers, the definitions of two types of solutions are to be understood 1 Molar solution ● It is defined as a solution prepared by dissolving one gm molecule of any substance in solvent so as to make 1000 ml solution. 1 Molal solution ● It is defined as a solution prepared by dissolving one gm ion (in case of ionized molecules) or molecule (in case of non-ionized molecules) in 1000 gm of solvent. ● The soluble ions or molecules play very important role in depressing the freezing point of solvent such as water. Milk is a solution in which water is the solvent and mainly lactose and minerals are solutes, which depress its freezing point. The one molal solution of any ion or unionized molecule depresses the freezing point of water by 1.86ºC.

18. ● It means one molal solutions of non-ionized substances like sugar (360g in 1000g of water), glucose (180 g in 1000 g of water) etc. depress the freezing point by 1.86ºC. However, one molal solution of ionized molecules depresses the freezing point by (1.86 x numbers of ions per molecules)ºC.For example, one molal solution of sodium chloride will depress the freezing point by 1.86 x 2 = 3.72ºC. Now, 1.86ºC is depressed by a solution = 1 molal 1ºC is depressed by a solution = 1/1.86 = 0.538 molal 0.5ºC is depressed by a solution = 0.269 molal Therefore, -0.5ºC and -1ºC points on the freezing point depression thermometer are checked by using the 0.269 and 0.538 molal solutions, respectively. For pure milk –0.54ºC = 0.29 molal or –0.55ºC = 0.3 molal.

19. Calibration of Burette ● Burette is checked at different intervals say 5, 10, 25 or 50 ml for determining the accuracy of its scale and the capacity of the burette. The volume actually delivered for each interval is obtained as per the procedure outlined for milk pipette. Table 2 Tolerance for burette Capacity (ml)BurettesClass AClass B10.0060.0120.0100.0250.0100.02100.0200.05250.0500.10500.0500.101000.1000.20

20. ConclusionLaboratory glass wares are made mostly from distinct types of glass. Therefore, it is very essential to check the calibration of glassware before being used for analysis. For very accurate work, it may be necessary to calibrate a particular piece of apparatus in the laboratory. Proper calibration and manufacture of glassware is a critical issue at present. There are a number of manufacturers for butyrometers and lactometers are available but very few of them use the ISI mark. The calibration of glasswares is necessary for : control of quality of the product, control of process, legal requirements, economics to producers/consumers and analytical accuracy.

21. References1.www.agrimoon.com2.www.calibrationofglasswares

22. Thank You