/
Quick Start Guide Quick Start Guide

Quick Start Guide - PDF document

julia
julia . @julia
Follow
350 views
Uploaded On 2021-09-24

Quick Start Guide - PPT Presentation

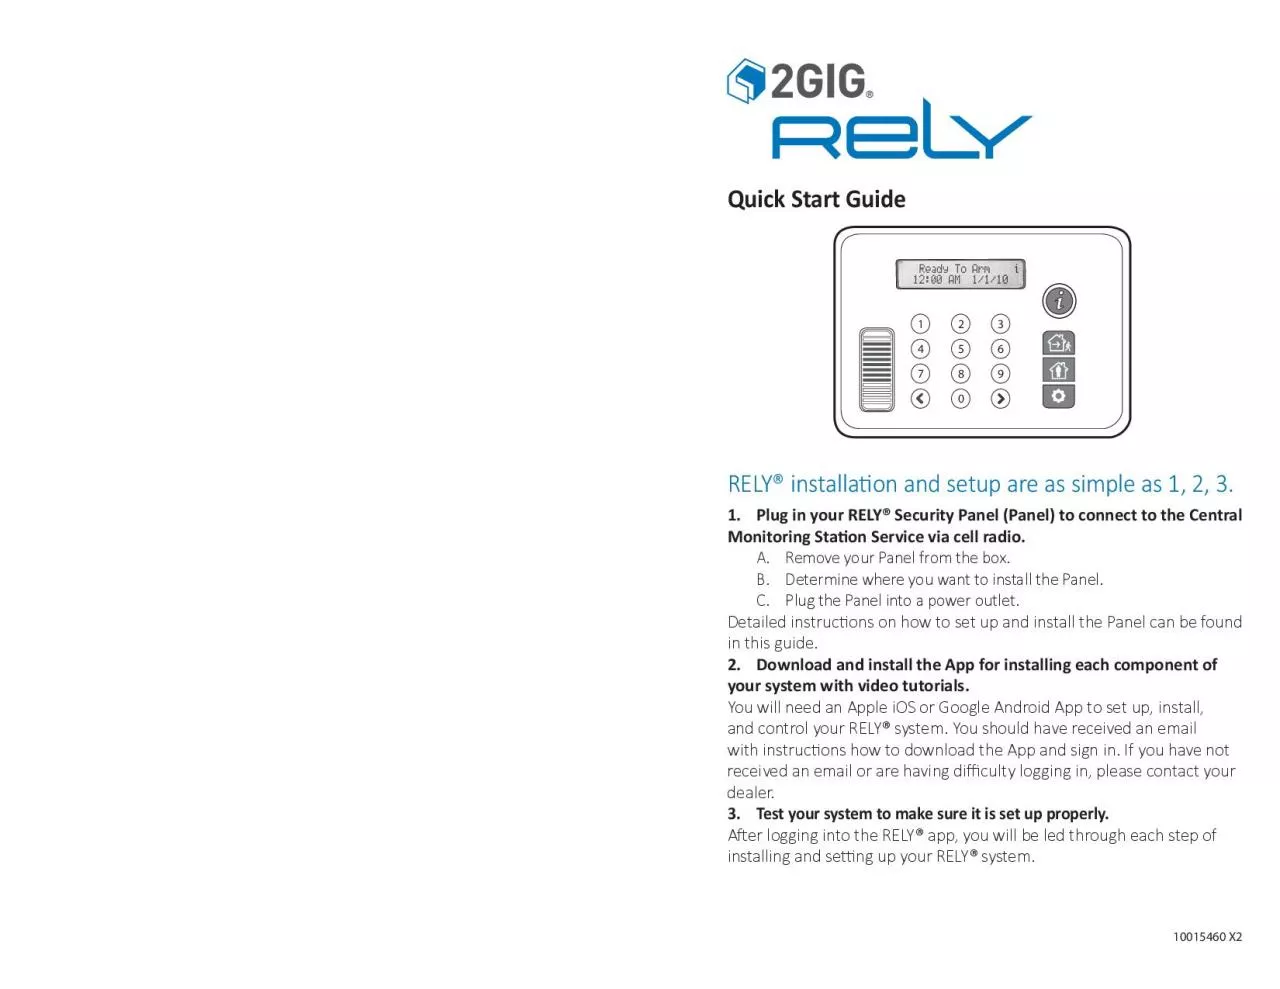
1234567890RELY installa on and setup are as simple as 1 2 31 Plug in your RELY Security Panel Panel to connect to the Central Monitoring Sta on Service via cell radioA Remove your Panel from the boxB ID: 884265

system panel rely alarm panel system alarm rely power sensor ery ons product 10015460 surface window warranty security contact

Share:

Link:

Embed:

Download Presentation from below link

Download Pdf The PPT/PDF document "Quick Start Guide" is the property of its rightful owner. Permission is granted to download and print the materials on this web site for personal, non-commercial use only, and to display it on your personal computer provided you do not modify the materials and that you retain all copyright notices contained in the materials. By downloading content from our website, you accept the terms of this agreement.


Presentation Transcript

1 Quick Start Guide 1 2 3 4 5 6 7 8 9 0 RE
Quick Start Guide 1 2 3 4 5 6 7 8 9 0 RELY® installa on and setup are as simple as 1, 2, 3. 1. Plug in your RELY® Security Panel (Panel) to connect to the Central Monitoring Sta on Service via cell radio.A. Remove your Panel from the box.B. Determine where you want to install the Panel.C. Plug the Panel into a power outlet. Detailed instruc ons on how to set up and install the Panel can be found 2. Download and install the App for installing each component of your system with video tutorials.You will need an Apple iOS or Google Android App to set up, install, and control your RELY® system. You should have received an email with instruc ons how to download the App and sign in. If you have not received an email or are having di culty logging in, please contact your dealer.3. Test your system to make sure it is set up properly. er logging into the RELY® app, you will be led through each step of installing and se ng up your RELY® system. RELY® System Overview System Components The parts included with your new RELY® Security Panel are a combina on of the following components, depending on your individual security RELY® Security Panel 1 2 3 4 5 6 7 8 9 0 The Security Panel can be placed at surface or a wall.Wireless Thin Door/Window Contact onal door / window sensors to protect addi onal Wireless Recessed Door/ Recess the sensor and magnet into the door and door jam or window sill to hide the presence of a security sensor.Wireless Door/Window Sensor with Bypass Feature Our smallest sensor, allows you to on on top of the sensor to bypass the zone one me, to without disarming the system. System Components 10015460 X2 FCC No cesFCC Part 15 No ces This device complies with Part 15 of the FCC Rules. Opera on is subject to the following two condi ons: (1) this device may not cause harmful interference, and (2) this device must accept any interference received, including

2 interference that may cause undesired o
interference that may cause undesired opera on.Note: This equipment has been tested and found to comply with the limits for a Class B digital device, pursuant to Part 15 of the FCC Rules. These limits are designed to provide reasonable protec on against harmful interference in a residen al installa on. This equipment generates, uses, and can radiate radio frequency energy and, if not installed and used in accordance with the instruc ons, may cause harmful interference to radio communica ons.However, there is no guarantee that interference will not occur in a cular installa on. If this equipment does cause harmful interference to radio or television recep on, which can be determined by turning the equipment o and on, the user is encouraged to try to correct the interference by one or more of the following measures:• Reorient or relocate the receiving antenna.• Increase the separa on between the equipment and receiver.• Connect the equipment into an outlet on a circuit di erent from that to which the receiver is connected.• Consult the dealer or an experienced radio/TV technician for help. FCC Notices 10015460 X2 Wireless Keychain Remote (Fob) Arms or disarms the system with the press of a bu on as you come alert when necessary.Wireless PIR Mo on Detector Alerts the system of any mo on detected when the system is armed. Ignores movement of Wireless Carbon Monoxide (CO) Detector DO NOT PAINTCAUTIONT E S T H U S H RED-ALARMYLW-FAULTGRN-OKADDITTIONAL MARKING ON BACKA L A R A M 4 B E E P S SERVICE 1 BEEBSEE OWNERS MANUAL CARBON MONOXIDE ALARM Detects harmful levels of carbon monoxide in the air, sending an alert to the system and an alarm to the Central Monitoring Sta on.Wireless Glass Break Detector Listens for the dis nct sound erns of breaking glass to alert the system if a window is broken. System Components 10015460 X2 Security Panel SetupInstalling

3 the power cables and backup ba ery 1. R
the power cables and backup ba ery 1. Remove Panel back plate by ‘li ing’ edge of tab up. TAB Power Connec on Points: BATTERYCOMPARTMENTRECEPTACLEBATTERY POWERRECEPTACLE 2. Insert connector end of power cord into A/C Power Receptacle, ensuring wire is nested in wire path. 3. Align the ba ery power connector end with the receptacle in ery compartment.D. Plug the power connector into the receptacle rst.E. Insert the ba ery, folding the connector wire into the recessed area next to ba ery, prior to reinstalling lid and snapping it close. System Setup 10015460 X2 Limited Warranty RELY® warrants to the end user (“Customer”) that this product (“The RELY® Security Panel”) will be free from defects in materials and workmanship under normal use and service for 12 months from the date the Customer purchases the product.RELY®’s obliga ons shall be limited within the warranty period to repairing or replacing, at its op on, the defec ve product or part and to deliver to Customer an equivalent product or part to replace the defec ve item. Replacement products may be new or recondi oned. RELY® warrants any replaced or repaired product for 12 months from the me of replacement or repair.For Warranty service, please contact RELY® Customer Support at 1-800-421-1587 or visit www.nortekcontrol.com and click on “Contact Us”. If we are unable to address the issue that you are facing, we will send you a replacement product or part along with a postage prepaid return slip so that you can return your old product or part to us free of charge.This Limited Warranty does not apply in the following cases: failure to follow installa on and opera ng instruc ons, misuse, altera on, abuse, accident or tampering, and repair by anyone other than RELY®.This Limited Warranty is exclusive and expressly in lieu of all other warran es, obliga ons or liabili es, whether wri en, oral, express or

4 implied, including any warranty of merch
implied, including any warranty of merchantability or tness for a par cular purpose, or otherwise. In no case shall RELY® be liable to anyone for any consequen al or incidental damages for breach of this warranty or any other warran es whatsoever.RELY® does not represent that the products it sells may not be compromised or circumvented; that the products will prevent any personal injury or property loss; or that the products will in all cases provide adequate warning or protec on. Customer understands that a properly installed and maintained alarm may only reduce the risk of a burglary, robbery or other events occurring without providing an alarm, but it is not an insurance or a guarantee that such will not occur or that there will be no personal injury or property loss as a result.CONSEQUENTLY, RELY® SHALL HAVE NO LIABILITY FOR ANY PERSONAL INJURY, PROPERTY DAMAGE OR OTHER LOSS BASED ON A CLAIM THE PRODUCT FAILED TO GIVE WARNING. However, if RELY® is held liable, whether directly or indirectly, for any loss or damage arising under this Limited Warranty or otherwise, RELY®’s liability shall be limited to the purchase price of the product, which shall be the complete and exclusive remedy against RELY®. Warranty 10015460 X2 electrical cords used are not frayed or placed in a loca on where they can pose a danger. ons: To ensure proper opera on, this equipment must be installed according to the enclosed installa on instruc ons. To verify that the equipment is opera ng properly and can successfully report an alarm, this equipment must be tested immediately a er installa on, and periodically therea er.Please verify periodically that components remain rmly adhered. A falling component could harm a passing person.Swallowing a small piece, such as a magnet or ba ery, could be harmful or fatal. Please keep small pieces away from children.Power Speci ca ons Component/ on o

5 nQty. / Ba ery TypePower SupplyInput: 10
nQty. / Ba ery TypePower SupplyInput: 100-240VAC, 50-60Hz. Output: 5.0V, 1.5A 7.5W MAXN/A ery ngRELY® Panel1 - at Lithium, 4.44Wh 3.7VWireless Thin Door/Window Contact1 - 3V Lithium, size CR123AEntry Sensor1 - 3V Lithium, size CR123AKey Fob 1 - 3V Lithium, size CR1632Passive Infrared Mo on Detector1 - 3V Lithium, size CR123ASmoke SensorCarbon Monoxide (CO) Detector:Smoke, Heat, and Freeze Detector:Glass Break Detector:Note: eries must be recycled or disposed of properly.Opera ng Temp32 to 120° F Cautions / Power Speci cations 10015460 X2 4. Reinstall cover on Panel and snap it closed. TAB Installing the Security Panel on a wall or at surface Select a loca on for your Panel near an available A/C power source. • Wall or ver cal surface• Desk or horizontal surface Preparing the Panel for placement on a wall or ver cal surface tab up and remove the cover of the Panel.2. Posi on the cover (tab down - inside of plate facing you) on the surface it will be mounted. • Use the holes (4) in the plate as a guide for marking where the holes for the screws or anchors will be drilled or inserted.• If the installa on requires inser ng the screws into drywall, four drywall anchors are included. Use a 3/8” bit to drill holes, not exceeding the length of the anchor. System Setup 10015460 X2 3. Drill holes where marks have been made on ver cal surface. A. Align plate with holes, ensuring it is posi oned with tab down ng clips on the top side.B. Fasten plate to wall with screws and anchors, as necessary. 4. Install Panel on wall plate, lowering (at a slight angle) top back edge of unit over the two clips located on top of wall plate. CLIPS 69251 84 A. Ensure the lower tab snaps into place when a aching the Panel.B. Check to ensure the power wire remains in the wire channel. Preparing the Panel for placement on a desk or horizontal surface ach Rubber Feet (2) to

6 the Panel pedestal stand. FEET • The 2 r
the Panel pedestal stand. FEET • The 2 remaining rubber feet can be used for a aching to the base of the Panel or retained for spare parts. 69258� 1 System Setup What happens if I accidentally trigger an alarm?If you accidentally set o your alarm, enter your PIN to turn the alarm sound OFF. Be available to answer the phone and have your “pass phrase” ready for verifying your iden ty.Can I get a discount on my homeowner’s or renter’s insurance? Most insurance carriers will provide you with a discount for having a monitored Panel. To be eligible for this discount you must be subscribed to a Central Monitoring Sta on. Contact your insurance carrier for details.How can I test my Central Monitoring Sta on Service?Contact you dealer to verify your system is working correctly.Will RELYwork in the event of a power outage?Yes. All of your sensors are ba ery powered and the Panel has a built-in rechargeable backup ba ery that provides power for 8 hours during a power outage.How do I avoid false alarms?There are several things you can do to avoid the most common causes of false alarms:• Make sure that anyone requiring access to your home, such as a landlord or housekeeper, has a PIN. If you don’t want to give out your Master PIN, New Users/PINS can be added via the End User Portal.• Do not place Mo on Sensors near a heater or air condi oner, or facing an open window.• If you have large pets, contact your dealer for assistance customizing your installa on.• Ensure ra ling windows or doors do not trigger a sensor. Each magnet should be as close as possible to the grooves on the sensor.Note: If you’re s ll having trouble with false alarms, please contact your dealer. Product Safety and Limited WarrantyProduct Safety Informa on Use only approved ba eries and the supplied UL approved power adapter with your RELY® Panel. Any tampering with the product or other unauthorized

7 use will void your limited warranty. To
use will void your limited warranty. To prevent a re hazard or electrical shock, do not expose the Panel or other components to water or operate it while you are wet or standing in water. Ensure Questions & Answers / Product Safety 10015460 X2 What happens when a sensor is triggered?When your alarm is ON and an Entry Sensor is triggered, the Panel will begin beeping and prompt you for your PIN. You have 30 seconds to turn the alarm OFF. This 30-second period is called the “entry delay.”If the alarm is not turned OFF within the 30-second “entry delay,” your Panel will sound a siren for four minutes and send an alert signal to the Central Monitoring Sta on. Upon receiving the alarm signal, the Central Monitoring Sta on will a empt to contact you.• If it was a false alarm, providing your “pass phrase” will cancel es from being dispatched.• If it is a true emergency, or the Central Monitoring Sta on is unable to reach you, authori es will be immediately dispatched to your loca on. If you accidentally set o your alarm, enter your PIN to turn the alarm sound OFF. Be available to answer the phone and have your “pass phrase” ready for verifying your iden ty. ons / Answers How do I move a sensor?To move a sensor, push to open the front of the sensor – the back will stay on the wall. Pull DOWN (NOT OUT) un l the back is removed from the wall. When you are ready to re-a ach the sensor in a new loca on, use a fresh piece of double-sided adhesive tape. ery life? ery life is approximately 5 years for all sensors - Audible tones from the Panel will warn you when your ba eries are low.• The Panel backup ba ery is rechargeable and normally does not need replacing.What if I have a door or window open when I turn on the alarm? The Panel will warn you that a door or window is open when you turn the Open doors or windows will not be protected un l they are closed. Once closed, REL

8 Y® will start monitoring them. The bypas
Y® will start monitoring them. The bypass feature allows you to push a bu on on top of the sensor for bypassing the zone one me - to let the dog out or open a window, without disarming the system. Questions & Answers 10015460 X2 2. With Panel front facing down, insert the lower two pedestal tabs into Panel slots, followed by inser ng and securing the pedestal base by snapping the upper tabs into place. 3. Ensure the power wire routes through the opening located on pedestal base for using the Panel on a at surface. Your Panel is ready for placing on a at or horizontal surface. System Setup 10015460 X2 System Turning your System ON 1. Plug in the Panel.2. Download and install the App for viewing installa on tutorials.3. The App will walk you through the se ng up each of the components included with your RELY® Security Panel. System ModesYour alarm modes are “Away” and “Stay.”AwayUse this mode when you are leaving.• All Entry and Mo on Sensors will be ac vated.• You have 60 seconds to exit before the alarm is ac ve. This is called the “exit delay.”StayUse this mode when you are staying home.• All Entry (perimeter) Sensors will be ac ve, but the addi onal on Sensors will not be ac ve.Turning your alarm ONTurn your alarm ON by pu ng it in “Away” or “Stay” mode. System Basics Turning your alarm OFFTurn your alarm OFF by entering the PIN code.Using the Panic Bu on in an emergencyAt any me (whether or not the alarm is ON), press and hold the panic on combina on at the same me for 2-3 seconds to sound the fy the Central Monitoring Sta on. PANIC BUTTONCOMBINATION 1 2 3 4 5 6 7 8 9 0 Your Wireless Keychain Remote (Fob) is similar to a car alarm remote – it only works within about 50 feet of your Panel. To use your Fob for sounding the alarm when in or near your apartment, push and hold the Away ons at the same me for 2-3 seconds. Disarm System Bas