
1 2 Contents 1. Hardware 3 2. Software 8 3.
LD
Published · 70 slides · 0 views
1 / 1
Description
1 2 Contents 1. Hardware 3 2. Software 8 3. Standards 14 4. Anatomy 19 5. Actions 28 6. Physiology 32 7. Audio 46 8. Workflow 61 9. Practice 66 References 68 MCL 3 1. Hardware Software works as well as hardware allows MCL 4 1.1. Hardware
Related Topics
Share
Embed code
Download this presentation From Below
"1 2 Contents 1. Hardware 3 2. Software 8 3." is the property of its rightful owner. Permission is granted to download and print the materials on this website for personal, non-commercial use only, and to display it on your personal computer provided you do not modify the materials and that you retain all copyright notices contained in the materials. By downloading content from our website, you accept the terms of this agreement.
Presentation Transcript
01
1<br>
02
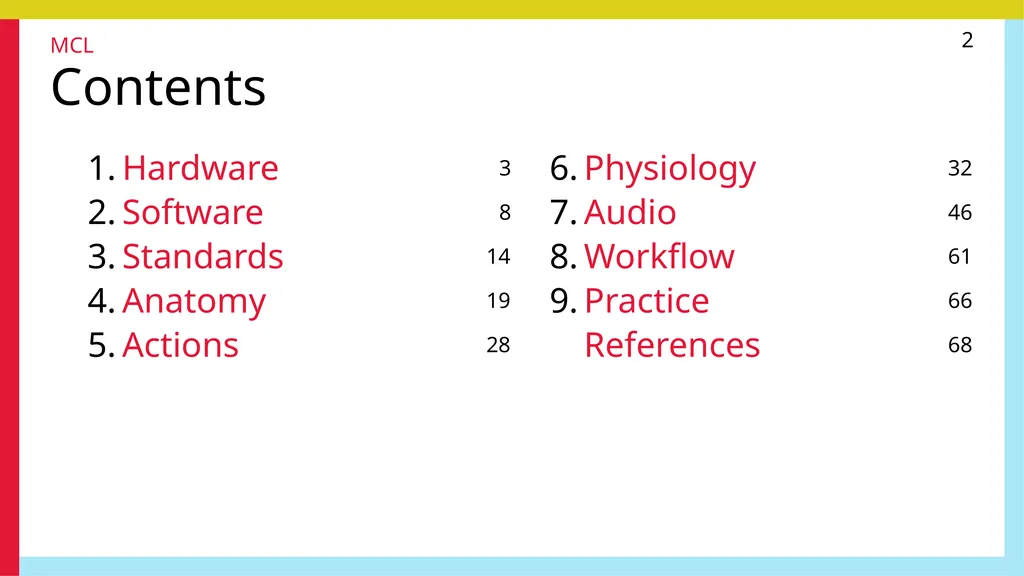
2 Contents 1. Hardware 3 2. Software 8 3. Standards 14 4. Anatomy 19 5. Actions 28 6. Physiology 32 7. Audio 46 8. Workflow 61 9. Practice 66 References 68 MCL<br>
03
3 1. Hardware Software works as well as hardware allows MCL<br>
04
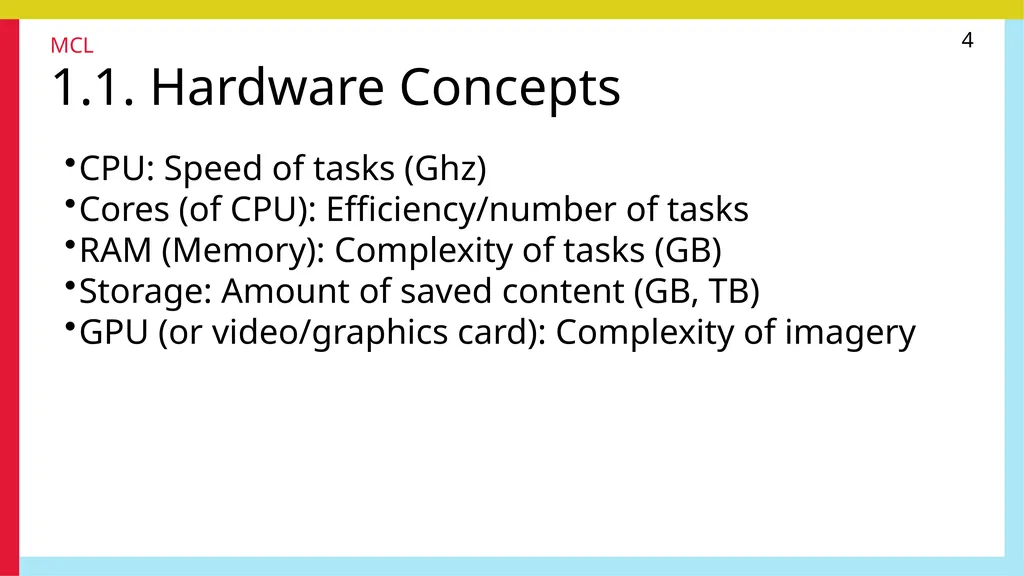
4 1.1. Hardware Concepts CPU: Speed of tasks (Ghz)
Cores (of CPU): Efficiency/number of tasks
RAM (Memory): Complexity of tasks (GB)
Storage: Amount of saved content (GB, TB)
GPU (or video/graphics card): Complexity of imagery MCL<br>
Cores (of CPU): Efficiency/number of tasks
RAM (Memory): Complexity of tasks (GB)
Storage: Amount of saved content (GB, TB)
GPU (or video/graphics card): Complexity of imagery MCL<br>
05
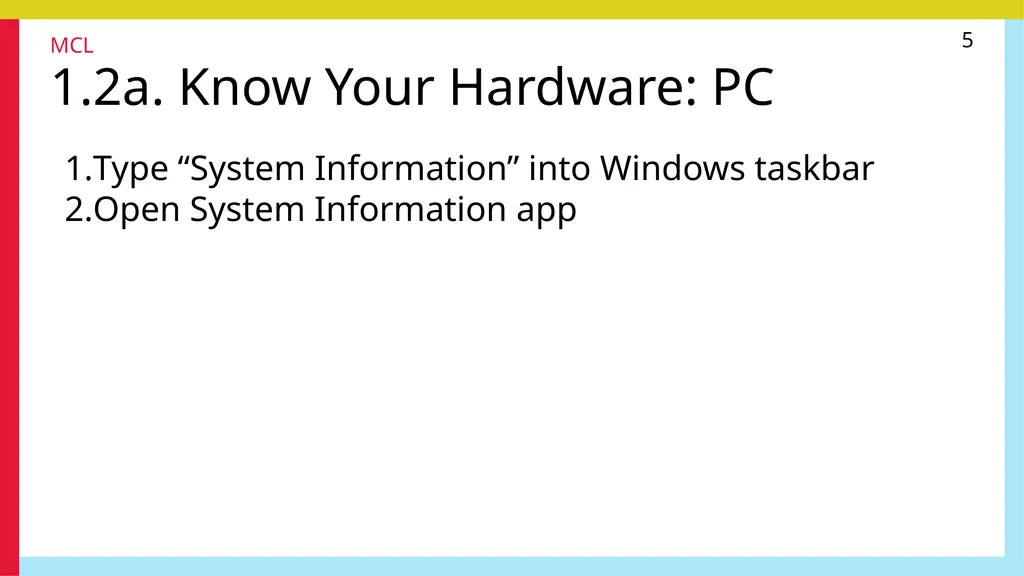
5 1.2a. Know Your Hardware: PC Type “System Information” into Windows taskbar
Open System Information app MCL<br>
Open System Information app MCL<br>
06
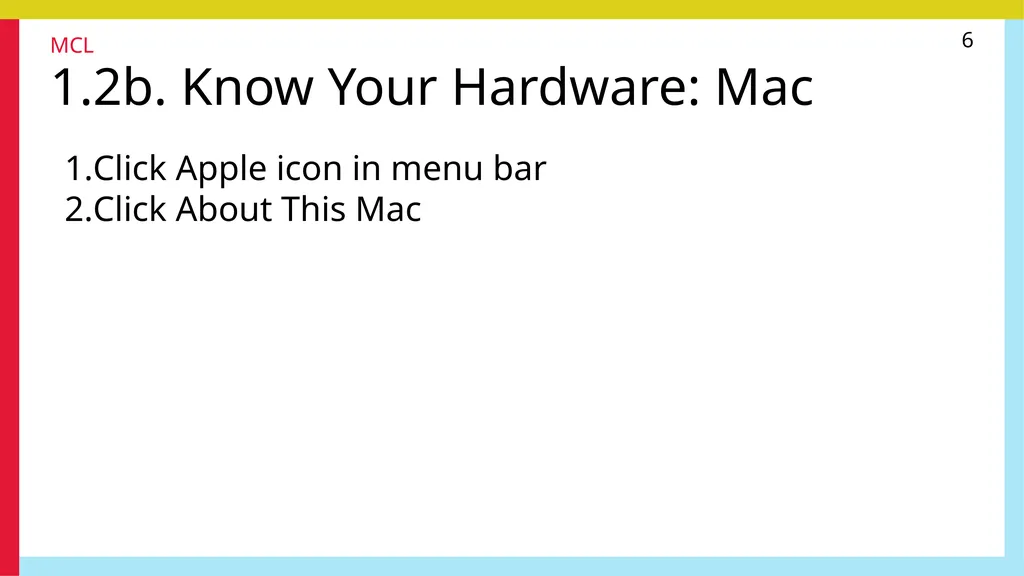
6 1.2b. Know Your Hardware: Mac Click Apple icon in menu bar
Click About This Mac MCL MCL<br>
Click About This Mac MCL MCL<br>
07
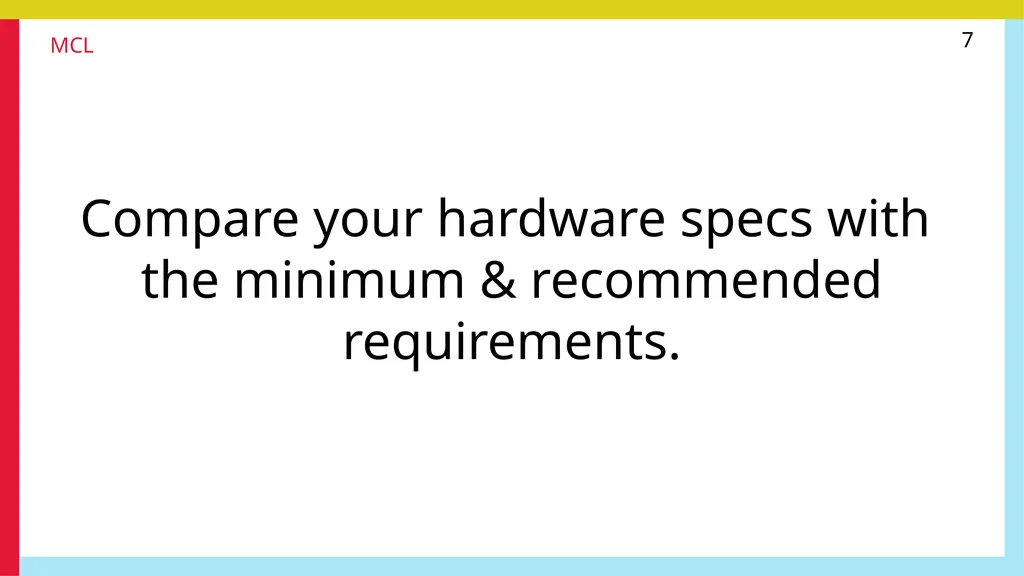
7 Compare your hardware specs with
the minimum & recommended requirements. MCL<br>
the minimum & recommended requirements. MCL<br>
08
8 2. Software A few dominant products MCL<br>
09
9 2.1. Premiere (Adobe) Traditional industry standard
Adobe Creative Suite (After Effects, Audition, etc)
Trial: 7 days
Fee: $26/month for first year, $39/month thereafter MCL<br>
Adobe Creative Suite (After Effects, Audition, etc)
Trial: 7 days
Fee: $26/month for first year, $39/month thereafter MCL<br>
10
10 2.2. iMovie (Apple) Proprietary software for iOS & macOS
Fee: N/A (free with Mac/Macbook) MCL<br>
Fee: N/A (free with Mac/Macbook) MCL<br>
11
11 2.3. Final Cut Pro (Apple) Proprietary software for macOS
Trial: 90 days
Fee: $400 MCL<br>
Trial: 90 days
Fee: $400 MCL<br>
12
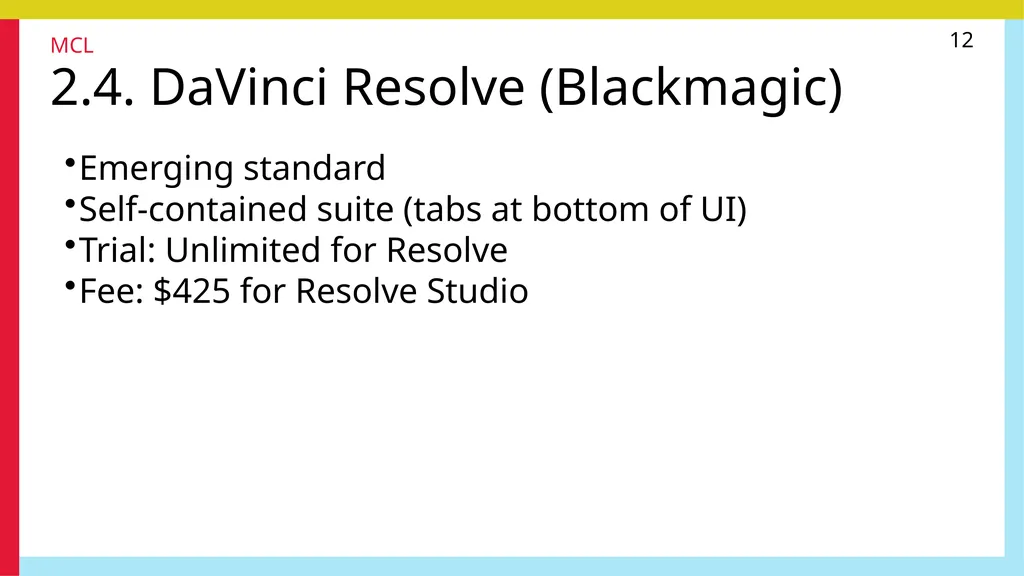
12 2.4. DaVinci Resolve (Blackmagic) Emerging standard
Self-contained suite (tabs at bottom of UI)
Trial: Unlimited for Resolve
Fee: $425 for Resolve Studio MCL<br>
Self-contained suite (tabs at bottom of UI)
Trial: Unlimited for Resolve
Fee: $425 for Resolve Studio MCL<br>
13
13 2.5. Other Software Adobe Premiere Rush
HitFilm
OpenShot Video Editor
Vegas Pro MCL<br>
HitFilm
OpenShot Video Editor
Vegas Pro MCL<br>
14
14 3. Standards Common numbers & letters MCL<br>
15
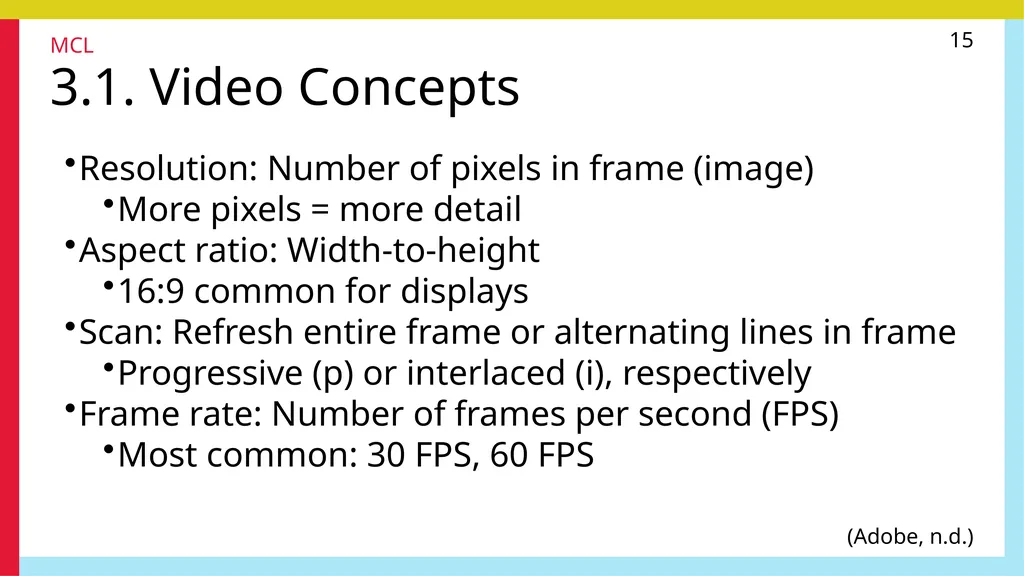
15 3.1. Video Concepts Resolution: Number of pixels in frame (image)
More pixels = more detail
Aspect ratio: Width-to-height
16:9 common for displays
Scan: Refresh entire frame or alternating lines in frame
Progressive (p) or interlaced (i), respectively
Frame rate: Number of frames per second (FPS)
Most common: 30 FPS, 60 FPS (Adobe, n.d.) MCL<br>
More pixels = more detail
Aspect ratio: Width-to-height
16:9 common for displays
Scan: Refresh entire frame or alternating lines in frame
Progressive (p) or interlaced (i), respectively
Frame rate: Number of frames per second (FPS)
Most common: 30 FPS, 60 FPS (Adobe, n.d.) MCL<br>
16
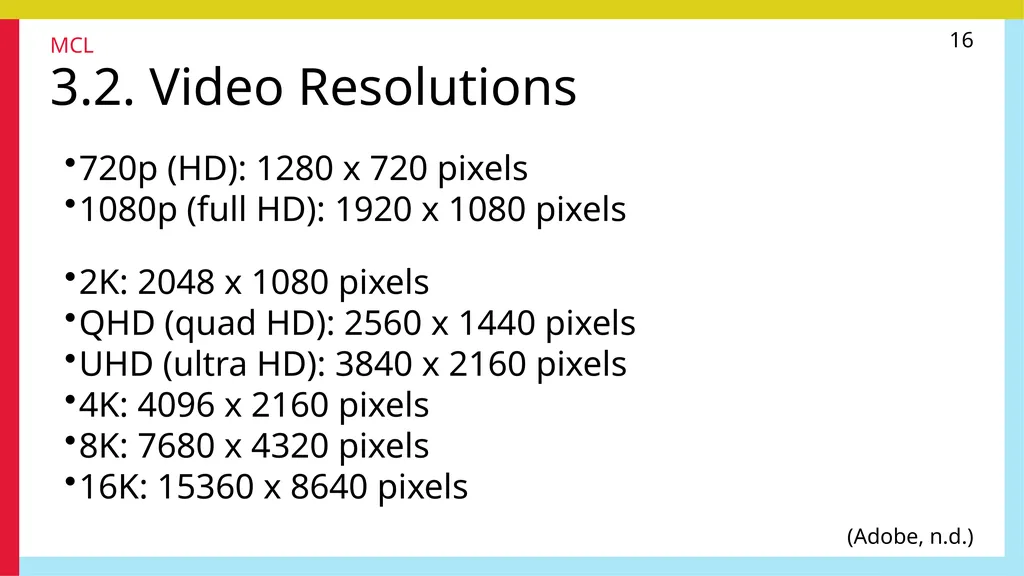
16 3.2. Video Resolutions 720p (HD): 1280 x 720 pixels
1080p (full HD): 1920 x 1080 pixels 2K: 2048 x 1080 pixels
QHD (quad HD): 2560 x 1440 pixels
UHD (ultra HD): 3840 x 2160 pixels
4K: 4096 x 2160 pixels
8K: 7680 x 4320 pixels
16K: 15360 x 8640 pixels (Adobe, n.d.) MCL<br>
1080p (full HD): 1920 x 1080 pixels 2K: 2048 x 1080 pixels
QHD (quad HD): 2560 x 1440 pixels
UHD (ultra HD): 3840 x 2160 pixels
4K: 4096 x 2160 pixels
8K: 7680 x 4320 pixels
16K: 15360 x 8640 pixels (Adobe, n.d.) MCL<br>
17
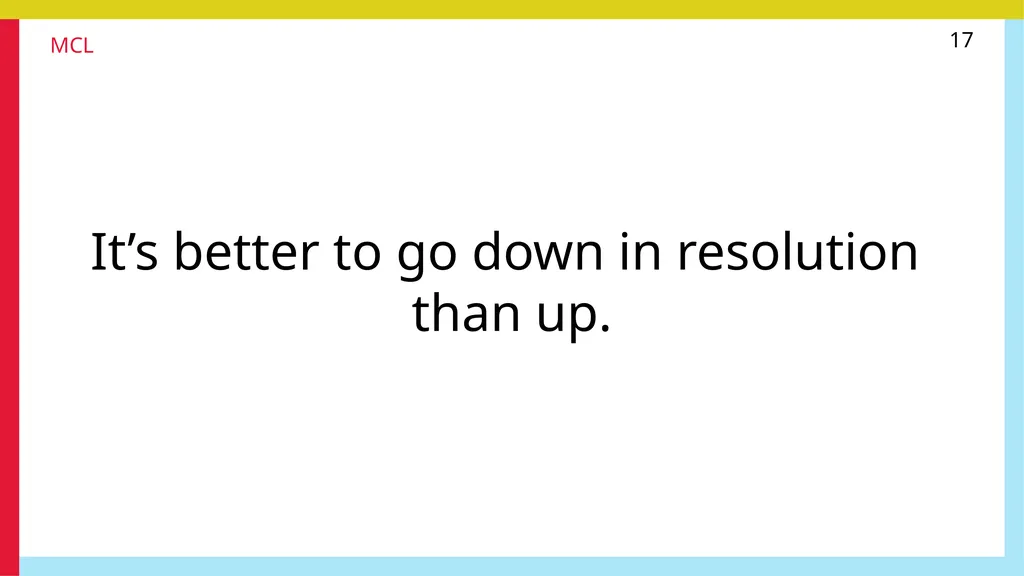
17 It’s better to go down in resolution
than up. MCL<br>
than up. MCL<br>
18
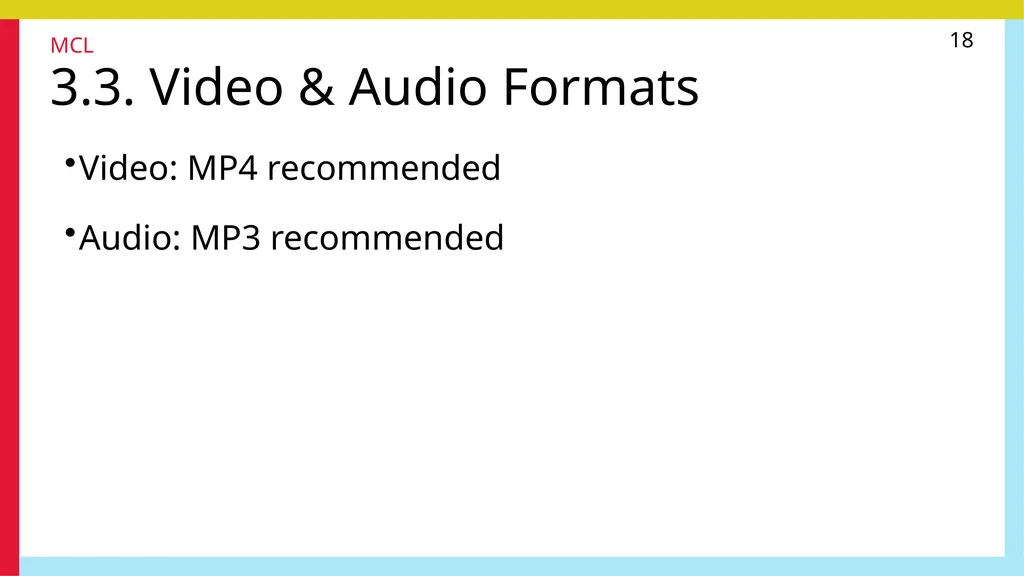
18 3.3. Video & Audio Formats Video: MP4 recommended Audio: MP3 recommended MCL<br>
19
19 4. Anatomy Common structure and organization MCL<br>
20
20 4.1. Main Anatomy: User Interface Menu bar: Most actions/commands & elements
File pool: All files available for current work
Playback viewer: Image/video of current work
Toolbar(s): Playback, tools/modes, browsers
Timeline: Entire duration of work
Canvas: Lanes (layers) for audio/video
Properties panels: Form elements to adjust parameters MCL<br>
File pool: All files available for current work
Playback viewer: Image/video of current work
Toolbar(s): Playback, tools/modes, browsers
Timeline: Entire duration of work
Canvas: Lanes (layers) for audio/video
Properties panels: Form elements to adjust parameters MCL<br>
21
21 Many apps let you
customize their UI elements. MCL<br>
customize their UI elements. MCL<br>
22
22 4.2. Special Anatomy: Timeline Playhead: Vertical line showing current point in timeline
Scrubbing: Clicking & dragging playhead
Skimmer (if applicable): Position of cursor
Skimming: Moving cursor along timeline/lanes MCL<br>
Scrubbing: Clicking & dragging playhead
Skimmer (if applicable): Position of cursor
Skimming: Moving cursor along timeline/lanes MCL<br>
23
23 4.3. Special Anatomy: Canvas Video lanes: Higher position = higher precedence
Audio lanes: Audio as waveforms
Markers: User-set on individual lanes
Contextual-actions menu: Right-click on lane MCL<br>
Audio lanes: Audio as waveforms
Markers: User-set on individual lanes
Contextual-actions menu: Right-click on lane MCL<br>
24
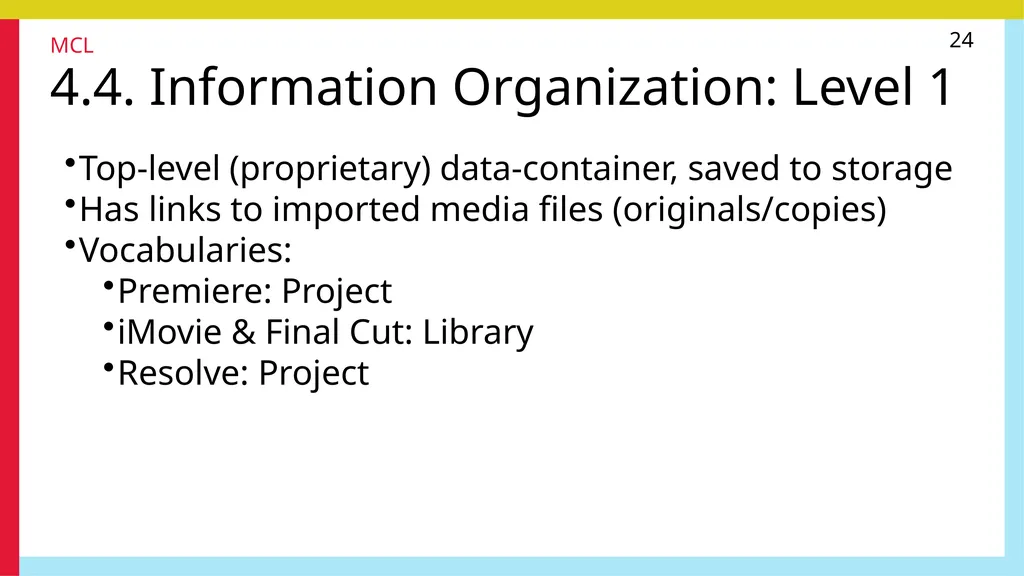
24 4.4. Information Organization: Level 1 Top-level (proprietary) data-container, saved to storage
Has links to imported media files (originals/copies)
Vocabularies:
Premiere: Project
iMovie & Final Cut: Library
Resolve: Project MCL<br>
Has links to imported media files (originals/copies)
Vocabularies:
Premiere: Project
iMovie & Final Cut: Library
Resolve: Project MCL<br>
25
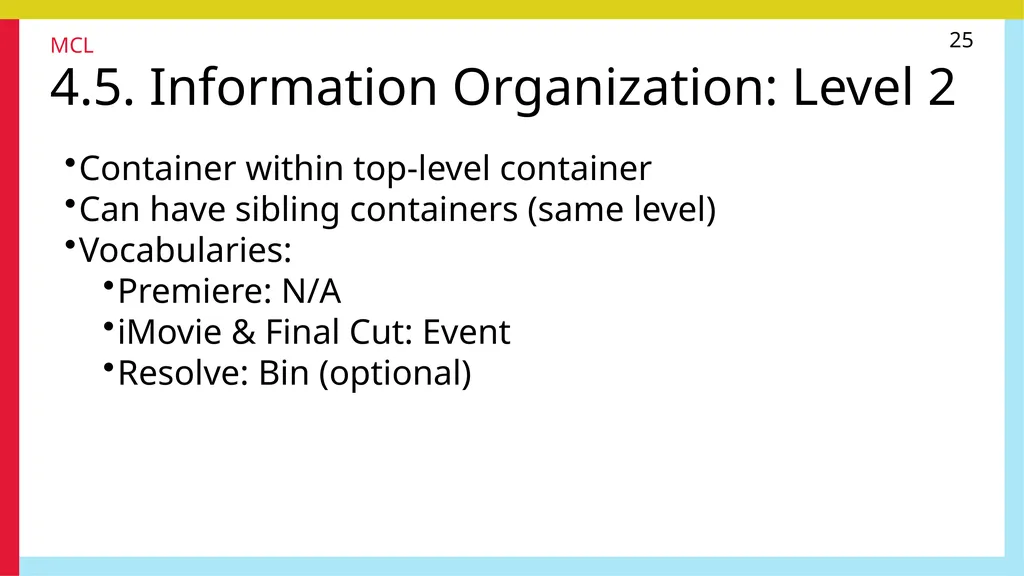
25 4.5. Information Organization: Level 2 Container within top-level container
Can have sibling containers (same level)
Vocabularies:
Premiere: N/A
iMovie & Final Cut: Event
Resolve: Bin (optional) MCL<br>
Can have sibling containers (same level)
Vocabularies:
Premiere: N/A
iMovie & Final Cut: Event
Resolve: Bin (optional) MCL<br>
26
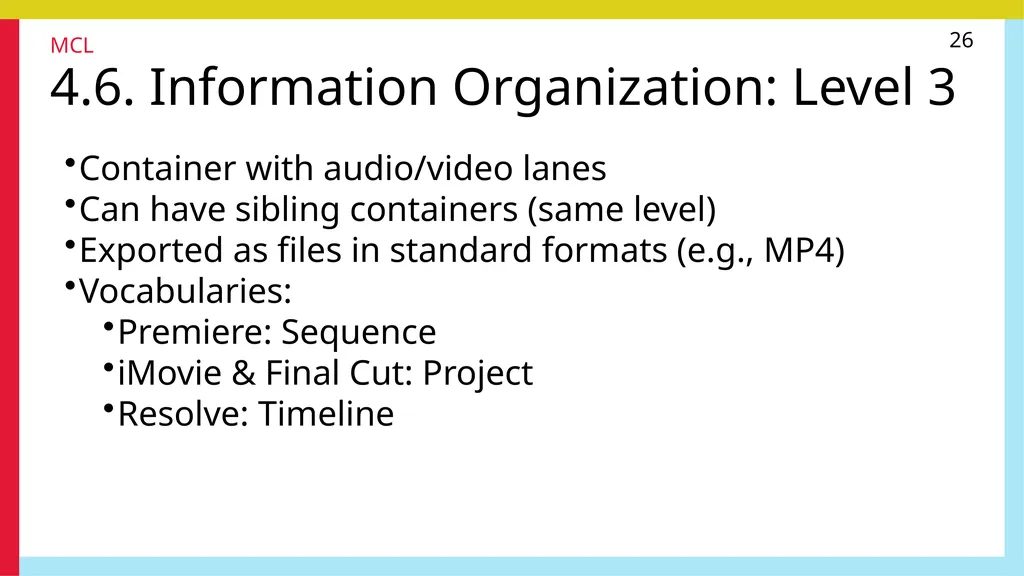
26 4.6. Information Organization: Level 3 Container with audio/video lanes
Can have sibling containers (same level)
Exported as files in standard formats (e.g., MP4)
Vocabularies:
Premiere: Sequence
iMovie & Final Cut: Project
Resolve: Timeline MCL<br>
Can have sibling containers (same level)
Exported as files in standard formats (e.g., MP4)
Vocabularies:
Premiere: Sequence
iMovie & Final Cut: Project
Resolve: Timeline MCL<br>
27
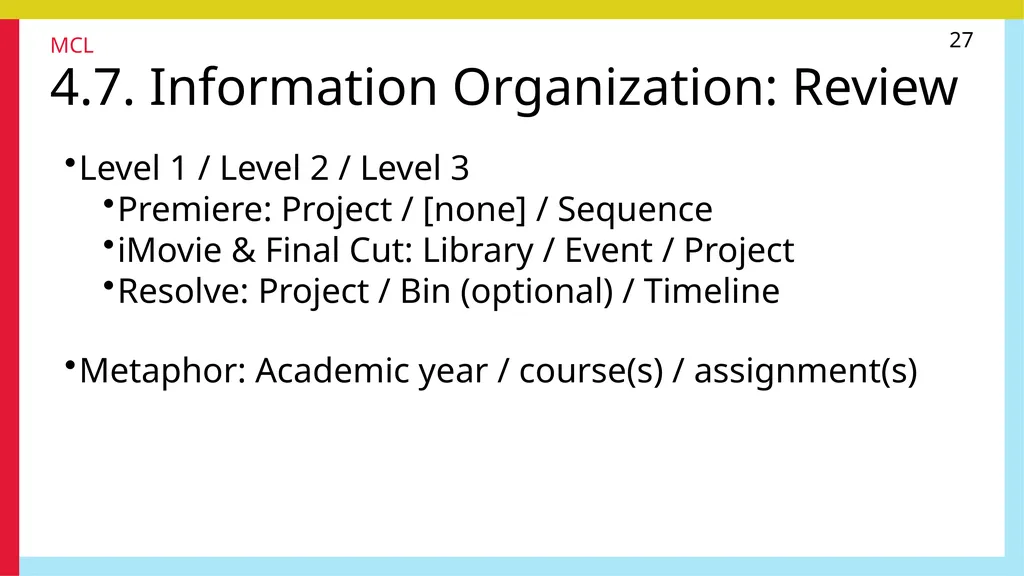
27 4.7. Information Organization: Review Level 1 / Level 2 / Level 3
Premiere: Project / [none] / Sequence
iMovie & Final Cut: Library / Event / Project
Resolve: Project / Bin (optional) / Timeline Metaphor: Academic year / course(s) / assignment(s) MCL<br>
Premiere: Project / [none] / Sequence
iMovie & Final Cut: Library / Event / Project
Resolve: Project / Bin (optional) / Timeline Metaphor: Academic year / course(s) / assignment(s) MCL<br>
28
28 5. Actions Knowing how to do, knowing how to know MCL<br>
29
29 5.1. Different Methods Menu bar
e.g. Edit, Trim, Clip, View, Window, Help
Contextual-actions menus
Toolbars
Keyboard shortcuts MCL<br>
e.g. Edit, Trim, Clip, View, Window, Help
Contextual-actions menus
Toolbars
Keyboard shortcuts MCL<br>
30
30 5.2. Keyboard Shortcuts: Playback Spacebar: Play/pause/resume
K: Stop (freezes playhead)
J: Play reverse; press again to increase speed
L: Play forward; press again to increase speed
K (hold) + L: Go to next frame
K (hold) + J: Go to previous frame
M: Set marker on current lane at playhead’s position MCL<br>
K: Stop (freezes playhead)
J: Play reverse; press again to increase speed
L: Play forward; press again to increase speed
K (hold) + L: Go to next frame
K (hold) + J: Go to previous frame
M: Set marker on current lane at playhead’s position MCL<br>
31
31 5.3. Information Gaps: Strategies Toolbars: Icons convey use, tool-tips show labels
Menu bar: Contains actions organized into categories
Contextual action-menus: List applicable actions
Help menu: Highlight actions in menu bar, if applicable
Web search MCL<br>
Menu bar: Contains actions organized into categories
Contextual action-menus: List applicable actions
Help menu: Highlight actions in menu bar, if applicable
Web search MCL<br>
32
32 6. Physiology Common processes for essential tasks MCL<br>
33
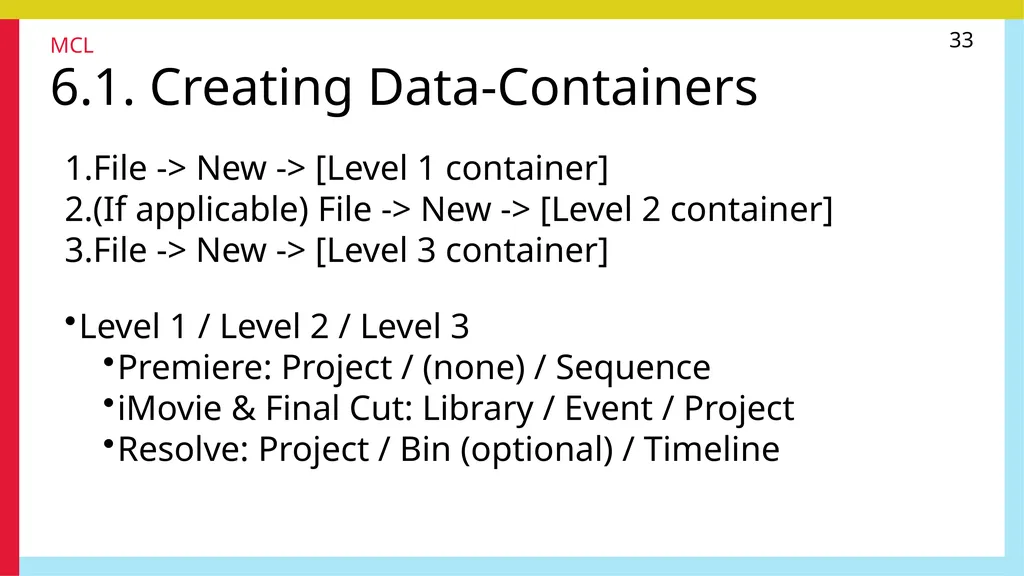
33 6.1. Creating Data-Containers File -> New -> [Level 1 container]
(If applicable) File -> New -> [Level 2 container]
File -> New -> [Level 3 container] Level 1 / Level 2 / Level 3
Premiere: Project / (none) / Sequence
iMovie & Final Cut: Library / Event / Project
Resolve: Project / Bin (optional) / Timeline MCL<br>
(If applicable) File -> New -> [Level 2 container]
File -> New -> [Level 3 container] Level 1 / Level 2 / Level 3
Premiere: Project / (none) / Sequence
iMovie & Final Cut: Library / Event / Project
Resolve: Project / Bin (optional) / Timeline MCL<br>
34
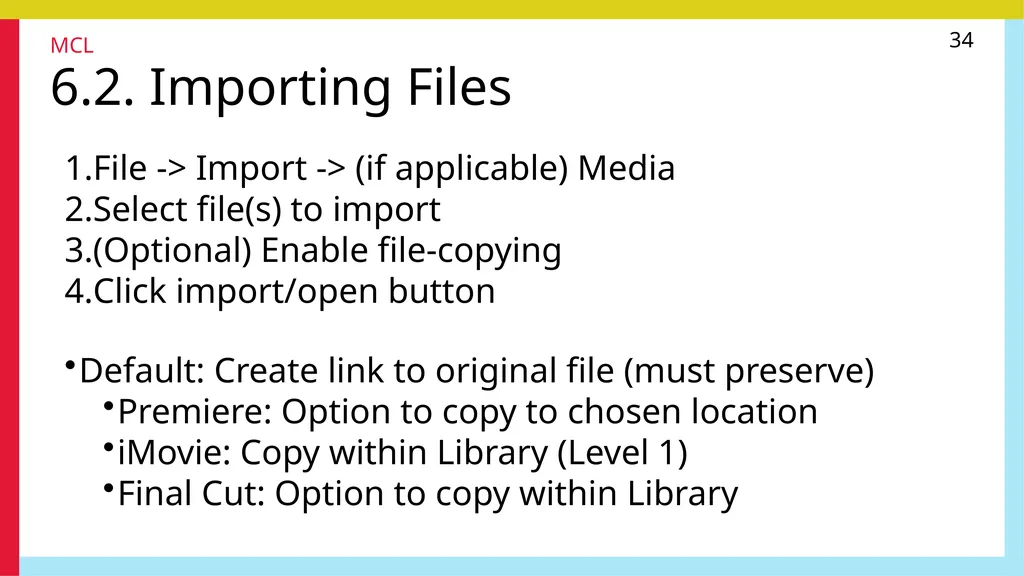
34 6.2. Importing Files File -> Import -> (if applicable) Media
Select file(s) to import
(Optional) Enable file-copying
Click import/open button Default: Create link to original file (must preserve)
Premiere: Option to copy to chosen location
iMovie: Copy within Library (Level 1)
Final Cut: Option to copy within Library MCL<br>
Select file(s) to import
(Optional) Enable file-copying
Click import/open button Default: Create link to original file (must preserve)
Premiere: Option to copy to chosen location
iMovie: Copy within Library (Level 1)
Final Cut: Option to copy within Library MCL<br>
35
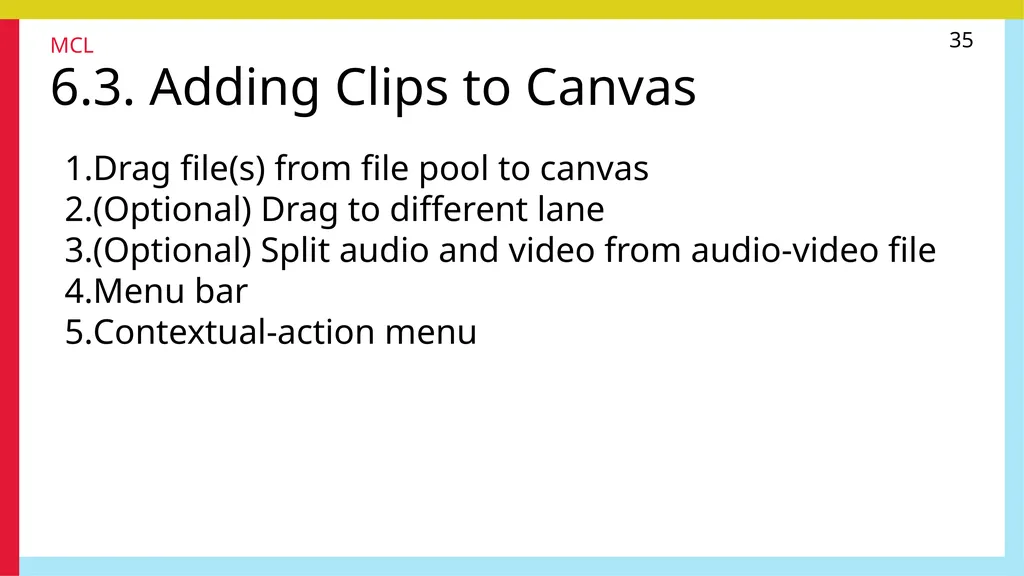
35 6.3. Adding Clips to Canvas Drag file(s) from file pool to canvas
(Optional) Drag to different lane
(Optional) Split audio and video from audio-video file
Menu bar
Contextual-action menu MCL<br>
(Optional) Drag to different lane
(Optional) Split audio and video from audio-video file
Menu bar
Contextual-action menu MCL<br>
36
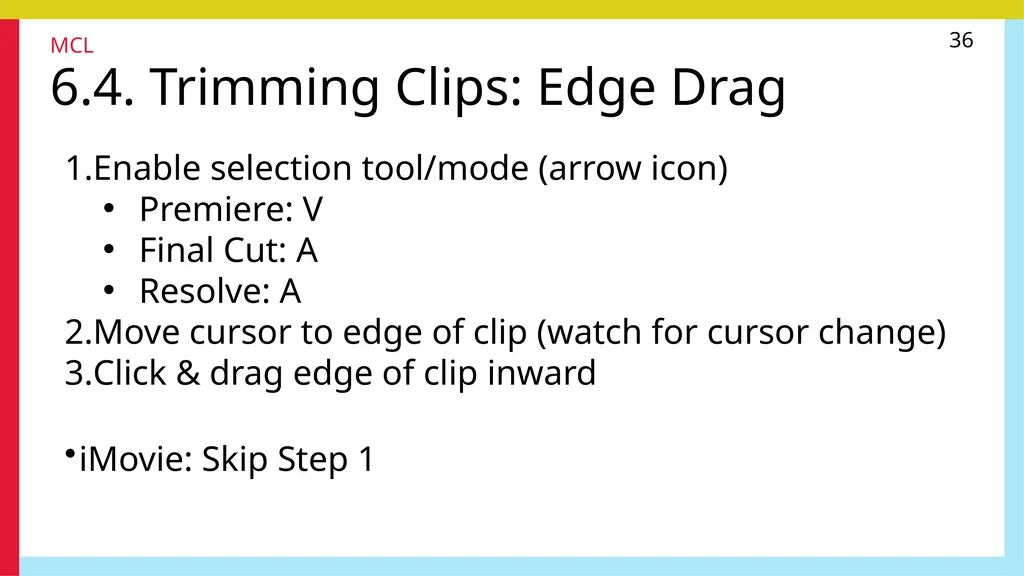
36 6.4. Trimming Clips: Edge Drag Enable selection tool/mode (arrow icon)
Premiere: V
Final Cut: A
Resolve: A
Move cursor to edge of clip (watch for cursor change)
Click & drag edge of clip inward iMovie: Skip Step 1 MCL<br>
Premiere: V
Final Cut: A
Resolve: A
Move cursor to edge of clip (watch for cursor change)
Click & drag edge of clip inward iMovie: Skip Step 1 MCL<br>
37
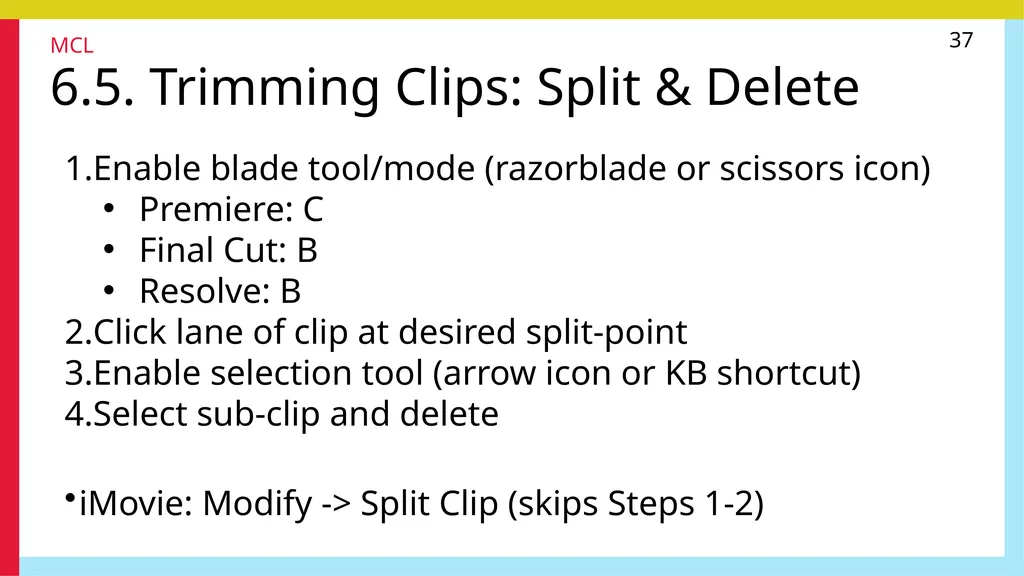
37 6.5. Trimming Clips: Split & Delete Enable blade tool/mode (razorblade or scissors icon)
Premiere: C
Final Cut: B
Resolve: B
Click lane of clip at desired split-point
Enable selection tool (arrow icon or KB shortcut)
Select sub-clip and delete iMovie: Modify -> Split Clip (skips Steps 1-2) MCL<br>
Premiere: C
Final Cut: B
Resolve: B
Click lane of clip at desired split-point
Enable selection tool (arrow icon or KB shortcut)
Select sub-clip and delete iMovie: Modify -> Split Clip (skips Steps 1-2) MCL<br>
38
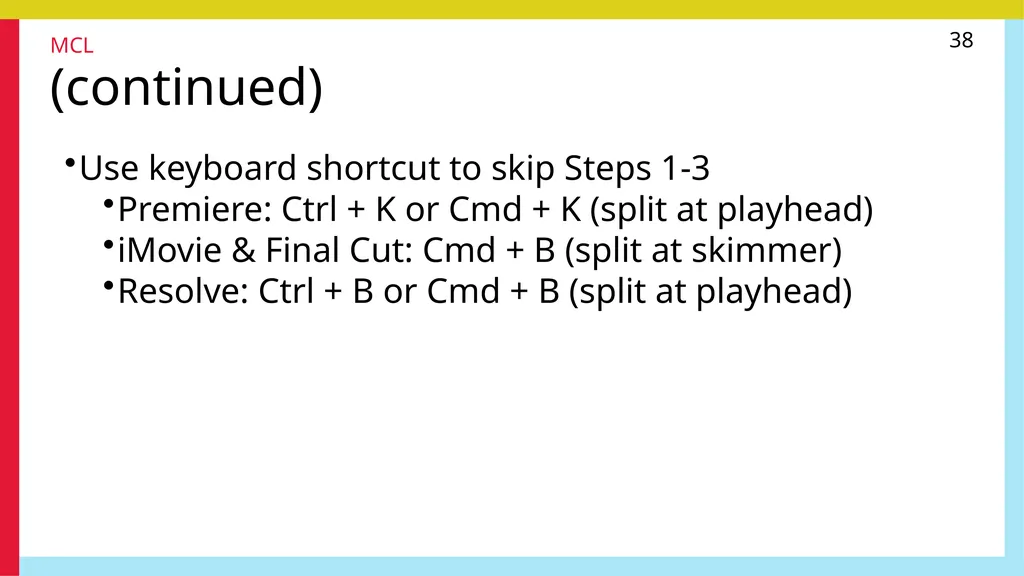
38 (continued) Use keyboard shortcut to skip Steps 1-3
Premiere: Ctrl + K or Cmd + K (split at playhead)
iMovie & Final Cut: Cmd + B (split at skimmer)
Resolve: Ctrl + B or Cmd + B (split at playhead) MCL<br>
Premiere: Ctrl + K or Cmd + K (split at playhead)
iMovie & Final Cut: Cmd + B (split at skimmer)
Resolve: Ctrl + B or Cmd + B (split at playhead) MCL<br>
39
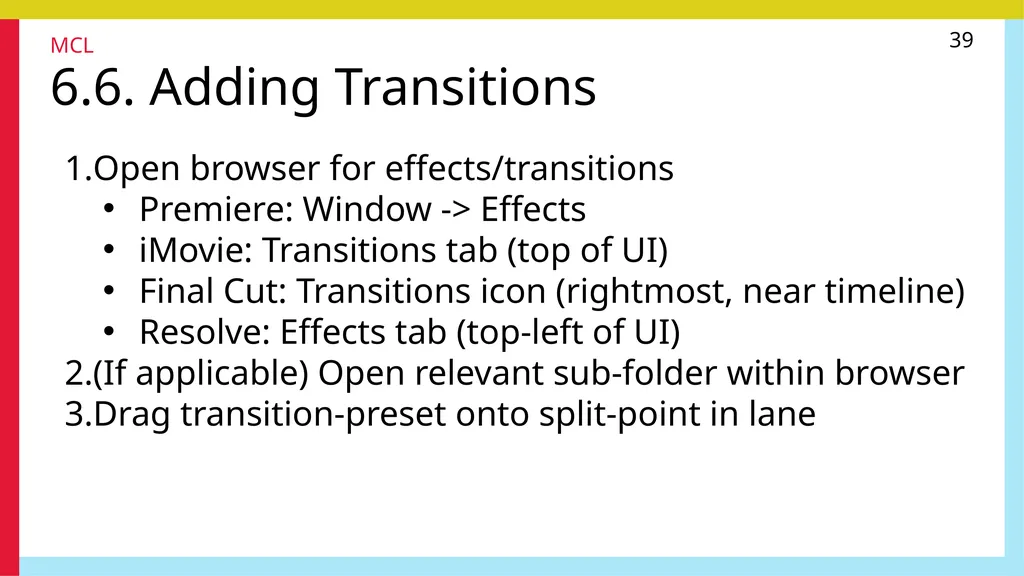
39 6.6. Adding Transitions Open browser for effects/transitions
Premiere: Window -> Effects
iMovie: Transitions tab (top of UI)
Final Cut: Transitions icon (rightmost, near timeline)
Resolve: Effects tab (top-left of UI)
(If applicable) Open relevant sub-folder within browser
Drag transition-preset onto split-point in lane MCL<br>
Premiere: Window -> Effects
iMovie: Transitions tab (top of UI)
Final Cut: Transitions icon (rightmost, near timeline)
Resolve: Effects tab (top-left of UI)
(If applicable) Open relevant sub-folder within browser
Drag transition-preset onto split-point in lane MCL<br>
40
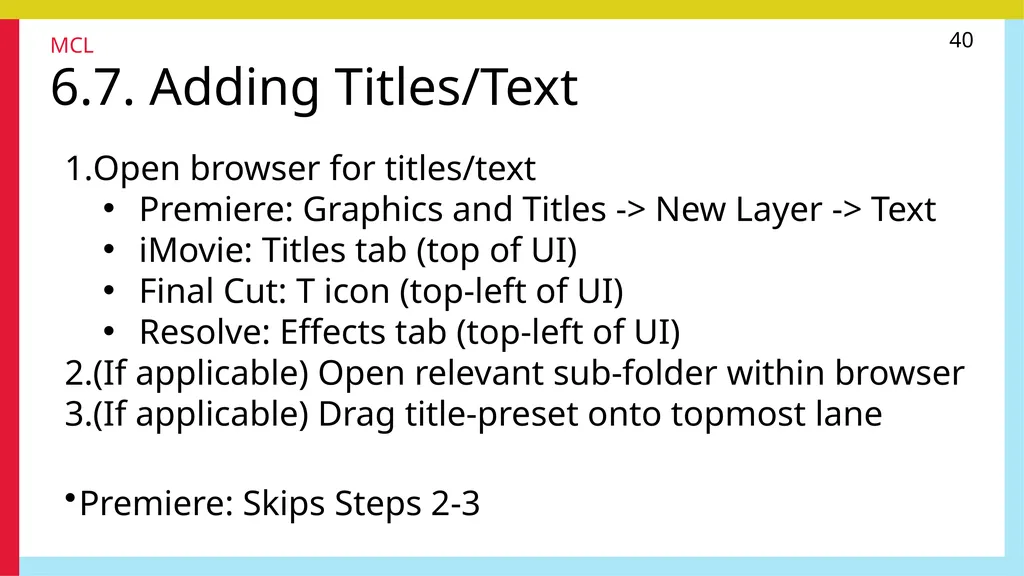
40 6.7. Adding Titles/Text Open browser for titles/text
Premiere: Graphics and Titles -> New Layer -> Text
iMovie: Titles tab (top of UI)
Final Cut: T icon (top-left of UI)
Resolve: Effects tab (top-left of UI)
(If applicable) Open relevant sub-folder within browser
(If applicable) Drag title-preset onto topmost lane Premiere: Skips Steps 2-3 MCL<br>
Premiere: Graphics and Titles -> New Layer -> Text
iMovie: Titles tab (top of UI)
Final Cut: T icon (top-left of UI)
Resolve: Effects tab (top-left of UI)
(If applicable) Open relevant sub-folder within browser
(If applicable) Drag title-preset onto topmost lane Premiere: Skips Steps 2-3 MCL<br>
41
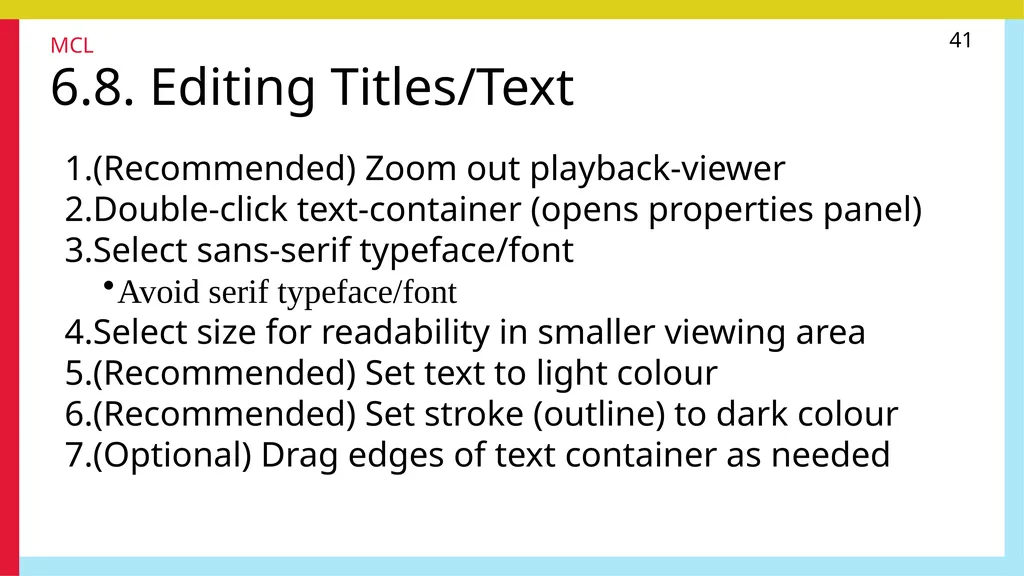
41 6.8. Editing Titles/Text (Recommended) Zoom out playback-viewer
Double-click text-container (opens properties panel)
Select sans-serif typeface/font
Avoid serif typeface/font
Select size for readability in smaller viewing area
(Recommended) Set text to light colour
(Recommended) Set stroke (outline) to dark colour
(Optional) Drag edges of text container as needed MCL<br>
Double-click text-container (opens properties panel)
Select sans-serif typeface/font
Avoid serif typeface/font
Select size for readability in smaller viewing area
(Recommended) Set text to light colour
(Recommended) Set stroke (outline) to dark colour
(Optional) Drag edges of text container as needed MCL<br>
42
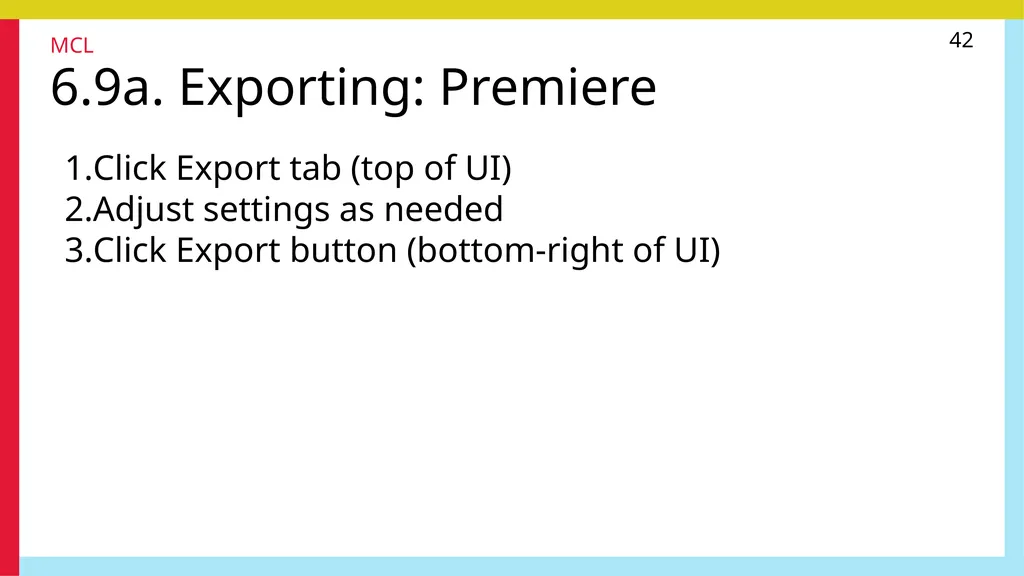
42 6.9a. Exporting: Premiere Click Export tab (top of UI)
Adjust settings as needed
Click Export button (bottom-right of UI) MCL<br>
Adjust settings as needed
Click Export button (bottom-right of UI) MCL<br>
43
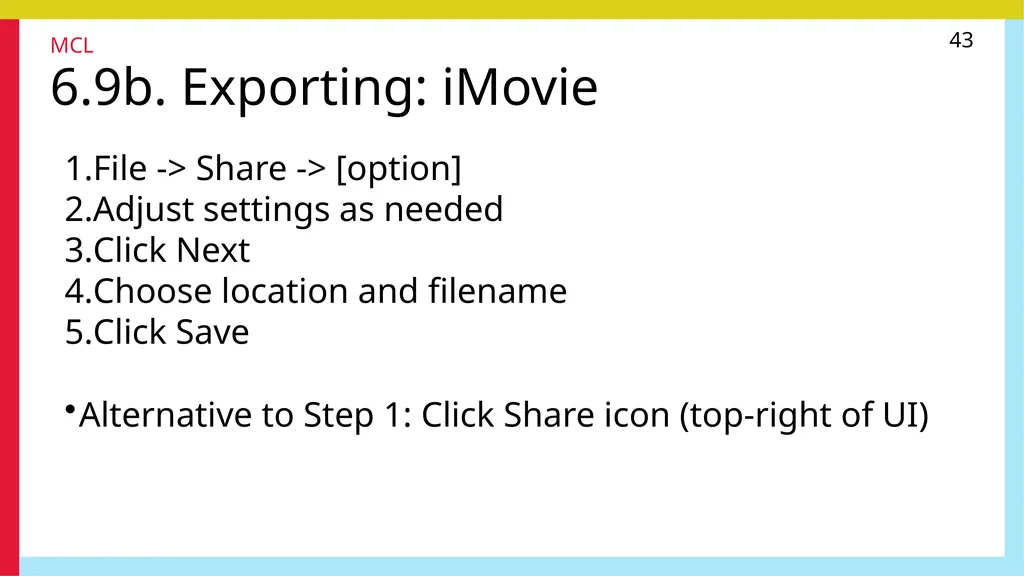
43 6.9b. Exporting: iMovie File -> Share -> [option]
Adjust settings as needed
Click Next
Choose location and filename
Click Save Alternative to Step 1: Click Share icon (top-right of UI) MCL<br>
Adjust settings as needed
Click Next
Choose location and filename
Click Save Alternative to Step 1: Click Share icon (top-right of UI) MCL<br>
44
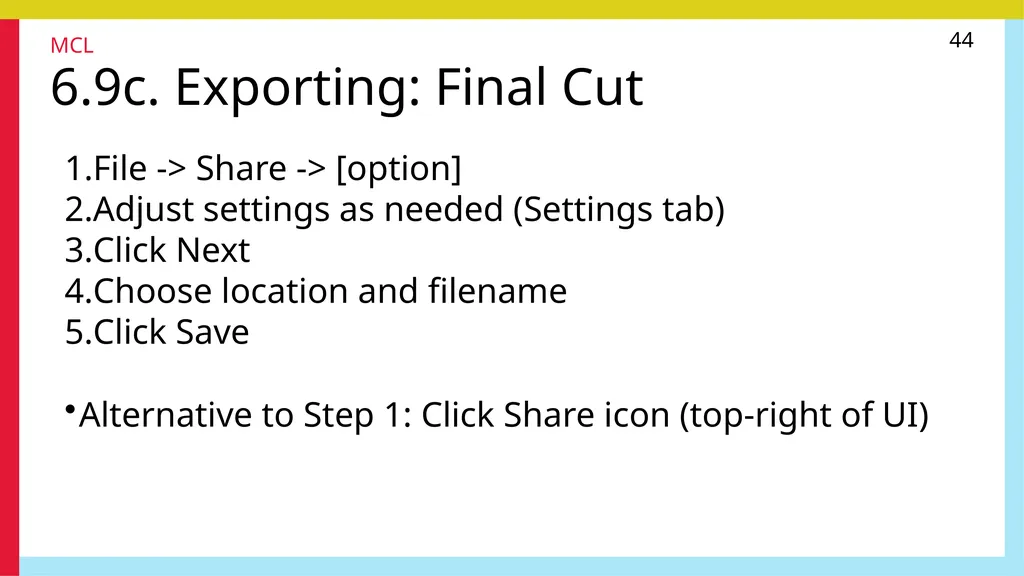
44 6.9c. Exporting: Final Cut File -> Share -> [option]
Adjust settings as needed (Settings tab)
Click Next
Choose location and filename
Click Save Alternative to Step 1: Click Share icon (top-right of UI) MCL<br>
Adjust settings as needed (Settings tab)
Click Next
Choose location and filename
Click Save Alternative to Step 1: Click Share icon (top-right of UI) MCL<br>
45
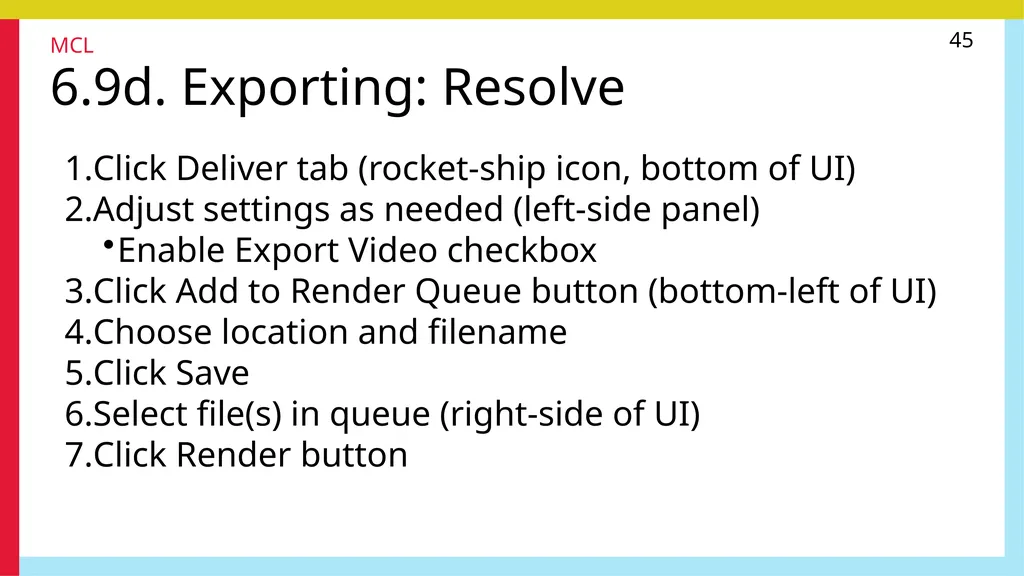
45 6.9d. Exporting: Resolve Click Deliver tab (rocket-ship icon, bottom of UI)
Adjust settings as needed (left-side panel)
Enable Export Video checkbox
Click Add to Render Queue button (bottom-left of UI)
Choose location and filename
Click Save
Select file(s) in queue (right-side of UI)
Click Render button MCL<br>
Adjust settings as needed (left-side panel)
Enable Export Video checkbox
Click Add to Render Queue button (bottom-left of UI)
Choose location and filename
Click Save
Select file(s) in queue (right-side of UI)
Click Render button MCL<br>
46
46 7. Audio ‘Visual is two-thirds audio’ MCL<br>
47
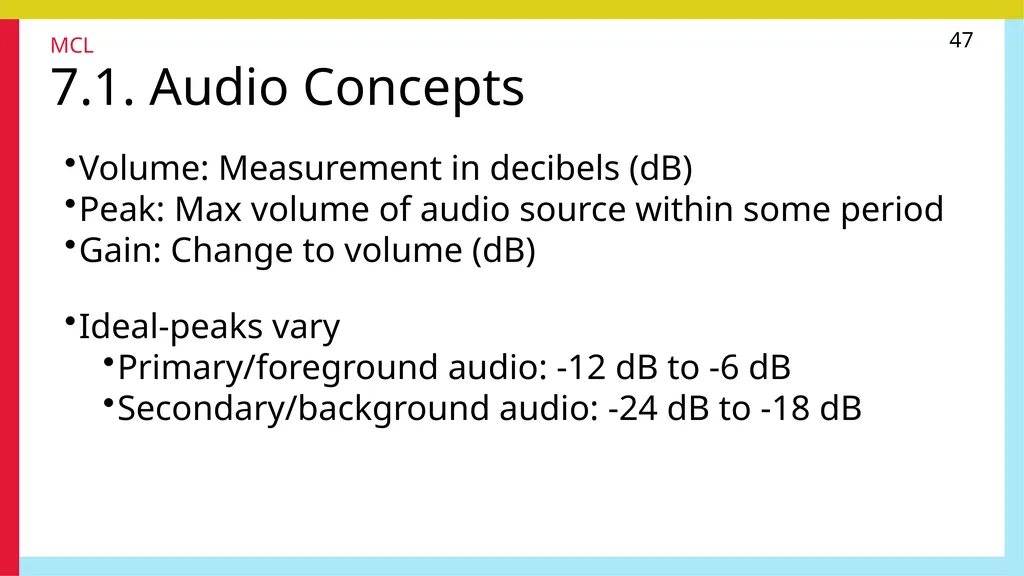
47 7.1. Audio Concepts Volume: Measurement in decibels (dB)
Peak: Max volume of audio source within some period
Gain: Change to volume (dB) Ideal-peaks vary
Primary/foreground audio: -12 dB to -6 dB
Secondary/background audio: -24 dB to -18 dB MCL<br>
Peak: Max volume of audio source within some period
Gain: Change to volume (dB) Ideal-peaks vary
Primary/foreground audio: -12 dB to -6 dB
Secondary/background audio: -24 dB to -18 dB MCL<br>
48
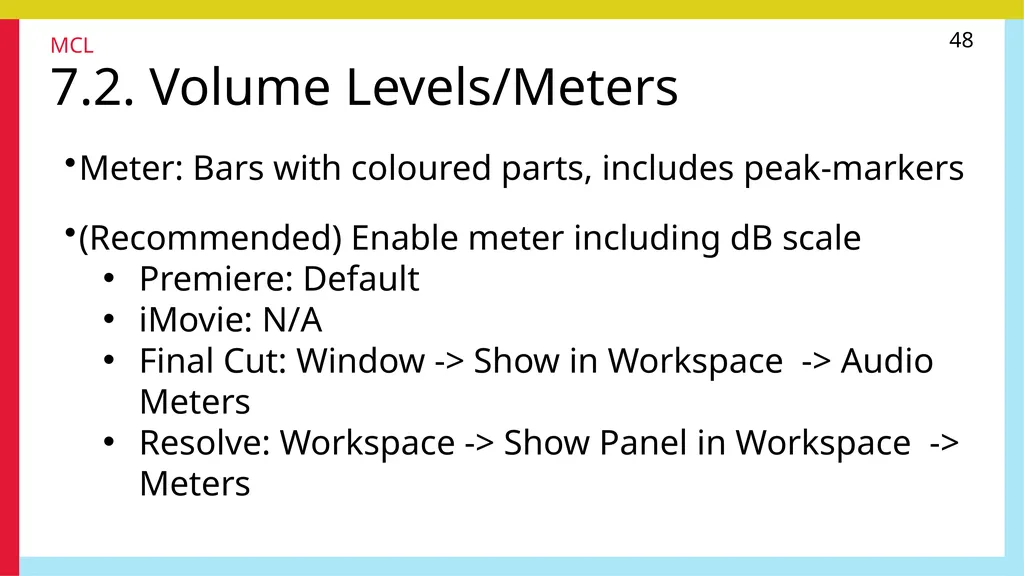
48 7.2. Volume Levels/Meters Meter: Bars with coloured parts, includes peak-markers (Recommended) Enable meter including dB scale
Premiere: Default
iMovie: N/A
Final Cut: Window -> Show in Workspace -> Audio Meters
Resolve: Workspace -> Show Panel in Workspace -> Meters MCL<br>
Premiere: Default
iMovie: N/A
Final Cut: Window -> Show in Workspace -> Audio Meters
Resolve: Workspace -> Show Panel in Workspace -> Meters MCL<br>
49
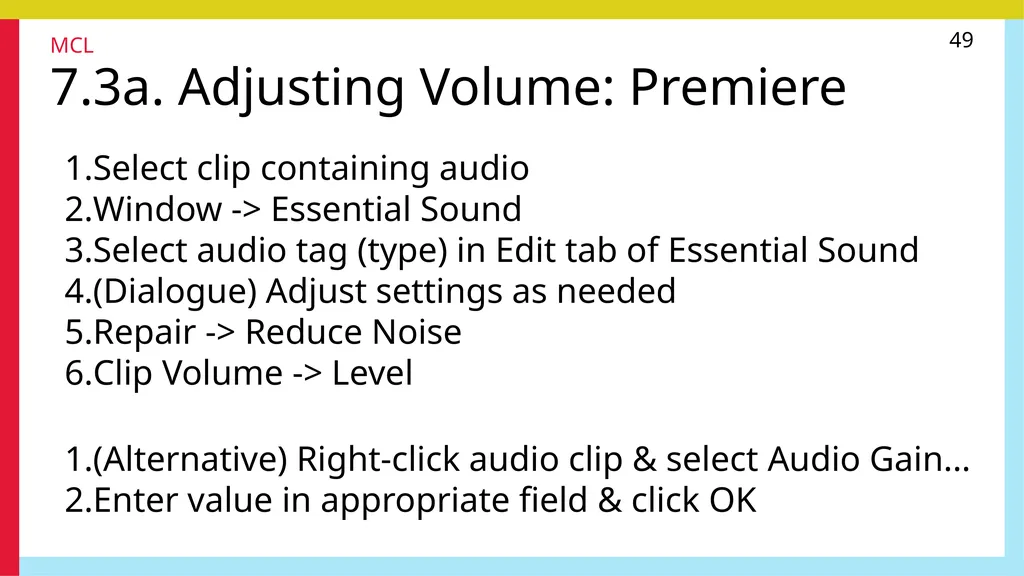
49 7.3a. Adjusting Volume: Premiere Select clip containing audio
Window -> Essential Sound
Select audio tag (type) in Edit tab of Essential Sound
(Dialogue) Adjust settings as needed
Repair -> Reduce Noise
Clip Volume -> Level (Alternative) Right-click audio clip & select Audio Gain...
Enter value in appropriate field & click OK MCL<br>
Window -> Essential Sound
Select audio tag (type) in Edit tab of Essential Sound
(Dialogue) Adjust settings as needed
Repair -> Reduce Noise
Clip Volume -> Level (Alternative) Right-click audio clip & select Audio Gain...
Enter value in appropriate field & click OK MCL<br>
50
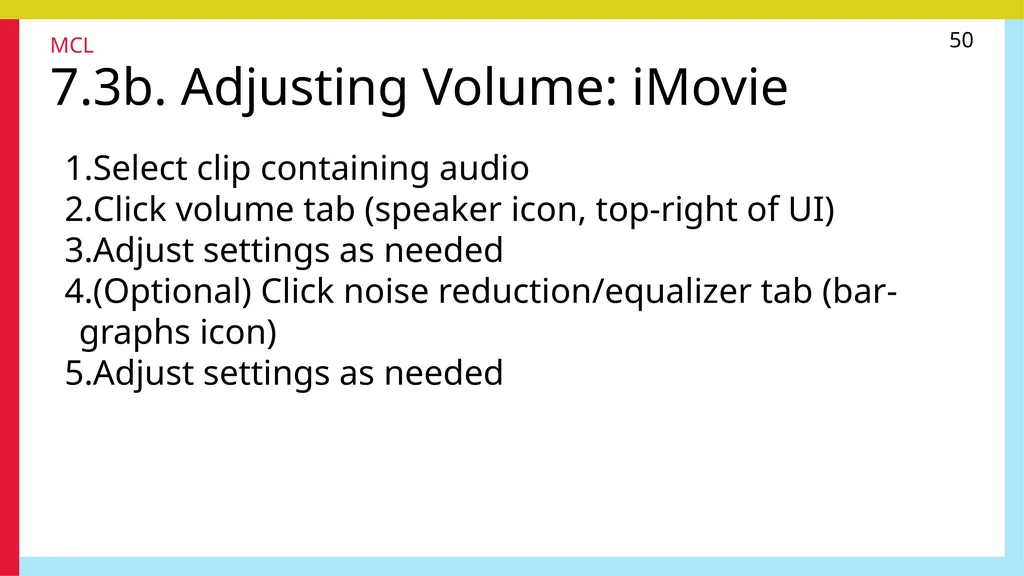
50 7.3b. Adjusting Volume: iMovie Select clip containing audio
Click volume tab (speaker icon, top-right of UI)
Adjust settings as needed
(Optional) Click noise reduction/equalizer tab (bar-graphs icon)
Adjust settings as needed MCL<br>
Click volume tab (speaker icon, top-right of UI)
Adjust settings as needed
(Optional) Click noise reduction/equalizer tab (bar-graphs icon)
Adjust settings as needed MCL<br>
51
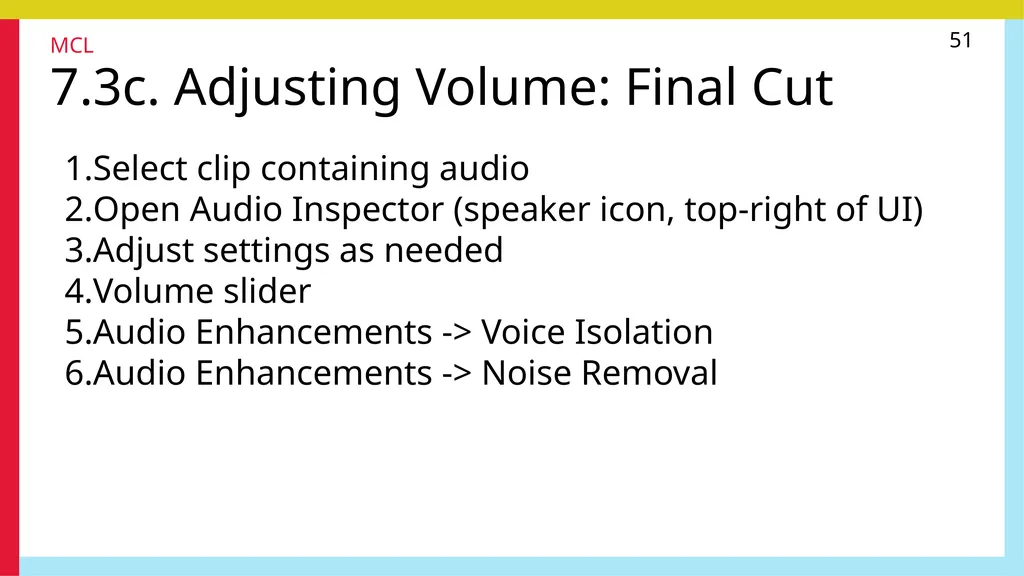
51 7.3c. Adjusting Volume: Final Cut Select clip containing audio
Open Audio Inspector (speaker icon, top-right of UI)
Adjust settings as needed
Volume slider
Audio Enhancements -> Voice Isolation
Audio Enhancements -> Noise Removal MCL<br>
Open Audio Inspector (speaker icon, top-right of UI)
Adjust settings as needed
Volume slider
Audio Enhancements -> Voice Isolation
Audio Enhancements -> Noise Removal MCL<br>
52
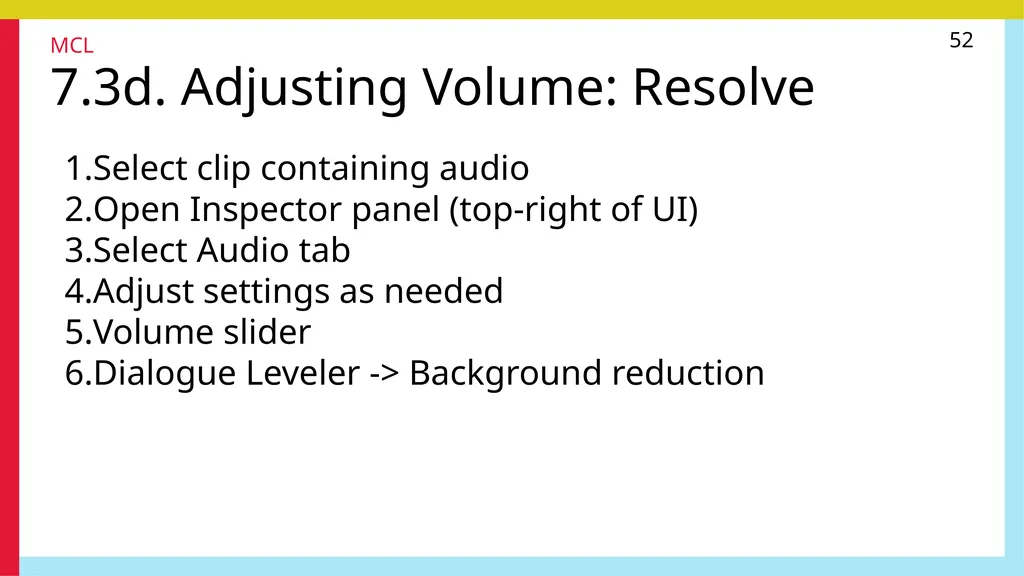
52 7.3d. Adjusting Volume: Resolve Select clip containing audio
Open Inspector panel (top-right of UI)
Select Audio tab
Adjust settings as needed
Volume slider
Dialogue Leveler -> Background reduction MCL<br>
Open Inspector panel (top-right of UI)
Select Audio tab
Adjust settings as needed
Volume slider
Dialogue Leveler -> Background reduction MCL<br>
53
53 To record audio, ensure permission in your computer’s (privacy) settings. MCL<br>
54
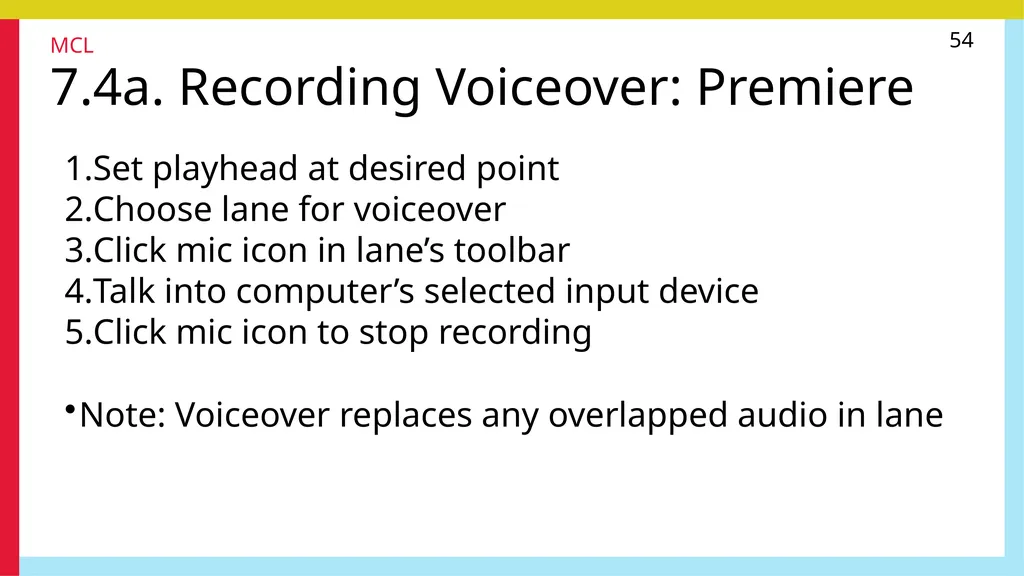
54 7.4a. Recording Voiceover: Premiere Set playhead at desired point
Choose lane for voiceover
Click mic icon in lane’s toolbar
Talk into computer’s selected input device
Click mic icon to stop recording Note: Voiceover replaces any overlapped audio in lane MCL<br>
Choose lane for voiceover
Click mic icon in lane’s toolbar
Talk into computer’s selected input device
Click mic icon to stop recording Note: Voiceover replaces any overlapped audio in lane MCL<br>
55
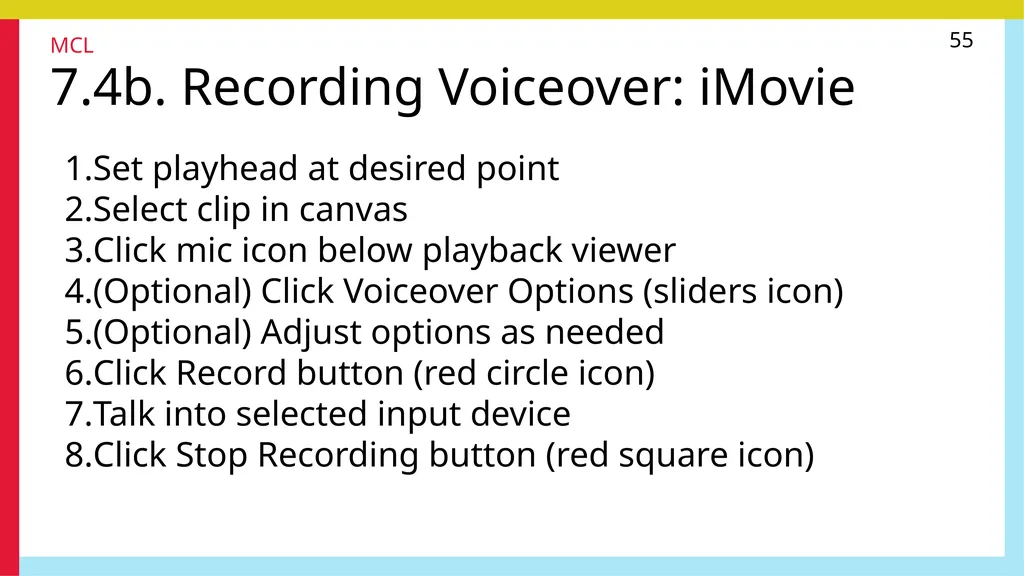
55 7.4b. Recording Voiceover: iMovie Set playhead at desired point
Select clip in canvas
Click mic icon below playback viewer
(Optional) Click Voiceover Options (sliders icon)
(Optional) Adjust options as needed
Click Record button (red circle icon)
Talk into selected input device
Click Stop Recording button (red square icon) MCL<br>
Select clip in canvas
Click mic icon below playback viewer
(Optional) Click Voiceover Options (sliders icon)
(Optional) Adjust options as needed
Click Record button (red circle icon)
Talk into selected input device
Click Stop Recording button (red square icon) MCL<br>
56
56 7.4c. Recording Voiceover: Final Cut Set playhead at desired point
Window -> Record Voiceover
(Optional) Adjust settings
Click Record button (red circle icon)
Talk into selected input device
Click Stop Recording button (red square icon) MCL<br>
Window -> Record Voiceover
(Optional) Adjust settings
Click Record button (red circle icon)
Talk into selected input device
Click Stop Recording button (red square icon) MCL<br>
57
57 7.4d. Recording Voiceover: Resolve Open Fairlight tab (musical-note icon, bottom of UI)
Right-click anywhere on track list (left side of UI)
Select Add Track ... -> Stereo
In Mixer panel (right-side of UI), locate lane of new track
Click No Input button and select Input ...
In pop-up window, select input source
Click Patch and close window
Enable R (arm-recording) button for new track
(Recommended) Enable M (mute) button for Bus1 track MCL<br>
Right-click anywhere on track list (left side of UI)
Select Add Track ... -> Stereo
In Mixer panel (right-side of UI), locate lane of new track
Click No Input button and select Input ...
In pop-up window, select input source
Click Patch and close window
Enable R (arm-recording) button for new track
(Recommended) Enable M (mute) button for Bus1 track MCL<br>
58
58 (continued) 10. Set playhead at desired point
11. Click Record button (circle icon) in toolbar
12. Talk into selected input source
13. Click Stop button (square icon)
14. Disable M button for Bus1 track (prevents live-listening) MCL<br>
11. Click Record button (circle icon) in toolbar
12. Talk into selected input source
13. Click Stop button (square icon)
14. Disable M button for Bus1 track (prevents live-listening) MCL<br>
59
59 7.5. Music Use royalty-free or copyright-clear music
Recordings of original performances
Free/paid content services
Permission from rights holders
Recordings of songs (not songs themselves) copyrighted
‘Public domain’ can be misleading concept (Glendon Digital Media Lab, 2018d) MCL<br>
Recordings of original performances
Free/paid content services
Permission from rights holders
Recordings of songs (not songs themselves) copyrighted
‘Public domain’ can be misleading concept (Glendon Digital Media Lab, 2018d) MCL<br>
60
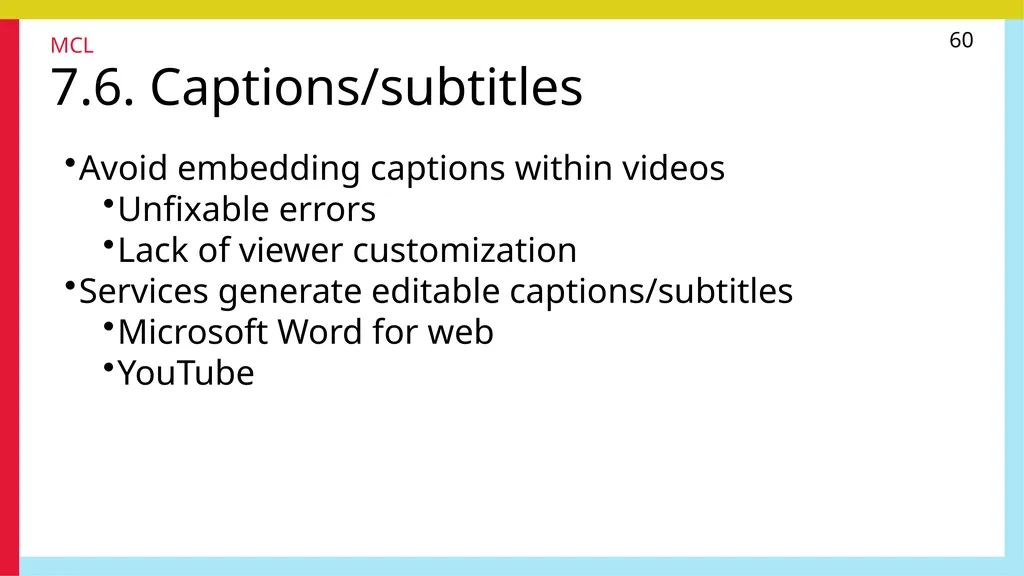
60 7.6. Captions/subtitles Avoid embedding captions within videos
Unfixable errors
Lack of viewer customization
Services generate editable captions/subtitles
Microsoft Word for web
YouTube MCL<br>
Unfixable errors
Lack of viewer customization
Services generate editable captions/subtitles
Microsoft Word for web
YouTube MCL<br>
61
61 8. Workflow Spend time to save time MCL<br>
62
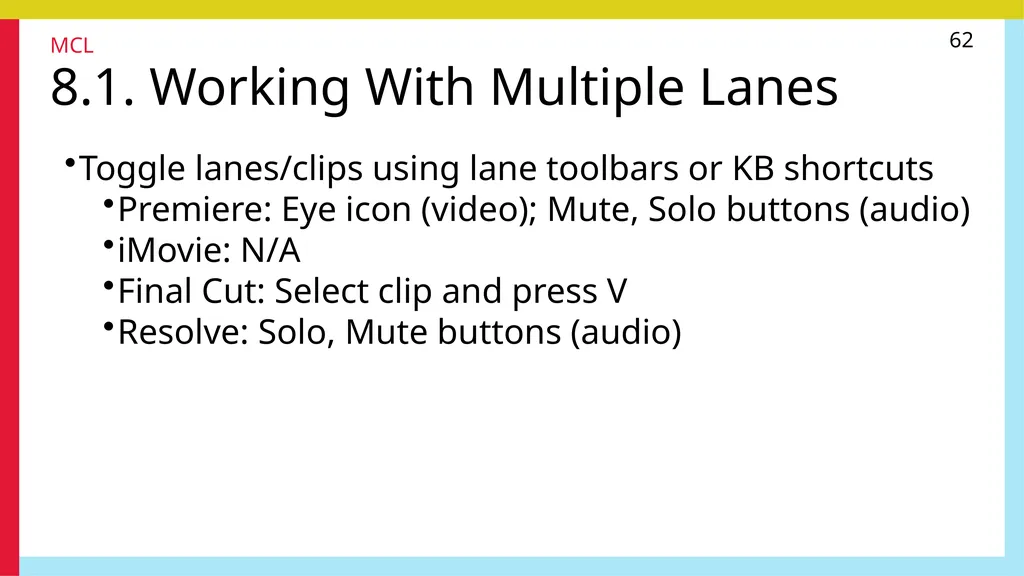
62 8.1. Working With Multiple Lanes Toggle lanes/clips using lane toolbars or KB shortcuts
Premiere: Eye icon (video); Mute, Solo buttons (audio)
iMovie: N/A
Final Cut: Select clip and press V
Resolve: Solo, Mute buttons (audio) MCL<br>
Premiere: Eye icon (video); Mute, Solo buttons (audio)
iMovie: N/A
Final Cut: Select clip and press V
Resolve: Solo, Mute buttons (audio) MCL<br>
63
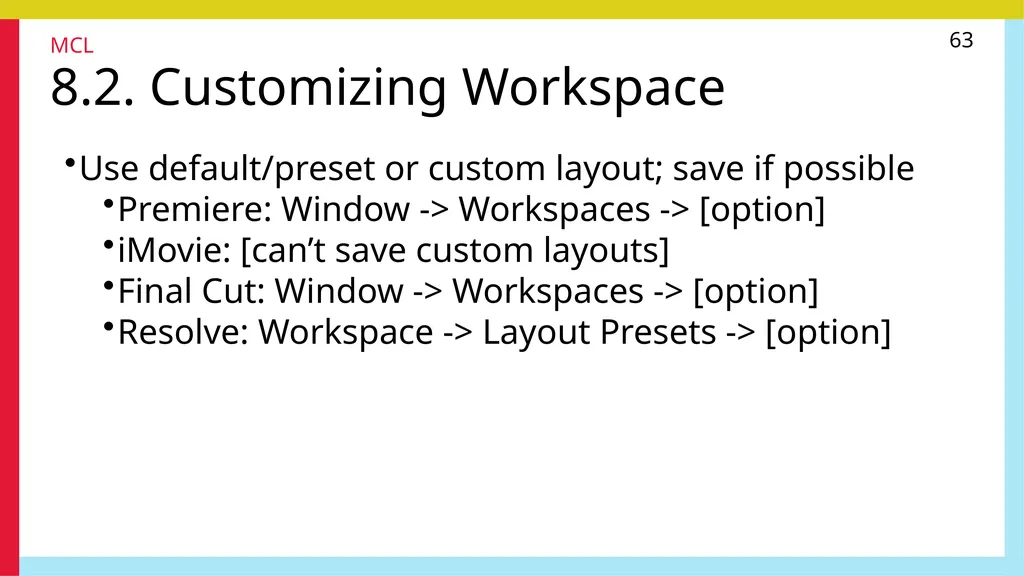
63 8.2. Customizing Workspace Use default/preset or custom layout; save if possible
Premiere: Window -> Workspaces -> [option]
iMovie: [can’t save custom layouts]
Final Cut: Window -> Workspaces -> [option]
Resolve: Workspace -> Layout Presets -> [option] MCL<br>
Premiere: Window -> Workspaces -> [option]
iMovie: [can’t save custom layouts]
Final Cut: Window -> Workspaces -> [option]
Resolve: Workspace -> Layout Presets -> [option] MCL<br>
64
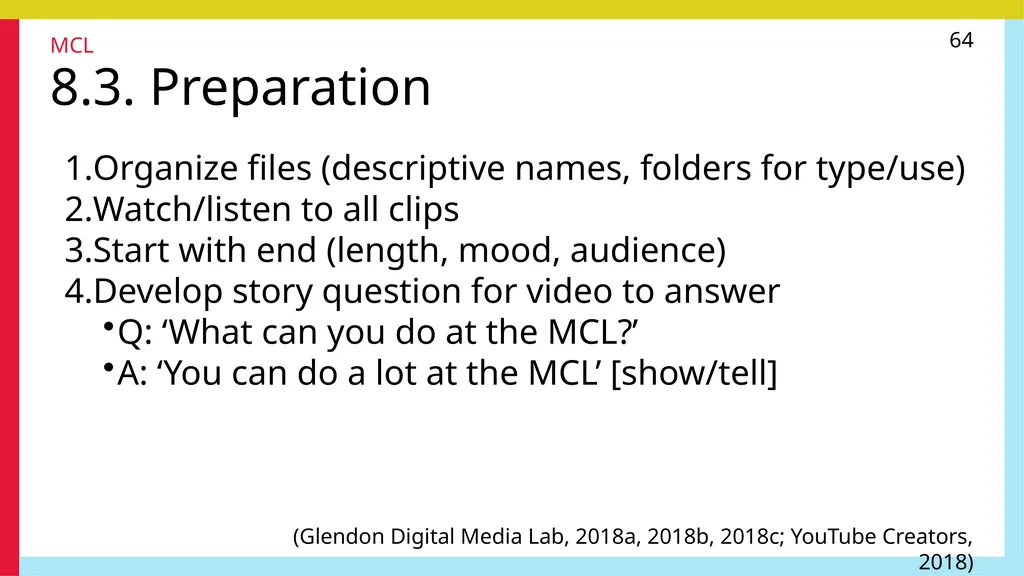
64 8.3. Preparation Organize files (descriptive names, folders for type/use)
Watch/listen to all clips
Start with end (length, mood, audience)
Develop story question for video to answer
Q: ‘What can you do at the MCL?’
A: ‘You can do a lot at the MCL’ [show/tell] (Glendon Digital Media Lab, 2018a, 2018b, 2018c; YouTube Creators, 2018) MCL<br>
Watch/listen to all clips
Start with end (length, mood, audience)
Develop story question for video to answer
Q: ‘What can you do at the MCL?’
A: ‘You can do a lot at the MCL’ [show/tell] (Glendon Digital Media Lab, 2018a, 2018b, 2018c; YouTube Creators, 2018) MCL<br>
65
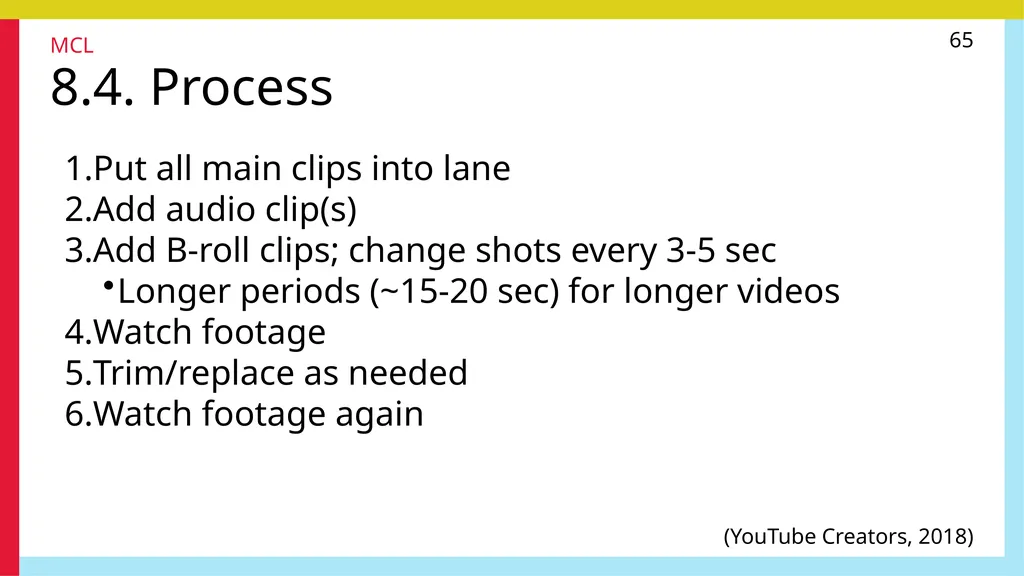
65 8.4. Process Put all main clips into lane
Add audio clip(s)
Add B-roll clips; change shots every 3-5 sec
Longer periods (~15-20 sec) for longer videos
Watch footage
Trim/replace as needed
Watch footage again (YouTube Creators, 2018) MCL<br>
Add audio clip(s)
Add B-roll clips; change shots every 3-5 sec
Longer periods (~15-20 sec) for longer videos
Watch footage
Trim/replace as needed
Watch footage again (YouTube Creators, 2018) MCL<br>
66
66 9. Practice Have fun MCL<br>
67
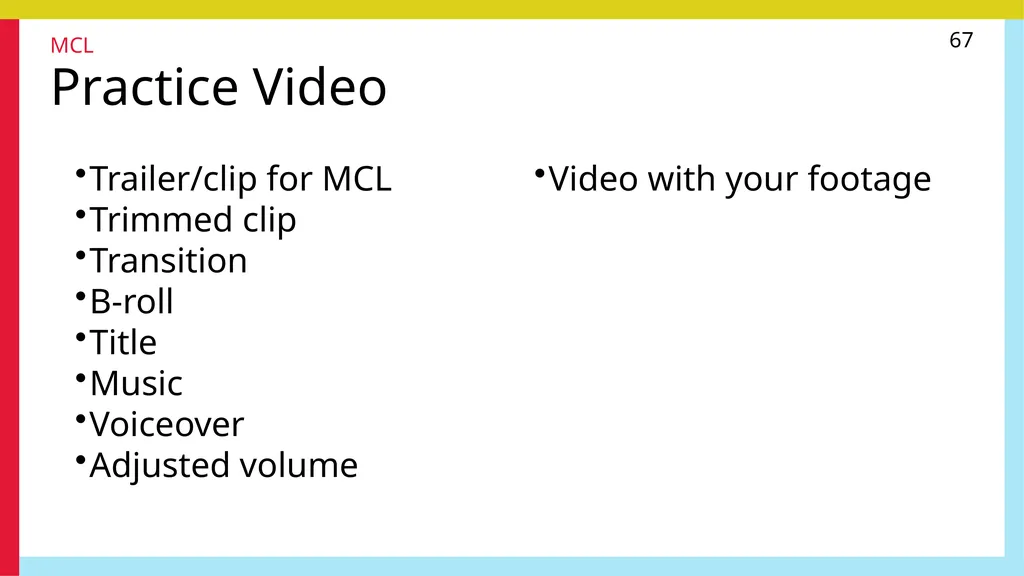
67 Practice Video Trailer/clip for MCL
Trimmed clip
Transition
B-roll
Title
Music
Voiceover
Adjusted volume Video with your footage MCL<br>
Trimmed clip
Transition
B-roll
Title
Music
Voiceover
Adjusted volume Video with your footage MCL<br>
68
68 References MCL<br>
69
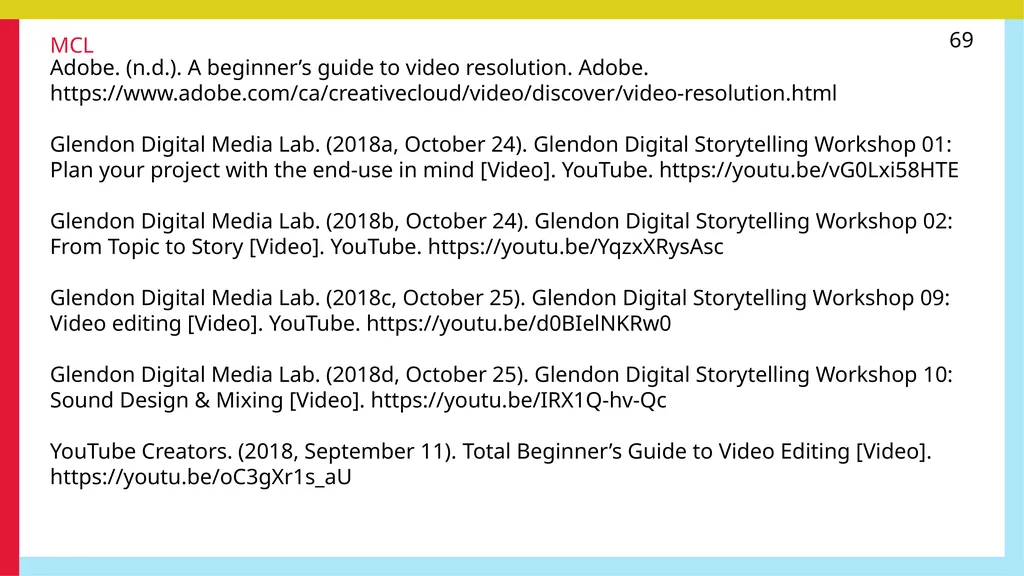
69 Adobe. (n.d.). A beginner’s guide to video resolution. Adobe. https://www.adobe.com/ca/creativecloud/video/discover/video-resolution.html
Glendon Digital Media Lab. (2018a, October 24). Glendon Digital Storytelling Workshop 01: Plan your project with the end-use in mind [Video]. YouTube. https://youtu.be/vG0Lxi58HTE
Glendon Digital Media Lab. (2018b, October 24). Glendon Digital Storytelling Workshop 02: From Topic to Story [Video]. YouTube. https://youtu.be/YqzxXRysAsc
Glendon Digital Media Lab. (2018c, October 25). Glendon Digital Storytelling Workshop 09: Video editing [Video]. YouTube. https://youtu.be/d0BIelNKRw0
Glendon Digital Media Lab. (2018d, October 25). Glendon Digital Storytelling Workshop 10: Sound Design & Mixing [Video]. https://youtu.be/IRX1Q-hv-Qc
YouTube Creators. (2018, September 11). Total Beginner’s Guide to Video Editing [Video]. https://youtu.be/oC3gXr1s_aU MCL<br>
Glendon Digital Media Lab. (2018a, October 24). Glendon Digital Storytelling Workshop 01: Plan your project with the end-use in mind [Video]. YouTube. https://youtu.be/vG0Lxi58HTE
Glendon Digital Media Lab. (2018b, October 24). Glendon Digital Storytelling Workshop 02: From Topic to Story [Video]. YouTube. https://youtu.be/YqzxXRysAsc
Glendon Digital Media Lab. (2018c, October 25). Glendon Digital Storytelling Workshop 09: Video editing [Video]. YouTube. https://youtu.be/d0BIelNKRw0
Glendon Digital Media Lab. (2018d, October 25). Glendon Digital Storytelling Workshop 10: Sound Design & Mixing [Video]. https://youtu.be/IRX1Q-hv-Qc
YouTube Creators. (2018, September 11). Total Beginner’s Guide to Video Editing [Video]. https://youtu.be/oC3gXr1s_aU MCL<br>
70
70 Content by Tim Huynh Ver 3.0 (2023-02-25) This work is licensed under a
Creative Commons Attribution-NonCommercial 4.0 International License. MCL<br>
Creative Commons Attribution-NonCommercial 4.0 International License. MCL<br>