
23 April, 2025 Creating and exporting your virtual

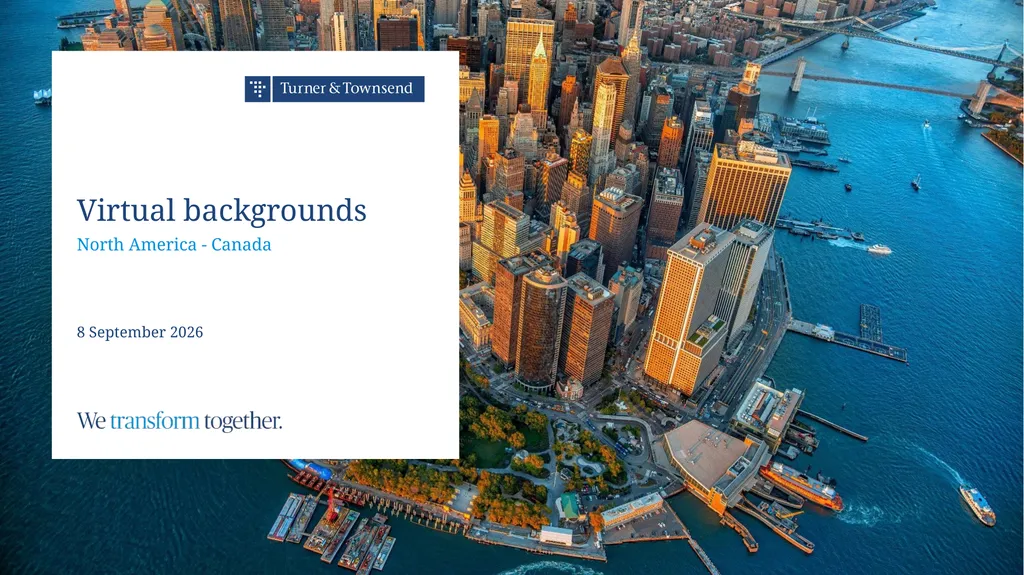
Description: 23 April, 2025 Creating and exporting your virtual backgrounds PC Instructions 2 Select your preferred background There are options for our regions and global segments to select from. The custom option can be used to upload your own Turner
Related Topics
Download Presentation
"23 April, 2025 Creating and exporting your virtual" is the property of its rightful owner. Permission is granted to download and print the materials on this website for personal, non-commercial use only, and to display it on your personal computer provided you do not modify the materials and that you retain all copyright notices contained in the materials. By downloading content from our website, you accept the terms of this agreement.
Presentation Transcript
slide1. 23 April, 2025<br>
slide2. Creating and exporting your virtual backgrounds PC Instructions 2 Select your preferred background
There are options for our regions and global segments to select from. The custom option can be used to upload your own Turner & Townsend approved office or project image. Select your desired background from the slides pane Add in your information
Add in your information to the selected background(s). All backgrounds can be used and loaded into Microsoft Teams/Zoom if multiple options are desired. Fill out with your information (following the additional guidance on each slide) Export the selected background as a .jpg
Under the ”File” menu select “Save a Copy”. Find a location to save the file and change the file type to JPG. Upon hitting save, you will be given the options for one slide or all slides. By default, your image will export at 96DPI producing a 2560x1440 image. Select the location and file name to save your file. If exporting multiple backgrounds, select “All slides”<br>
slide3. Creating and exporting your virtual backgrounds Mac Instructions 3 Select your preferred background
There are options for our regions and global segments to select from. The custom option can be used to upload your own Turner & Townsend approved office or project image. Select your desired background from the slides pane Add in your information
Add in your information to the selected background(s). All backgrounds can be used and loaded into Microsoft Teams/Zoom if multiple options are desired. Fill out with your information (following the additional guidance on each slide) Export the selected background as a .jpg
Under the ”File” menu select “Export”. Find a location to save the file and change the file type to JPG. If exporting a single background, select “Save current slide only”. Select the location and file name to save your file. Make sure the dimensions are 1920x1080 and “save current slide only” is selected If exporting multiple backgrounds, select “save every slide”<br>
slide4. Importing your new Turner & Townsend backgrounds Teams Open your calendar in Teams
At the top right, select “Meet Now” and “Start Meeting”. Select effects and avatars
The Effects and avatars options can be selected with your camera turned on. From the bottom of your list, you will select “More video effects” then “Add new.” Upload backgrounds
After you’ve uploaded your background*, you may need to click “Show all” and scroll to the bottom of the video effects. Select your background and close out the meeting. This will allow us to open the pre-meeting launch window. To load your background, you will select from your files after selecting “Add new”. Once you’ve selected your background, it should remain for all meetings unless you make additional changes.
*Your background may look mirrored in the preview, but this will be correct for people viewing your call. Select the gear icon and ensure the “Mirror my video” is toggled on.<br>
slide5. Importing your new Turner & Townsend backgrounds Zoom Open the settings in your zoom desktop app
Settings can be viewed by clicking the gear icon on the upper right Zoom home screen or through the Zoom menu by clicking “Preferences”. Select backgrounds & filters from settings
The “Background & Filters” option can be found in the settings menu. In the future, this is where you’ll select which background to use before virtual meetings. Upload backgrounds and adjust setting
Select the “+” icon just below the preview window. Make sure “Mirror my video” option is not selected. Only select “I have a green screen” if using a green screen setup. Select the gear icon or access settings from the Zoom tool bar menu To load and select backgrounds for presentations, navigate to the ”Background & Filters” menu screen Click the “+” sign icon and “select image” to load your saved backgrounds Select your saved images (multiple can be used) Make sure that ”Mirror my video” is not selected and close out of the “Settings” window<br>
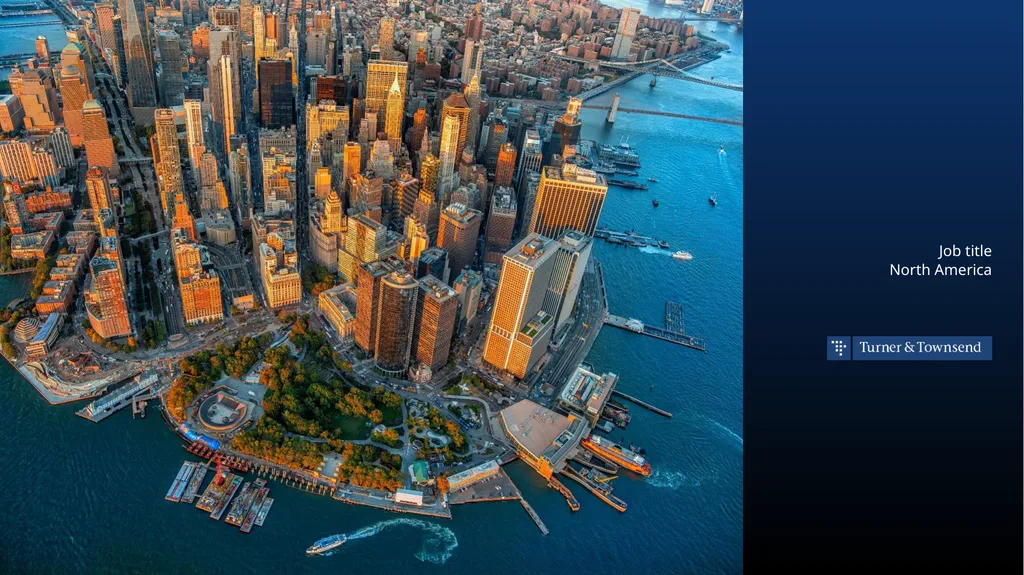
slide6. Job title North America<br>
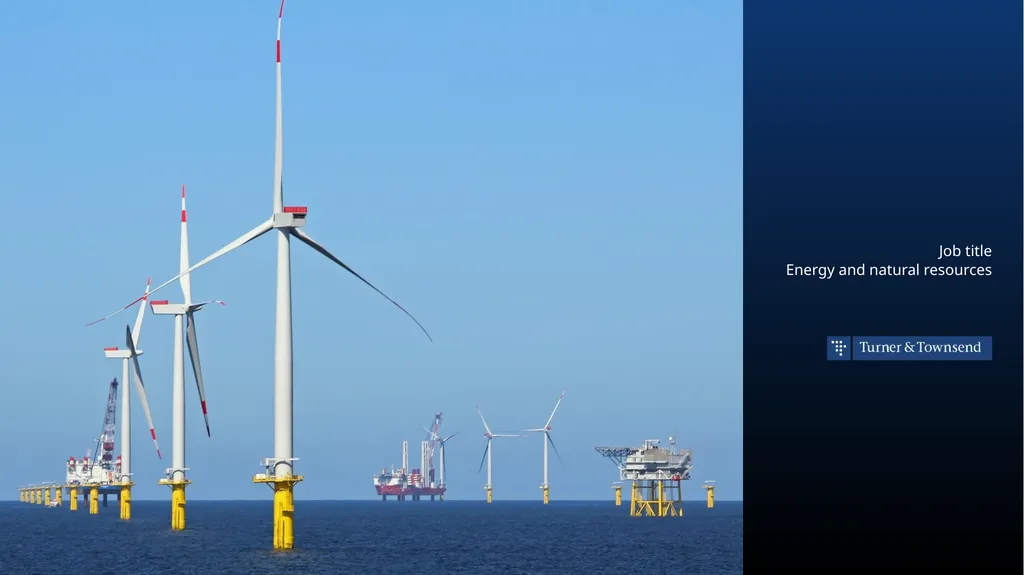
slide7. Job title Energy and natural resources<br>
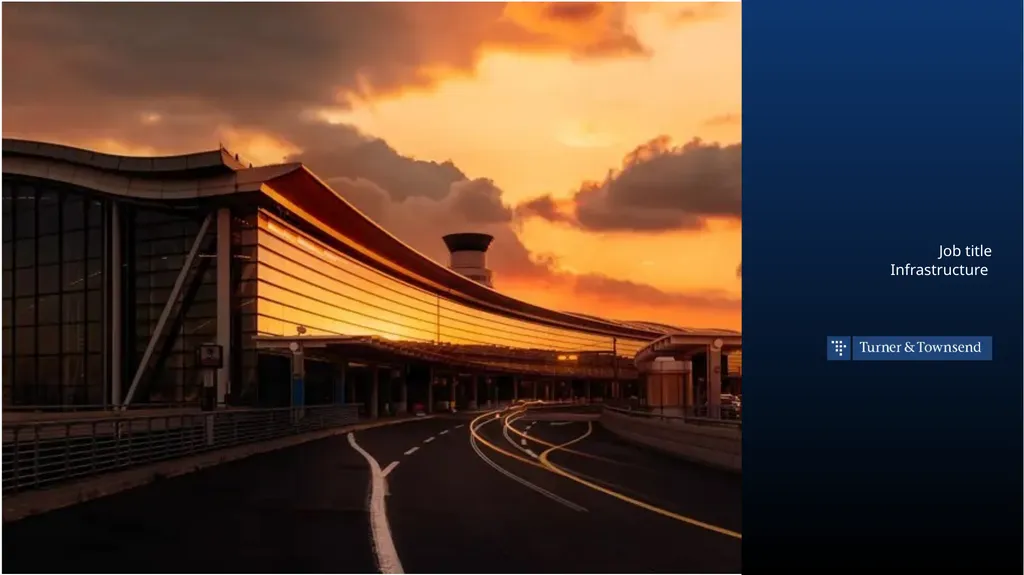
slide8. Job title Infrastructure<br>
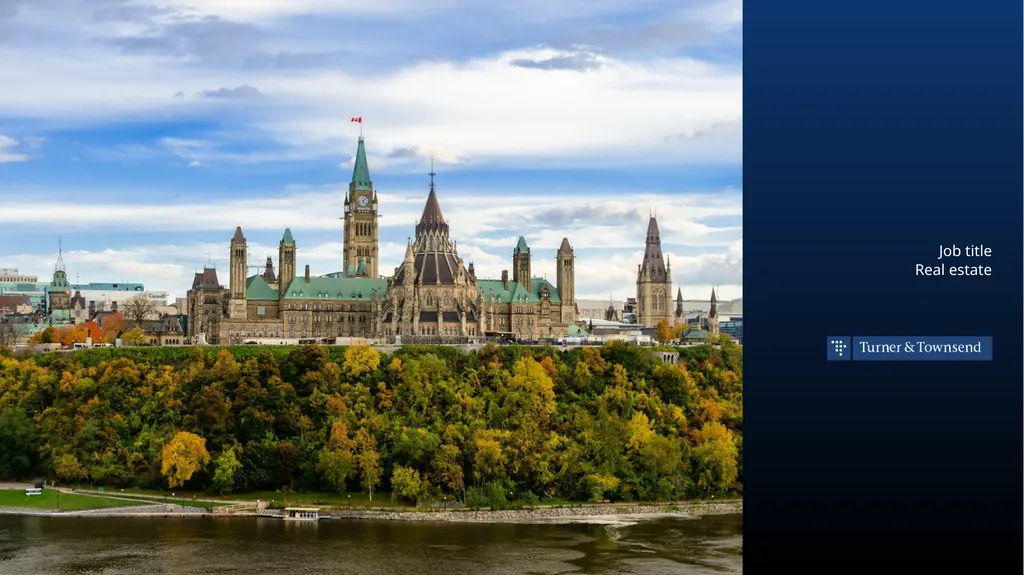
slide9. Job title Real estate<br>
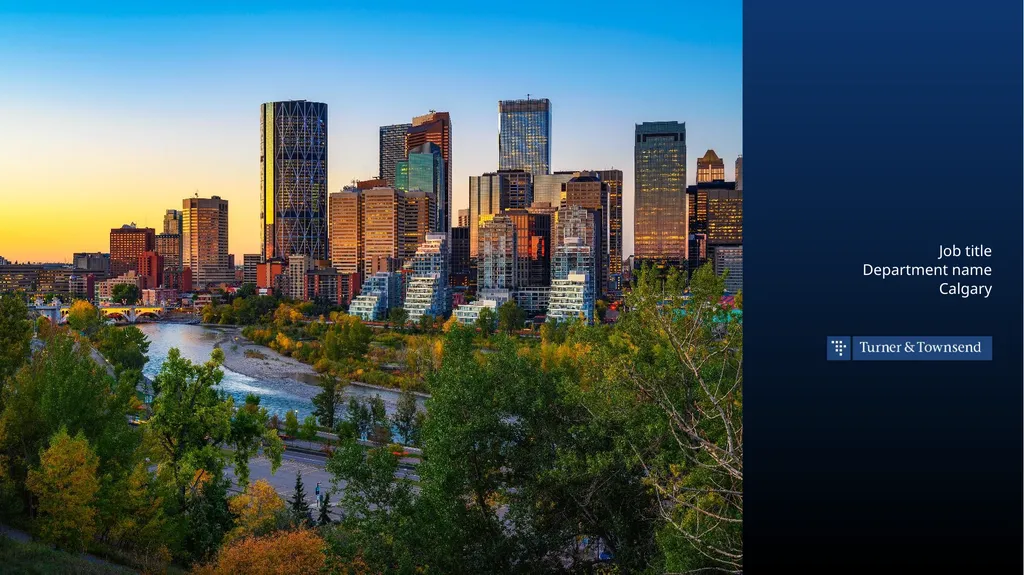
slide10. Job title Department name Calgary<br>
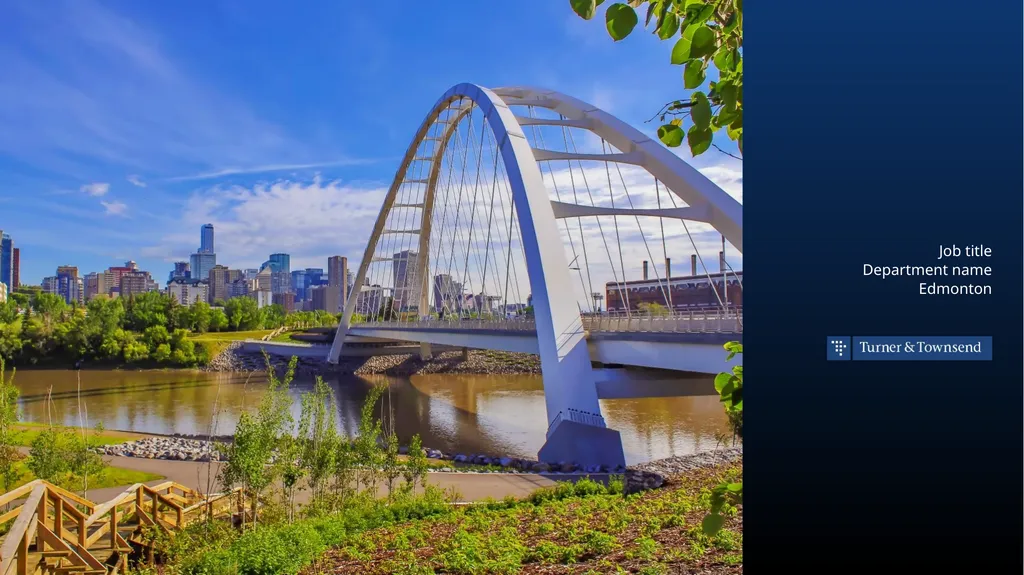
slide11. Job title Department name Edmonton<br>
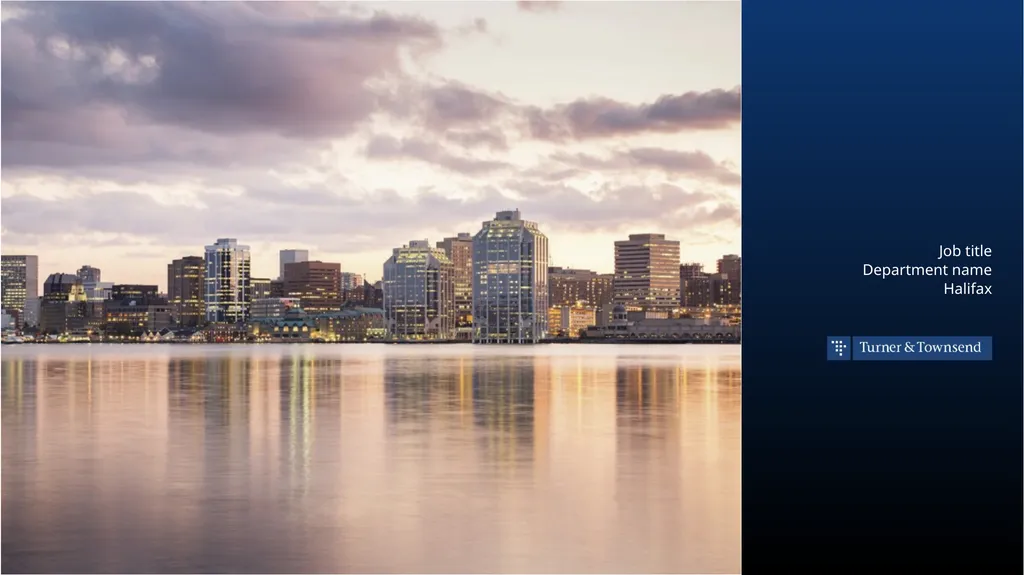
slide12. Job title Department name Halifax<br>
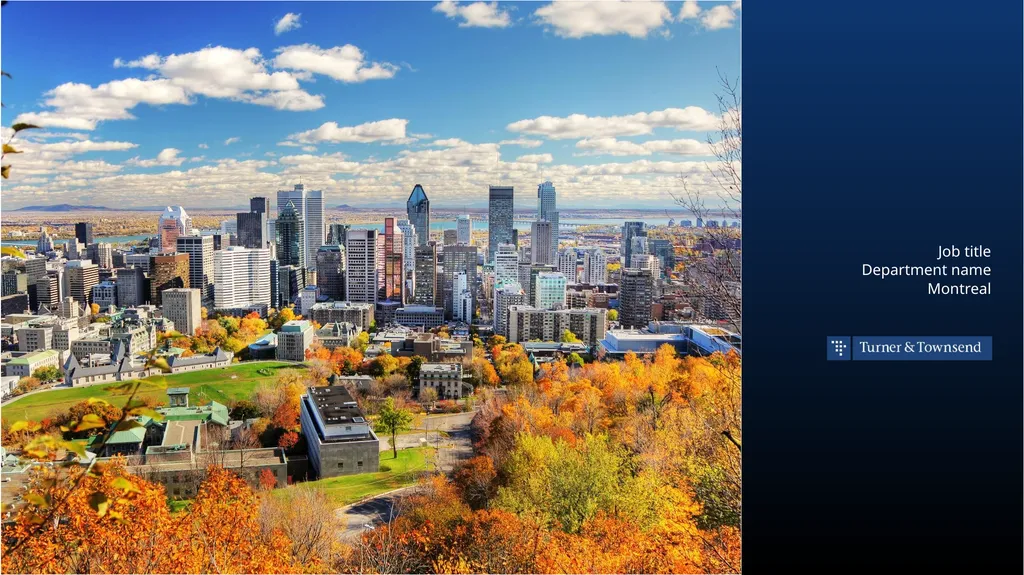
slide13. Job title Department name Montreal<br>
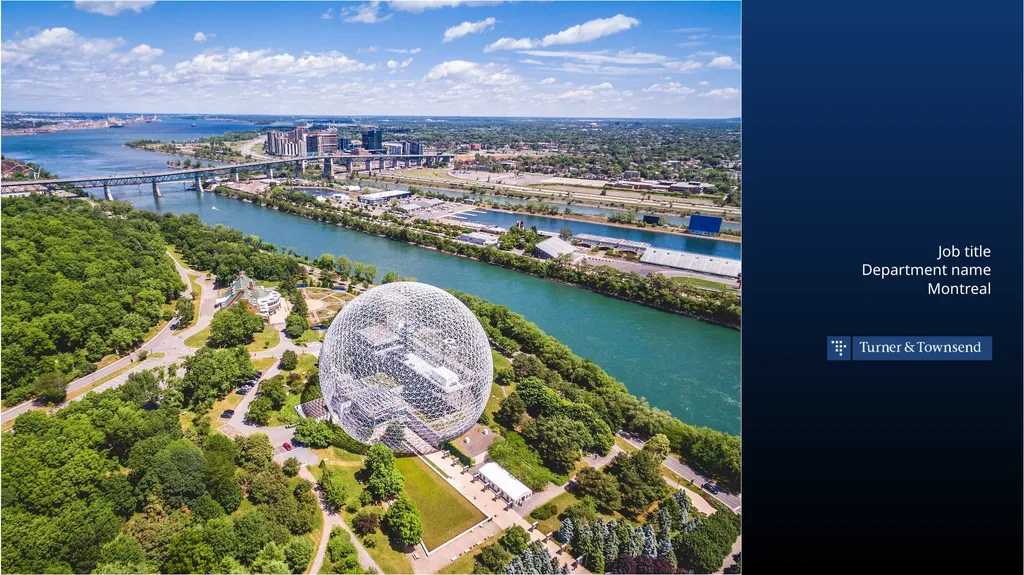
slide14. Job title Department name Montreal<br>
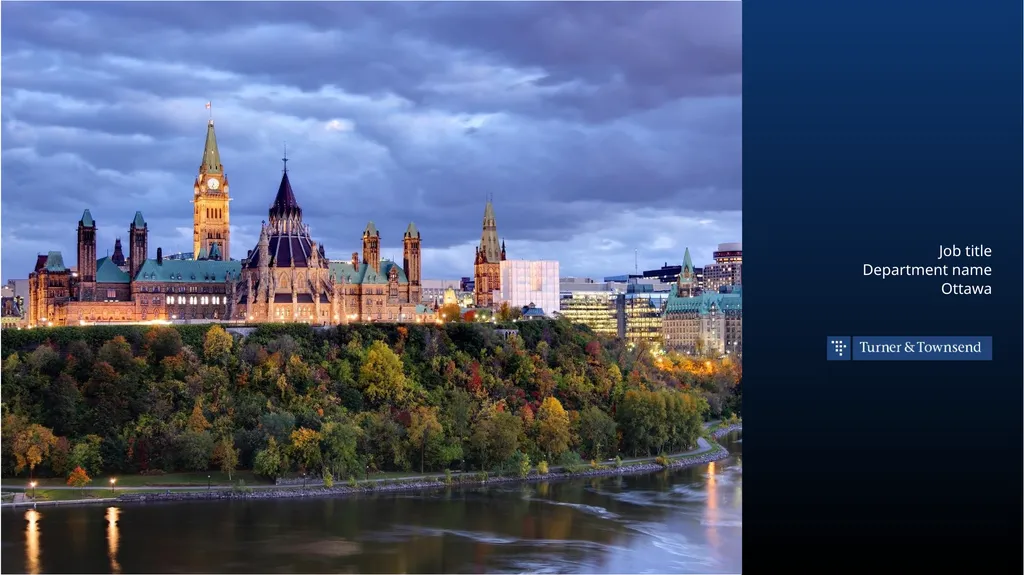
slide15. Job title Department name Ottawa<br>
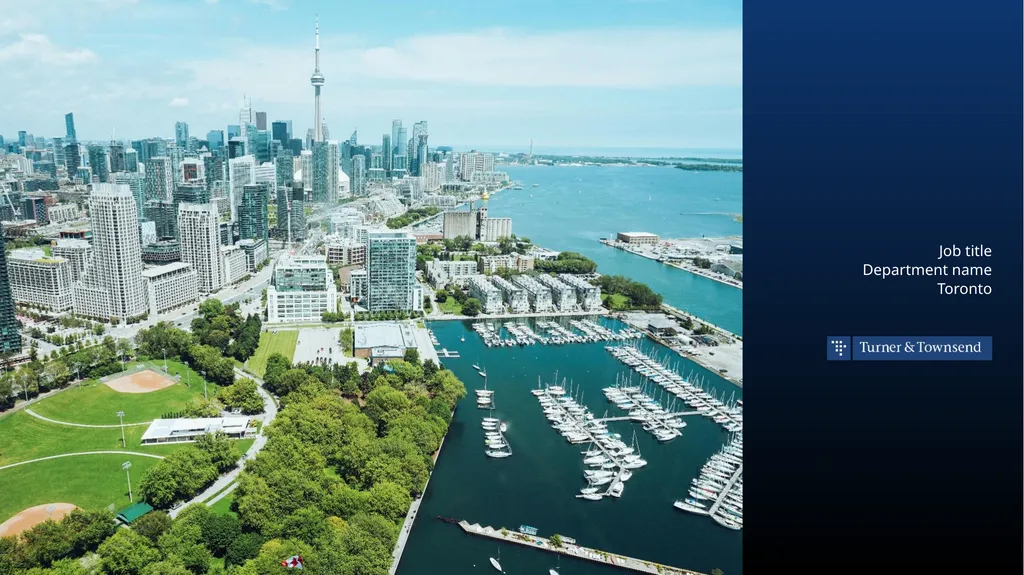
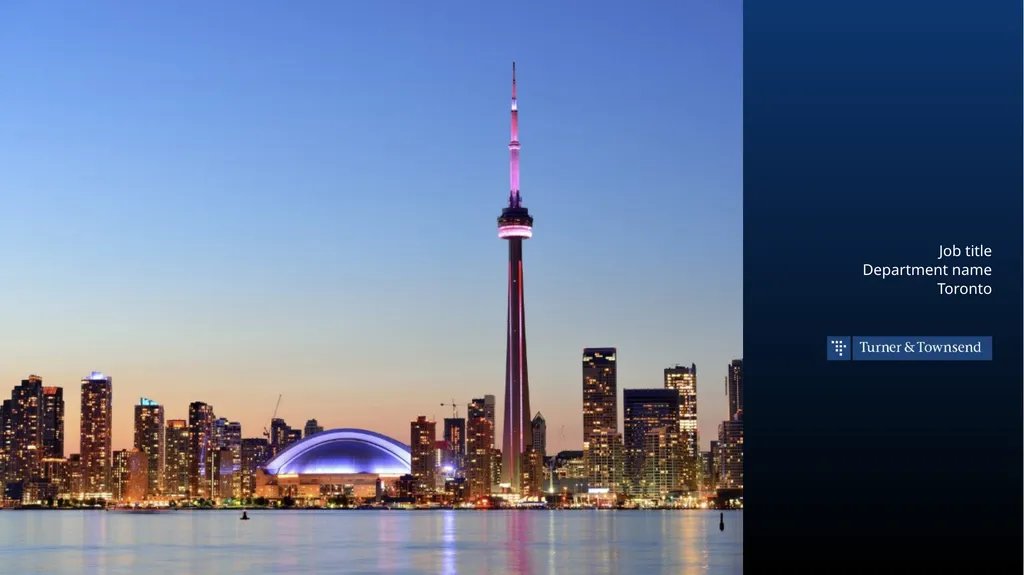
slide16. Job title Department name Toronto<br>
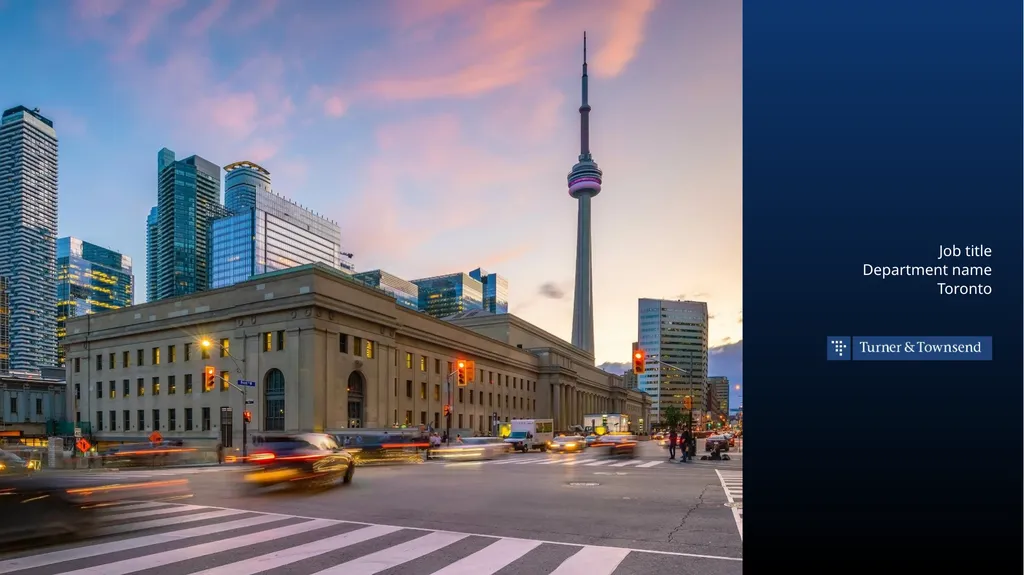
slide17. Job title Department name Toronto<br>
slide18. Job title Department name Toronto<br>
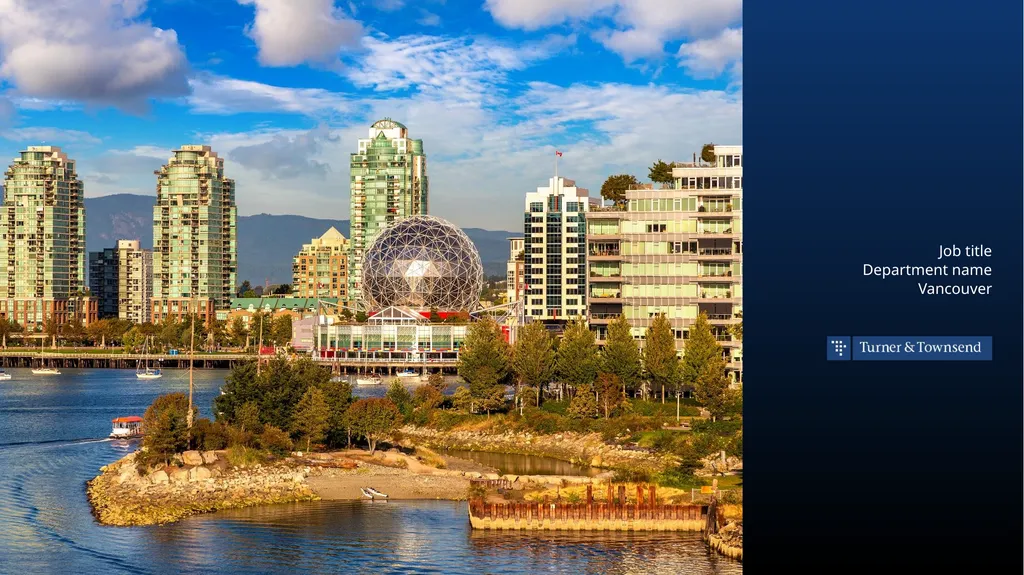
slide19. Job title Department name Vancouver<br>
slide20. Job title Department Name Click HERE to visit the Turner & Townsend image library. First name Last name<br>
slide2. Creating and exporting your virtual backgrounds PC Instructions 2 Select your preferred background
There are options for our regions and global segments to select from. The custom option can be used to upload your own Turner & Townsend approved office or project image. Select your desired background from the slides pane Add in your information
Add in your information to the selected background(s). All backgrounds can be used and loaded into Microsoft Teams/Zoom if multiple options are desired. Fill out with your information (following the additional guidance on each slide) Export the selected background as a .jpg
Under the ”File” menu select “Save a Copy”. Find a location to save the file and change the file type to JPG. Upon hitting save, you will be given the options for one slide or all slides. By default, your image will export at 96DPI producing a 2560x1440 image. Select the location and file name to save your file. If exporting multiple backgrounds, select “All slides”<br>
slide3. Creating and exporting your virtual backgrounds Mac Instructions 3 Select your preferred background
There are options for our regions and global segments to select from. The custom option can be used to upload your own Turner & Townsend approved office or project image. Select your desired background from the slides pane Add in your information
Add in your information to the selected background(s). All backgrounds can be used and loaded into Microsoft Teams/Zoom if multiple options are desired. Fill out with your information (following the additional guidance on each slide) Export the selected background as a .jpg
Under the ”File” menu select “Export”. Find a location to save the file and change the file type to JPG. If exporting a single background, select “Save current slide only”. Select the location and file name to save your file. Make sure the dimensions are 1920x1080 and “save current slide only” is selected If exporting multiple backgrounds, select “save every slide”<br>
slide4. Importing your new Turner & Townsend backgrounds Teams Open your calendar in Teams
At the top right, select “Meet Now” and “Start Meeting”. Select effects and avatars
The Effects and avatars options can be selected with your camera turned on. From the bottom of your list, you will select “More video effects” then “Add new.” Upload backgrounds
After you’ve uploaded your background*, you may need to click “Show all” and scroll to the bottom of the video effects. Select your background and close out the meeting. This will allow us to open the pre-meeting launch window. To load your background, you will select from your files after selecting “Add new”. Once you’ve selected your background, it should remain for all meetings unless you make additional changes.
*Your background may look mirrored in the preview, but this will be correct for people viewing your call. Select the gear icon and ensure the “Mirror my video” is toggled on.<br>
slide5. Importing your new Turner & Townsend backgrounds Zoom Open the settings in your zoom desktop app
Settings can be viewed by clicking the gear icon on the upper right Zoom home screen or through the Zoom menu by clicking “Preferences”. Select backgrounds & filters from settings
The “Background & Filters” option can be found in the settings menu. In the future, this is where you’ll select which background to use before virtual meetings. Upload backgrounds and adjust setting
Select the “+” icon just below the preview window. Make sure “Mirror my video” option is not selected. Only select “I have a green screen” if using a green screen setup. Select the gear icon or access settings from the Zoom tool bar menu To load and select backgrounds for presentations, navigate to the ”Background & Filters” menu screen Click the “+” sign icon and “select image” to load your saved backgrounds Select your saved images (multiple can be used) Make sure that ”Mirror my video” is not selected and close out of the “Settings” window<br>
slide6. Job title North America<br>
slide7. Job title Energy and natural resources<br>
slide8. Job title Infrastructure<br>
slide9. Job title Real estate<br>
slide10. Job title Department name Calgary<br>
slide11. Job title Department name Edmonton<br>
slide12. Job title Department name Halifax<br>
slide13. Job title Department name Montreal<br>
slide14. Job title Department name Montreal<br>
slide15. Job title Department name Ottawa<br>
slide16. Job title Department name Toronto<br>
slide17. Job title Department name Toronto<br>
slide18. Job title Department name Toronto<br>
slide19. Job title Department name Vancouver<br>
slide20. Job title Department Name Click HERE to visit the Turner & Townsend image library. First name Last name<br>