Cleaning Grooming Equipment Introduction Whilst sterilising your equipment is an effective tool to kill bacteria, it does not have the ability to remove hair and grime from your equipment. It is therefore important to complete a full
"Cleaning Grooming Equipment Introduction Whilst" is the property of its rightful owner. Permission is granted to
download and print the materials on this website for personal, non-commercial use only, and to display it
on your personal computer provided you do not modify the materials and that you retain all copyright
notices contained in the materials. By downloading content from our website, you accept the terms of this
agreement.
Presentation Transcript
01
Cleaning Grooming Equipment<br>
02
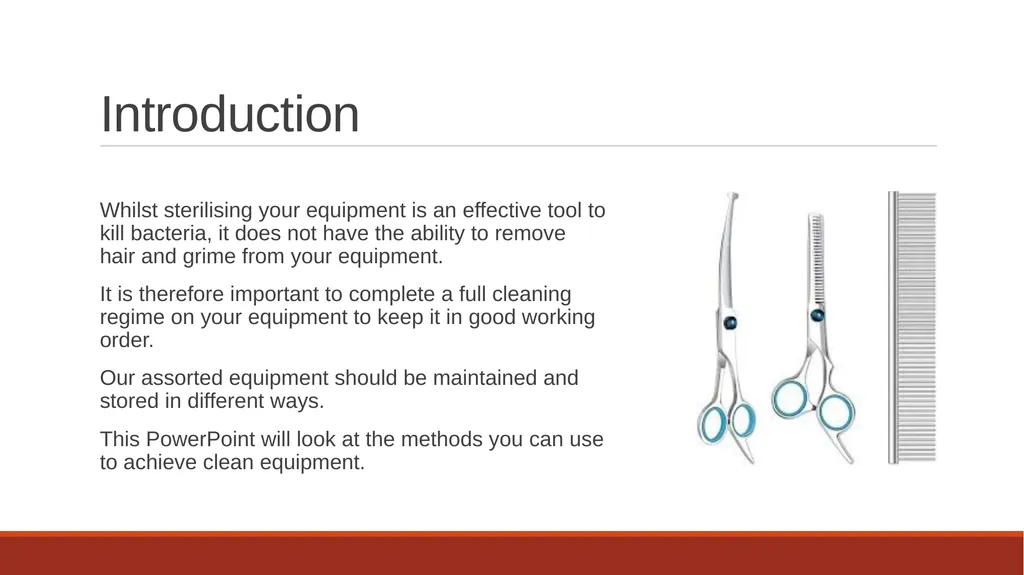
Introduction Whilst sterilising your equipment is an effective tool to kill bacteria, it does not have the ability to remove hair and grime from your equipment.
It is therefore important to complete a full cleaning regime on your equipment to keep it in good working order.
Our assorted equipment should be maintained and stored in different ways.
This PowerPoint will look at the methods you can use to achieve clean equipment.<br>
03
Sterilising - All of your equipment should be sterilised at the end of every groom you complete. This prevents you from passing on any harmful bacteria to other dogs.
- All hair and debris should be removed from equipment before being sterilised. Otherwise it can act as a barrier that stops the sterilisation process from being effective.
- Your scissors should be sterilised whilst open. Closed scissors will again act as a barrier to the process.
- Equipment should be sterilised for the amount of time the product specifies. Any less and the outcome will not be effective.
- There are different methods of sterilisation. You should pick the one that suits your business.<br>
04
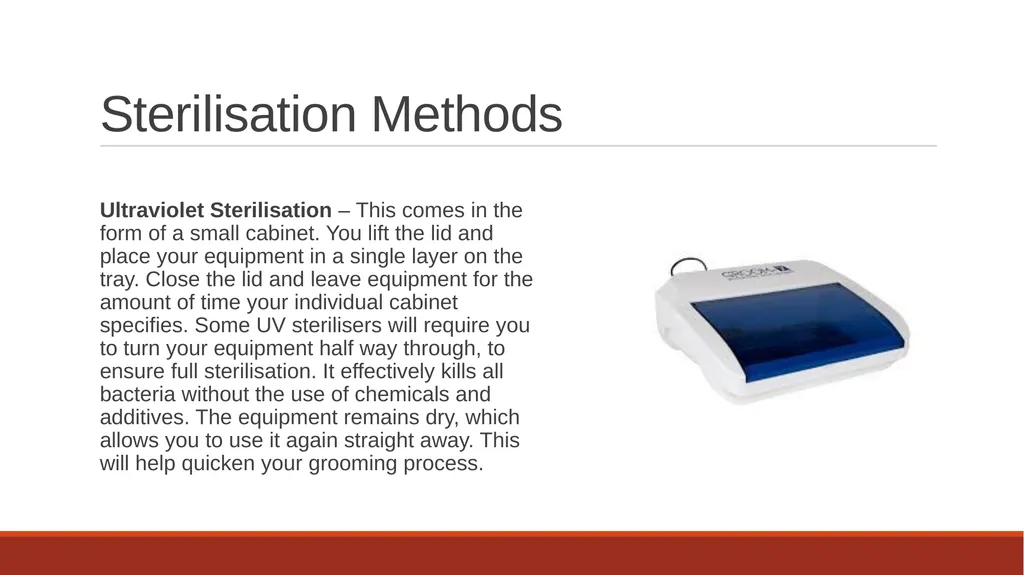
Sterilisation Methods Ultraviolet Sterilisation – This comes in the form of a small cabinet. You lift the lid and place your equipment in a single layer on the tray. Close the lid and leave equipment for the amount of time your individual cabinet specifies. Some UV sterilisers will require you to turn your equipment half way through, to ensure full sterilisation. It effectively kills all bacteria without the use of chemicals and additives. The equipment remains dry, which allows you to use it again straight away. This will help quicken your grooming process.<br>
05
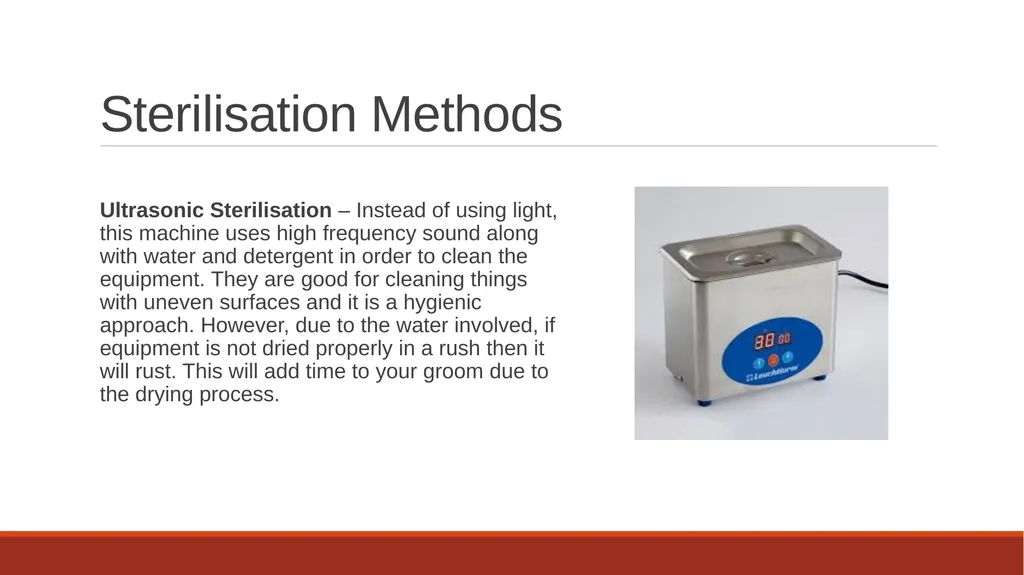
Sterilisation Methods Ultrasonic Sterilisation – Instead of using light, this machine uses high frequency sound along with water and detergent in order to clean the equipment. They are good for cleaning things with uneven surfaces and it is a hygienic approach. However, due to the water involved, if equipment is not dried properly in a rush then it will rust. This will add time to your groom due to the drying process.<br>
06
Sterilisation Methods Barbicide – This is a chemical based sterilisation process, that requires the use of correct ratios to suitably sterilise the equipment. It does NOT kill all bacteria, so equipment you suspect may have come into contact with some form of infection should be sterilised in a different way. Equipment must be submerged in the solution for the recommended time frame given. Equipment will be wet after use and require drying.
4 in 1 Spray – This is a chemical spray form of sterilising. It is a fast method that lubricates, cools, cleans and prevents rust. This method is for clipper blades only. It is useful throughout a groom for blade maintenance. This method should not be solely relied upon for cleaning, blades should still be properly soaked in a suitable solution to remove grime.<br>
07
Cleaning Blades - Preparation Equipment needed for the task:
Small Plastic Tub Klipwell Solution Clipper Oil Towel/Blue Roll Clippers
Initial Steps for Preparation:
Use a small brush to remove hair and debris from your blades.
Place your blades in your steriliser for time stated.
You will need to have your bottle of Klipwell solution and the plastic tub for cleaning your blades ready at this point. Note - Klipwell solution will stain the tub and is oily so try and use it only for this purpose.<br>
08
Cleaning Blades - Method Place your blades in the tub and pour the solution until the blades are fully submerged in the fluid.
They should be left to soak for 10-15 minutes.
Remove them from the tub and dry them off as much as possible using your towel/blue roll. As the substance is oily, they will not feel dry on completion.
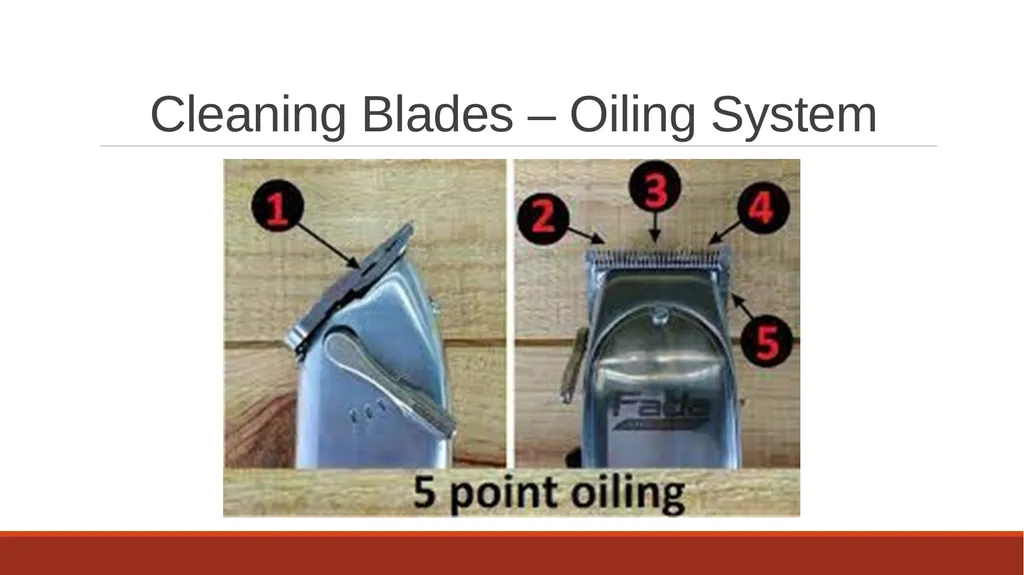
Place some blue roll on your table. Place one of the blades back on your clippers and hold your clippers horizontally. Oil the blade using the five-point oiling system (see diagram on next page), over the towel.
Point the clippers so the blade is facing downwards towards it. Turn clippers on. This allows the oil to run down from the blade onto your table instead of into the motor. Then repeat for all blades.<br>
09
Cleaning Blades – Oiling System<br>
10
Blade Storage Blades are a sharp object. As such they should be appropriately stored for safe keeping.
There are a number of blade storing items you can choose from including:
- Hard blade cases
- Blade caddies
- Folding blade cases
Blades should be stored face down to avoid cutting yourself on them (This also allows you to see the blade numbers). In your salon, you could keep your blades in an area labelled with ‘sharp objects’, as a warning to staff.<br>
11
Clippers Cleaning Remember it is just as important to clean your clippers as it is to clean the rest of your equipment.
Though you cannot put them in a steriliser, you can still clean them between grooms.
Using a cloth sprayed with Safe4 spray, you can wipe away any bacteria between grooms. This ensures you cannot pass anything on to the different dogs during your working day.
You can hoover the area where your blade attaches to remove loose hair, or use a small brush to get rid of them instead.<br>
12
Cleaning Scissors - Preparation Equipment needed for the task:
Medium Sized Container Barbicide Oil Water Blue Roll Dryer
Steps to follow:
Use a small brush to remove any hair and debris from the scissors.
Place your scissors open into the steriliser for the amount of time stated.
Get your plastic tray and Barbicide on your table ready for use.<br>
13
Cleaning Scissors - Method Pour 500ml of cold water into the tray and add a cap full of the barbicide solution in it.
Place your open scissors in the solution ensuring they are fully covered.
Soak for 10 minutes
Rinse scissors in cold water after removing them from the solution. Dry thoroughly using blue roll and then blast with your dryer carefully.
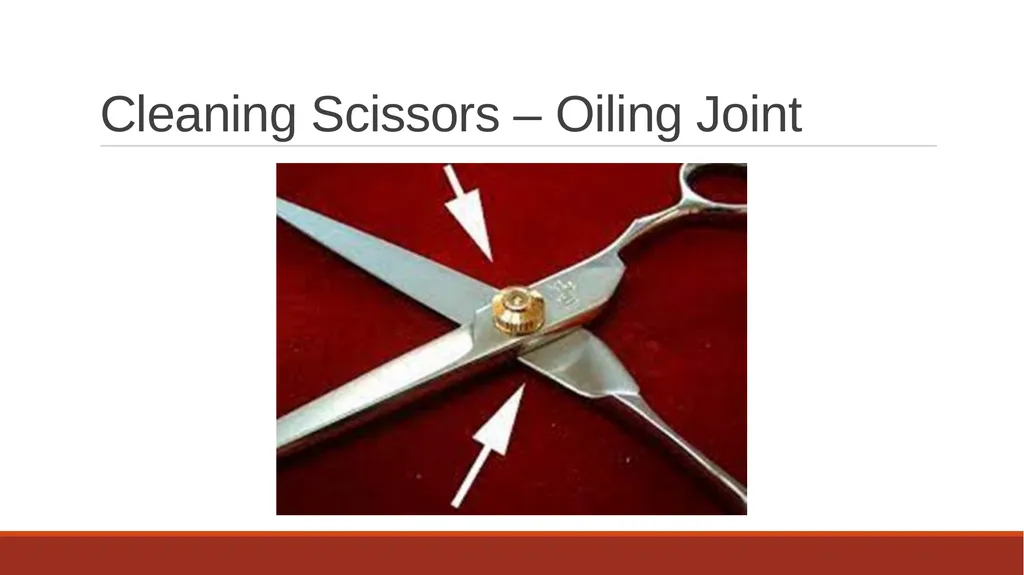
Oil the pivot joint once fully dry (see image on next page). You can dab a small amount of oil on blue roll and gently wipe up each blade. Scissors should be opened and closed several times to fully absorb oil into the joint.<br>
14
Cleaning Scissors – Oiling Joint<br>
15
Scissors Storage Scissors are a sharp object. As such they should be appropriately stored for safe keeping.
Scissors are usually stored in a scissor case.
These can vary a lot in length and width – depending on the amount of scissors they can store inside them.
The cases provide elasticated holds for your scissors to slot into. These should be used in order to keep both them and you safe.<br>
16
General Equipment Cleaning For most of your equipment, a softer cleaning approach is recommended.
This includes the following:
Comb attachments Brushes
Rakes Combs
Nail clippers Rubber Mitts
Furminators Hand Stripping Tools
Coat Kings De-Matters<br>
17
General Equipment Cleaning Preparation Equipment needed for task:
Shallow Big Tray Fairy Liquid White Vinegar Towel/Blue Roll Dryer
Steps to follow:
1. Remove all hair and debris from the equipment. This can be tricky depending on which pieces you are cleaning. You can use small brushes for some and combs/fingers for slicker brushes.
2. Place them in the steriliser for the necessary amount of time.<br>
18
General Equipment Cleaning Steps to follow:
Using the big tray, add a teaspoon of fairy liquid and white vinegar, then fill it half way with warm water.
Place all equipment in the tray, making sure it is all covered by the water.
Soak equipment for 30 minutes.
Dry with blue roll wiping off any excess dirt and debris. Use your dryer to ensure all are fully dry, otherwise they may rust.<br>
19
General Equipment Storage Many of the items listed under this category are labelled as sharp objects. As such they should be appropriately stored for safe keeping.
They can be stored in a number of ways:
- Grooming Tool Bags
- Grooming Trolleys
- Tool Caddies
Just Remember – Sharp objects should be stored face down to avoid injury, no matter which storage option you choose from.<br>