
Lec1:Introduction to the Microscope What Is
BR
Published · 17 slides · 0 views
1 / 1

Description
Lec1:Introduction to the Microscope What Is Microscope? It is an instrument which deals with too small organisms that they cannot be seen distinctly with the naked eye Microscopes provide the observer with enhanced resolution (ability to
Related Topics
Share
Embed code
Download this presentation From Below
"Lec1:Introduction to the Microscope What Is" is the property of its rightful owner. Permission is granted to download and print the materials on this website for personal, non-commercial use only, and to display it on your personal computer provided you do not modify the materials and that you retain all copyright notices contained in the materials. By downloading content from our website, you accept the terms of this agreement.
Presentation Transcript
01
Lec1:Introduction to the Microscope What Is Microscope?<br>
02
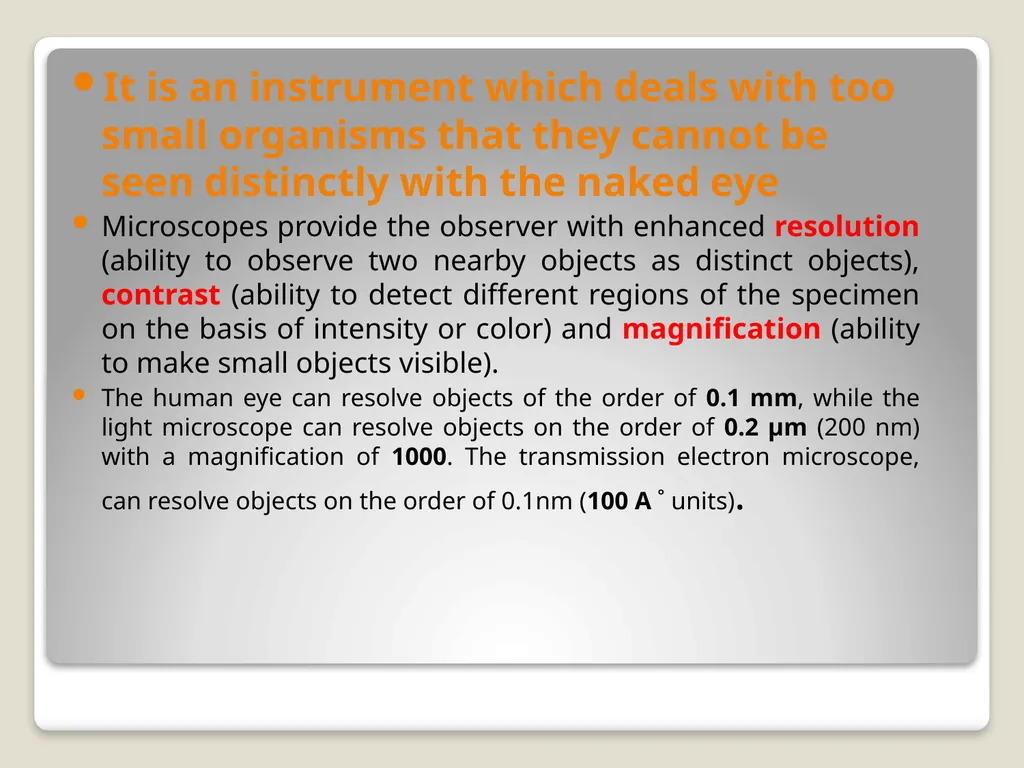
It is an instrument which deals with too small organisms that they cannot be seen distinctly with the naked eye
Microscopes provide the observer with enhanced resolution (ability to observe two nearby objects as distinct objects), contrast (ability to detect different regions of the specimen on the basis of intensity or color) and magnification (ability to make small objects visible).
The human eye can resolve objects of the order of 0.1 mm, while the light microscope can resolve objects on the order of 0.2 µm (200 nm) with a magnification of 1000. The transmission electron microscope, can resolve objects on the order of 0.1nm (100 A ˚ units).<br>
Microscopes provide the observer with enhanced resolution (ability to observe two nearby objects as distinct objects), contrast (ability to detect different regions of the specimen on the basis of intensity or color) and magnification (ability to make small objects visible).
The human eye can resolve objects of the order of 0.1 mm, while the light microscope can resolve objects on the order of 0.2 µm (200 nm) with a magnification of 1000. The transmission electron microscope, can resolve objects on the order of 0.1nm (100 A ˚ units).<br>
03
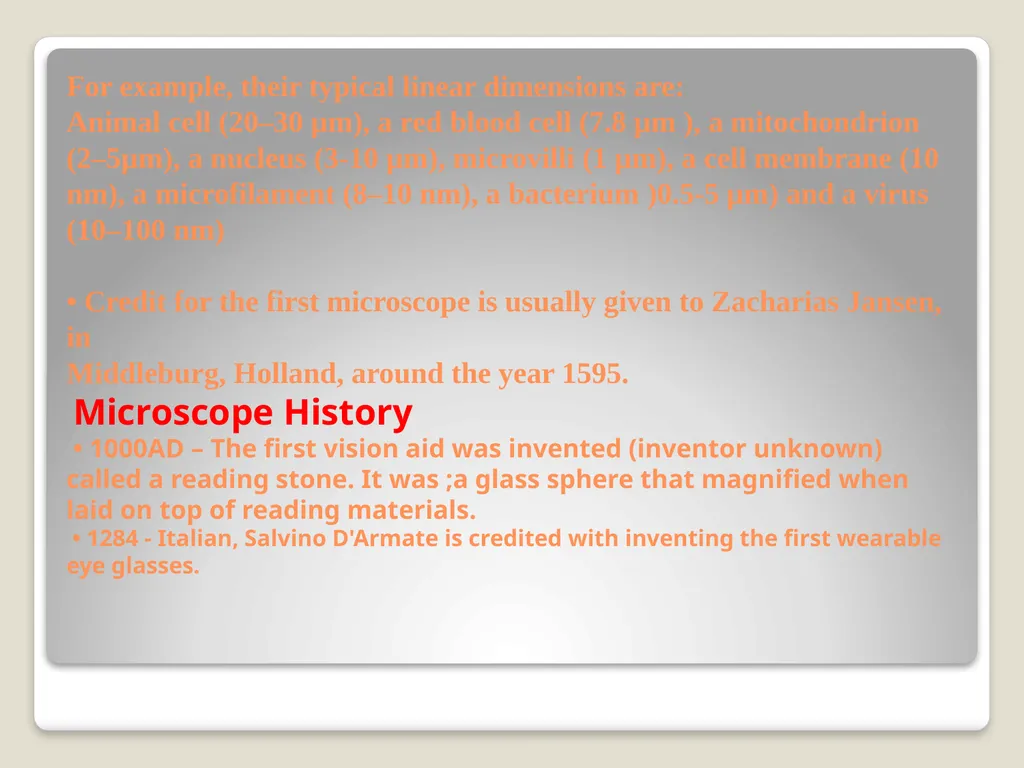
For example, their typical linear dimensions are:
Animal cell (20–30 µm), a red blood cell (7.8 µm ), a mitochondrion (2–5µm), a nucleus (3-10 µm), microvilli (1 µm), a cell membrane (10 nm), a microfilament (8–10 nm), a bacterium )0.5-5 µm) and a virus (10–100 nm)
• Credit for the first microscope is usually given to Zacharias Jansen, in
Middleburg, Holland, around the year 1595.
Microscope History
• 1000AD – The first vision aid was invented (inventor unknown) called a reading stone. It was ;a glass sphere that magnified when laid on top of reading materials.
• 1284 - Italian, Salvino D'Armate is credited with inventing the first wearable eye glasses.<br>
04
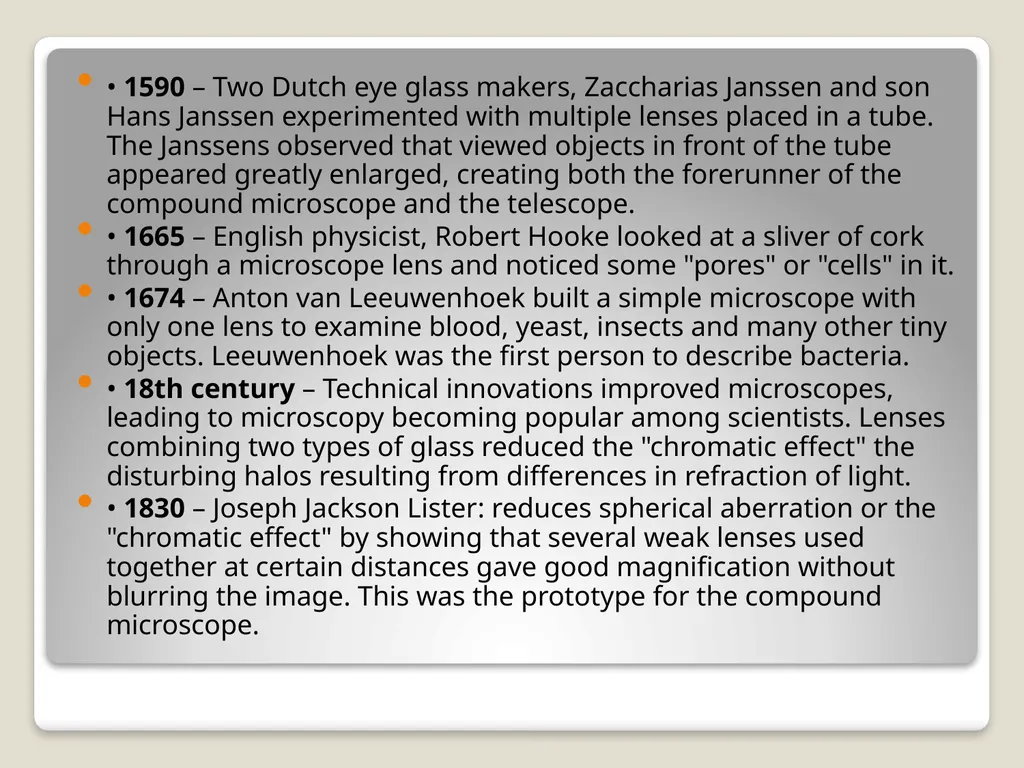
• 1590 – Two Dutch eye glass makers, Zaccharias Janssen and son Hans Janssen experimented with multiple lenses placed in a tube. The Janssens observed that viewed objects in front of the tube appeared greatly enlarged, creating both the forerunner of the compound microscope and the telescope.
• 1665 – English physicist, Robert Hooke looked at a sliver of cork through a microscope lens and noticed some "pores" or "cells" in it.
• 1674 – Anton van Leeuwenhoek built a simple microscope with only one lens to examine blood, yeast, insects and many other tiny objects. Leeuwenhoek was the first person to describe bacteria.
• 18th century – Technical innovations improved microscopes, leading to microscopy becoming popular among scientists. Lenses combining two types of glass reduced the "chromatic effect" the disturbing halos resulting from differences in refraction of light.
• 1830 – Joseph Jackson Lister: reduces spherical aberration or the "chromatic effect" by showing that several weak lenses used together at certain distances gave good magnification without blurring the image. This was the prototype for the compound microscope.<br>
• 1665 – English physicist, Robert Hooke looked at a sliver of cork through a microscope lens and noticed some "pores" or "cells" in it.
• 1674 – Anton van Leeuwenhoek built a simple microscope with only one lens to examine blood, yeast, insects and many other tiny objects. Leeuwenhoek was the first person to describe bacteria.
• 18th century – Technical innovations improved microscopes, leading to microscopy becoming popular among scientists. Lenses combining two types of glass reduced the "chromatic effect" the disturbing halos resulting from differences in refraction of light.
• 1830 – Joseph Jackson Lister: reduces spherical aberration or the "chromatic effect" by showing that several weak lenses used together at certain distances gave good magnification without blurring the image. This was the prototype for the compound microscope.<br>
05
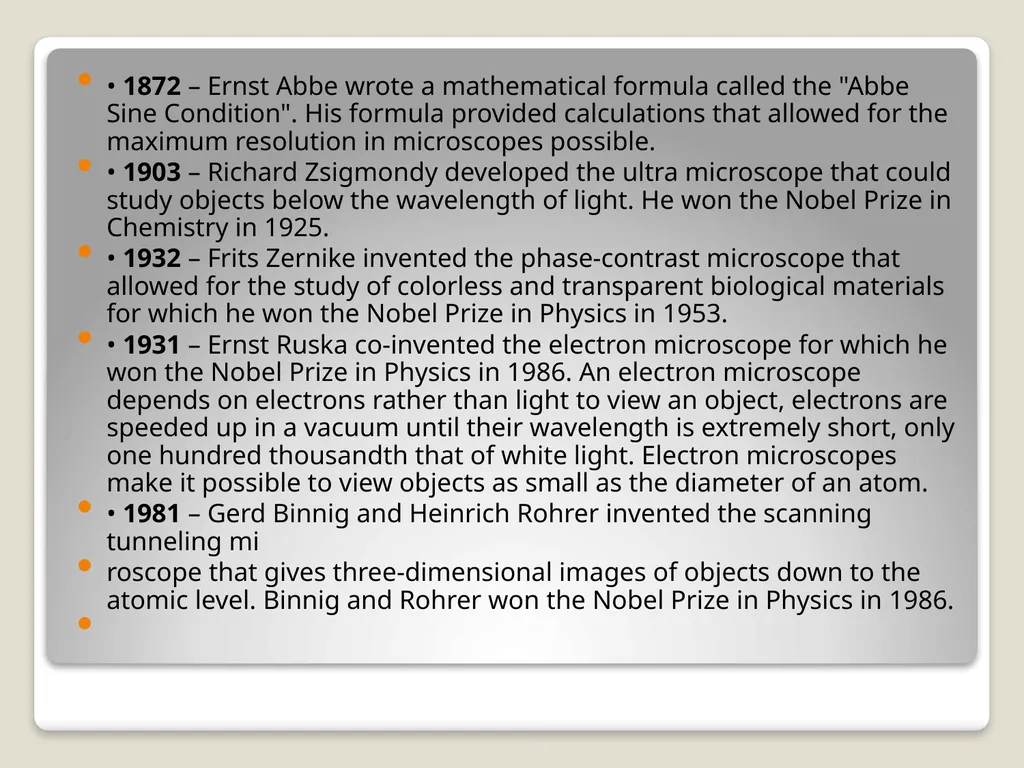
• 1872 – Ernst Abbe wrote a mathematical formula called the "Abbe Sine Condition". His formula provided calculations that allowed for the maximum resolution in microscopes possible.
• 1903 – Richard Zsigmondy developed the ultra microscope that could study objects below the wavelength of light. He won the Nobel Prize in Chemistry in 1925.
• 1932 – Frits Zernike invented the phase-contrast microscope that allowed for the study of colorless and transparent biological materials for which he won the Nobel Prize in Physics in 1953.
• 1931 – Ernst Ruska co-invented the electron microscope for which he won the Nobel Prize in Physics in 1986. An electron microscope depends on electrons rather than light to view an object, electrons are speeded up in a vacuum until their wavelength is extremely short, only one hundred thousandth that of white light. Electron microscopes make it possible to view objects as small as the diameter of an atom.
• 1981 – Gerd Binnig and Heinrich Rohrer invented the scanning tunneling mi
roscope that gives three-dimensional images of objects down to the atomic level. Binnig and Rohrer won the Nobel Prize in Physics in 1986.<br>
• 1903 – Richard Zsigmondy developed the ultra microscope that could study objects below the wavelength of light. He won the Nobel Prize in Chemistry in 1925.
• 1932 – Frits Zernike invented the phase-contrast microscope that allowed for the study of colorless and transparent biological materials for which he won the Nobel Prize in Physics in 1953.
• 1931 – Ernst Ruska co-invented the electron microscope for which he won the Nobel Prize in Physics in 1986. An electron microscope depends on electrons rather than light to view an object, electrons are speeded up in a vacuum until their wavelength is extremely short, only one hundred thousandth that of white light. Electron microscopes make it possible to view objects as small as the diameter of an atom.
• 1981 – Gerd Binnig and Heinrich Rohrer invented the scanning tunneling mi
roscope that gives three-dimensional images of objects down to the atomic level. Binnig and Rohrer won the Nobel Prize in Physics in 1986.<br>
06
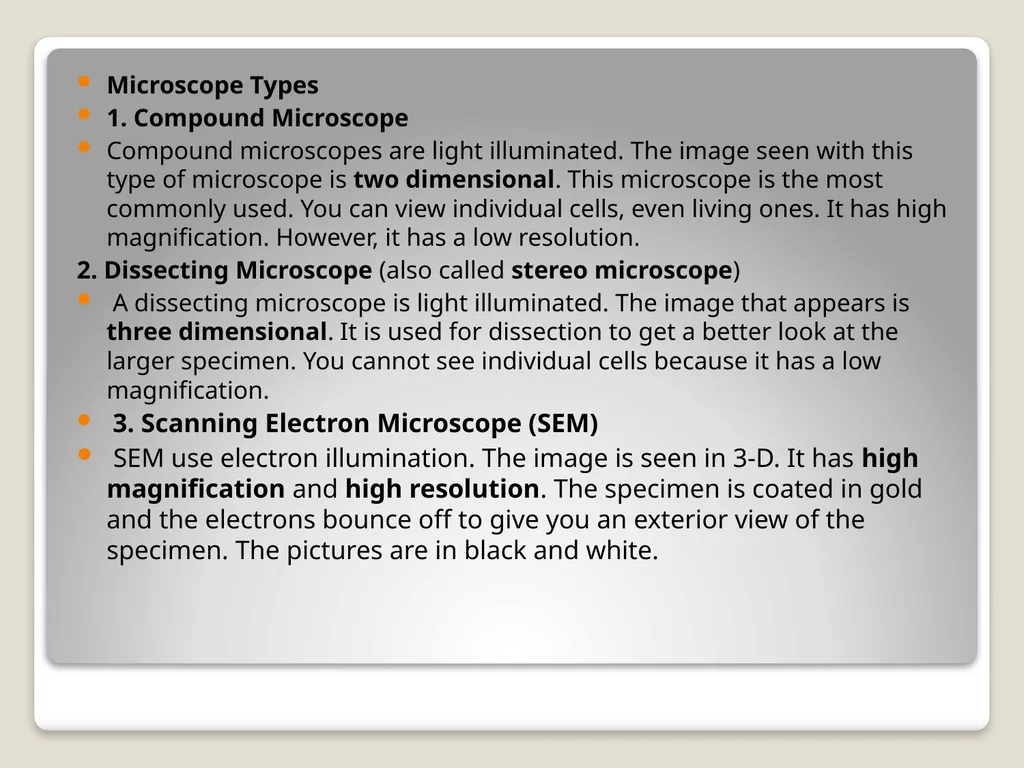
Microscope Types
1. Compound Microscope
Compound microscopes are light illuminated. The image seen with this type of microscope is two dimensional. This microscope is the most commonly used. You can view individual cells, even living ones. It has high magnification. However, it has a low resolution.
2. Dissecting Microscope (also called stereo microscope)
A dissecting microscope is light illuminated. The image that appears is three dimensional. It is used for dissection to get a better look at the larger specimen. You cannot see individual cells because it has a low magnification.
3. Scanning Electron Microscope (SEM)
SEM use electron illumination. The image is seen in 3-D. It has high magnification and high resolution. The specimen is coated in gold and the electrons bounce off to give you an exterior view of the specimen. The pictures are in black and white.<br>
1. Compound Microscope
Compound microscopes are light illuminated. The image seen with this type of microscope is two dimensional. This microscope is the most commonly used. You can view individual cells, even living ones. It has high magnification. However, it has a low resolution.
2. Dissecting Microscope (also called stereo microscope)
A dissecting microscope is light illuminated. The image that appears is three dimensional. It is used for dissection to get a better look at the larger specimen. You cannot see individual cells because it has a low magnification.
3. Scanning Electron Microscope (SEM)
SEM use electron illumination. The image is seen in 3-D. It has high magnification and high resolution. The specimen is coated in gold and the electrons bounce off to give you an exterior view of the specimen. The pictures are in black and white.<br>
07
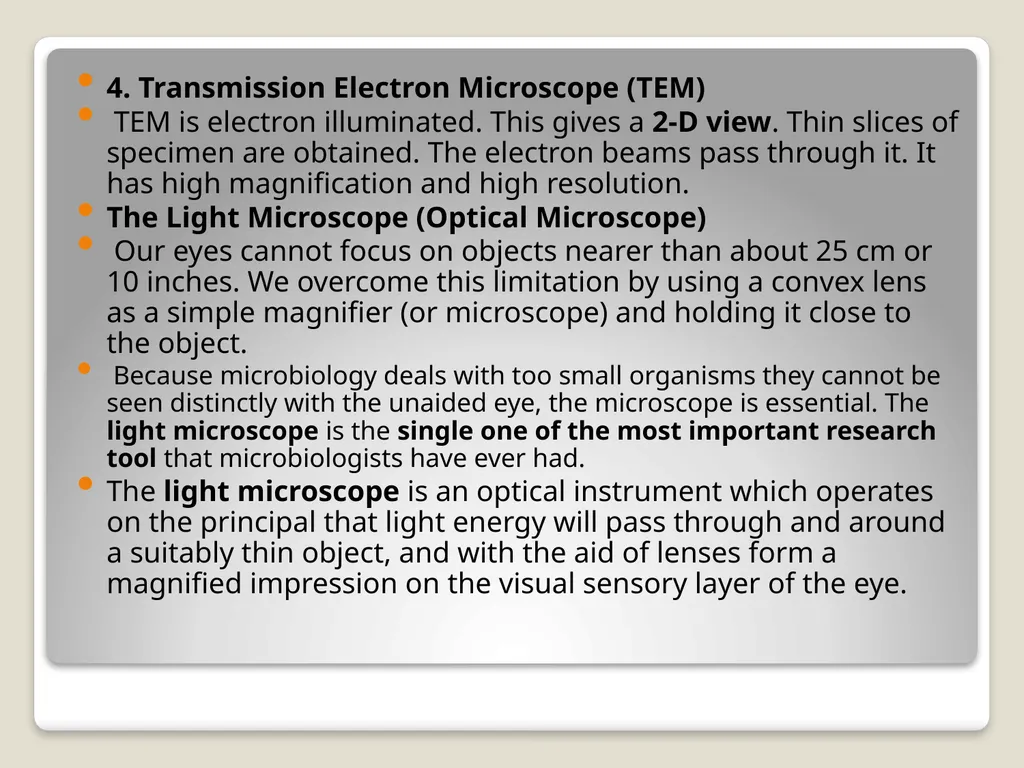
4. Transmission Electron Microscope (TEM)
TEM is electron illuminated. This gives a 2-D view. Thin slices of specimen are obtained. The electron beams pass through it. It has high magnification and high resolution.
The Light Microscope (Optical Microscope)
Our eyes cannot focus on objects nearer than about 25 cm or 10 inches. We overcome this limitation by using a convex lens as a simple magnifier (or microscope) and holding it close to the object.
Because microbiology deals with too small organisms they cannot be seen distinctly with the unaided eye, the microscope is essential. The light microscope is the single one of the most important research tool that microbiologists have ever had.
The light microscope is an optical instrument which operates on the principal that light energy will pass through and around a suitably thin object, and with the aid of lenses form a magnified impression on the visual sensory layer of the eye.<br>
TEM is electron illuminated. This gives a 2-D view. Thin slices of specimen are obtained. The electron beams pass through it. It has high magnification and high resolution.
The Light Microscope (Optical Microscope)
Our eyes cannot focus on objects nearer than about 25 cm or 10 inches. We overcome this limitation by using a convex lens as a simple magnifier (or microscope) and holding it close to the object.
Because microbiology deals with too small organisms they cannot be seen distinctly with the unaided eye, the microscope is essential. The light microscope is the single one of the most important research tool that microbiologists have ever had.
The light microscope is an optical instrument which operates on the principal that light energy will pass through and around a suitably thin object, and with the aid of lenses form a magnified impression on the visual sensory layer of the eye.<br>
08
In order to know how the microscope works we must first have a basic understanding about how lenses bend and focus light to form images.
When light energy passes from one medium to another (i.e. AIR and GLASS) the light rays are bent at the point of interface. This process is called refraction.
The measure of how greatly a substance slows the velocity of light is called the refractive index
The direction and magnitude of bending is determined by the refractive indexes of the two media forming the interface.
As parallel rays of light encounter a convex lens, they are slowed and bent towards the normal path.
The point at which these rays converge is called the focal point
The distance between the center of the lens and the focal point is called the focal length.
The strength of a lens is directly related to its focal length. A lens with a short focal length has a greater capacity for magnification than a lens with a longer focal length.<br>
When light energy passes from one medium to another (i.e. AIR and GLASS) the light rays are bent at the point of interface. This process is called refraction.
The measure of how greatly a substance slows the velocity of light is called the refractive index
The direction and magnitude of bending is determined by the refractive indexes of the two media forming the interface.
As parallel rays of light encounter a convex lens, they are slowed and bent towards the normal path.
The point at which these rays converge is called the focal point
The distance between the center of the lens and the focal point is called the focal length.
The strength of a lens is directly related to its focal length. A lens with a short focal length has a greater capacity for magnification than a lens with a longer focal length.<br>
09
Anatomy of a compound Microscope
1. lamp (light source)
2. Substage Condenser: Used to vary the intensity of light.
3. Diaphram: Modulates the amount of light that passes through the slide.
4. Stage and microscope slide with specimen
5. Objective lenses (usually 10X, 40X, and 100X) on revolving nosepiece
6. Body tube
7. Ocular lens (usually 10X)
Microscope Care
• Always carry with 2 hands
• Never touch the lenses with your fingers.
• Only use lens paper for cleaning
When you are finished with your "scope", rotate the nosepiece so that it's on the low power objective, roll the stage down to lowest level<br>
1. lamp (light source)
2. Substage Condenser: Used to vary the intensity of light.
3. Diaphram: Modulates the amount of light that passes through the slide.
4. Stage and microscope slide with specimen
5. Objective lenses (usually 10X, 40X, and 100X) on revolving nosepiece
6. Body tube
7. Ocular lens (usually 10X)
Microscope Care
• Always carry with 2 hands
• Never touch the lenses with your fingers.
• Only use lens paper for cleaning
When you are finished with your "scope", rotate the nosepiece so that it's on the low power objective, roll the stage down to lowest level<br>
10
Using the Microscope
The proper way to focus a microscope is to start with the lowest power objective lens first and while looking from the side, put the lens down as close to the specimen as possible without touching it. Now, look through the eyepiece lens and focus upward only until the image is sharp. If you can't get it in focus, repeat the process again.
Once the image is sharp with the low power lens, you should be able to simply click in the next power lens and do minor adjustments with the focus knob. If your microscope has a fine focus adjustment, turning it a little bit should be all that's necessary. Continue with subsequent objective lenses and fine focus each time.
Using High Power
Rotate to 40x objective, locate desired portion of specimen in the center of the field. Refocus very carefully so that the specimen is focused as sharply as possible. (Do not alter focus for the Following steps) Partially rotate so that 40x and 100x objectives include the specimen.<br>
The proper way to focus a microscope is to start with the lowest power objective lens first and while looking from the side, put the lens down as close to the specimen as possible without touching it. Now, look through the eyepiece lens and focus upward only until the image is sharp. If you can't get it in focus, repeat the process again.
Once the image is sharp with the low power lens, you should be able to simply click in the next power lens and do minor adjustments with the focus knob. If your microscope has a fine focus adjustment, turning it a little bit should be all that's necessary. Continue with subsequent objective lenses and fine focus each time.
Using High Power
Rotate to 40x objective, locate desired portion of specimen in the center of the field. Refocus very carefully so that the specimen is focused as sharply as possible. (Do not alter focus for the Following steps) Partially rotate so that 40x and 100x objectives include the specimen.<br>
11
Place a small drop of oil on the slide in the center of the lighted area. (Take care not to drop on the stage.) Put the small drop of oil directly over the area of the specimen to be examined.
Rotate so that the 100x oil immersion objective touches the oil and clicks into place. Focus only with fine focus. Hopefully, the specimen will come into focus easily. Do not change focus dramatically.
Clean up: When you have finished for the day, wipe the 100x oil immersion objective carefully with lens paper to remove all oil. Wipe oil from the slide thoroughly with a Kim wipe.
Types of Light Microscope
There are a variety of light microscopes mostly employed in Microbiology:
Bright-field
Dark-field
Phase-contrast
Fluorescence<br>
Rotate so that the 100x oil immersion objective touches the oil and clicks into place. Focus only with fine focus. Hopefully, the specimen will come into focus easily. Do not change focus dramatically.
Clean up: When you have finished for the day, wipe the 100x oil immersion objective carefully with lens paper to remove all oil. Wipe oil from the slide thoroughly with a Kim wipe.
Types of Light Microscope
There are a variety of light microscopes mostly employed in Microbiology:
Bright-field
Dark-field
Phase-contrast
Fluorescence<br>
12
1-The Bright-field Microscope
Called the ordinary microscope because it forms a dark image against a brighter background. Image should remain in focus when objectives are changed.
The objective lens forms an enlarged real image within the microscope and the eyepiece lens further magnifies this primarily image. Upon looking in the microscope, the enlarged specimen image
) Virtual image( appears to lie just beyond the stage about 25 cm away.
Total magnification is calculated by multiplying the objective and eyepiece magnification together.
Three factors determine the quality of an optical image:
a. Magnification
b. Resolution
c. Contrast.<br>
Called the ordinary microscope because it forms a dark image against a brighter background. Image should remain in focus when objectives are changed.
The objective lens forms an enlarged real image within the microscope and the eyepiece lens further magnifies this primarily image. Upon looking in the microscope, the enlarged specimen image
) Virtual image( appears to lie just beyond the stage about 25 cm away.
Total magnification is calculated by multiplying the objective and eyepiece magnification together.
Three factors determine the quality of an optical image:
a. Magnification
b. Resolution
c. Contrast.<br>
13
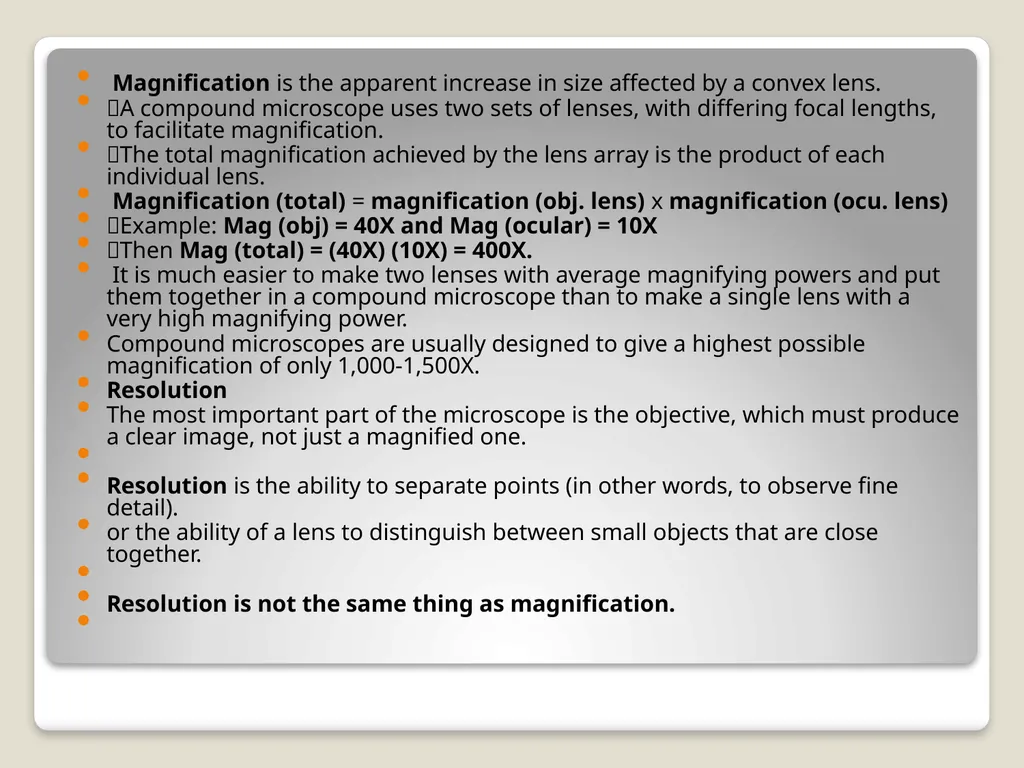
Magnification is the apparent increase in size affected by a convex lens.
A compound microscope uses two sets of lenses, with differing focal lengths, to facilitate magnification.
The total magnification achieved by the lens array is the product of each individual lens.
Magnification (total) = magnification (obj. lens) x magnification (ocu. lens)
Example: Mag (obj) = 40X and Mag (ocular) = 10X
Then Mag (total) = (40X) (10X) = 400X.
It is much easier to make two lenses with average magnifying powers and put them together in a compound microscope than to make a single lens with a very high magnifying power.
Compound microscopes are usually designed to give a highest possible magnification of only 1,000-1,500X.
Resolution
The most important part of the microscope is the objective, which must produce a clear image, not just a magnified one.
Resolution is the ability to separate points (in other words, to observe fine detail).
or the ability of a lens to distinguish between small objects that are close together.
Resolution is not the same thing as magnification.<br>
A compound microscope uses two sets of lenses, with differing focal lengths, to facilitate magnification.
The total magnification achieved by the lens array is the product of each individual lens.
Magnification (total) = magnification (obj. lens) x magnification (ocu. lens)
Example: Mag (obj) = 40X and Mag (ocular) = 10X
Then Mag (total) = (40X) (10X) = 400X.
It is much easier to make two lenses with average magnifying powers and put them together in a compound microscope than to make a single lens with a very high magnifying power.
Compound microscopes are usually designed to give a highest possible magnification of only 1,000-1,500X.
Resolution
The most important part of the microscope is the objective, which must produce a clear image, not just a magnified one.
Resolution is the ability to separate points (in other words, to observe fine detail).
or the ability of a lens to distinguish between small objects that are close together.
Resolution is not the same thing as magnification.<br>
14
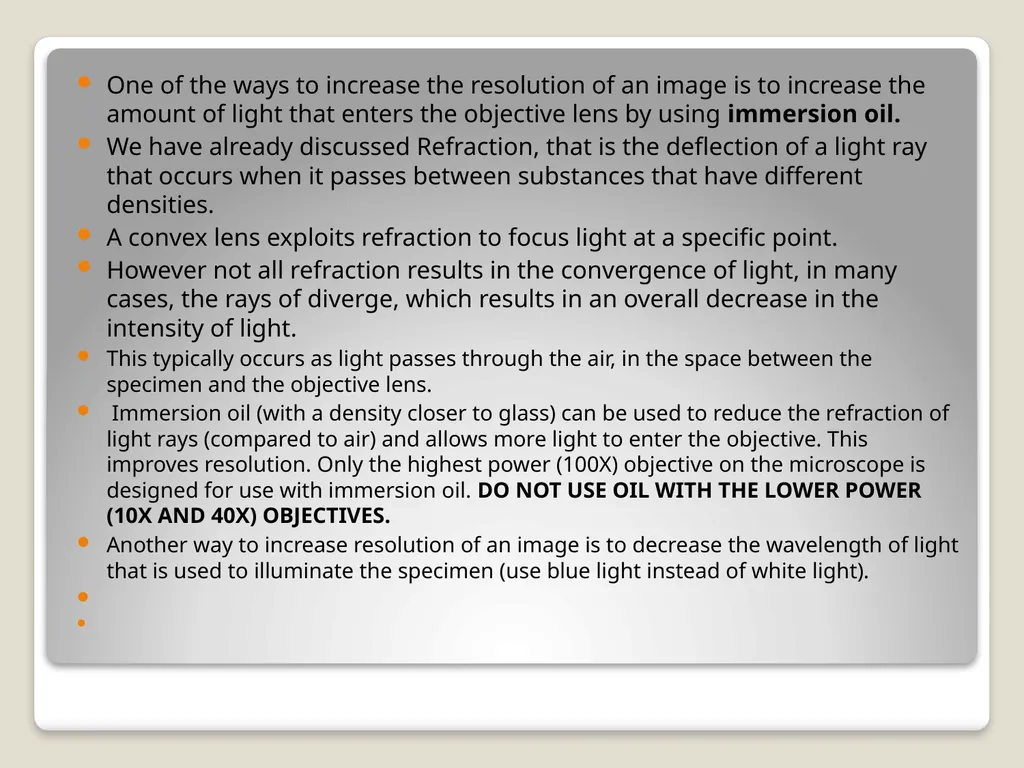
One of the ways to increase the resolution of an image is to increase the amount of light that enters the objective lens by using immersion oil.
We have already discussed Refraction, that is the deflection of a light ray that occurs when it passes between substances that have different densities.
A convex lens exploits refraction to focus light at a specific point.
However not all refraction results in the convergence of light, in many cases, the rays of diverge, which results in an overall decrease in the intensity of light.
This typically occurs as light passes through the air, in the space between the specimen and the objective lens.
Immersion oil (with a density closer to glass) can be used to reduce the refraction of light rays (compared to air) and allows more light to enter the objective. This improves resolution. Only the highest power (100X) objective on the microscope is designed for use with immersion oil. DO NOT USE OIL WITH THE LOWER POWER (10X AND 40X) OBJECTIVES.
Another way to increase resolution of an image is to decrease the wavelength of light that is used to illuminate the specimen (use blue light instead of white light).<br>
We have already discussed Refraction, that is the deflection of a light ray that occurs when it passes between substances that have different densities.
A convex lens exploits refraction to focus light at a specific point.
However not all refraction results in the convergence of light, in many cases, the rays of diverge, which results in an overall decrease in the intensity of light.
This typically occurs as light passes through the air, in the space between the specimen and the objective lens.
Immersion oil (with a density closer to glass) can be used to reduce the refraction of light rays (compared to air) and allows more light to enter the objective. This improves resolution. Only the highest power (100X) objective on the microscope is designed for use with immersion oil. DO NOT USE OIL WITH THE LOWER POWER (10X AND 40X) OBJECTIVES.
Another way to increase resolution of an image is to decrease the wavelength of light that is used to illuminate the specimen (use blue light instead of white light).<br>
15
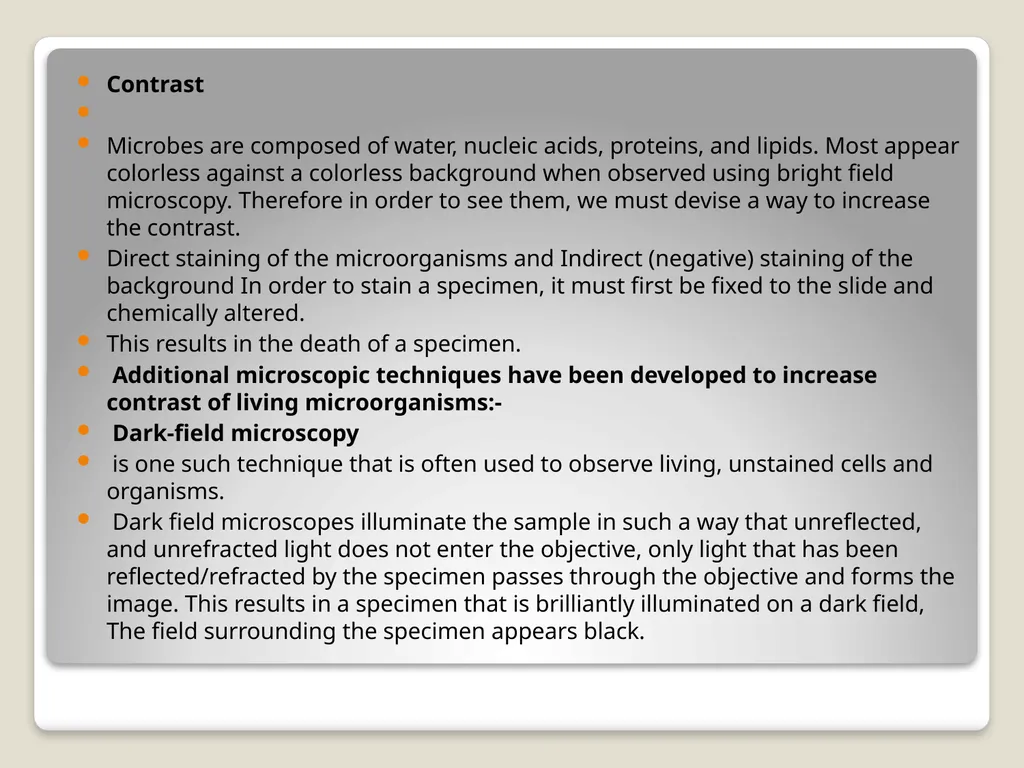
Contrast
Microbes are composed of water, nucleic acids, proteins, and lipids. Most appear colorless against a colorless background when observed using bright field microscopy. Therefore in order to see them, we must devise a way to increase the contrast.
Direct staining of the microorganisms and Indirect (negative) staining of the background In order to stain a specimen, it must first be fixed to the slide and chemically altered.
This results in the death of a specimen.
Additional microscopic techniques have been developed to increase contrast of living microorganisms:-
Dark-field microscopy
is one such technique that is often used to observe living, unstained cells and organisms.
Dark field microscopes illuminate the sample in such a way that unreflected, and unrefracted light does not enter the objective, only light that has been reflected/refracted by the specimen passes through the objective and forms the image. This results in a specimen that is brilliantly illuminated on a dark field, The field surrounding the specimen appears black.<br>
Microbes are composed of water, nucleic acids, proteins, and lipids. Most appear colorless against a colorless background when observed using bright field microscopy. Therefore in order to see them, we must devise a way to increase the contrast.
Direct staining of the microorganisms and Indirect (negative) staining of the background In order to stain a specimen, it must first be fixed to the slide and chemically altered.
This results in the death of a specimen.
Additional microscopic techniques have been developed to increase contrast of living microorganisms:-
Dark-field microscopy
is one such technique that is often used to observe living, unstained cells and organisms.
Dark field microscopes illuminate the sample in such a way that unreflected, and unrefracted light does not enter the objective, only light that has been reflected/refracted by the specimen passes through the objective and forms the image. This results in a specimen that is brilliantly illuminated on a dark field, The field surrounding the specimen appears black.<br>
16
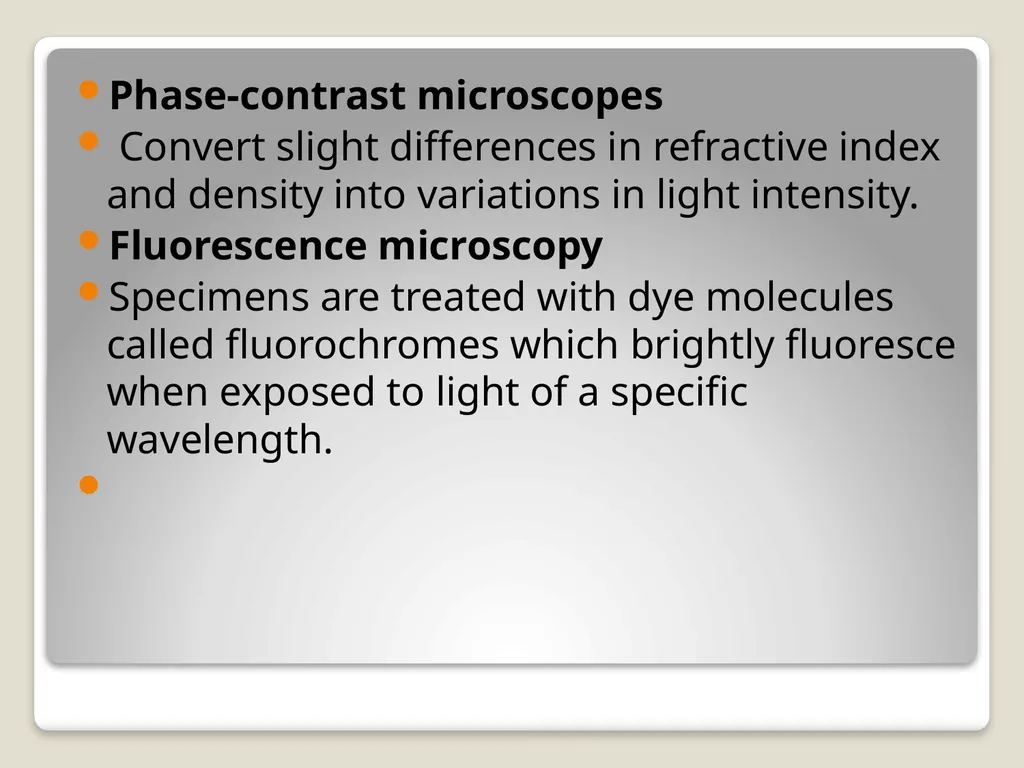
Phase-contrast microscopes
Convert slight differences in refractive index and density into variations in light intensity.
Fluorescence microscopy
Specimens are treated with dye molecules called fluorochromes which brightly fluoresce when exposed to light of a specific wavelength.<br>
Convert slight differences in refractive index and density into variations in light intensity.
Fluorescence microscopy
Specimens are treated with dye molecules called fluorochromes which brightly fluoresce when exposed to light of a specific wavelength.<br>
17
Homework question
What's the name of microscope uses in most clinical laboratories and why it is favored more than the others<br>
What's the name of microscope uses in most clinical laboratories and why it is favored more than the others<br>