
Linux Introduction CIS 6395, Incident Response
Description: Linux Introduction CIS 6395, Incident Response Technologies Fall 2021, Dr. Cliff Zou Acknowledgement Many slides come from Tutorial of UnixLinux, by Cédric Notredame www.tcoffee.orgCoursesExercisespavie07lectures8.1.introunix.ppt
Related Topics
Download Presentation
"Linux Introduction CIS 6395, Incident Response" is the property of its rightful owner. Permission is granted to download and print the materials on this website for personal, non-commercial use only, and to display it on your personal computer provided you do not modify the materials and that you retain all copyright notices contained in the materials. By downloading content from our website, you accept the terms of this agreement.
Presentation Transcript
slide1. Linux Introduction CIS 6395, Incident Response Technologies
Fall 2021, Dr. Cliff Zou<br>
slide2. Acknowledgement Many slides come from “Tutorial of Unix/Linux,” by Cédric Notredame
www.tcoffee.org/Courses/Exercises/pavie_07/lectures/8.1.intro_unix.ppt
A very good online Linux tutorial:
https://www.guru99.com/unix-linux-tutorial.html<br>
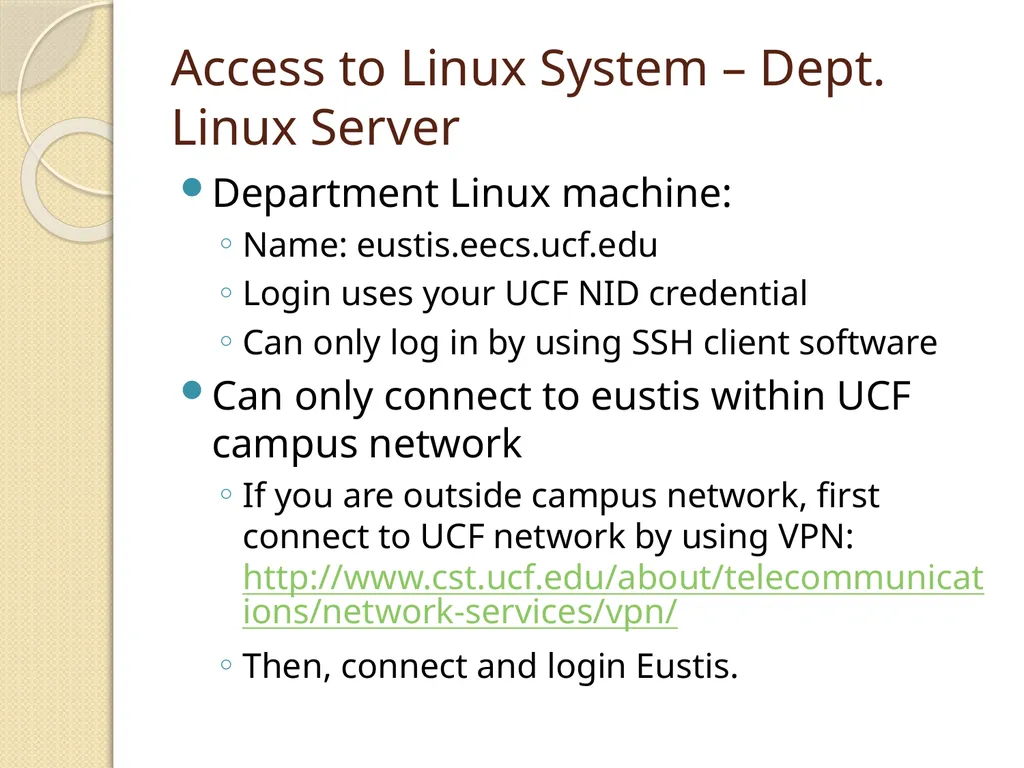
slide3. Access to Linux System – Dept. Linux Server Department Linux machine:
Name: eustis.eecs.ucf.edu
Login uses your UCF NID credential
Can only log in by using SSH client software
Can only connect to eustis within UCF campus network
If you are outside campus network, first connect to UCF network by using VPN: http://www.cst.ucf.edu/about/telecommunications/network-services/vpn/
Then, connect and login Eustis.<br>
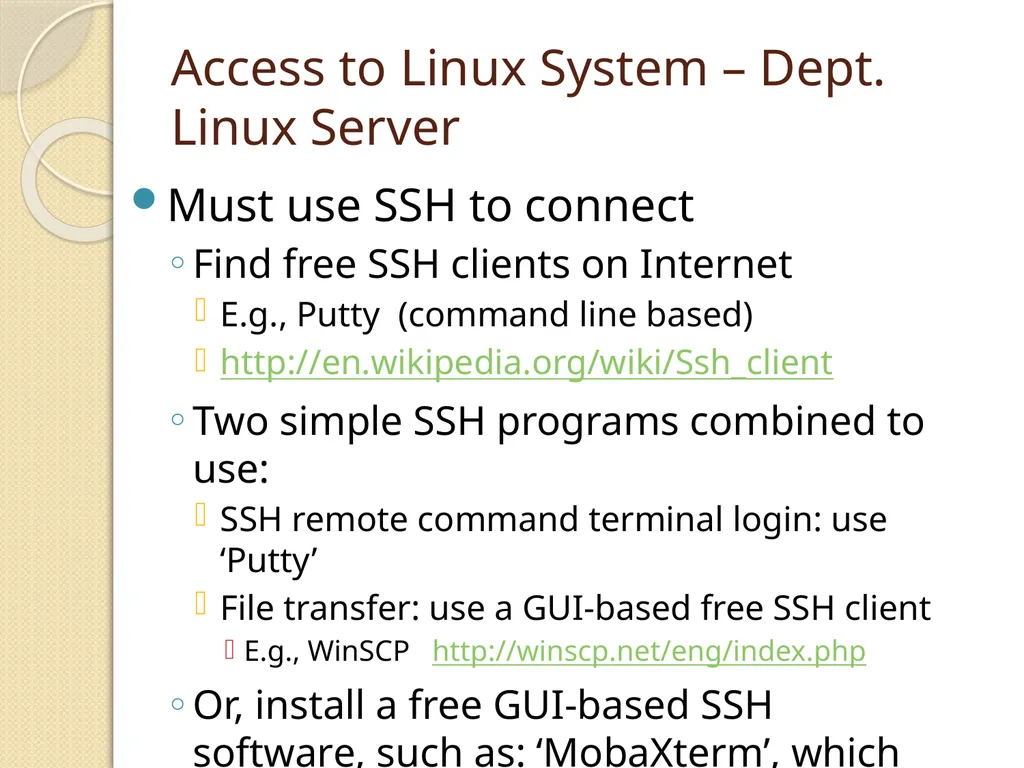
slide4. Access to Linux System – Dept. Linux Server Must use SSH to connect
Find free SSH clients on Internet
E.g., Putty (command line based)
http://en.wikipedia.org/wiki/Ssh_client
Two simple SSH programs combined to use:
SSH remote command terminal login: use ‘Putty’
File transfer: use a GUI-based free SSH client
E.g., WinSCP http://winscp.net/eng/index.php
Or, install a free GUI-based SSH software, such as: ‘MobaXterm’, which provides both command line terminal and file transfer<br>
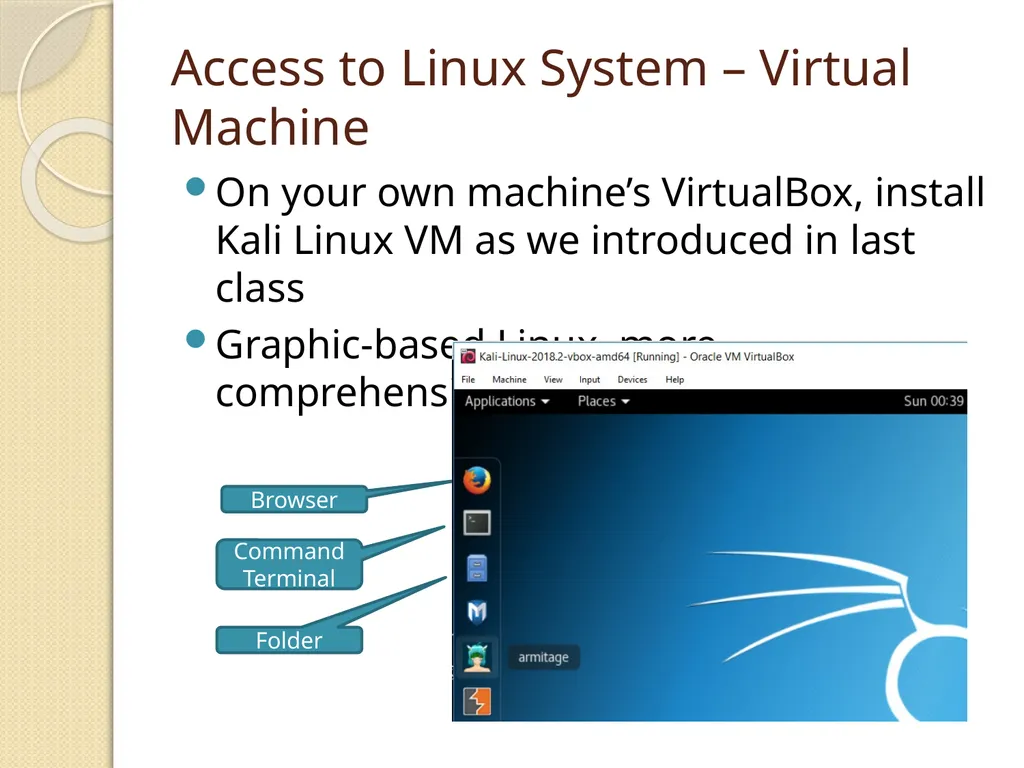
slide5. Access to Linux System – Virtual Machine On your own machine’s VirtualBox, install Kali Linux VM as we introduced in last class
Graphic-based Linux, more comprehensive to experience Browser Command Terminal Folder<br>
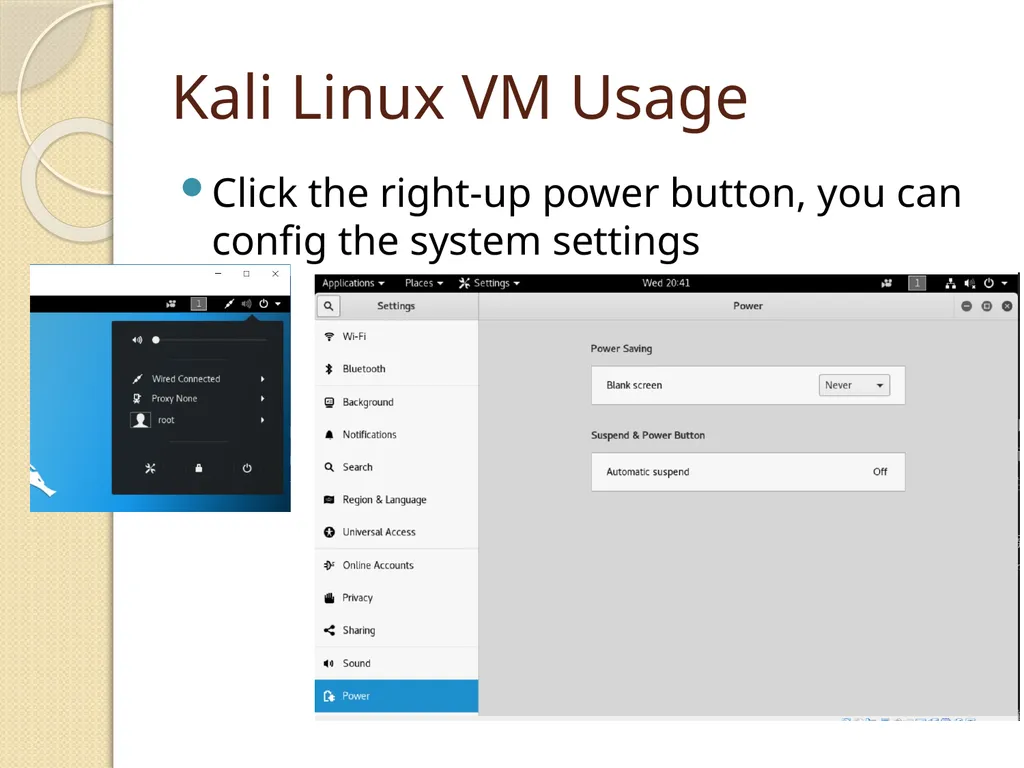
slide6. Kali Linux VM Usage Click the right-up power button, you can config the system settings<br>
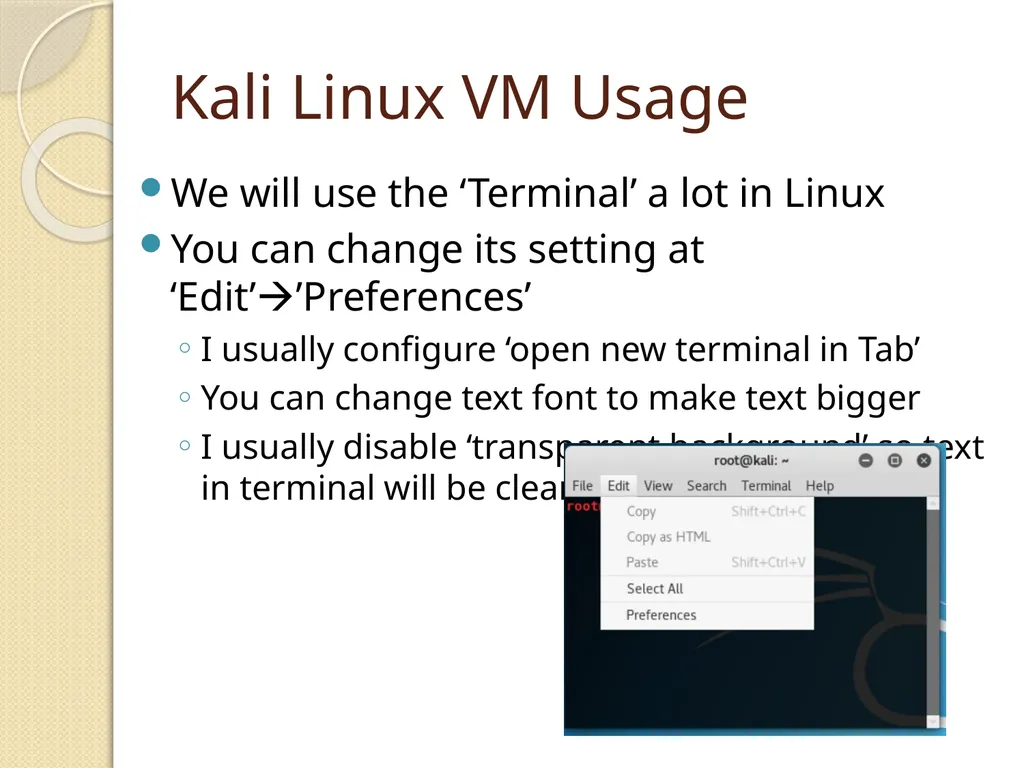
slide7. Kali Linux VM Usage We will use the ‘Terminal’ a lot in Linux
You can change its setting at ‘Edit’’Preferences’
I usually configure ‘open new terminal in Tab’
You can change text font to make text bigger
I usually disable ‘transparent background’ so text in terminal will be clearer<br>
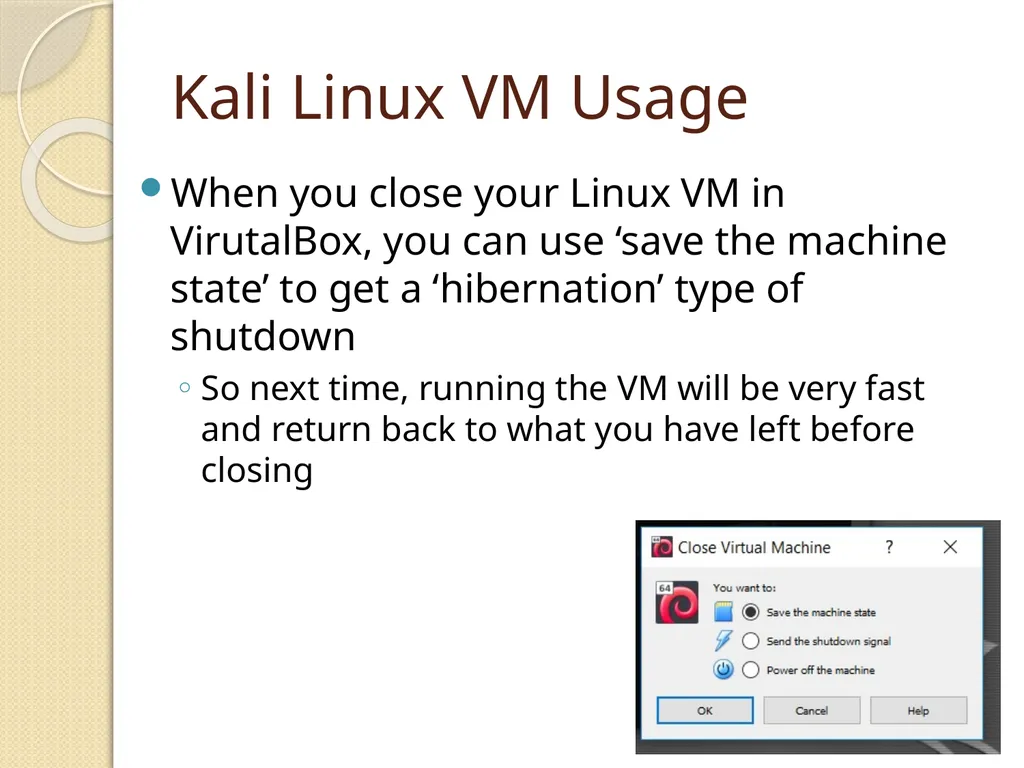
slide8. Kali Linux VM Usage When you close your Linux VM in VirutalBox, you can use ‘save the machine state’ to get a ‘hibernation’ type of shutdown
So next time, running the VM will be very fast and return back to what you have left before closing<br>
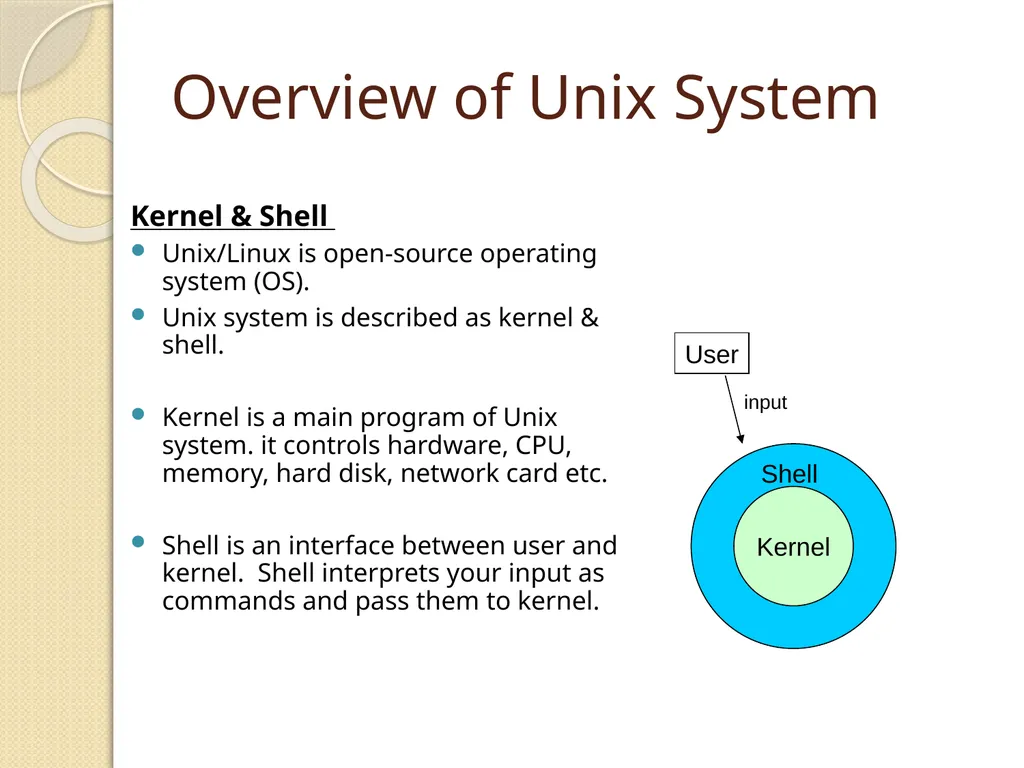
slide9. Overview of Unix System Kernel & Shell
Unix/Linux is open-source operating system (OS).
Unix system is described as kernel & shell.
Kernel is a main program of Unix system. it controls hardware, CPU, memory, hard disk, network card etc.
Shell is an interface between user and kernel. Shell interprets your input as commands and pass them to kernel. Kernel Shell User input<br>
slide10. Unix Overview (cont.) Multi-user & Multi-process
Many people can use one machine at the same time by remote login
File & Process
Data, directory, process, hard disk, CD etc (almost everything) are expressed as a file.
Process is an running program identified by a unique id (PID).<br>
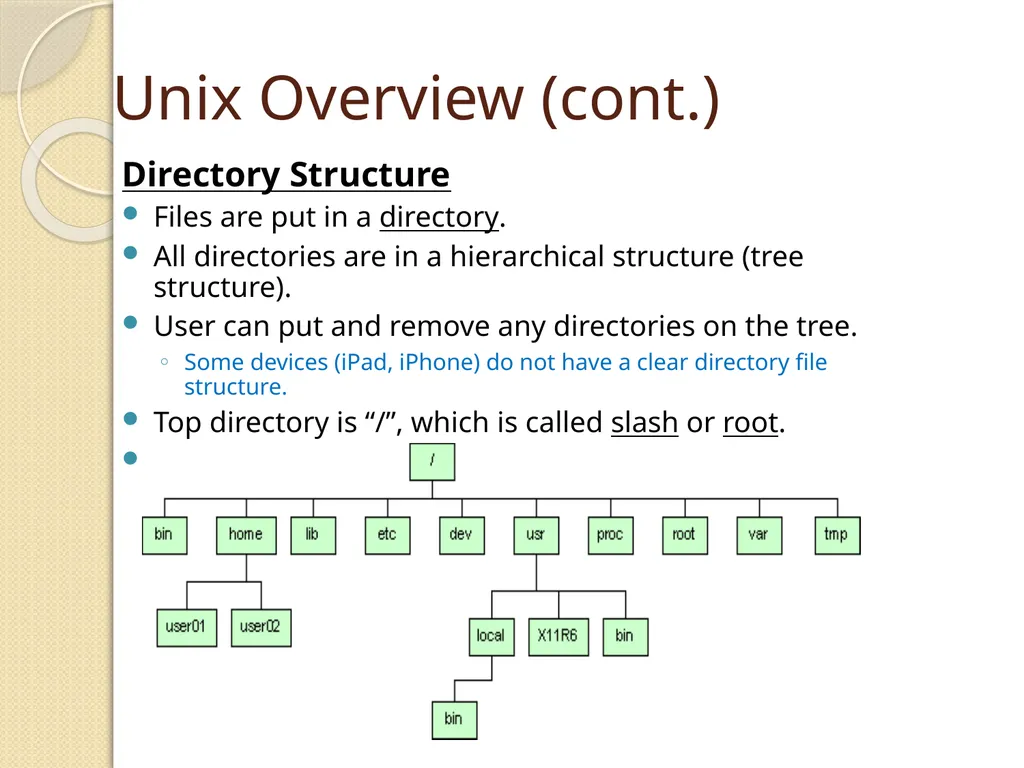
slide11. Unix Overview (cont.) Directory Structure
Files are put in a directory.
All directories are in a hierarchical structure (tree structure).
User can put and remove any directories on the tree.
Some devices (iPad, iPhone) do not have a clear directory file structure.
Top directory is “/”, which is called slash or root.
Users have the own directory. (home directory)<br>
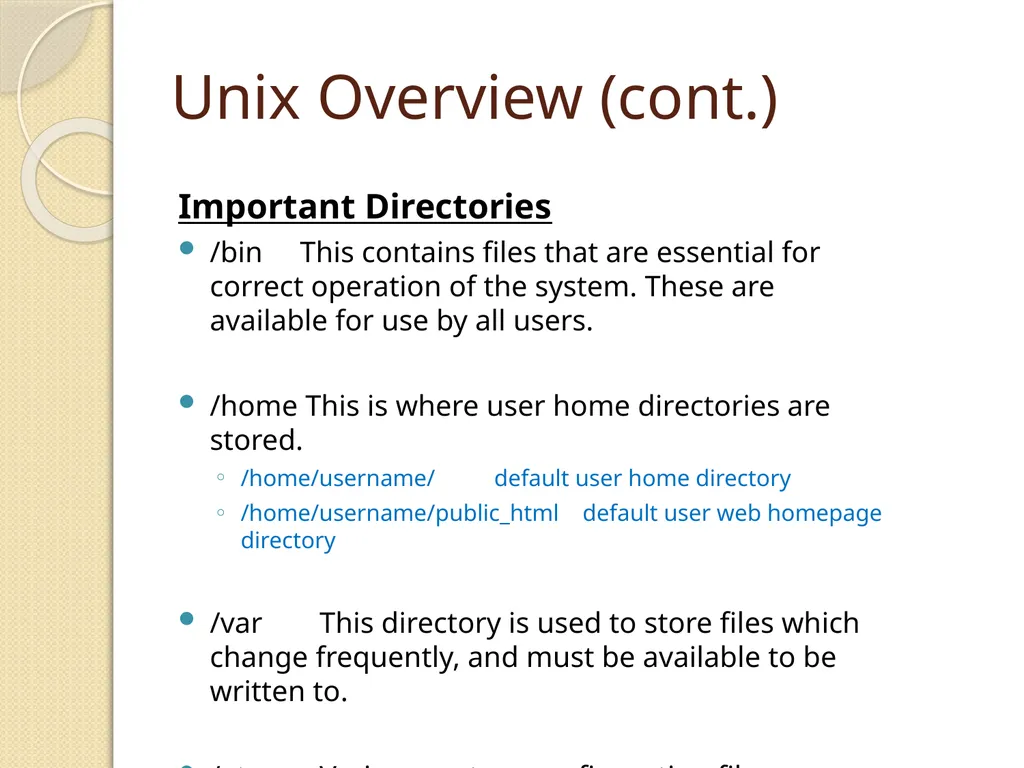
slide12. Unix Overview (cont.) Important Directories
/bin This contains files that are essential for correct operation of the system. These are available for use by all users.
/home This is where user home directories are stored.
/home/username/ default user home directory
/home/username/public_html default user web homepage directory
/var This directory is used to store files which change frequently, and must be available to be written to.
/etc Various system configuration files are stored here.<br>
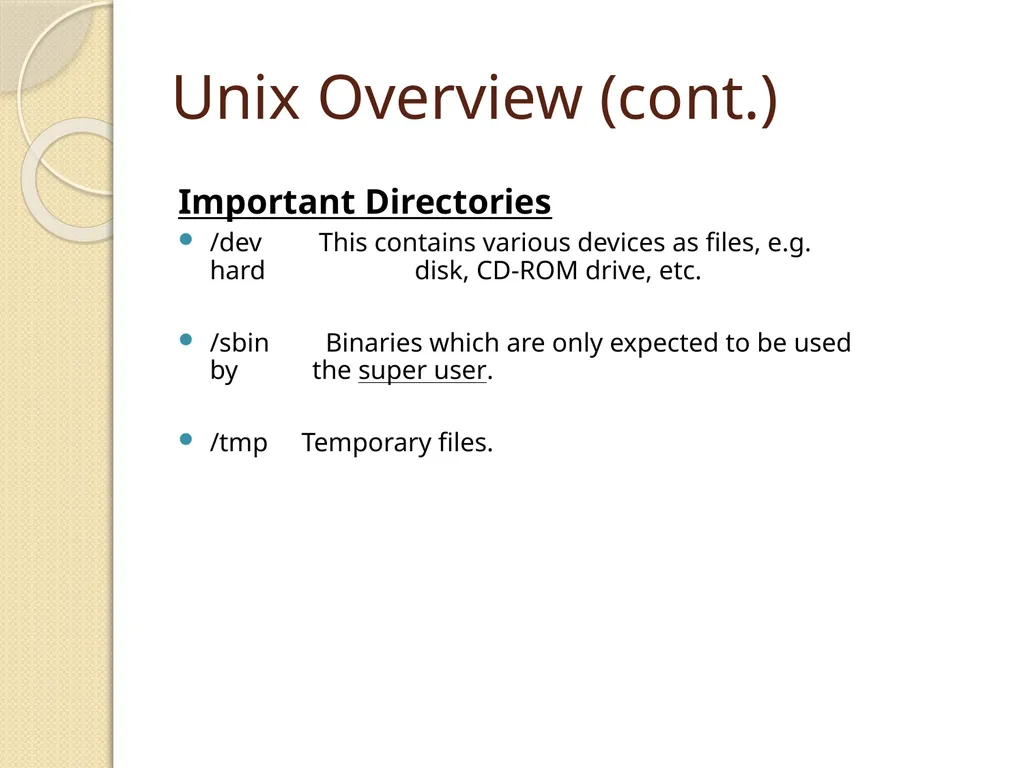
slide13. Unix Overview (cont.) Important Directories
/dev This contains various devices as files, e.g. hard disk, CD-ROM drive, etc.
/sbin Binaries which are only expected to be used by the super user.
/tmp Temporary files.<br>
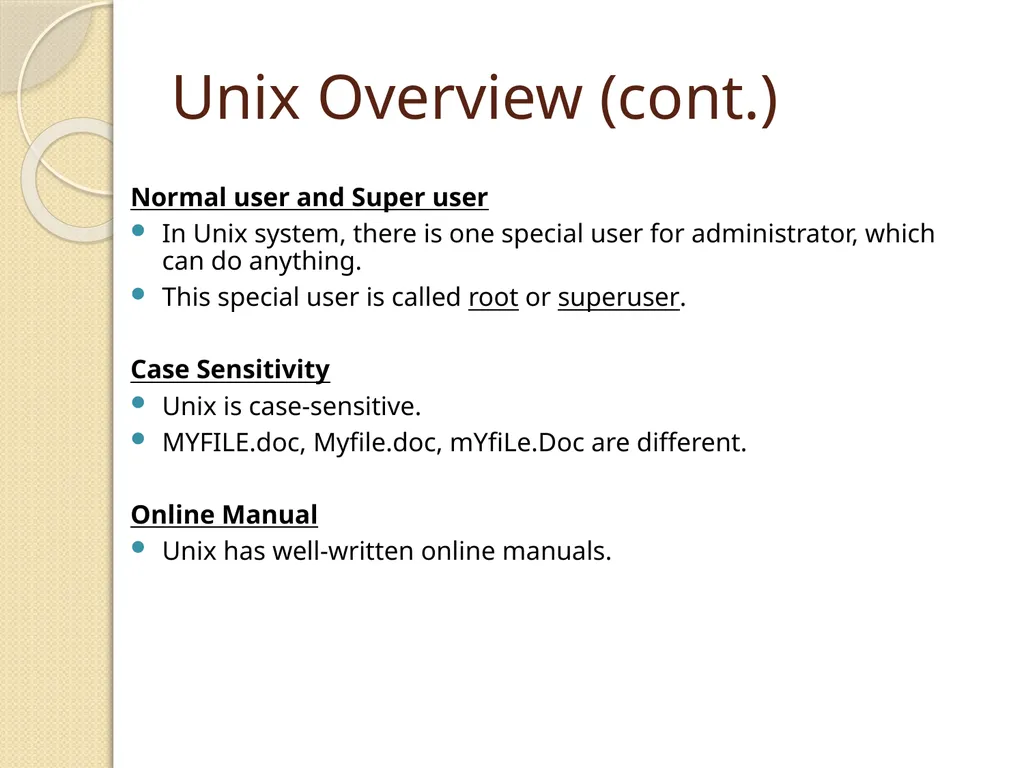
slide14. Unix Overview (cont.) Normal user and Super user
In Unix system, there is one special user for administrator, which can do anything.
This special user is called root or superuser.
Case Sensitivity
Unix is case-sensitive.
MYFILE.doc, Myfile.doc, mYfiLe.Doc are different.
Online Manual
Unix has well-written online manuals.<br>
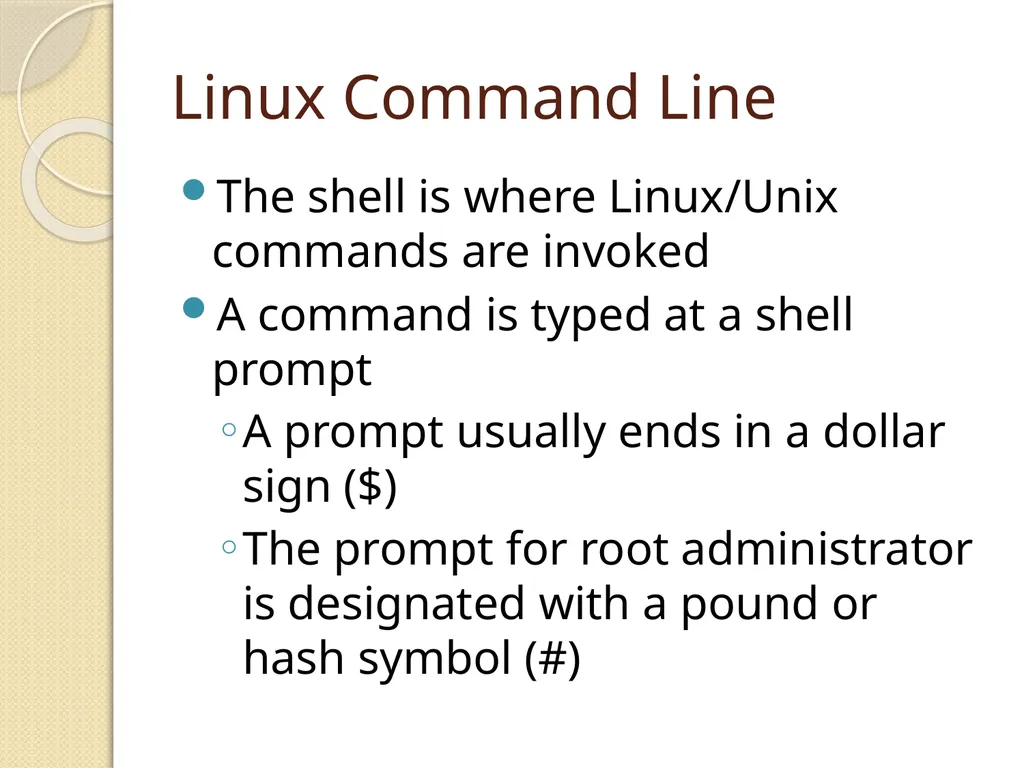
slide15. Linux Command Line The shell is where Linux/Unix commands are invoked
A command is typed at a shell prompt
A prompt usually ends in a dollar sign ($)
The prompt for root administrator is designated with a pound or hash symbol (#)<br>
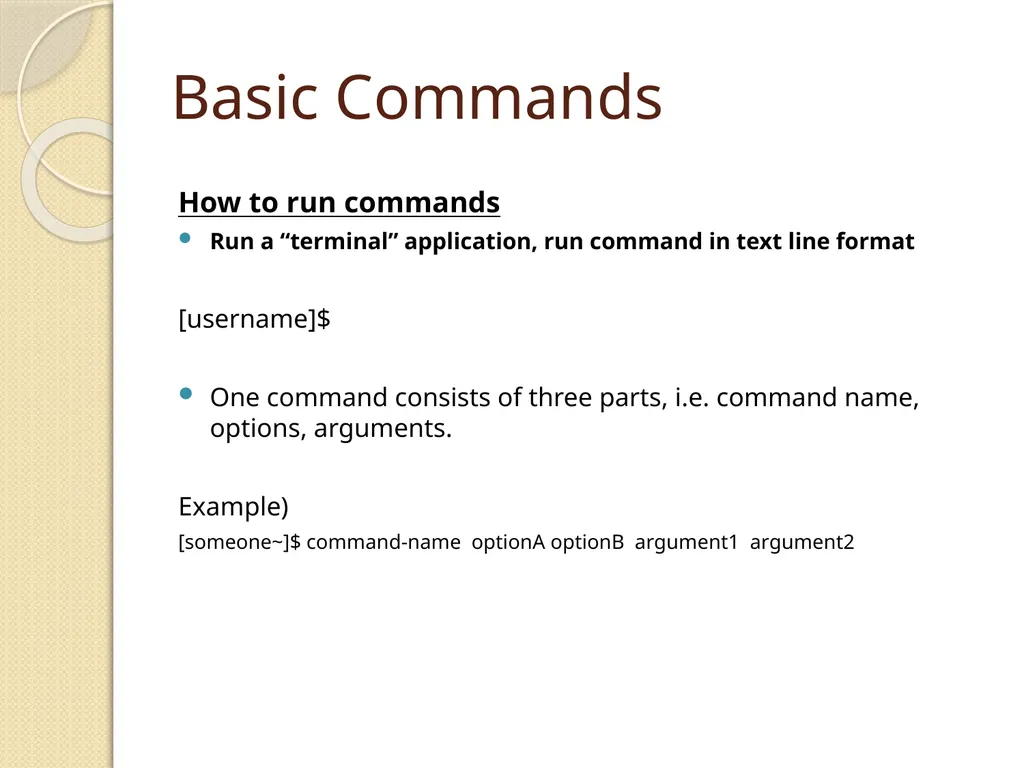
slide16. Basic Commands How to run commands
Run a “terminal” application, run command in text line format
[username]$
One command consists of three parts, i.e. command name, options, arguments.
Example)
[someone~]$ command-name optionA optionB argument1 argument2<br>
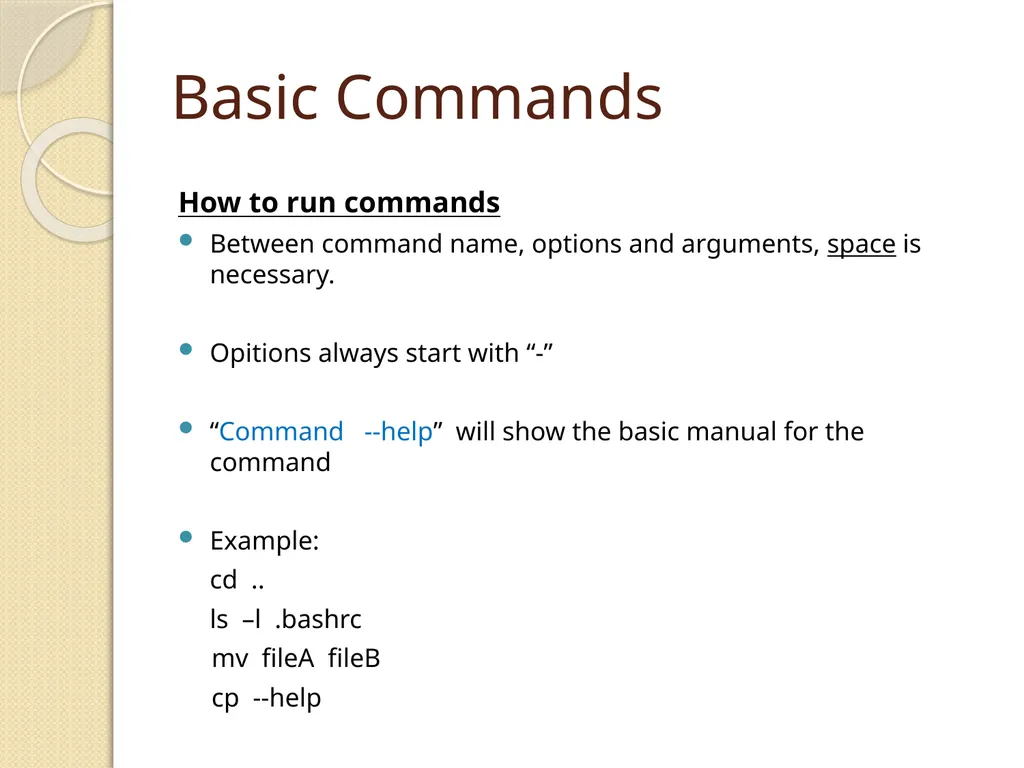
slide17. Basic Commands How to run commands
Between command name, options and arguments, space is necessary.
Opitions always start with “-”
“Command --help” will show the basic manual for the command
Example:
cd ..
ls –l .bashrc
mv fileA fileB
cp --help<br>
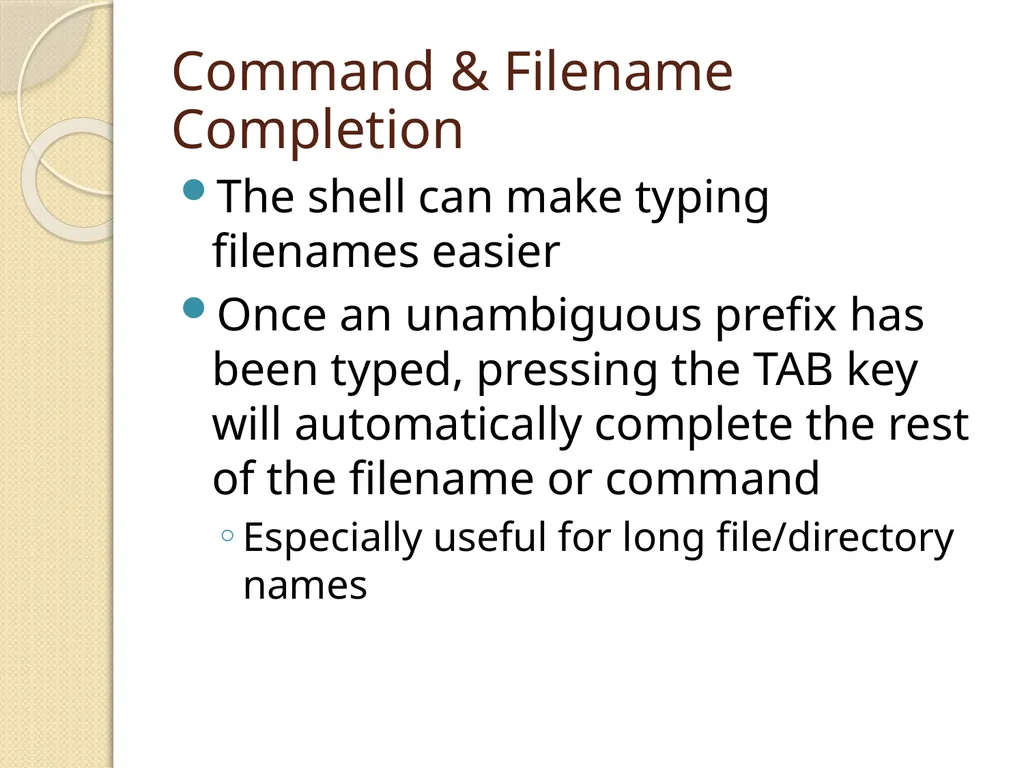
slide18. Command & Filename Completion The shell can make typing filenames easier
Once an unambiguous prefix has been typed, pressing the TAB key will automatically complete the rest of the filename or command
Especially useful for long file/directory names<br>
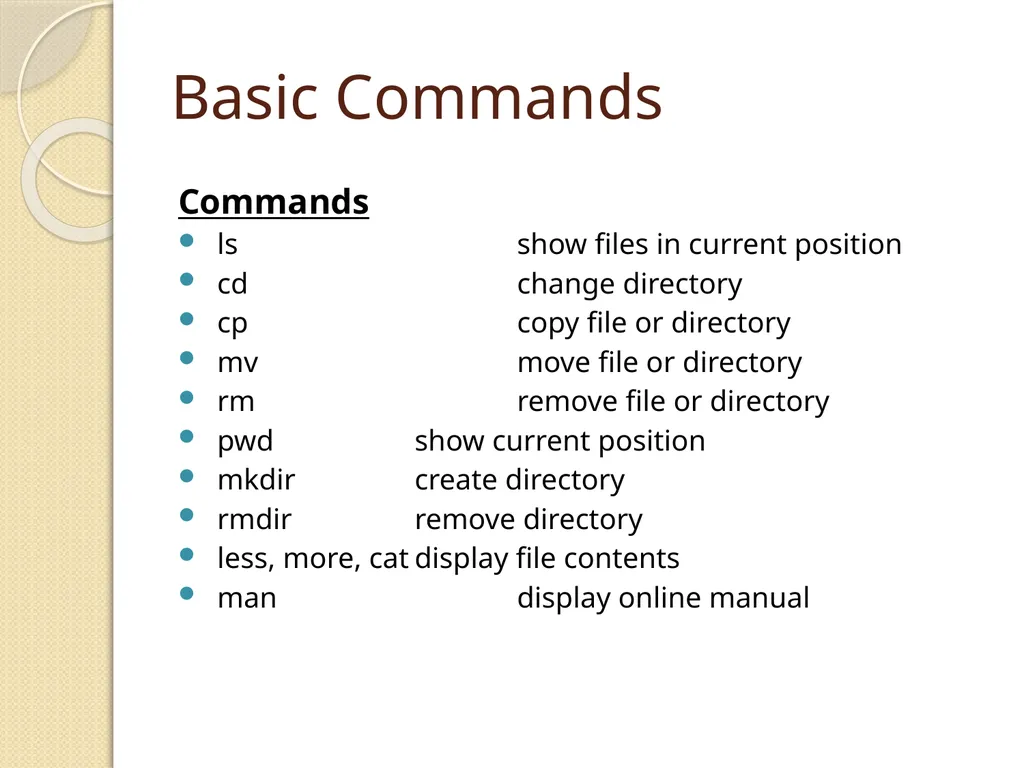
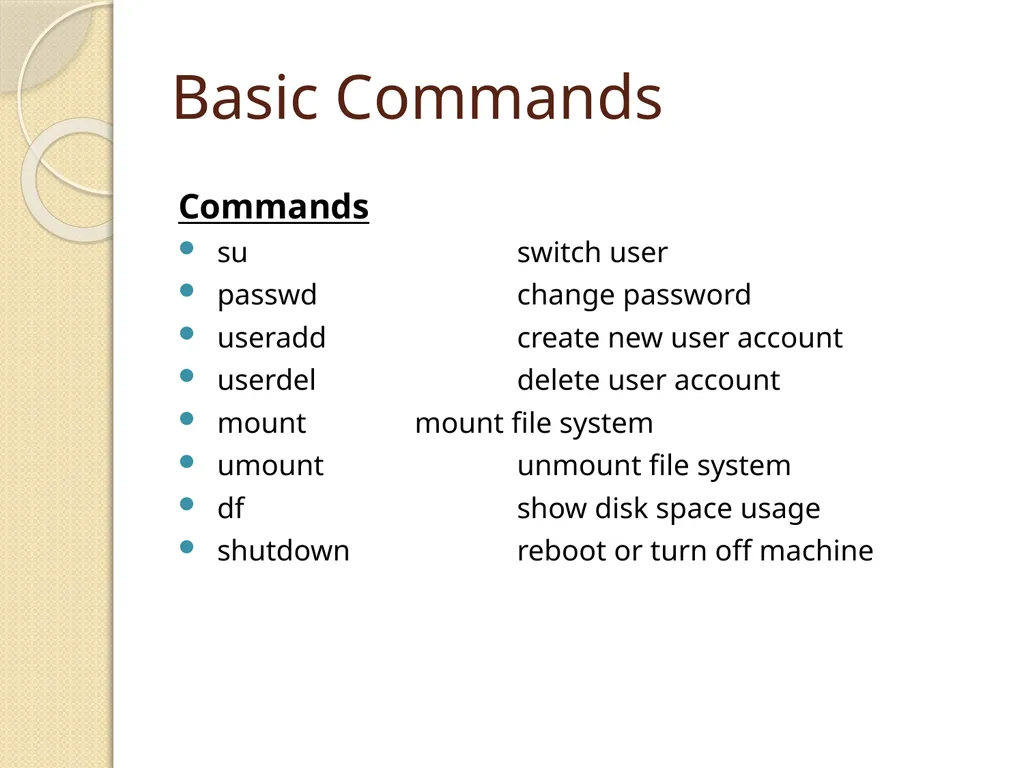
slide19. Basic Commands Commands
ls show files in current position
cd change directory
cp copy file or directory
mv move file or directory
rm remove file or directory
pwd show current position
mkdir create directory
rmdir remove directory
less, more, cat display file contents
man display online manual<br>
slide20. Basic Commands Commands
su switch user
passwd change password
useradd create new user account
userdel delete user account
mount mount file system
umount unmount file system
df show disk space usage
shutdown reboot or turn off machine<br>
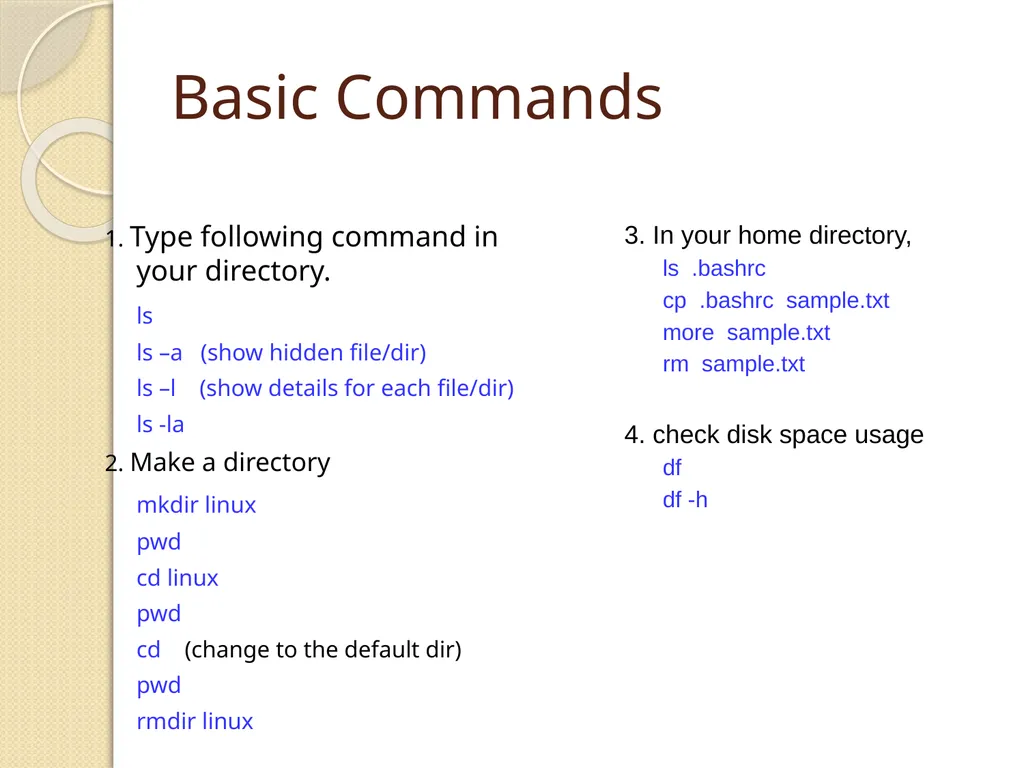
slide21. Basic Commands 1. Type following command in your directory.
ls
ls –a (show hidden file/dir)
ls –l (show details for each file/dir)
ls -la
2. Make a directory
mkdir linux
pwd
cd linux
pwd
cd (change to the default dir)
pwd
rmdir linux 3. In your home directory,
ls .bashrc
cp .bashrc sample.txt
more sample.txt
rm sample.txt
4. check disk space usage
df
df -h<br>
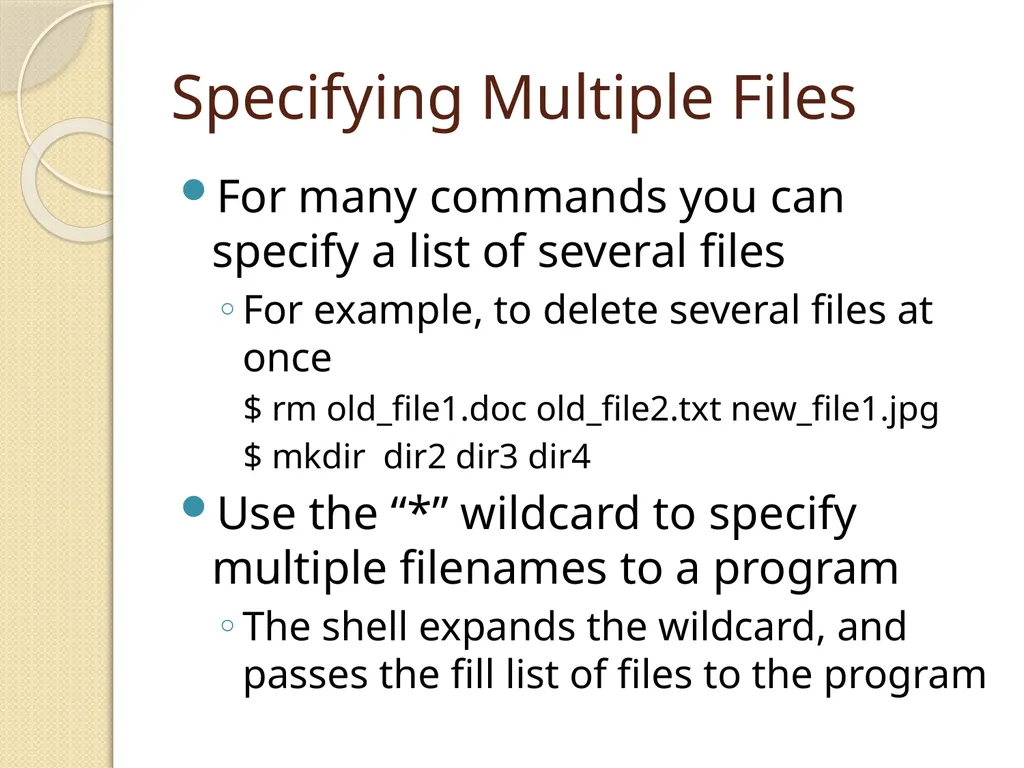
slide22. Specifying Multiple Files For many commands you can specify a list of several files
For example, to delete several files at once
$ rm old_file1.doc old_file2.txt new_file1.jpg
$ mkdir dir2 dir3 dir4
Use the “*” wildcard to specify multiple filenames to a program
The shell expands the wildcard, and passes the fill list of files to the program<br>
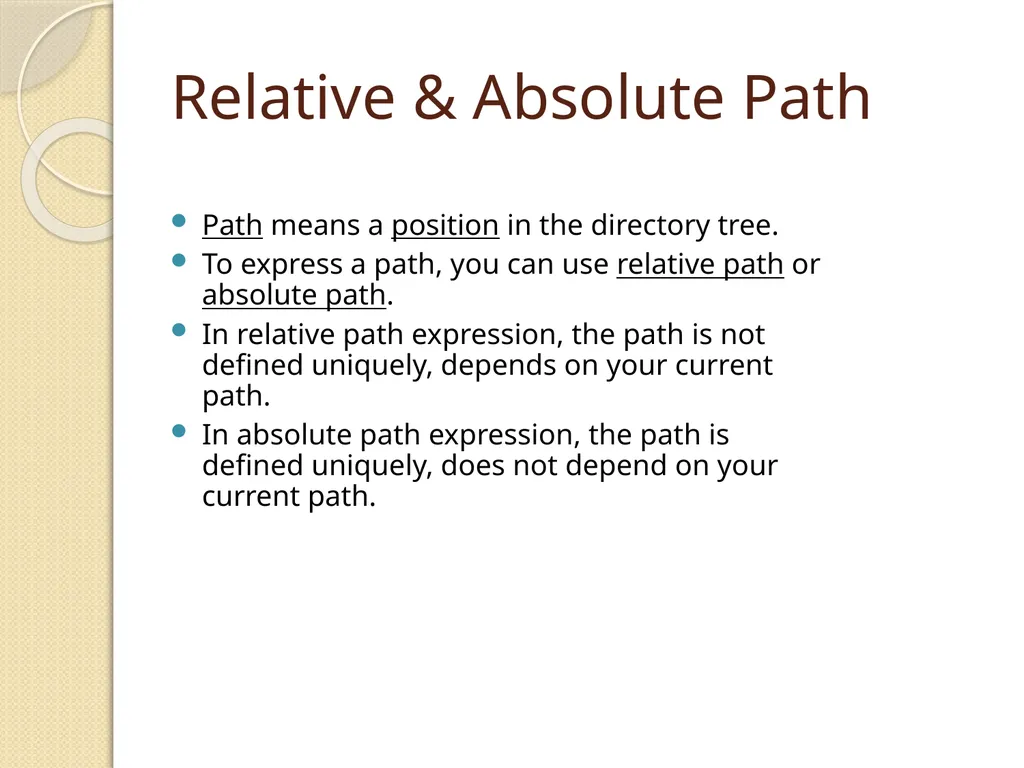
slide23. Relative & Absolute Path Path means a position in the directory tree.
To express a path, you can use relative path or absolute path.
In relative path expression, the path is not defined uniquely, depends on your current path.
In absolute path expression, the path is defined uniquely, does not depend on your current path.<br>
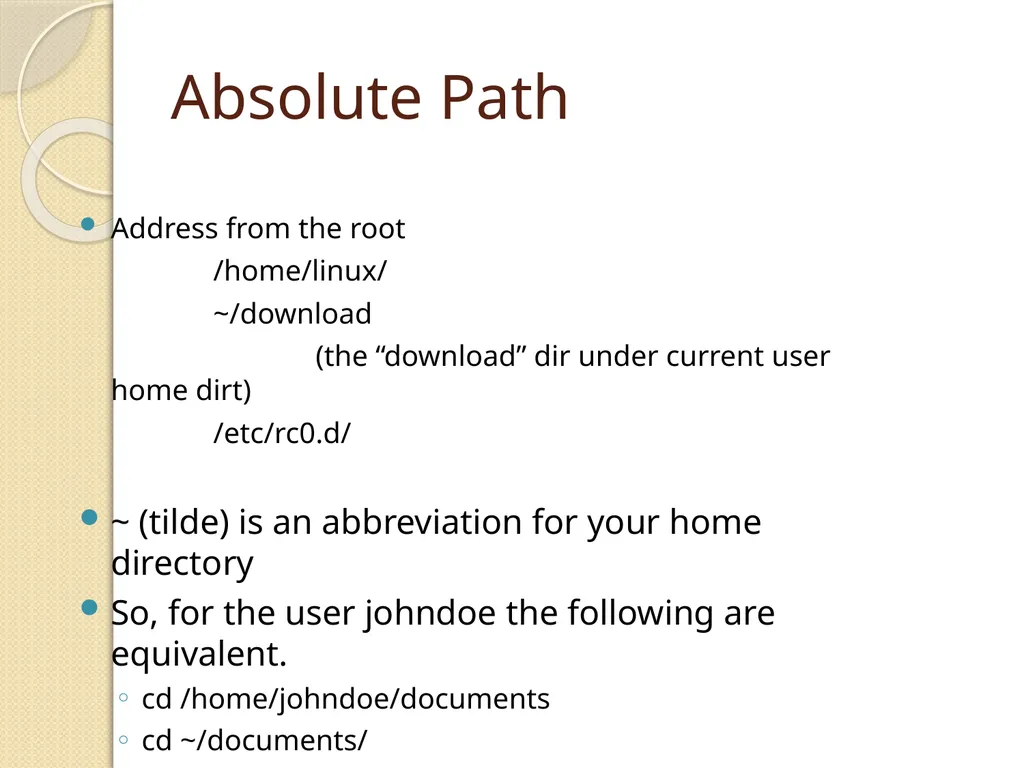
slide24. Absolute Path Address from the root
/home/linux/
~/download
(the “download” dir under current user home dirt)
/etc/rc0.d/
~ (tilde) is an abbreviation for your home directory
So, for the user johndoe the following are equivalent.
cd /home/johndoe/documents
cd ~/documents/<br>
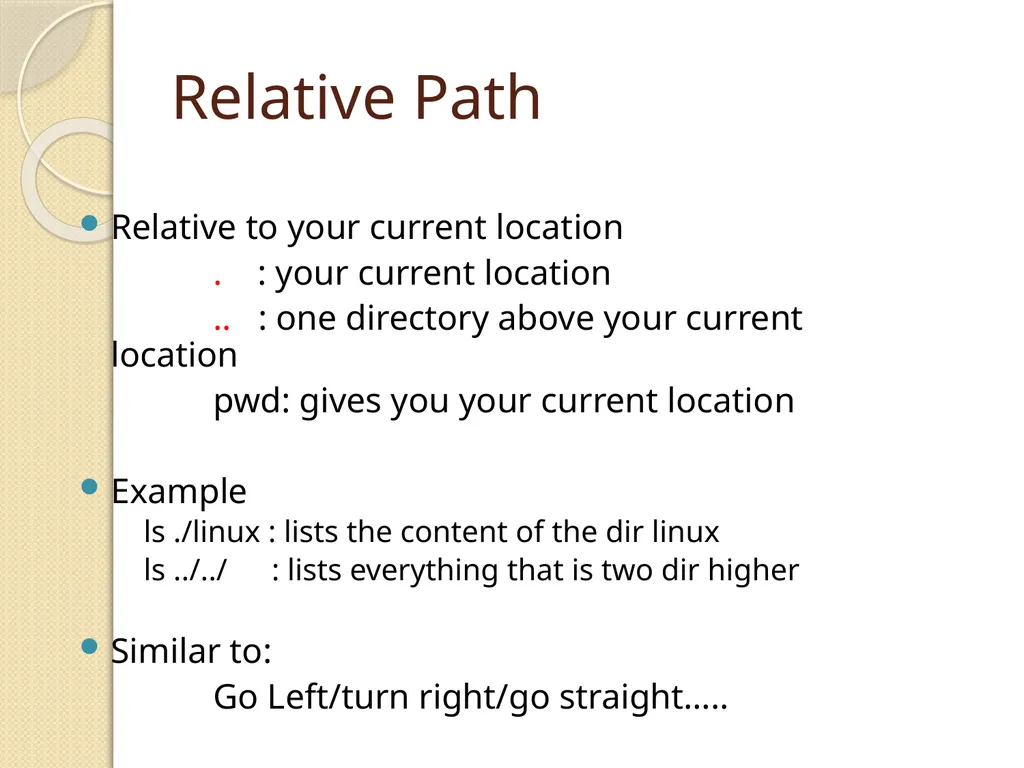
slide25. Relative Path Relative to your current location
. : your current location
.. : one directory above your current location
pwd: gives you your current location
Example
ls ./linux : lists the content of the dir linux
ls ../../ : lists everything that is two dir higher
Similar to:
Go Left/turn right/go straight…..<br>
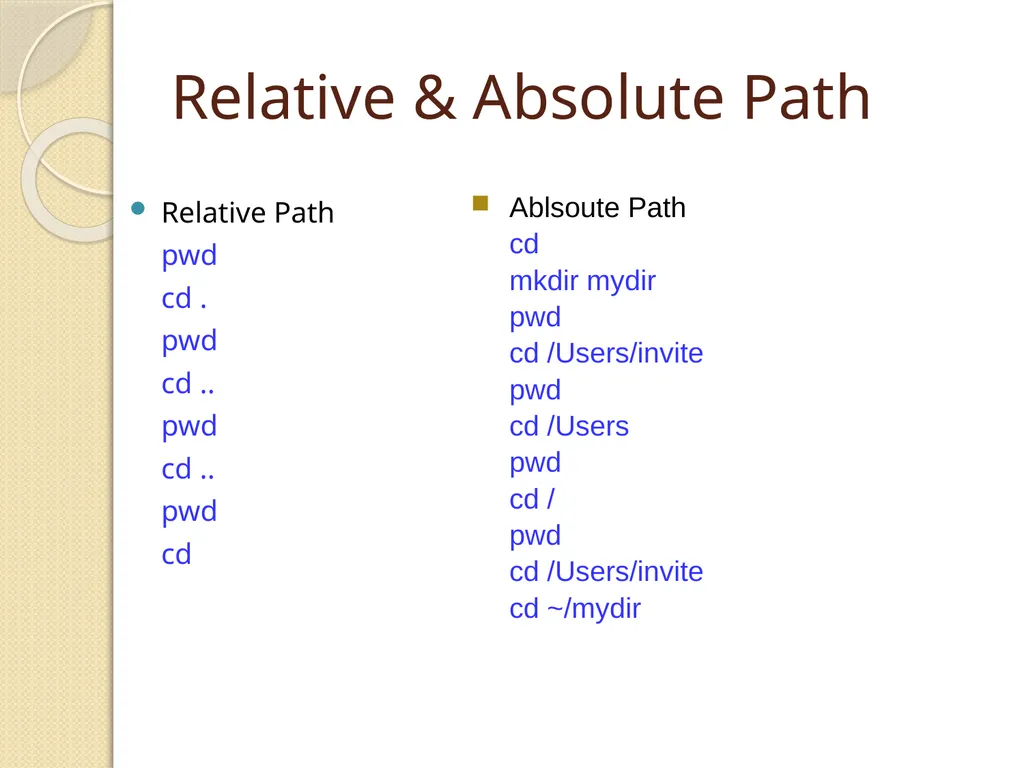
slide26. Relative & Absolute Path Relative Path
pwd
cd .
pwd
cd ..
pwd
cd ..
pwd
cd Ablsoute Path
cd
mkdir mydir
pwd
cd /Users/invite
pwd
cd /Users
pwd
cd /
pwd
cd /Users/invite
cd ~/mydir<br>
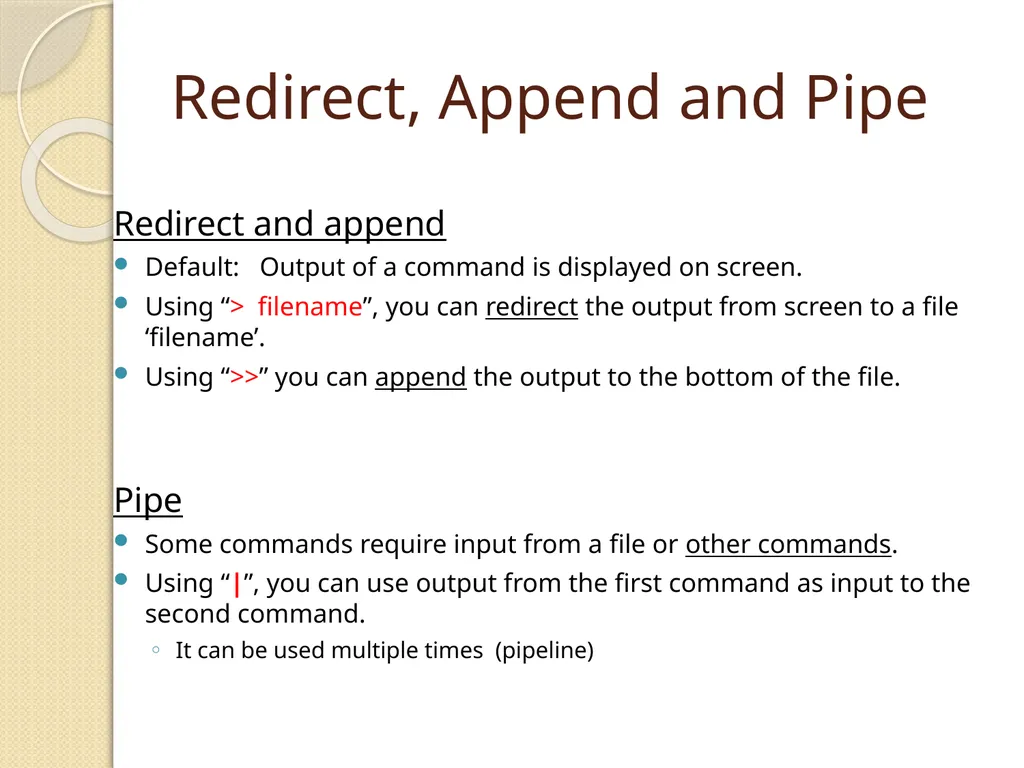
slide27. Redirect, Append and Pipe Redirect and append
Default: Output of a command is displayed on screen.
Using “> filename”, you can redirect the output from screen to a file ‘filename’.
Using “>>” you can append the output to the bottom of the file.
Pipe
Some commands require input from a file or other commands.
Using “|”, you can use output from the first command as input to the second command.
It can be used multiple times (pipeline)<br>
slide28. Redirect, Append and Pipe Commands
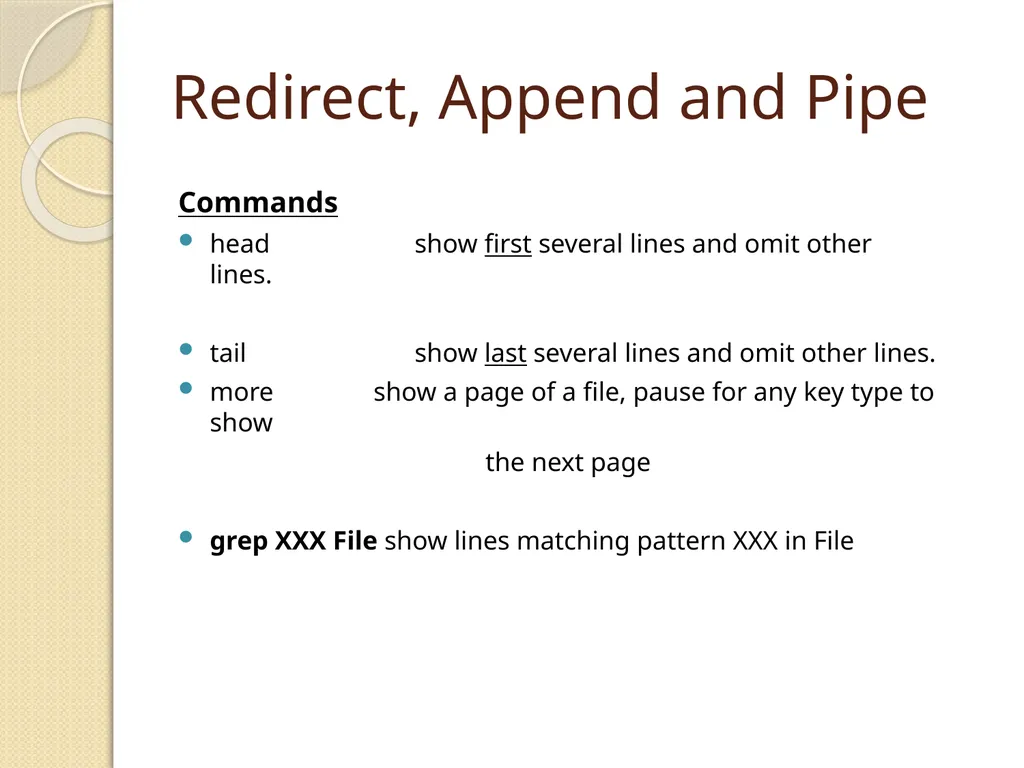
head show first several lines and omit other lines.
tail show last several lines and omit other lines.
more show a page of a file, pause for any key type to show
the next page
grep XXX File show lines matching pattern XXX in File<br>
slide29. Post-processing: Basic usage of Grep Command-line text-search program in Linux
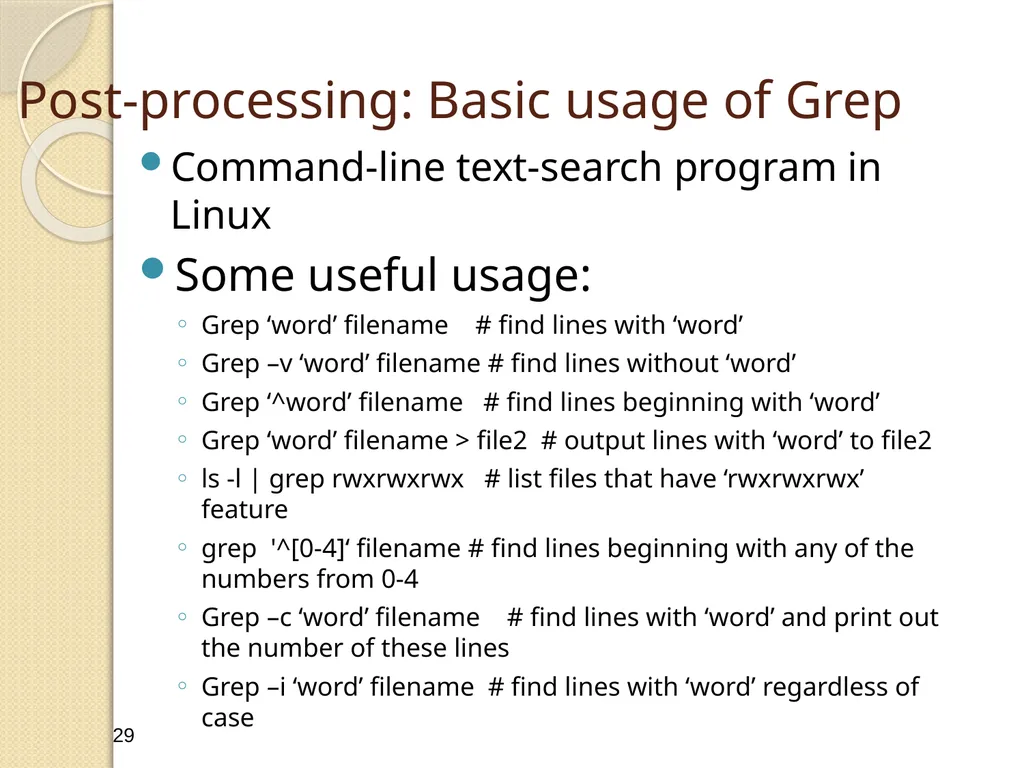
Some useful usage:
Grep ‘word’ filename # find lines with ‘word’
Grep –v ‘word’ filename # find lines without ‘word’
Grep ‘^word’ filename # find lines beginning with ‘word’
Grep ‘word’ filename > file2 # output lines with ‘word’ to file2
ls -l | grep rwxrwxrwx # list files that have ‘rwxrwxrwx’ feature
grep '^[0-4]‘ filename # find lines beginning with any of the numbers from 0-4
Grep –c ‘word’ filename # find lines with ‘word’ and print out the number of these lines
Grep –i ‘word’ filename # find lines with ‘word’ regardless of case
Many tutorials on grep online 29<br>
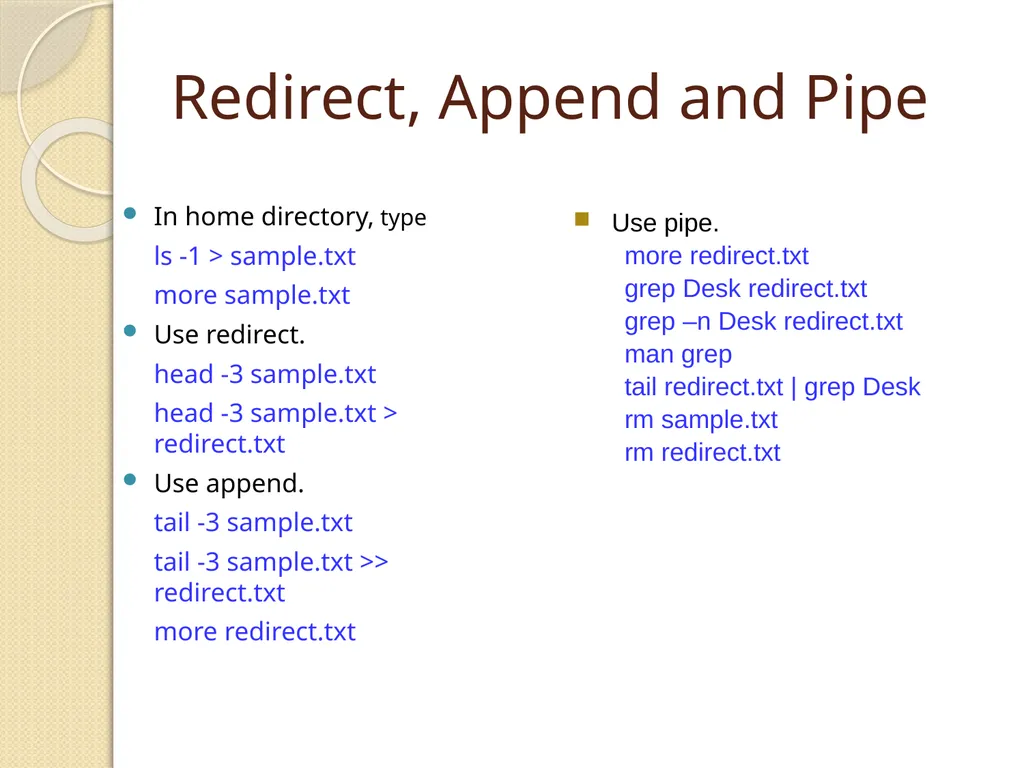
slide30. Redirect, Append and Pipe In home directory, type
ls -1 > sample.txt
more sample.txt
Use redirect.
head -3 sample.txt
head -3 sample.txt > redirect.txt
Use append.
tail -3 sample.txt
tail -3 sample.txt >> redirect.txt
more redirect.txt Use pipe.
more redirect.txt
grep Desk redirect.txt
grep –n Desk redirect.txt
man grep
tail redirect.txt | grep Desk
rm sample.txt
rm redirect.txt<br>
slide31. Sorting Commands
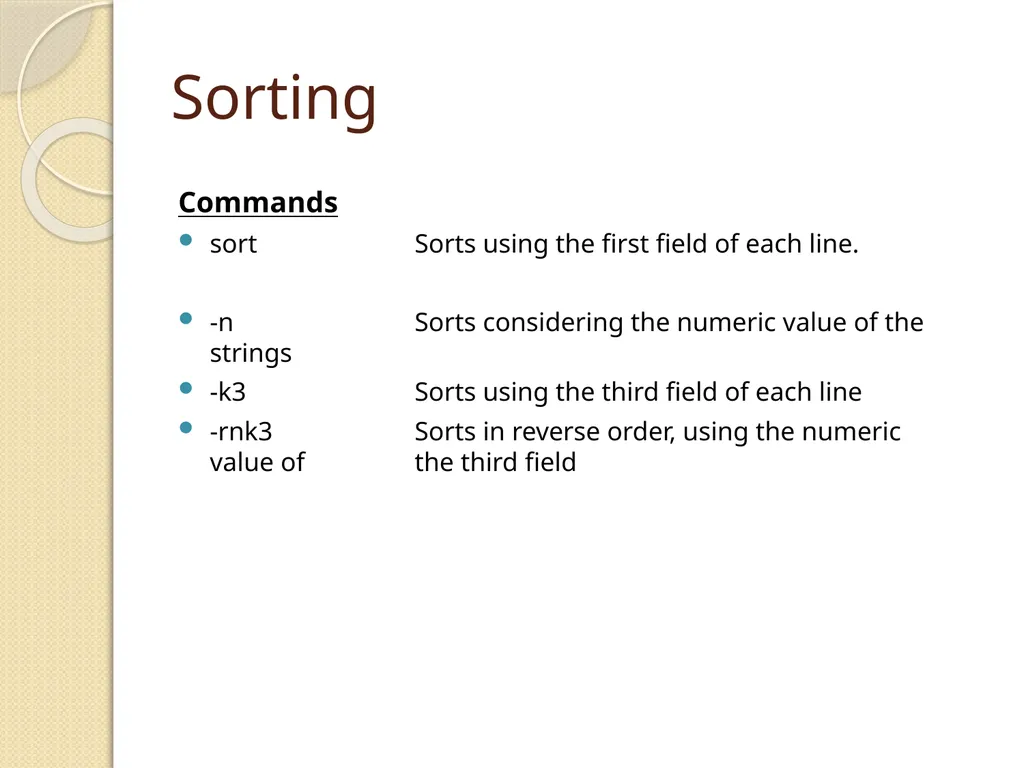
sort Sorts using the first field of each line.
-n Sorts considering the numeric value of the strings
-k3 Sorts using the third field of each line
-rnk3 Sorts in reverse order, using the numeric value of the third field<br>
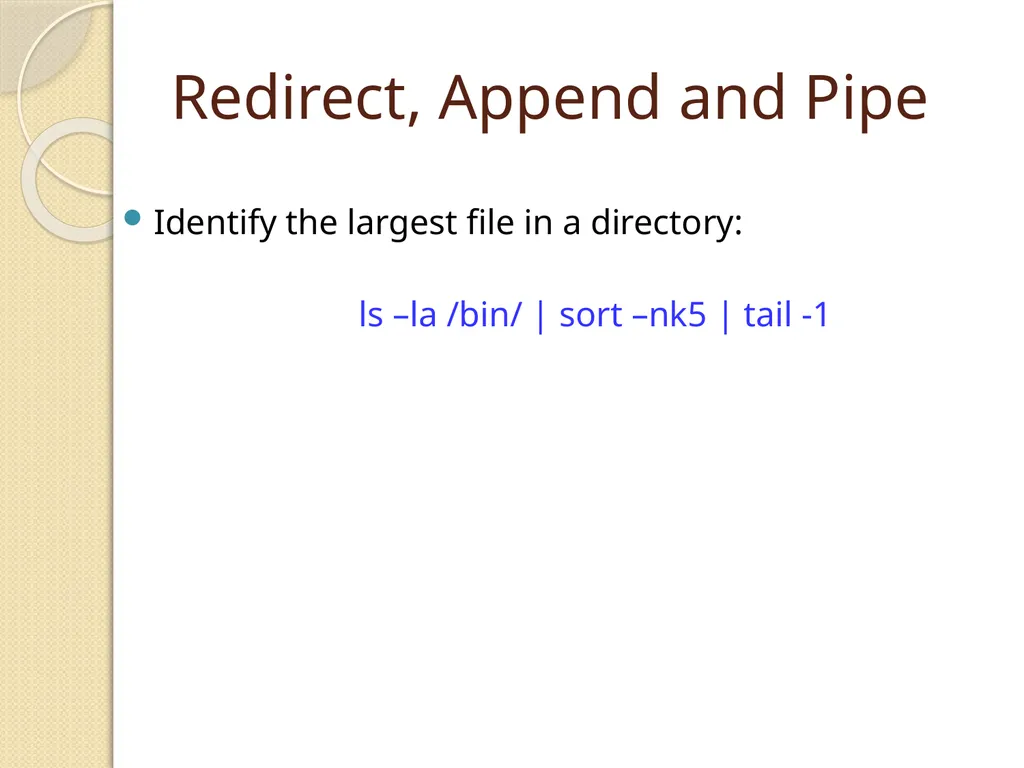
slide32. Redirect, Append and Pipe Identify the largest file in a directory:
ls –la /bin/ | sort –nk5 | tail -1<br>
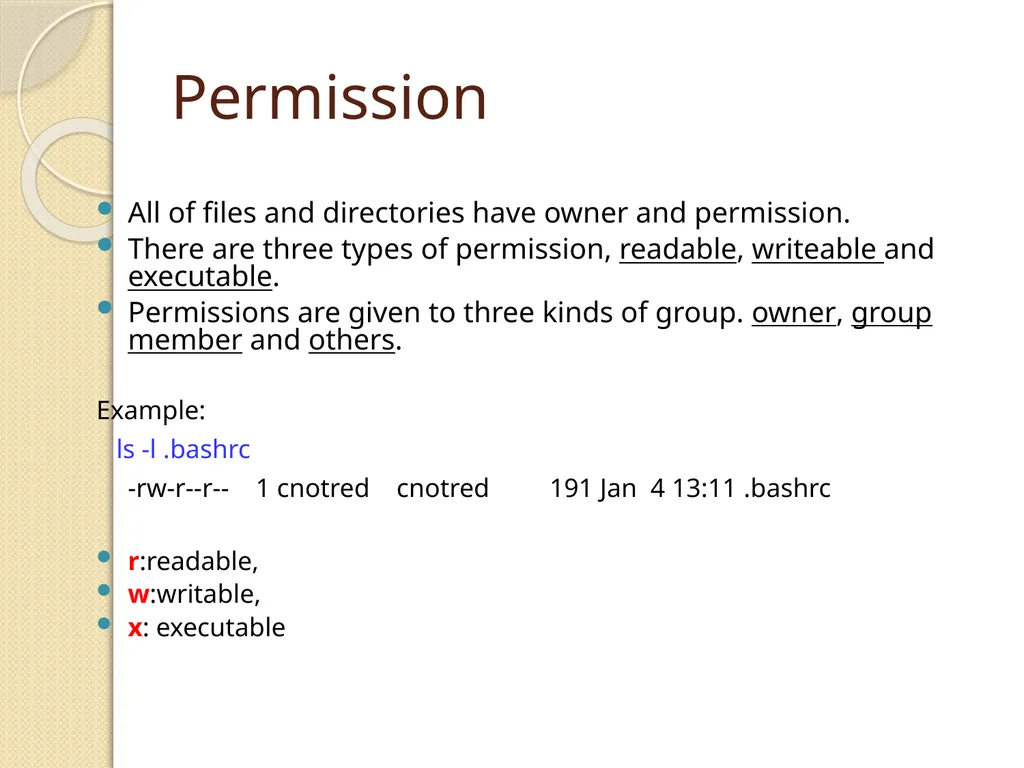
slide33. Permission All of files and directories have owner and permission.
There are three types of permission, readable, writeable and executable.
Permissions are given to three kinds of group. owner, group member and others.
Example:
ls -l .bashrc
-rw-r--r-- 1 cnotred cnotred 191 Jan 4 13:11 .bashrc
r:readable,
w:writable,
x: executable<br>
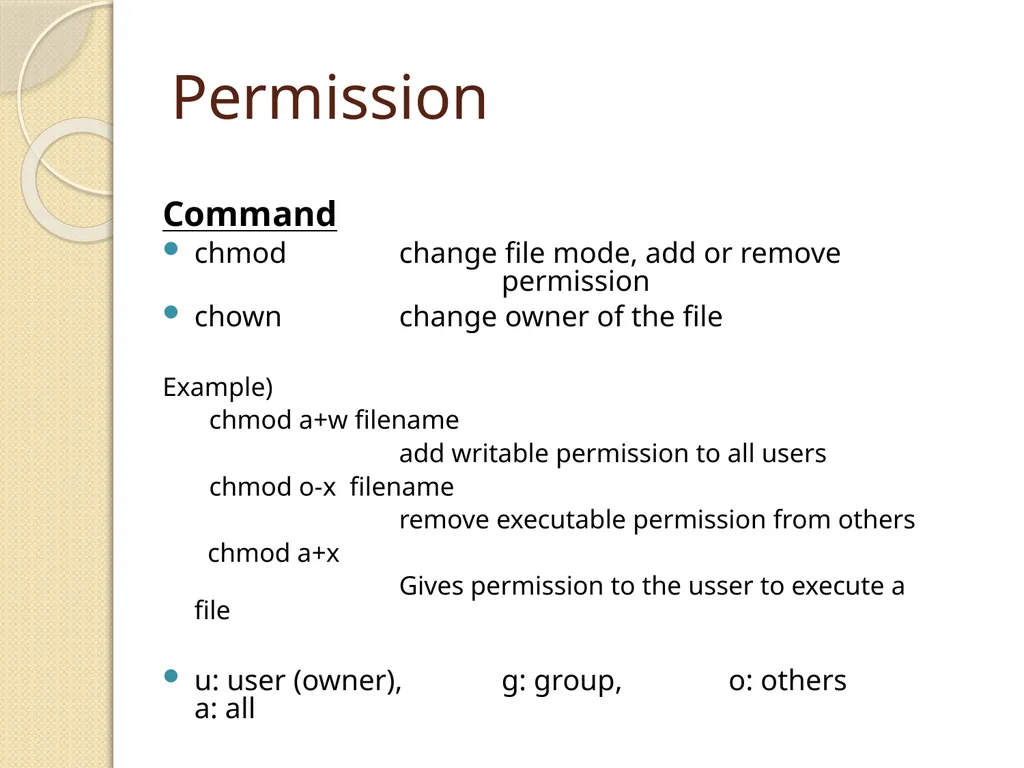
slide34. Permission Command
chmod change file mode, add or remove permission
chown change owner of the file
Example)
chmod a+w filename
add writable permission to all users
chmod o-x filename
remove executable permission from others
chmod a+x
Gives permission to the usser to execute a file
u: user (owner), g: group, o: others a: all<br>
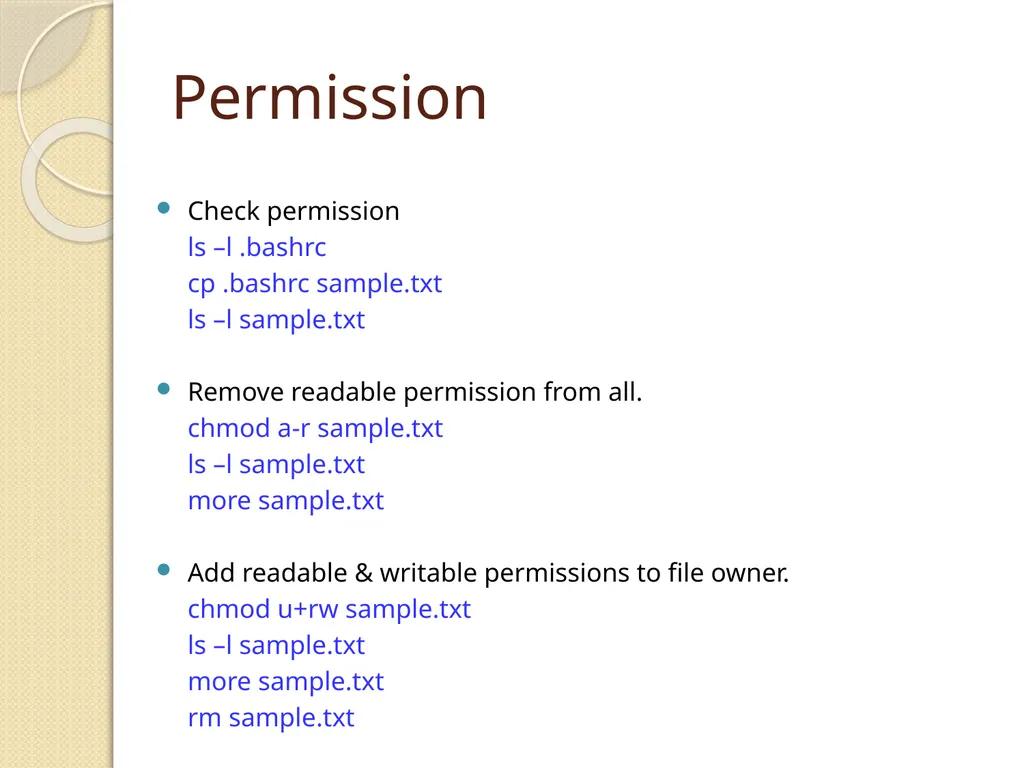
slide35. Permission Check permission
ls –l .bashrc
cp .bashrc sample.txt
ls –l sample.txt
Remove readable permission from all.
chmod a-r sample.txt
ls –l sample.txt
more sample.txt
Add readable & writable permissions to file owner.
chmod u+rw sample.txt
ls –l sample.txt
more sample.txt
rm sample.txt<br>
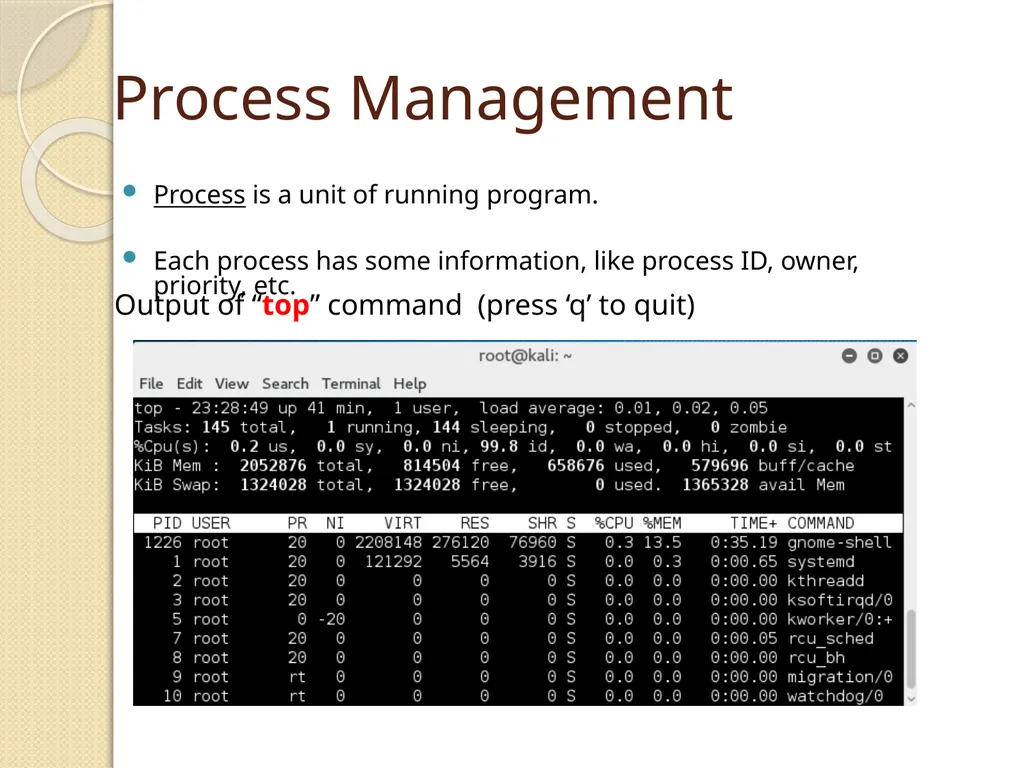
slide36. Process Management Process is a unit of running program.
Each process has some information, like process ID, owner, priority, etc. Output of “top” command (press ‘q’ to quit)<br>
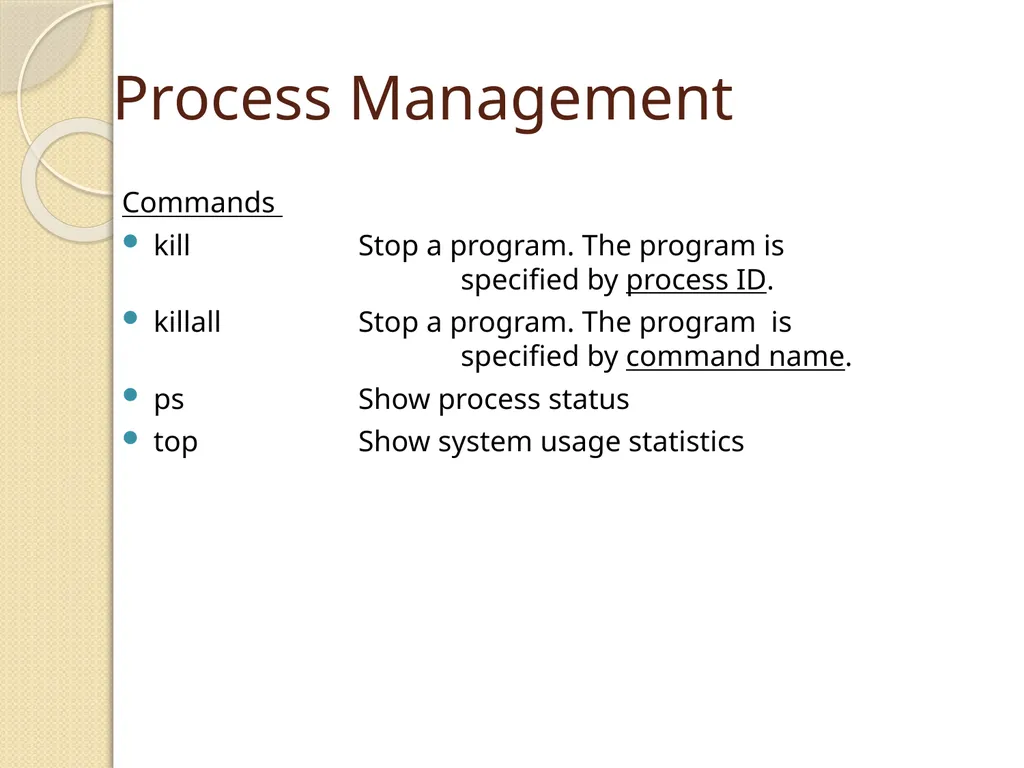
slide37. Process Management Commands
kill Stop a program. The program is specified by process ID.
killall Stop a program. The program is specified by command name.
ps Show process status
top Show system usage statistics<br>
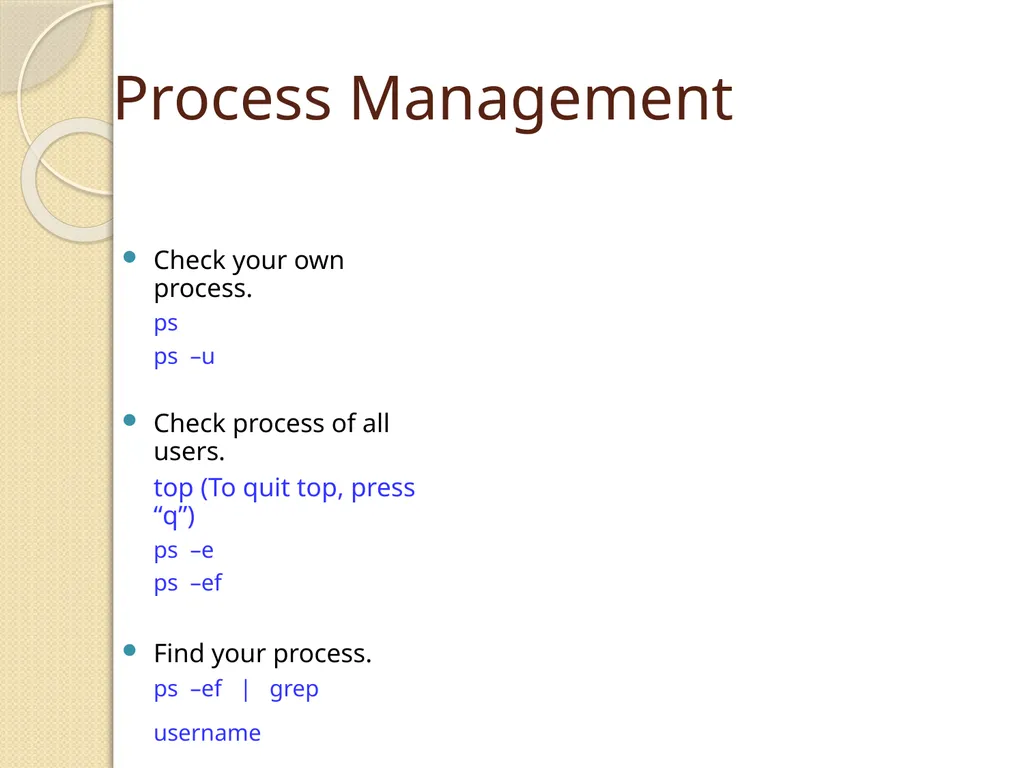
slide38. Process Management Check your own process.
ps
ps –u
Check process of all users.
top (To quit top, press “q”)
ps –e
ps –ef
Find your process.
ps –ef | grep username<br>
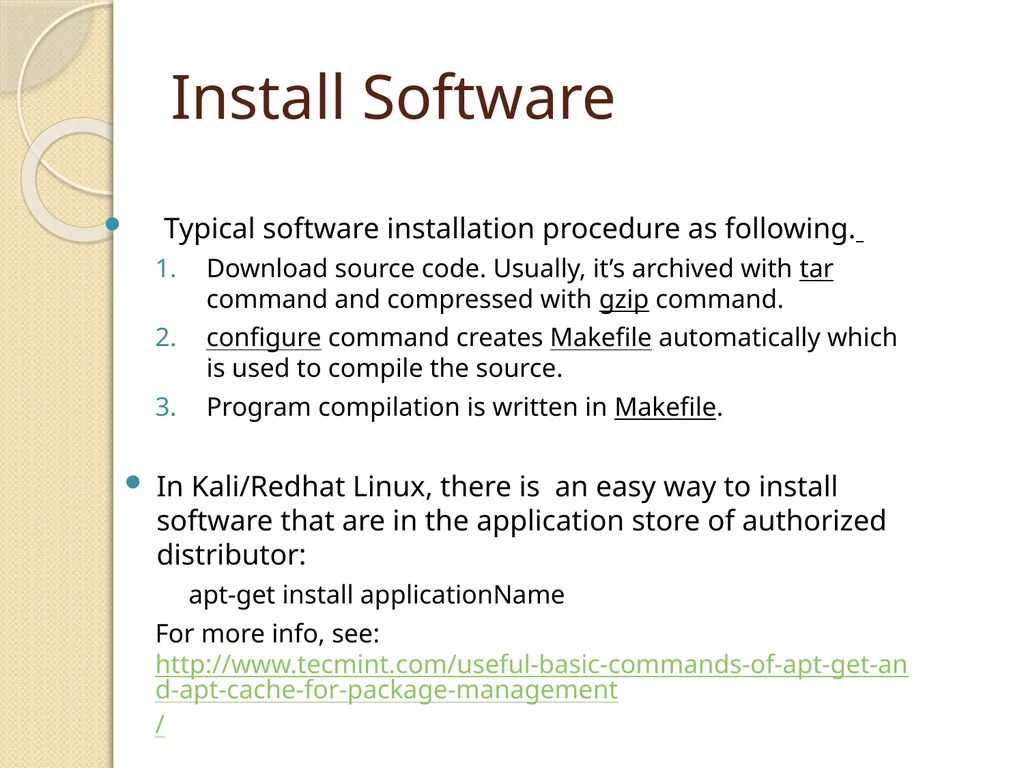
slide39. Install Software Typical software installation procedure as following.
Download source code. Usually, it’s archived with tar command and compressed with gzip command.
configure command creates Makefile automatically which is used to compile the source.
Program compilation is written in Makefile.
In Kali/Redhat Linux, there is an easy way to install software that are in the application store of authorized distributor:
apt-get install applicationName
For more info, see: http://www.tecmint.com/useful-basic-commands-of-apt-get-and-apt-cache-for-package-management/<br>
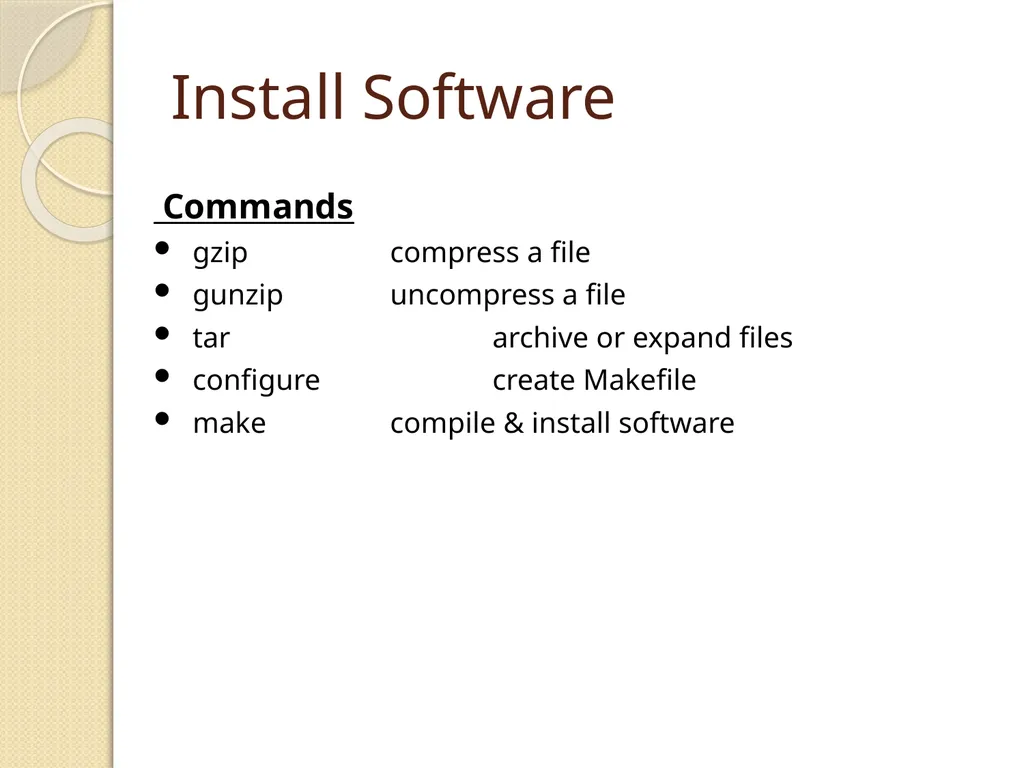
slide40. Install Software Commands
gzip compress a file
gunzip uncompress a file
tar archive or expand files
configure create Makefile
make compile & install software<br>
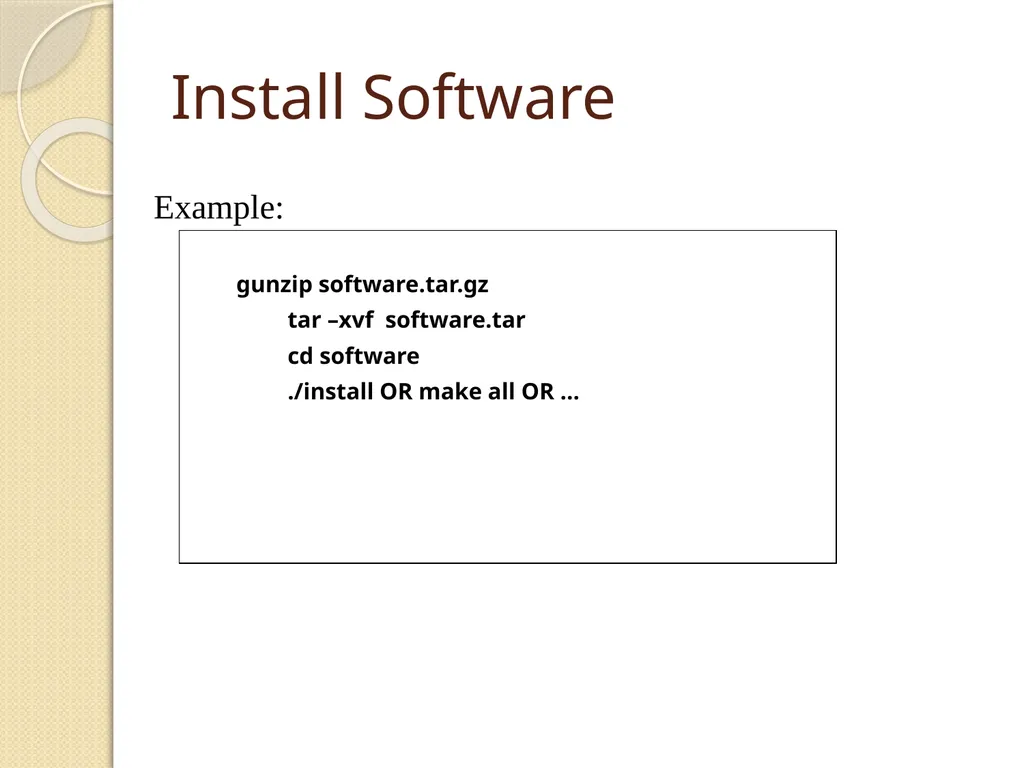
slide41. Install Software Example:
gunzip software.tar.gz
tar –xvf software.tar
cd software
./install OR make all OR …<br>
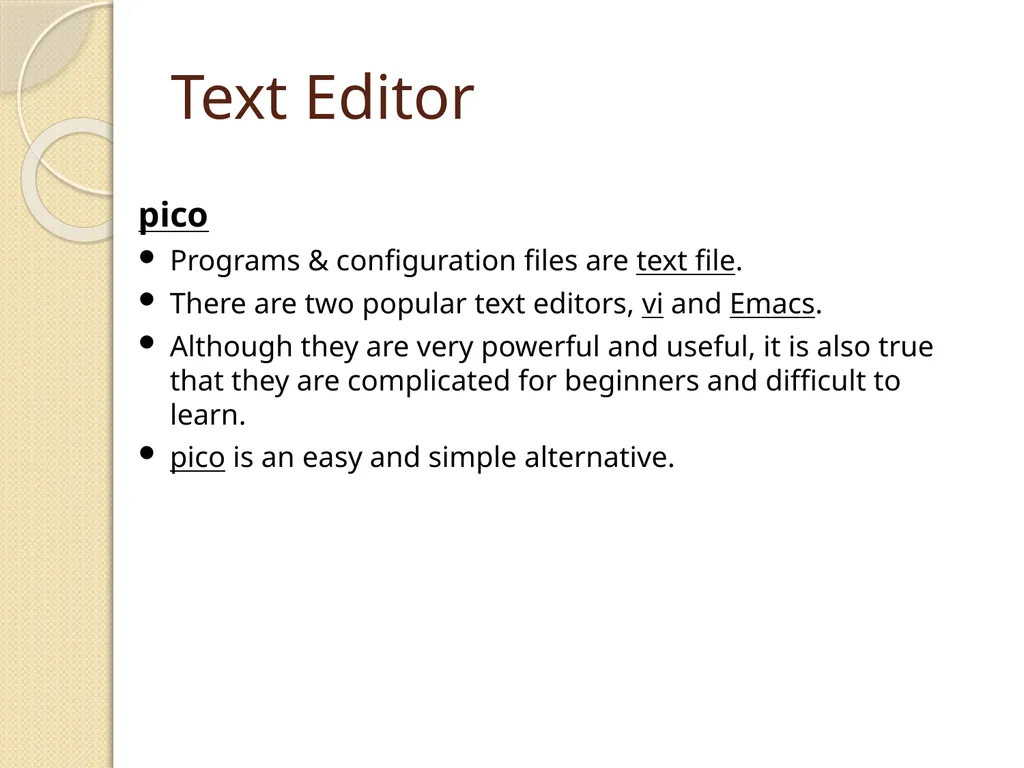
slide42. Text Editor pico
Programs & configuration files are text file.
There are two popular text editors, vi and Emacs.
Although they are very powerful and useful, it is also true that they are complicated for beginners and difficult to learn.
pico is an easy and simple alternative.<br>
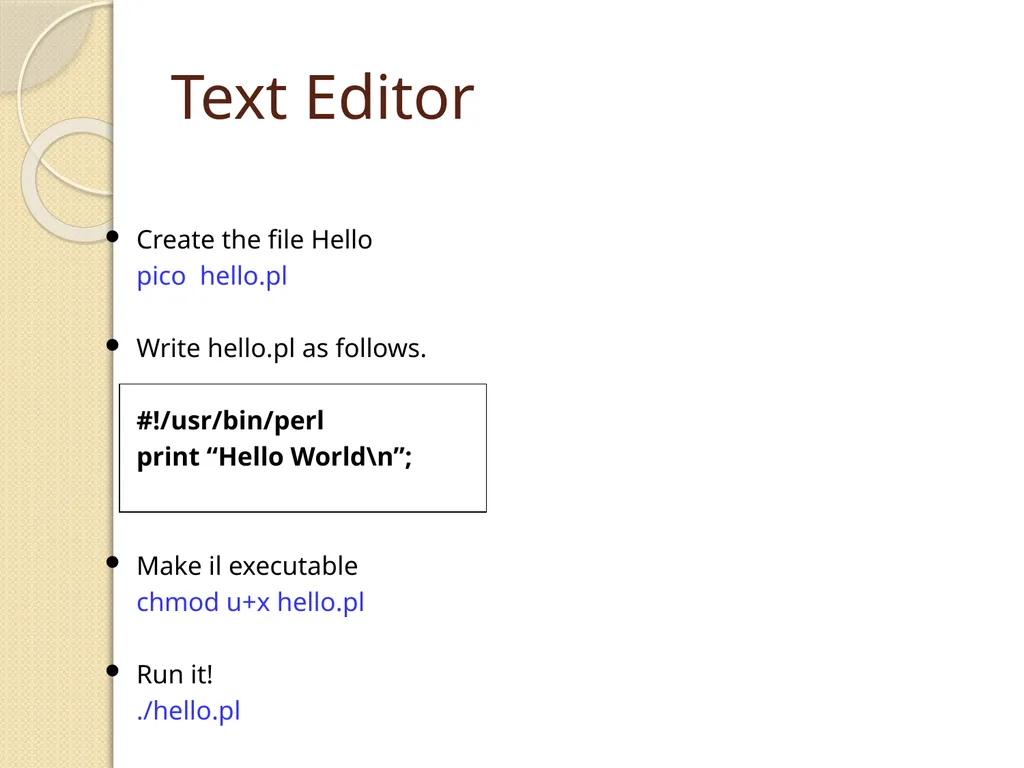
slide43. Text Editor Create the file Hello
pico hello.pl
Write hello.pl as follows.
#!/usr/bin/perl
print “Hello World\n”;
Make il executable
chmod u+x hello.pl
Run it!
./hello.pl<br>
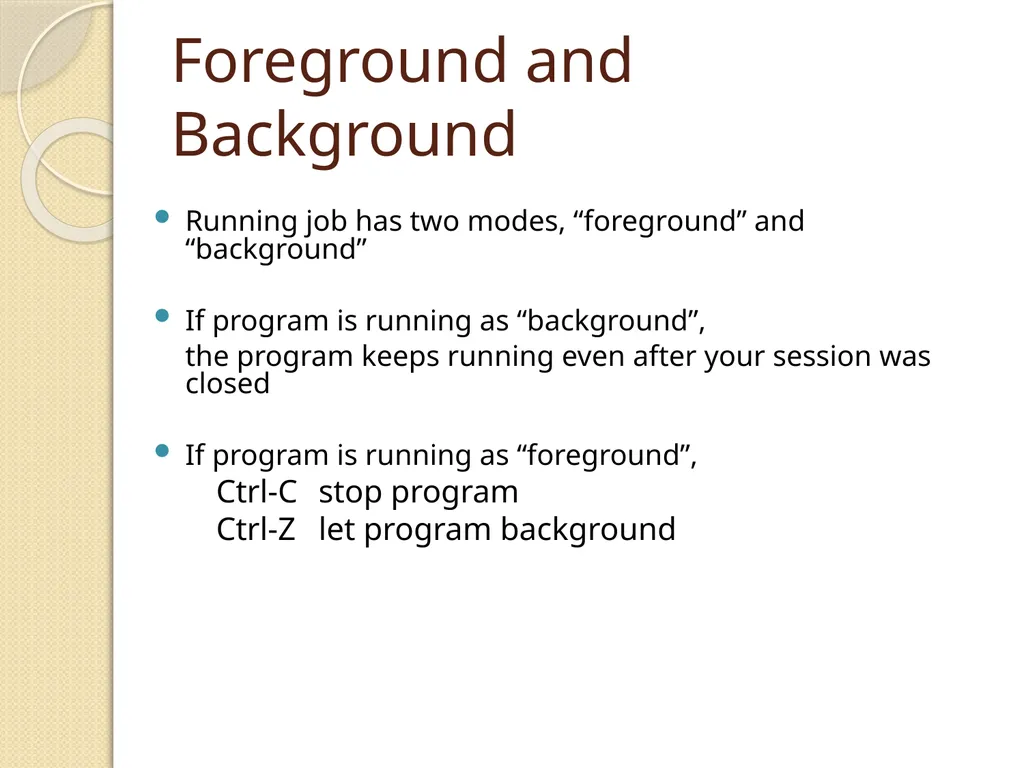
slide44. Foreground and Background Running job has two modes, “foreground” and “background”
If program is running as “background”,
the program keeps running even after your session was closed
If program is running as “foreground”,
Ctrl-C stop program
Ctrl-Z let program background<br>
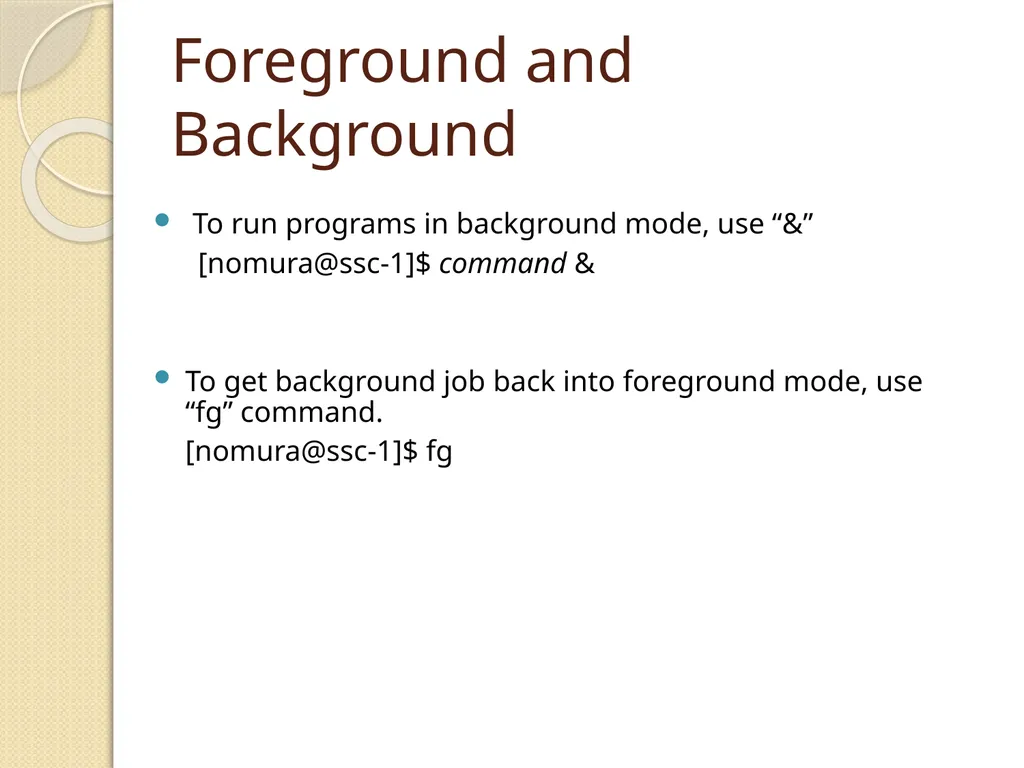
slide45. Foreground and Background To run programs in background mode, use “&”
[nomura@ssc-1]$ command &
To get background job back into foreground mode, use “fg” command.
[nomura@ssc-1]$ fg<br>
Fall 2021, Dr. Cliff Zou<br>
slide2. Acknowledgement Many slides come from “Tutorial of Unix/Linux,” by Cédric Notredame
www.tcoffee.org/Courses/Exercises/pavie_07/lectures/8.1.intro_unix.ppt
A very good online Linux tutorial:
https://www.guru99.com/unix-linux-tutorial.html<br>
slide3. Access to Linux System – Dept. Linux Server Department Linux machine:
Name: eustis.eecs.ucf.edu
Login uses your UCF NID credential
Can only log in by using SSH client software
Can only connect to eustis within UCF campus network
If you are outside campus network, first connect to UCF network by using VPN: http://www.cst.ucf.edu/about/telecommunications/network-services/vpn/
Then, connect and login Eustis.<br>
slide4. Access to Linux System – Dept. Linux Server Must use SSH to connect
Find free SSH clients on Internet
E.g., Putty (command line based)
http://en.wikipedia.org/wiki/Ssh_client
Two simple SSH programs combined to use:
SSH remote command terminal login: use ‘Putty’
File transfer: use a GUI-based free SSH client
E.g., WinSCP http://winscp.net/eng/index.php
Or, install a free GUI-based SSH software, such as: ‘MobaXterm’, which provides both command line terminal and file transfer<br>
slide5. Access to Linux System – Virtual Machine On your own machine’s VirtualBox, install Kali Linux VM as we introduced in last class
Graphic-based Linux, more comprehensive to experience Browser Command Terminal Folder<br>
slide6. Kali Linux VM Usage Click the right-up power button, you can config the system settings<br>
slide7. Kali Linux VM Usage We will use the ‘Terminal’ a lot in Linux
You can change its setting at ‘Edit’’Preferences’
I usually configure ‘open new terminal in Tab’
You can change text font to make text bigger
I usually disable ‘transparent background’ so text in terminal will be clearer<br>
slide8. Kali Linux VM Usage When you close your Linux VM in VirutalBox, you can use ‘save the machine state’ to get a ‘hibernation’ type of shutdown
So next time, running the VM will be very fast and return back to what you have left before closing<br>
slide9. Overview of Unix System Kernel & Shell
Unix/Linux is open-source operating system (OS).
Unix system is described as kernel & shell.
Kernel is a main program of Unix system. it controls hardware, CPU, memory, hard disk, network card etc.
Shell is an interface between user and kernel. Shell interprets your input as commands and pass them to kernel. Kernel Shell User input<br>
slide10. Unix Overview (cont.) Multi-user & Multi-process
Many people can use one machine at the same time by remote login
File & Process
Data, directory, process, hard disk, CD etc (almost everything) are expressed as a file.
Process is an running program identified by a unique id (PID).<br>
slide11. Unix Overview (cont.) Directory Structure
Files are put in a directory.
All directories are in a hierarchical structure (tree structure).
User can put and remove any directories on the tree.
Some devices (iPad, iPhone) do not have a clear directory file structure.
Top directory is “/”, which is called slash or root.
Users have the own directory. (home directory)<br>
slide12. Unix Overview (cont.) Important Directories
/bin This contains files that are essential for correct operation of the system. These are available for use by all users.
/home This is where user home directories are stored.
/home/username/ default user home directory
/home/username/public_html default user web homepage directory
/var This directory is used to store files which change frequently, and must be available to be written to.
/etc Various system configuration files are stored here.<br>
slide13. Unix Overview (cont.) Important Directories
/dev This contains various devices as files, e.g. hard disk, CD-ROM drive, etc.
/sbin Binaries which are only expected to be used by the super user.
/tmp Temporary files.<br>
slide14. Unix Overview (cont.) Normal user and Super user
In Unix system, there is one special user for administrator, which can do anything.
This special user is called root or superuser.
Case Sensitivity
Unix is case-sensitive.
MYFILE.doc, Myfile.doc, mYfiLe.Doc are different.
Online Manual
Unix has well-written online manuals.<br>
slide15. Linux Command Line The shell is where Linux/Unix commands are invoked
A command is typed at a shell prompt
A prompt usually ends in a dollar sign ($)
The prompt for root administrator is designated with a pound or hash symbol (#)<br>
slide16. Basic Commands How to run commands
Run a “terminal” application, run command in text line format
[username]$
One command consists of three parts, i.e. command name, options, arguments.
Example)
[someone~]$ command-name optionA optionB argument1 argument2<br>
slide17. Basic Commands How to run commands
Between command name, options and arguments, space is necessary.
Opitions always start with “-”
“Command --help” will show the basic manual for the command
Example:
cd ..
ls –l .bashrc
mv fileA fileB
cp --help<br>
slide18. Command & Filename Completion The shell can make typing filenames easier
Once an unambiguous prefix has been typed, pressing the TAB key will automatically complete the rest of the filename or command
Especially useful for long file/directory names<br>
slide19. Basic Commands Commands
ls show files in current position
cd change directory
cp copy file or directory
mv move file or directory
rm remove file or directory
pwd show current position
mkdir create directory
rmdir remove directory
less, more, cat display file contents
man display online manual<br>
slide20. Basic Commands Commands
su switch user
passwd change password
useradd create new user account
userdel delete user account
mount mount file system
umount unmount file system
df show disk space usage
shutdown reboot or turn off machine<br>
slide21. Basic Commands 1. Type following command in your directory.
ls
ls –a (show hidden file/dir)
ls –l (show details for each file/dir)
ls -la
2. Make a directory
mkdir linux
pwd
cd linux
pwd
cd (change to the default dir)
pwd
rmdir linux 3. In your home directory,
ls .bashrc
cp .bashrc sample.txt
more sample.txt
rm sample.txt
4. check disk space usage
df
df -h<br>
slide22. Specifying Multiple Files For many commands you can specify a list of several files
For example, to delete several files at once
$ rm old_file1.doc old_file2.txt new_file1.jpg
$ mkdir dir2 dir3 dir4
Use the “*” wildcard to specify multiple filenames to a program
The shell expands the wildcard, and passes the fill list of files to the program<br>
slide23. Relative & Absolute Path Path means a position in the directory tree.
To express a path, you can use relative path or absolute path.
In relative path expression, the path is not defined uniquely, depends on your current path.
In absolute path expression, the path is defined uniquely, does not depend on your current path.<br>
slide24. Absolute Path Address from the root
/home/linux/
~/download
(the “download” dir under current user home dirt)
/etc/rc0.d/
~ (tilde) is an abbreviation for your home directory
So, for the user johndoe the following are equivalent.
cd /home/johndoe/documents
cd ~/documents/<br>
slide25. Relative Path Relative to your current location
. : your current location
.. : one directory above your current location
pwd: gives you your current location
Example
ls ./linux : lists the content of the dir linux
ls ../../ : lists everything that is two dir higher
Similar to:
Go Left/turn right/go straight…..<br>
slide26. Relative & Absolute Path Relative Path
pwd
cd .
pwd
cd ..
pwd
cd ..
pwd
cd Ablsoute Path
cd
mkdir mydir
pwd
cd /Users/invite
pwd
cd /Users
pwd
cd /
pwd
cd /Users/invite
cd ~/mydir<br>
slide27. Redirect, Append and Pipe Redirect and append
Default: Output of a command is displayed on screen.
Using “> filename”, you can redirect the output from screen to a file ‘filename’.
Using “>>” you can append the output to the bottom of the file.
Pipe
Some commands require input from a file or other commands.
Using “|”, you can use output from the first command as input to the second command.
It can be used multiple times (pipeline)<br>
slide28. Redirect, Append and Pipe Commands
head show first several lines and omit other lines.
tail show last several lines and omit other lines.
more show a page of a file, pause for any key type to show
the next page
grep XXX File show lines matching pattern XXX in File<br>
slide29. Post-processing: Basic usage of Grep Command-line text-search program in Linux
Some useful usage:
Grep ‘word’ filename # find lines with ‘word’
Grep –v ‘word’ filename # find lines without ‘word’
Grep ‘^word’ filename # find lines beginning with ‘word’
Grep ‘word’ filename > file2 # output lines with ‘word’ to file2
ls -l | grep rwxrwxrwx # list files that have ‘rwxrwxrwx’ feature
grep '^[0-4]‘ filename # find lines beginning with any of the numbers from 0-4
Grep –c ‘word’ filename # find lines with ‘word’ and print out the number of these lines
Grep –i ‘word’ filename # find lines with ‘word’ regardless of case
Many tutorials on grep online 29<br>
slide30. Redirect, Append and Pipe In home directory, type
ls -1 > sample.txt
more sample.txt
Use redirect.
head -3 sample.txt
head -3 sample.txt > redirect.txt
Use append.
tail -3 sample.txt
tail -3 sample.txt >> redirect.txt
more redirect.txt Use pipe.
more redirect.txt
grep Desk redirect.txt
grep –n Desk redirect.txt
man grep
tail redirect.txt | grep Desk
rm sample.txt
rm redirect.txt<br>
slide31. Sorting Commands
sort Sorts using the first field of each line.
-n Sorts considering the numeric value of the strings
-k3 Sorts using the third field of each line
-rnk3 Sorts in reverse order, using the numeric value of the third field<br>
slide32. Redirect, Append and Pipe Identify the largest file in a directory:
ls –la /bin/ | sort –nk5 | tail -1<br>
slide33. Permission All of files and directories have owner and permission.
There are three types of permission, readable, writeable and executable.
Permissions are given to three kinds of group. owner, group member and others.
Example:
ls -l .bashrc
-rw-r--r-- 1 cnotred cnotred 191 Jan 4 13:11 .bashrc
r:readable,
w:writable,
x: executable<br>
slide34. Permission Command
chmod change file mode, add or remove permission
chown change owner of the file
Example)
chmod a+w filename
add writable permission to all users
chmod o-x filename
remove executable permission from others
chmod a+x
Gives permission to the usser to execute a file
u: user (owner), g: group, o: others a: all<br>
slide35. Permission Check permission
ls –l .bashrc
cp .bashrc sample.txt
ls –l sample.txt
Remove readable permission from all.
chmod a-r sample.txt
ls –l sample.txt
more sample.txt
Add readable & writable permissions to file owner.
chmod u+rw sample.txt
ls –l sample.txt
more sample.txt
rm sample.txt<br>
slide36. Process Management Process is a unit of running program.
Each process has some information, like process ID, owner, priority, etc. Output of “top” command (press ‘q’ to quit)<br>
slide37. Process Management Commands
kill Stop a program. The program is specified by process ID.
killall Stop a program. The program is specified by command name.
ps Show process status
top Show system usage statistics<br>
slide38. Process Management Check your own process.
ps
ps –u
Check process of all users.
top (To quit top, press “q”)
ps –e
ps –ef
Find your process.
ps –ef | grep username<br>
slide39. Install Software Typical software installation procedure as following.
Download source code. Usually, it’s archived with tar command and compressed with gzip command.
configure command creates Makefile automatically which is used to compile the source.
Program compilation is written in Makefile.
In Kali/Redhat Linux, there is an easy way to install software that are in the application store of authorized distributor:
apt-get install applicationName
For more info, see: http://www.tecmint.com/useful-basic-commands-of-apt-get-and-apt-cache-for-package-management/<br>
slide40. Install Software Commands
gzip compress a file
gunzip uncompress a file
tar archive or expand files
configure create Makefile
make compile & install software<br>
slide41. Install Software Example:
gunzip software.tar.gz
tar –xvf software.tar
cd software
./install OR make all OR …<br>
slide42. Text Editor pico
Programs & configuration files are text file.
There are two popular text editors, vi and Emacs.
Although they are very powerful and useful, it is also true that they are complicated for beginners and difficult to learn.
pico is an easy and simple alternative.<br>
slide43. Text Editor Create the file Hello
pico hello.pl
Write hello.pl as follows.
#!/usr/bin/perl
print “Hello World\n”;
Make il executable
chmod u+x hello.pl
Run it!
./hello.pl<br>
slide44. Foreground and Background Running job has two modes, “foreground” and “background”
If program is running as “background”,
the program keeps running even after your session was closed
If program is running as “foreground”,
Ctrl-C stop program
Ctrl-Z let program background<br>
slide45. Foreground and Background To run programs in background mode, use “&”
[nomura@ssc-1]$ command &
To get background job back into foreground mode, use “fg” command.
[nomura@ssc-1]$ fg<br>