
Title of Presentation Presenter Name1, Coauthor
BR
Published · 23 slides · 0 views

1 / 1
Description
Title of Presentation Presenter Name1, Coauthor Name2, Coauthor Name1,2, and Coauthor Name2 1 Affiliation One 2 Affiliation Two Outline Slide Format Title Slide Font Size Presentation Guidelines Presentation Flow Text Slides Graphs and
Related Topics
Share
Embed code
Download this presentation From Below
"Title of Presentation Presenter Name1, Coauthor" is the property of its rightful owner. Permission is granted to download and print the materials on this website for personal, non-commercial use only, and to display it on your personal computer provided you do not modify the materials and that you retain all copyright notices contained in the materials. By downloading content from our website, you accept the terms of this agreement.
Presentation Transcript
01
Title of Presentation Presenter Name1, Coauthor Name2,
Coauthor Name1,2, and Coauthor Name2 1 Affiliation One
2 Affiliation Two<br>
02
Outline Slide Format
Title Slide
Font Size
Presentation Guidelines
Presentation Flow
Text Slides
Graphs and Diagrams
Saving
Recording
Uploading Slide 1 <Program #><br>
Title Slide
Font Size
Presentation Guidelines
Presentation Flow
Text Slides
Graphs and Diagrams
Saving
Recording
Uploading Slide 1 <Program #><br>
03
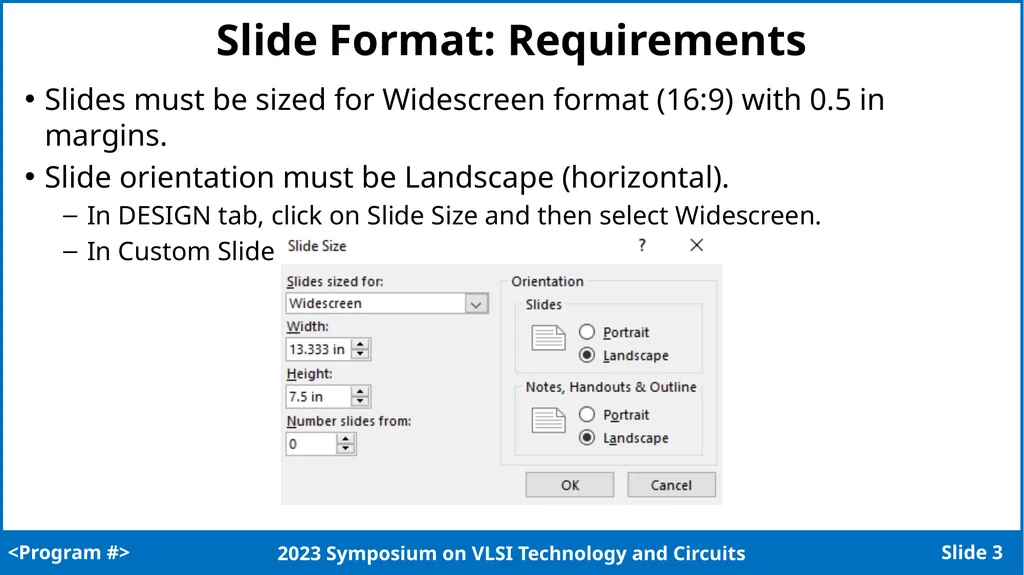
Slide Format: Requirements Slides must be sized for Widescreen format (16:9) with 0.5 in margins.
Slide orientation must be Landscape (horizontal).
In DESIGN tab, click on Slide Size and then select Widescreen.
In Custom Slide Size, you will see: Slide 2 <Program #><br>
Slide orientation must be Landscape (horizontal).
In DESIGN tab, click on Slide Size and then select Widescreen.
In Custom Slide Size, you will see: Slide 2 <Program #><br>
04
Slide Format: Rules Corporate and institutional logos are not permitted, except on the title slide.
Corporate and institutional backgrounds and borders are not permitted to avoid appearance of marketing.
Backgrounds must be white.
Text, lines, and shape outlines must be dark.
Text fonts must be appropriate for screen display.
Recommended font: Trebuchet MS
Reasonable alternatives: Arial or Verdana. Slide 3 <Program #><br>
Corporate and institutional backgrounds and borders are not permitted to avoid appearance of marketing.
Backgrounds must be white.
Text, lines, and shape outlines must be dark.
Text fonts must be appropriate for screen display.
Recommended font: Trebuchet MS
Reasonable alternatives: Arial or Verdana. Slide 3 <Program #><br>
05
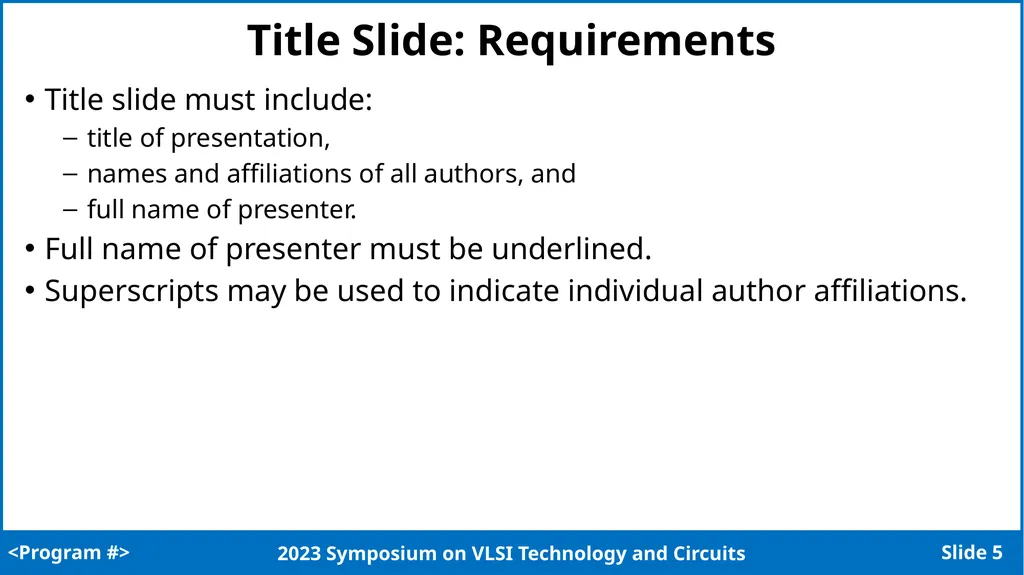
Title Slide: Requirements Title slide must include:
title of presentation,
names and affiliations of all authors, and
full name of presenter.
Full name of presenter must be underlined.
Superscripts may be used to indicate individual author affiliations. Slide 4 <Program #><br>
title of presentation,
names and affiliations of all authors, and
full name of presenter.
Full name of presenter must be underlined.
Superscripts may be used to indicate individual author affiliations. Slide 4 <Program #><br>
06
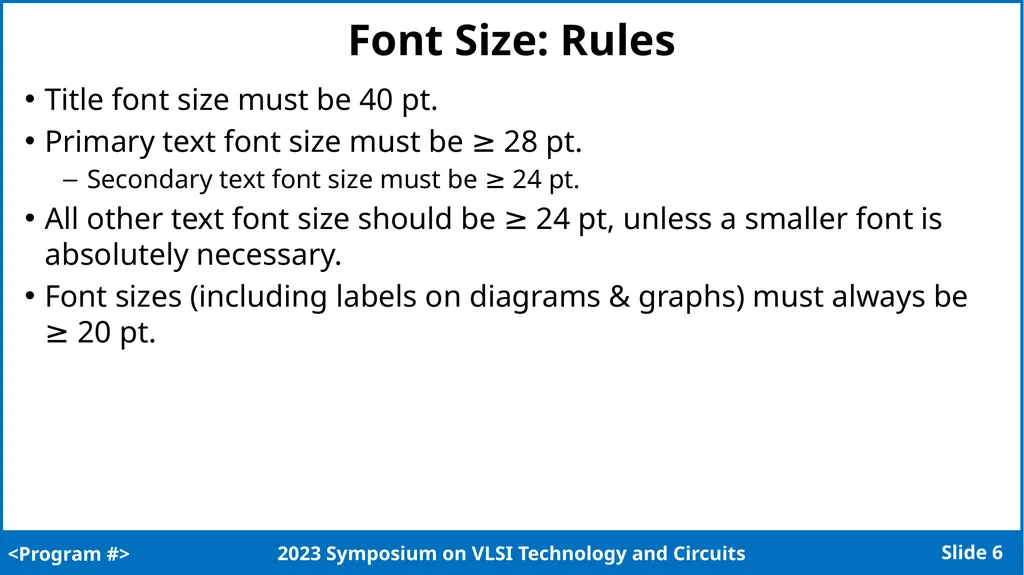
Font Size: Rules Title font size must be 40 pt.
Primary text font size must be ≥ 28 pt.
Secondary text font size must be ≥ 24 pt.
All other text font size should be ≥ 24 pt, unless a smaller font is absolutely necessary.
Font sizes (including labels on diagrams & graphs) must always be ≥ 20 pt. Slide 5 <Program #><br>
Primary text font size must be ≥ 28 pt.
Secondary text font size must be ≥ 24 pt.
All other text font size should be ≥ 24 pt, unless a smaller font is absolutely necessary.
Font sizes (including labels on diagrams & graphs) must always be ≥ 20 pt. Slide 5 <Program #><br>
07
Presentation Guidelines:
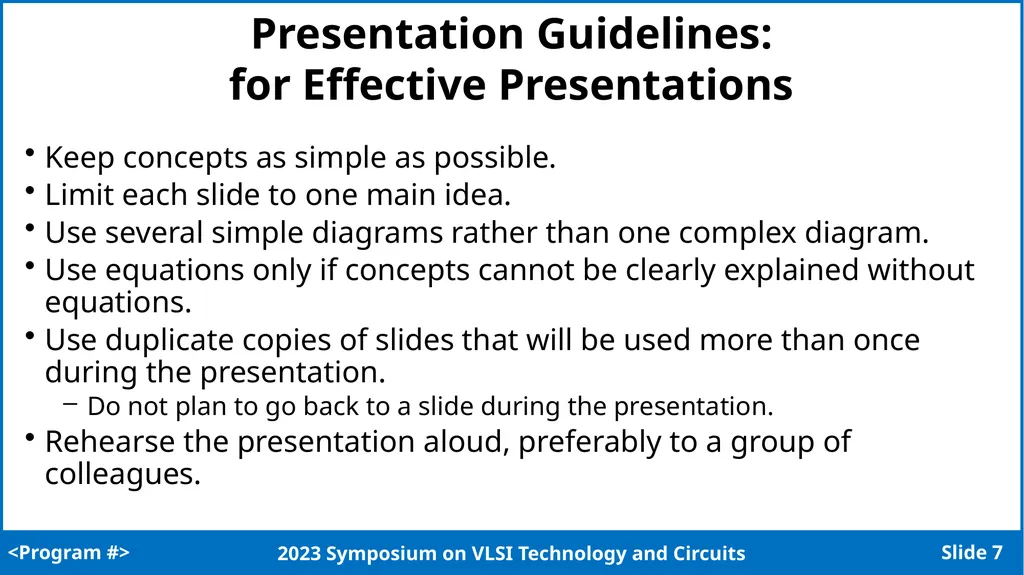
for Effective Presentations Keep concepts as simple as possible.
Limit each slide to one main idea.
Use several simple diagrams rather than one complex diagram.
Use equations only if concepts cannot be clearly explained without equations.
Use duplicate copies of slides that will be used more than once during the presentation.
Do not plan to go back to a slide during the presentation.
Rehearse the presentation aloud, preferably to a group of colleagues. Slide 6 <Program #><br>
Limit each slide to one main idea.
Use several simple diagrams rather than one complex diagram.
Use equations only if concepts cannot be clearly explained without equations.
Use duplicate copies of slides that will be used more than once during the presentation.
Do not plan to go back to a slide during the presentation.
Rehearse the presentation aloud, preferably to a group of colleagues. Slide 6 <Program #><br>
08
Presentation Guidelines:
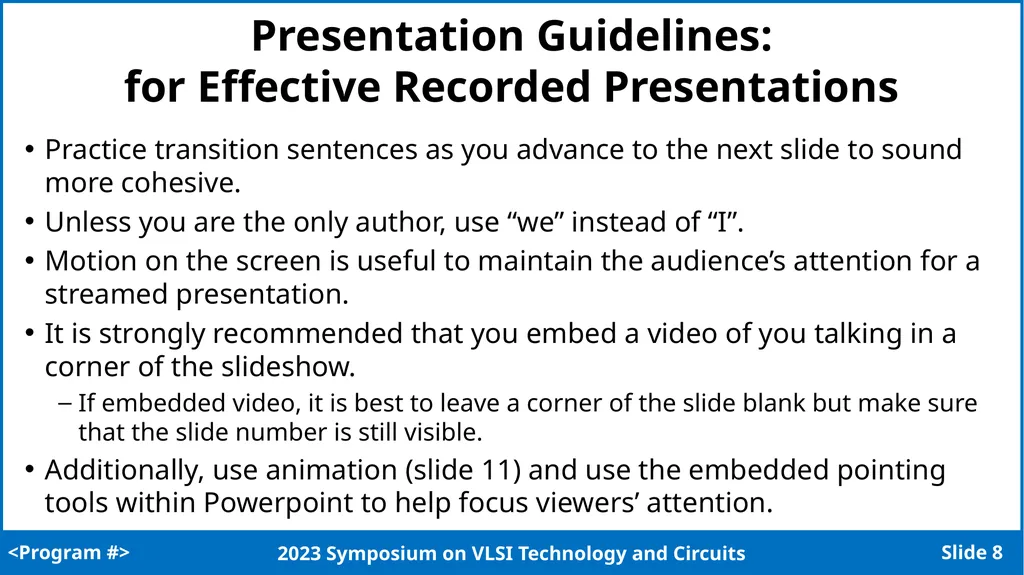
for Effective Recorded Presentations Practice transition sentences as you advance to the next slide to sound more cohesive.
Unless you are the only author, use “we” instead of “I”.
Motion on the screen is useful to maintain the audience’s attention for a streamed presentation.
It is strongly recommended that you embed a video of you talking in a corner of the slideshow.
If embedded video, it is best to leave a corner of the slide blank but make sure that the slide number is still visible.
Additionally, use animation (slide 11) and use the embedded pointing tools within Powerpoint to help focus viewers’ attention. Slide 7 <Program #><br>
Unless you are the only author, use “we” instead of “I”.
Motion on the screen is useful to maintain the audience’s attention for a streamed presentation.
It is strongly recommended that you embed a video of you talking in a corner of the slideshow.
If embedded video, it is best to leave a corner of the slide blank but make sure that the slide number is still visible.
Additionally, use animation (slide 11) and use the embedded pointing tools within Powerpoint to help focus viewers’ attention. Slide 7 <Program #><br>
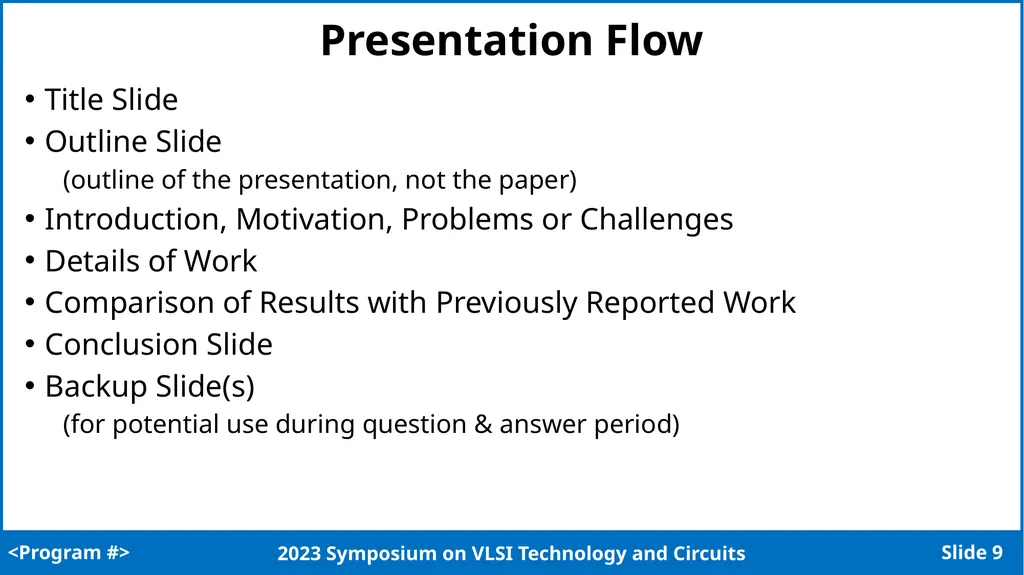
09
Presentation Flow Title Slide
Outline Slide
(outline of the presentation, not the paper)
Introduction, Motivation, Problems or Challenges
Details of Work
Comparison of Results with Previously Reported Work
Conclusion Slide
Backup Slide(s)
(for potential use during question & answer period) Slide 8 <Program #><br>
Outline Slide
(outline of the presentation, not the paper)
Introduction, Motivation, Problems or Challenges
Details of Work
Comparison of Results with Previously Reported Work
Conclusion Slide
Backup Slide(s)
(for potential use during question & answer period) Slide 8 <Program #><br>
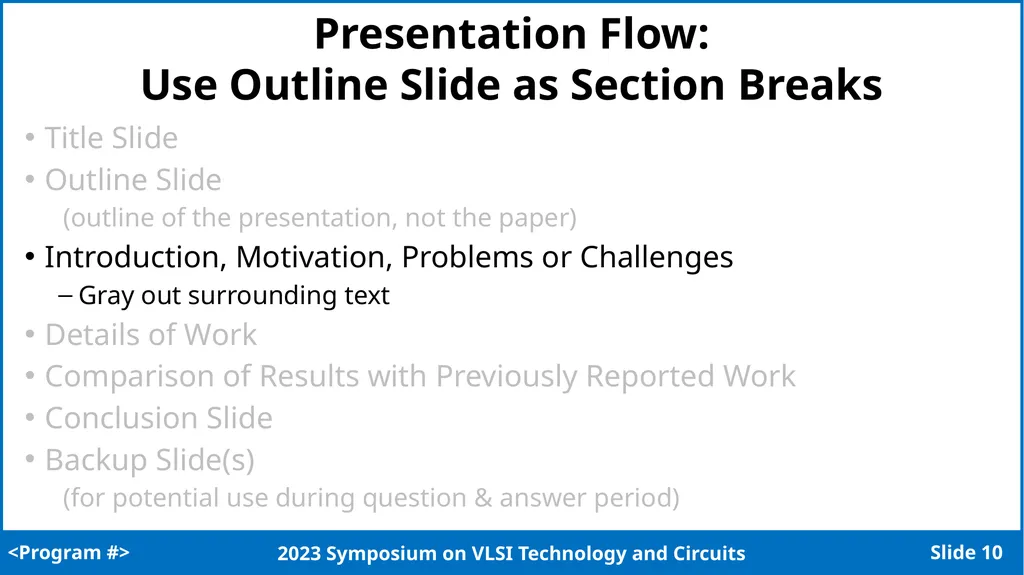
10
Presentation Flow:
Use Outline Slide as Section Breaks Title Slide
Outline Slide
(outline of the presentation, not the paper)
Introduction, Motivation, Problems or Challenges
Gray out surrounding text
Details of Work
Comparison of Results with Previously Reported Work
Conclusion Slide
Backup Slide(s)
(for potential use during question & answer period) Slide 9 <Program #><br>
Outline Slide
(outline of the presentation, not the paper)
Introduction, Motivation, Problems or Challenges
Gray out surrounding text
Details of Work
Comparison of Results with Previously Reported Work
Conclusion Slide
Backup Slide(s)
(for potential use during question & answer period) Slide 9 <Program #><br>
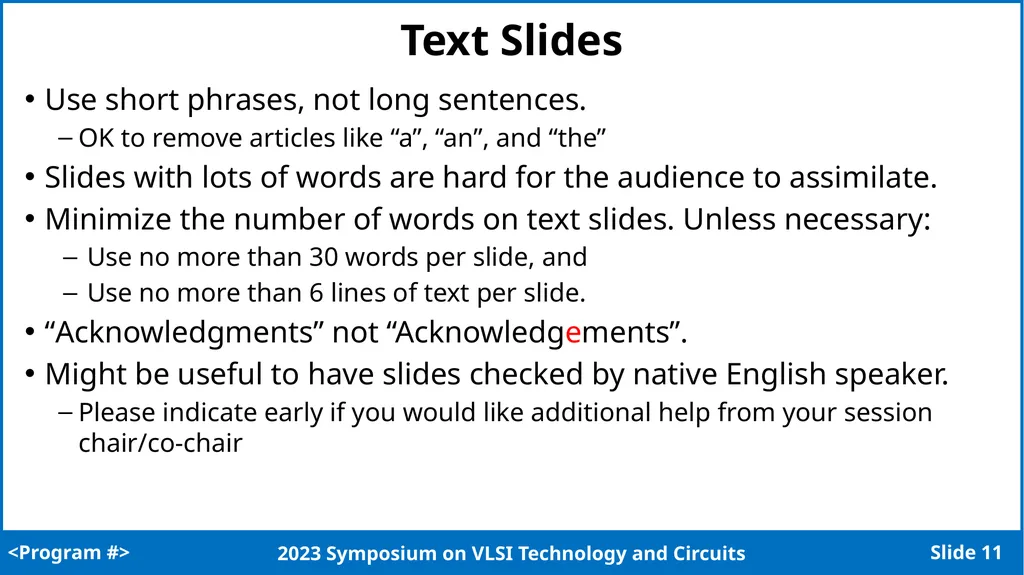
11
Text Slides Use short phrases, not long sentences.
OK to remove articles like “a”, “an”, and “the”
Slides with lots of words are hard for the audience to assimilate.
Minimize the number of words on text slides. Unless necessary:
Use no more than 30 words per slide, and
Use no more than 6 lines of text per slide.
“Acknowledgments” not “Acknowledgements”.
Might be useful to have slides checked by native English speaker.
Please indicate early if you would like additional help from your session chair/co-chair Slide 10 <Program #><br>
OK to remove articles like “a”, “an”, and “the”
Slides with lots of words are hard for the audience to assimilate.
Minimize the number of words on text slides. Unless necessary:
Use no more than 30 words per slide, and
Use no more than 6 lines of text per slide.
“Acknowledgments” not “Acknowledgements”.
Might be useful to have slides checked by native English speaker.
Please indicate early if you would like additional help from your session chair/co-chair Slide 10 <Program #><br>
12
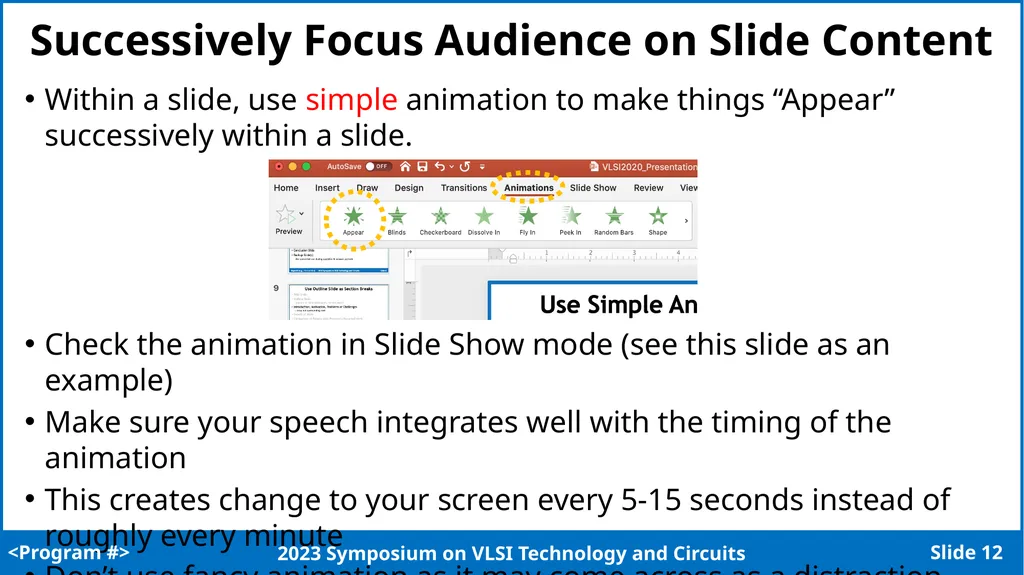
Successively Focus Audience on Slide Content Within a slide, use simple animation to make things “Appear” successively within a slide.
Check the animation in Slide Show mode (see this slide as an example)
Make sure your speech integrates well with the timing of the animation
This creates change to your screen every 5-15 seconds instead of roughly every minute
Don’t use fancy animation as it may come across as a distraction Slide 11 <Program #><br>
Check the animation in Slide Show mode (see this slide as an example)
Make sure your speech integrates well with the timing of the animation
This creates change to your screen every 5-15 seconds instead of roughly every minute
Don’t use fancy animation as it may come across as a distraction Slide 11 <Program #><br>
13
Slide Footer Go to “View” tab and click on “Slide Master”
Update bottom left footer with your Program #
Do not delete bottom right footer “Slide <#>”
To exit, go to “Slide Master” tab and click on “Close Master” Slide 12 <Program #><br>
Update bottom left footer with your Program #
Do not delete bottom right footer “Slide <#>”
To exit, go to “Slide Master” tab and click on “Close Master” Slide 12 <Program #><br>
14
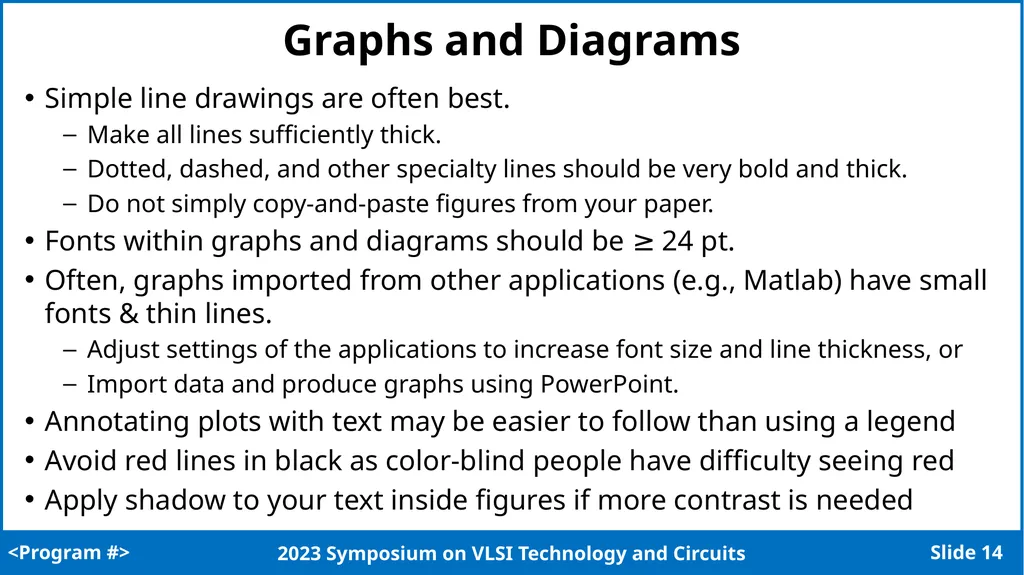
Graphs and Diagrams Simple line drawings are often best.
Make all lines sufficiently thick.
Dotted, dashed, and other specialty lines should be very bold and thick.
Do not simply copy-and-paste figures from your paper.
Fonts within graphs and diagrams should be ≥ 24 pt.
Often, graphs imported from other applications (e.g., Matlab) have small fonts & thin lines.
Adjust settings of the applications to increase font size and line thickness, or
Import data and produce graphs using PowerPoint.
Annotating plots with text may be easier to follow than using a legend
Avoid red lines in black as color-blind people have difficulty seeing red
Apply shadow to your text inside figures if more contrast is needed Slide 13 <Program #><br>
Make all lines sufficiently thick.
Dotted, dashed, and other specialty lines should be very bold and thick.
Do not simply copy-and-paste figures from your paper.
Fonts within graphs and diagrams should be ≥ 24 pt.
Often, graphs imported from other applications (e.g., Matlab) have small fonts & thin lines.
Adjust settings of the applications to increase font size and line thickness, or
Import data and produce graphs using PowerPoint.
Annotating plots with text may be easier to follow than using a legend
Avoid red lines in black as color-blind people have difficulty seeing red
Apply shadow to your text inside figures if more contrast is needed Slide 13 <Program #><br>
15
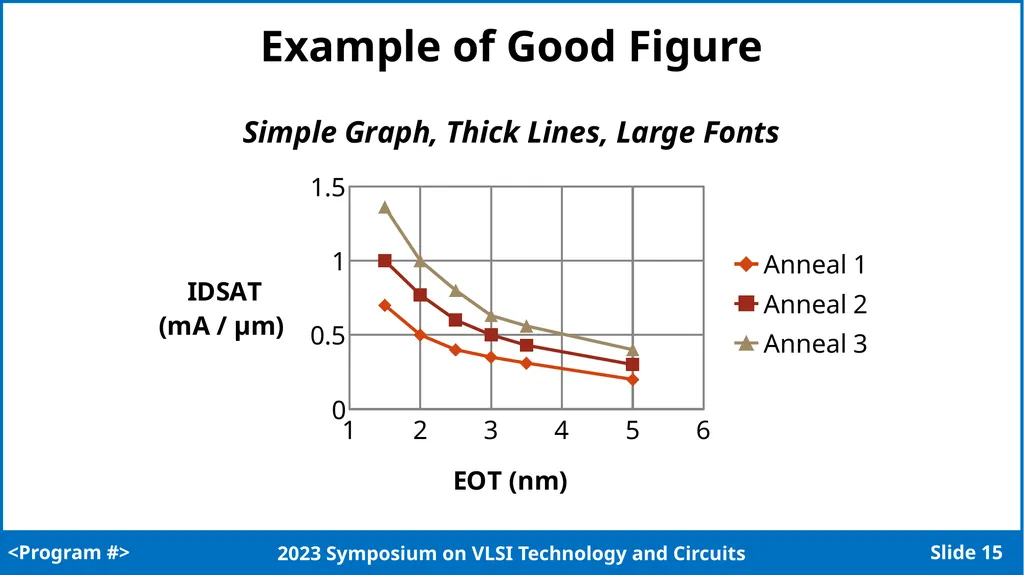
Example of Good Figure Slide 14 <Program #><br>
16
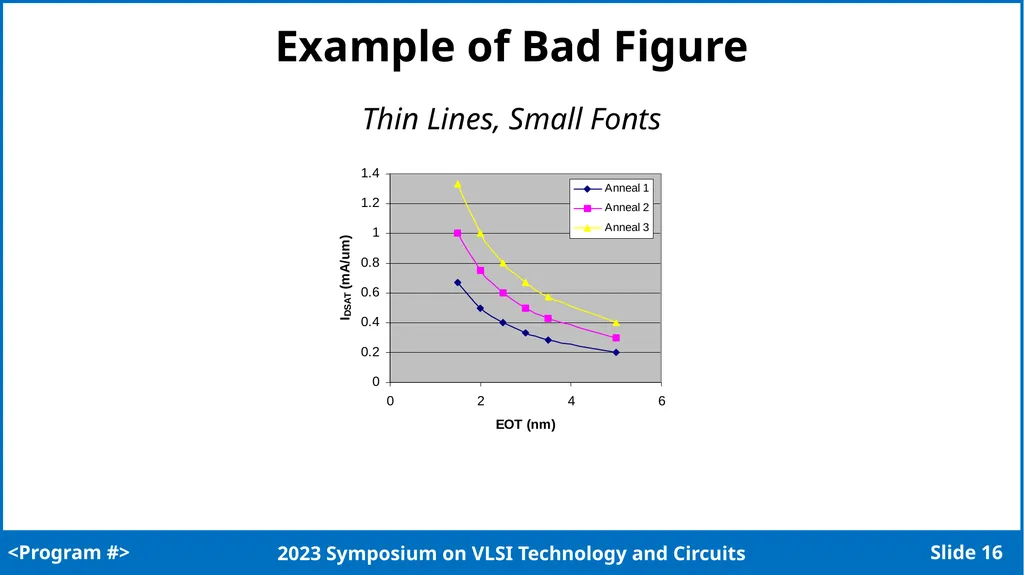
Example of Bad Figure Thin Lines, Small Fonts Slide 15 <Program #><br>
17
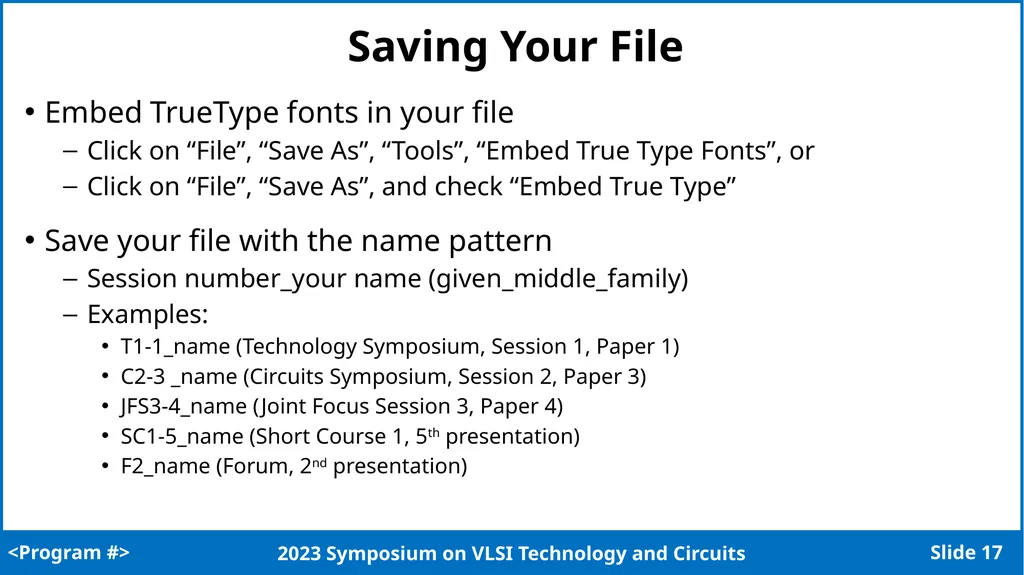
Saving Your File Embed TrueType fonts in your file
Click on “File”, “Save As”, “Tools”, “Embed True Type Fonts”, or
Click on “File”, “Save As”, and check “Embed True Type”
Save your file with the name pattern
Session number_your name (given_middle_family)
Examples:
T1-1_name (Technology Symposium, Session 1, Paper 1)
C2-3 _name (Circuits Symposium, Session 2, Paper 3)
JFS3-4_name (Joint Focus Session 3, Paper 4)
SC1-5_name (Short Course 1, 5th presentation)
F2_name (Forum, 2nd presentation) Slide 16 <Program #><br>
Click on “File”, “Save As”, “Tools”, “Embed True Type Fonts”, or
Click on “File”, “Save As”, and check “Embed True Type”
Save your file with the name pattern
Session number_your name (given_middle_family)
Examples:
T1-1_name (Technology Symposium, Session 1, Paper 1)
C2-3 _name (Circuits Symposium, Session 2, Paper 3)
JFS3-4_name (Joint Focus Session 3, Paper 4)
SC1-5_name (Short Course 1, 5th presentation)
F2_name (Forum, 2nd presentation) Slide 16 <Program #><br>
18
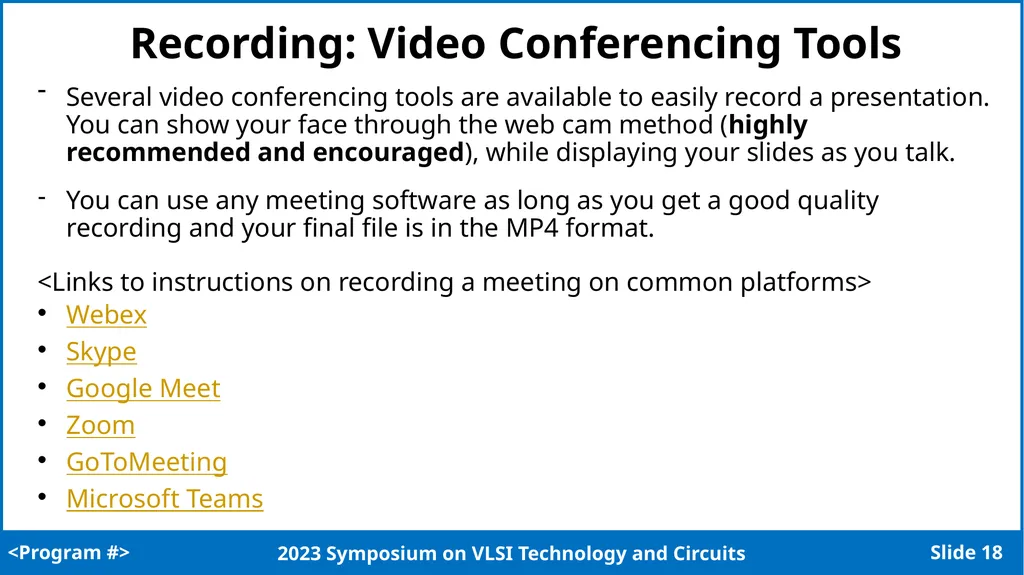
Recording: Video Conferencing Tools Several video conferencing tools are available to easily record a presentation. You can show your face through the web cam method (highly recommended and encouraged), while displaying your slides as you talk.
You can use any meeting software as long as you get a good quality recording and your final file is in the MP4 format.
<Links to instructions on recording a meeting on common platforms>
Webex
Skype
Google Meet
Zoom
GoToMeeting
Microsoft Teams Slide 17 <Program #><br>
You can use any meeting software as long as you get a good quality recording and your final file is in the MP4 format.
<Links to instructions on recording a meeting on common platforms>
Webex
Skype
Google Meet
Zoom
GoToMeeting
Microsoft Teams Slide 17 <Program #><br>
19
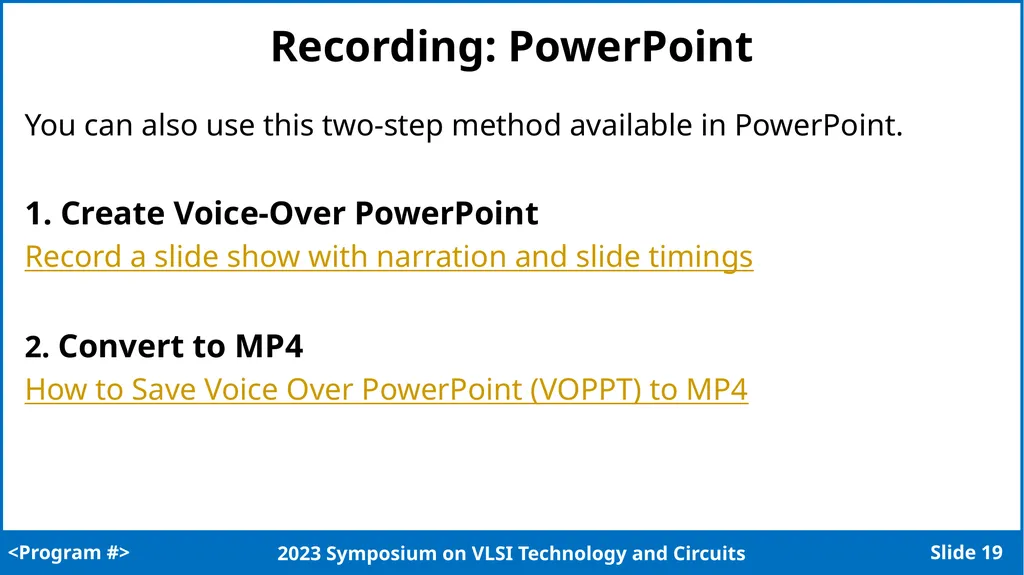
Recording: PowerPoint You can also use this two-step method available in PowerPoint.
1. Create Voice-Over PowerPoint
Record a slide show with narration and slide timings
2. Convert to MP4
How to Save Voice Over PowerPoint (VOPPT) to MP4 Slide 18 <Program #><br>
1. Create Voice-Over PowerPoint
Record a slide show with narration and slide timings
2. Convert to MP4
How to Save Voice Over PowerPoint (VOPPT) to MP4 Slide 18 <Program #><br>
20
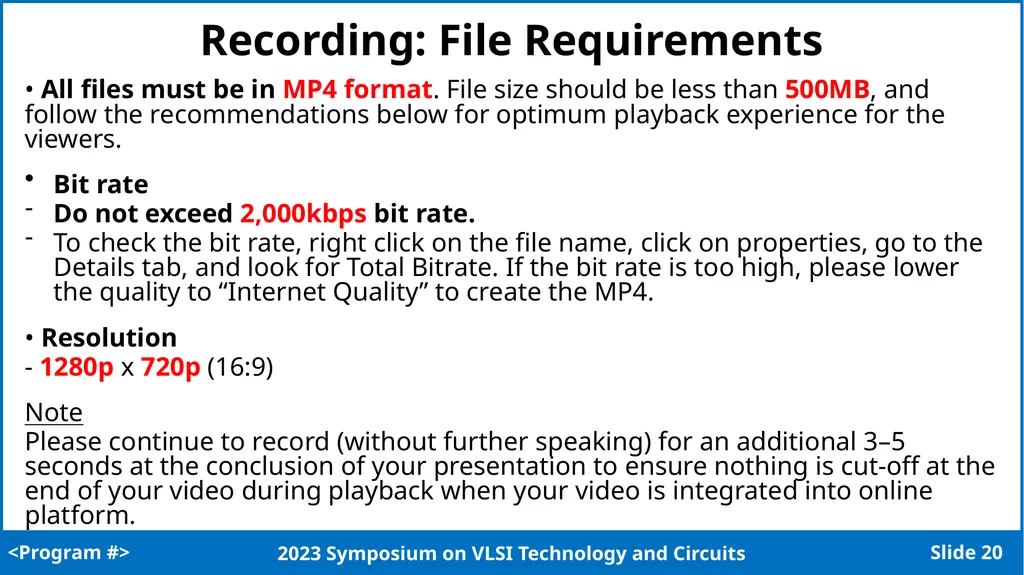
Recording: File Requirements • All files must be in MP4 format. File size should be less than 500MB, and follow the recommendations below for optimum playback experience for the viewers.
Bit rate
Do not exceed 2,000kbps bit rate.
To check the bit rate, right click on the file name, click on properties, go to the Details tab, and look for Total Bitrate. If the bit rate is too high, please lower the quality to “Internet Quality” to create the MP4.
• Resolution
- 1280p x 720p (16:9)
Note
Please continue to record (without further speaking) for an additional 3–5 seconds at the conclusion of your presentation to ensure nothing is cut-off at the end of your video during playback when your video is integrated into online platform. Slide 19 <Program #><br>
Bit rate
Do not exceed 2,000kbps bit rate.
To check the bit rate, right click on the file name, click on properties, go to the Details tab, and look for Total Bitrate. If the bit rate is too high, please lower the quality to “Internet Quality” to create the MP4.
• Resolution
- 1280p x 720p (16:9)
Note
Please continue to record (without further speaking) for an additional 3–5 seconds at the conclusion of your presentation to ensure nothing is cut-off at the end of your video during playback when your video is integrated into online platform. Slide 19 <Program #><br>
21
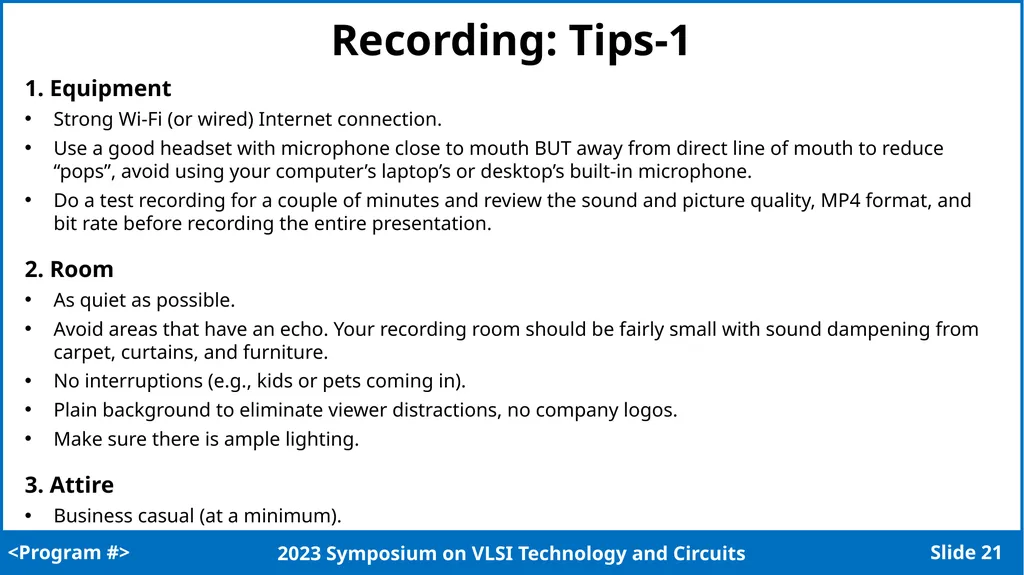
Recording: Tips-1 1. Equipment
Strong Wi-Fi (or wired) Internet connection.
Use a good headset with microphone close to mouth BUT away from direct line of mouth to reduce “pops”, avoid using your computer’s laptop’s or desktop’s built-in microphone.
Do a test recording for a couple of minutes and review the sound and picture quality, MP4 format, and bit rate before recording the entire presentation.
2. Room
As quiet as possible.
Avoid areas that have an echo. Your recording room should be fairly small with sound dampening from carpet, curtains, and furniture.
No interruptions (e.g., kids or pets coming in).
Plain background to eliminate viewer distractions, no company logos.
Make sure there is ample lighting.
3. Attire
Business casual (at a minimum). Slide 20 <Program #><br>
Strong Wi-Fi (or wired) Internet connection.
Use a good headset with microphone close to mouth BUT away from direct line of mouth to reduce “pops”, avoid using your computer’s laptop’s or desktop’s built-in microphone.
Do a test recording for a couple of minutes and review the sound and picture quality, MP4 format, and bit rate before recording the entire presentation.
2. Room
As quiet as possible.
Avoid areas that have an echo. Your recording room should be fairly small with sound dampening from carpet, curtains, and furniture.
No interruptions (e.g., kids or pets coming in).
Plain background to eliminate viewer distractions, no company logos.
Make sure there is ample lighting.
3. Attire
Business casual (at a minimum). Slide 20 <Program #><br>
22
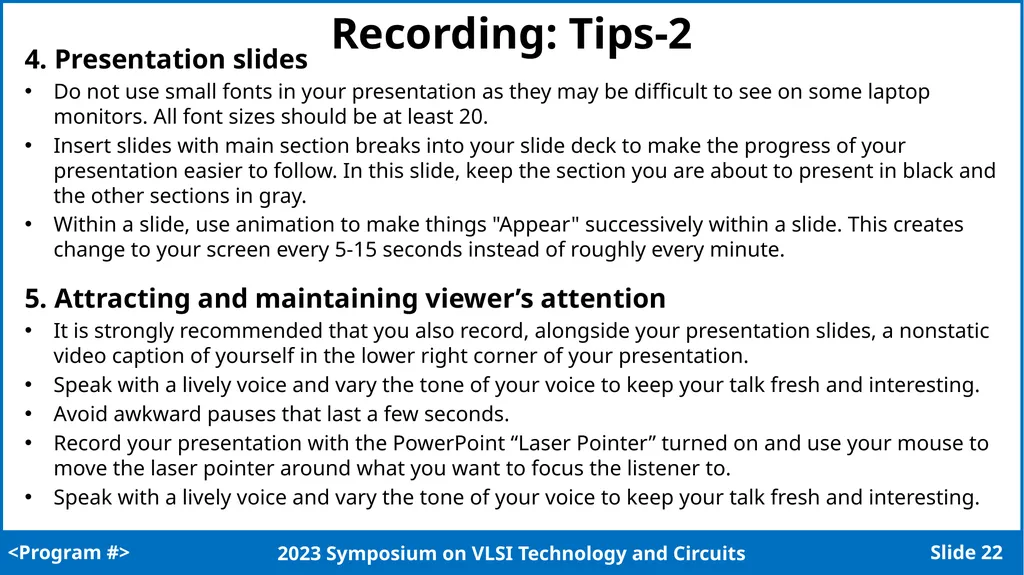
Recording: Tips-2 4. Presentation slides
Do not use small fonts in your presentation as they may be difficult to see on some laptop monitors. All font sizes should be at least 20.
Insert slides with main section breaks into your slide deck to make the progress of your presentation easier to follow. In this slide, keep the section you are about to present in black and the other sections in gray.
Within a slide, use animation to make things "Appear" successively within a slide. This creates change to your screen every 5-15 seconds instead of roughly every minute.
5. Attracting and maintaining viewer’s attention
It is strongly recommended that you also record, alongside your presentation slides, a nonstatic video caption of yourself in the lower right corner of your presentation.
Speak with a lively voice and vary the tone of your voice to keep your talk fresh and interesting.
Avoid awkward pauses that last a few seconds.
Record your presentation with the PowerPoint “Laser Pointer” turned on and use your mouse to move the laser pointer around what you want to focus the listener to.
Speak with a lively voice and vary the tone of your voice to keep your talk fresh and interesting. Slide 21 <Program #><br>
Do not use small fonts in your presentation as they may be difficult to see on some laptop monitors. All font sizes should be at least 20.
Insert slides with main section breaks into your slide deck to make the progress of your presentation easier to follow. In this slide, keep the section you are about to present in black and the other sections in gray.
Within a slide, use animation to make things "Appear" successively within a slide. This creates change to your screen every 5-15 seconds instead of roughly every minute.
5. Attracting and maintaining viewer’s attention
It is strongly recommended that you also record, alongside your presentation slides, a nonstatic video caption of yourself in the lower right corner of your presentation.
Speak with a lively voice and vary the tone of your voice to keep your talk fresh and interesting.
Avoid awkward pauses that last a few seconds.
Record your presentation with the PowerPoint “Laser Pointer” turned on and use your mouse to move the laser pointer around what you want to focus the listener to.
Speak with a lively voice and vary the tone of your voice to keep your talk fresh and interesting. Slide 21 <Program #><br>
23
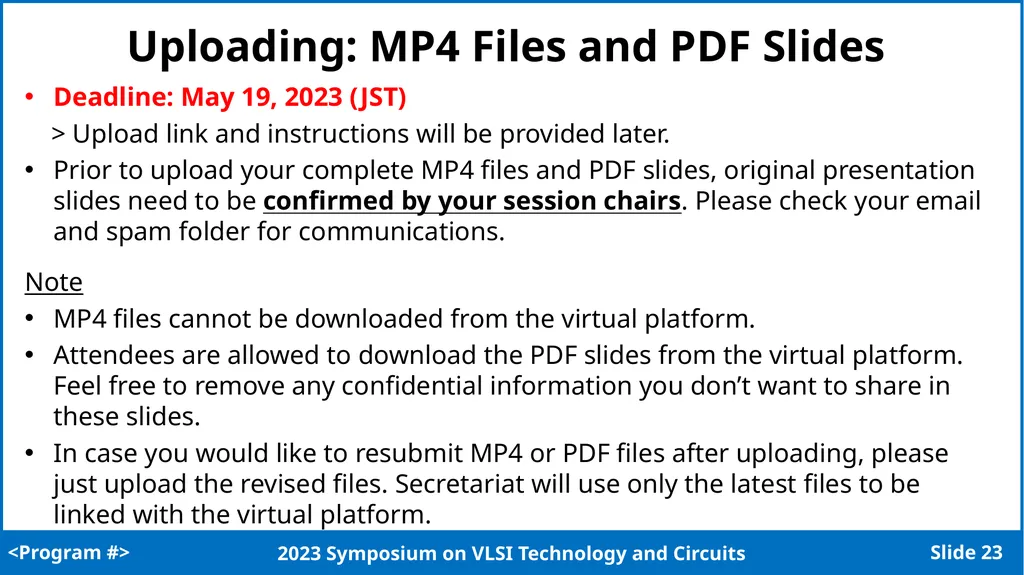
Uploading: MP4 Files and PDF Slides Deadline: May 19, 2023 (JST)
> Upload link and instructions will be provided later.
Prior to upload your complete MP4 files and PDF slides, original presentation slides need to be confirmed by your session chairs. Please check your email and spam folder for communications.
Note
MP4 files cannot be downloaded from the virtual platform.
Attendees are allowed to download the PDF slides from the virtual platform. Feel free to remove any confidential information you don’t want to share in these slides.
In case you would like to resubmit MP4 or PDF files after uploading, please just upload the revised files. Secretariat will use only the latest files to be linked with the virtual platform. Slide 22 <Program #><br>
> Upload link and instructions will be provided later.
Prior to upload your complete MP4 files and PDF slides, original presentation slides need to be confirmed by your session chairs. Please check your email and spam folder for communications.
Note
MP4 files cannot be downloaded from the virtual platform.
Attendees are allowed to download the PDF slides from the virtual platform. Feel free to remove any confidential information you don’t want to share in these slides.
In case you would like to resubmit MP4 or PDF files after uploading, please just upload the revised files. Secretariat will use only the latest files to be linked with the virtual platform. Slide 22 <Program #><br>