
Wonderful Weaving Using wool to make a woven

Description: Wonderful Weaving Using wool to make a woven product Equipment Cardboard Wool Large eye blunt needle Masking tape Step 1 Measure and mark out slits for warp threads on the shortest edges of cardboard, 1 cm apart Cut slits 1 cm deep Step 2
Related Topics
Download Presentation
"Wonderful Weaving Using wool to make a woven" is the property of its rightful owner. Permission is granted to download and print the materials on this website for personal, non-commercial use only, and to display it on your personal computer provided you do not modify the materials and that you retain all copyright notices contained in the materials. By downloading content from our website, you accept the terms of this agreement.
Presentation Transcript
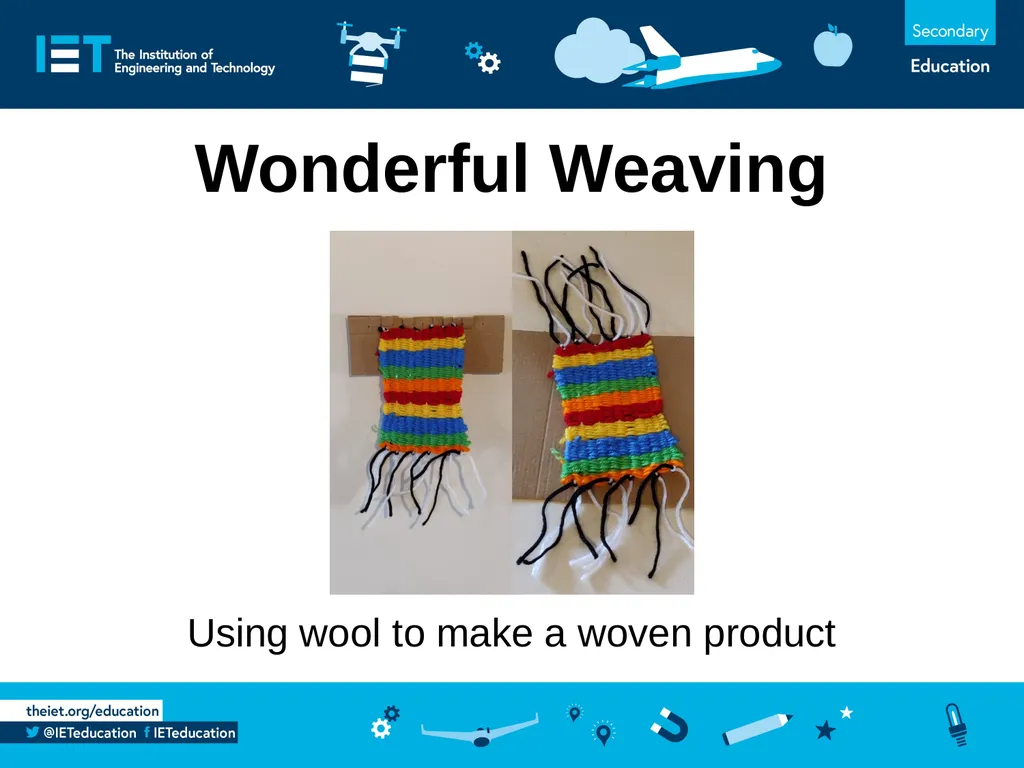
slide1. Wonderful Weaving Using wool to make a woven product<br>
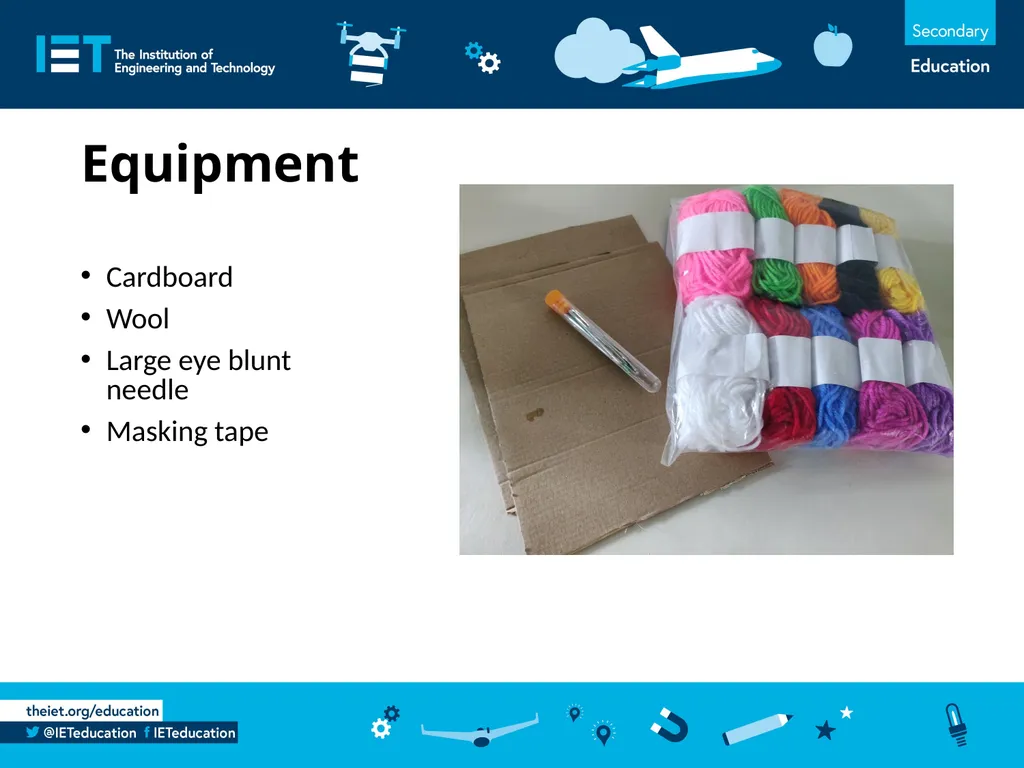
slide2. Equipment Cardboard
Wool
Large eye blunt needle
Masking tape<br>
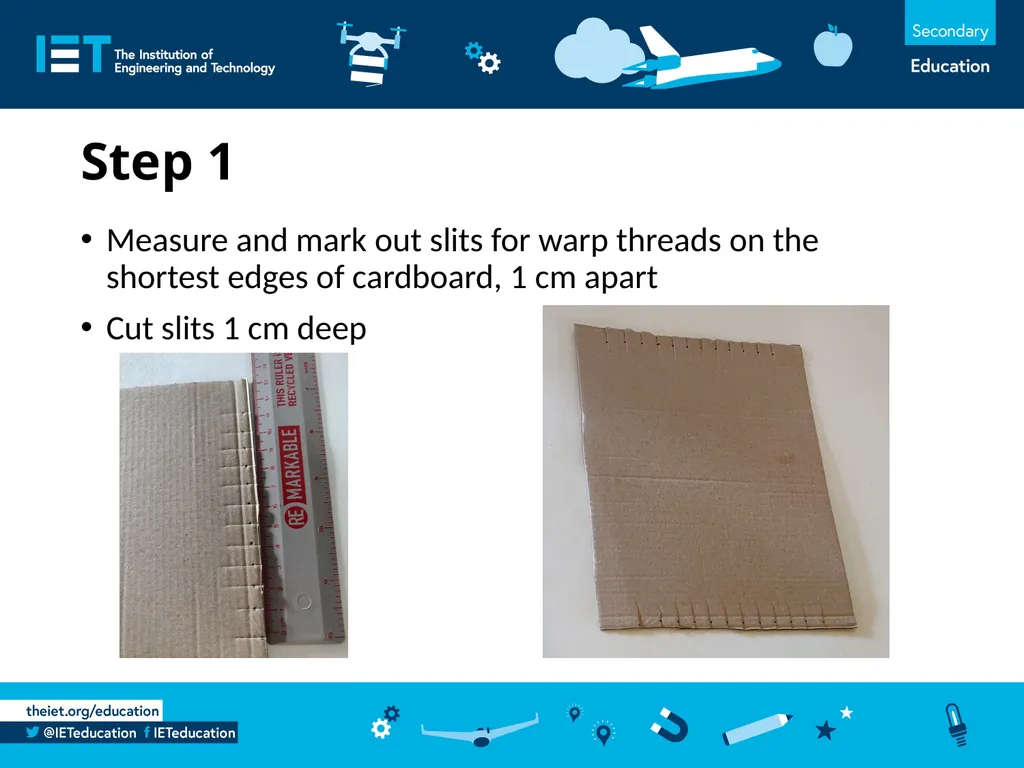
slide3. Step 1 Measure and mark out slits for warp threads on the shortest edges of cardboard, 1 cm apart
Cut slits 1 cm deep<br>
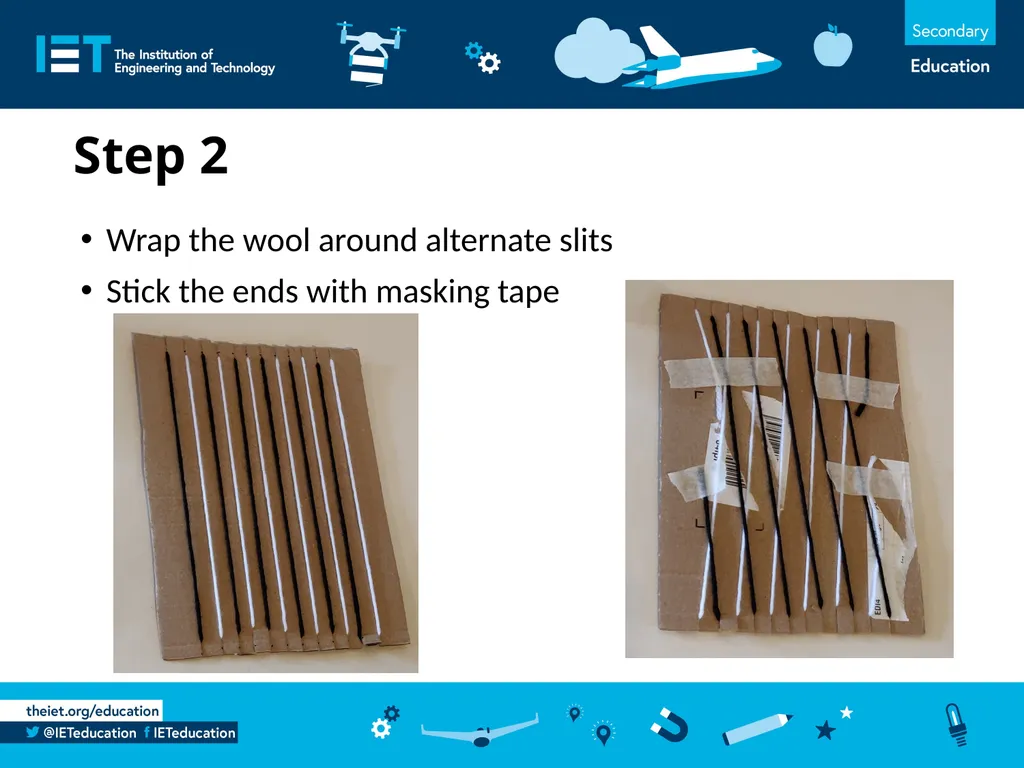
slide4. Step 2 Wrap the wool around alternate slits
Stick the ends with masking tape<br>
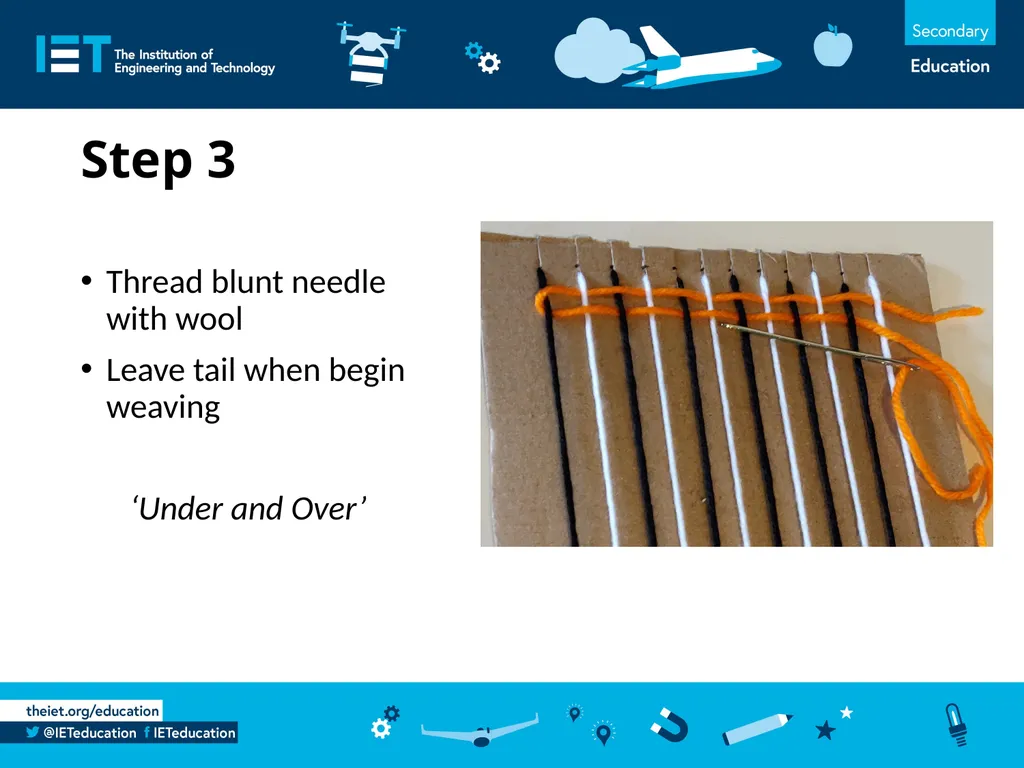
slide5. Step 3 Thread blunt needle with wool
Leave tail when begin weaving
‘Under and Over’<br>
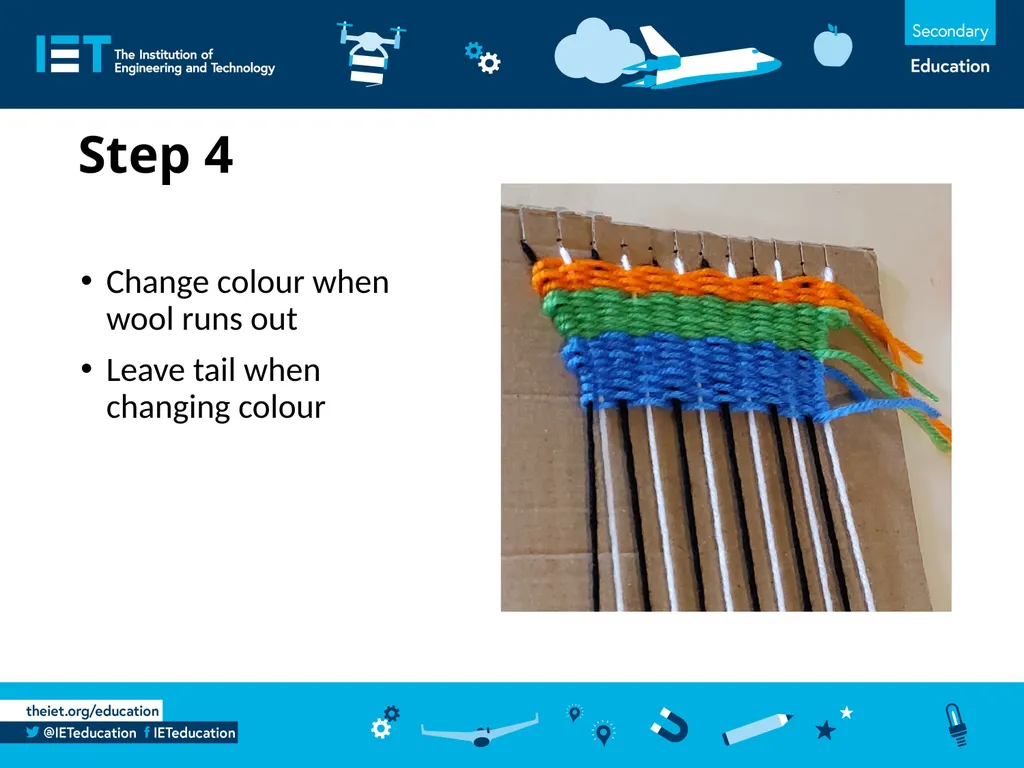
slide6. Step 4 Change colour when wool runs out
Leave tail when changing colour<br>
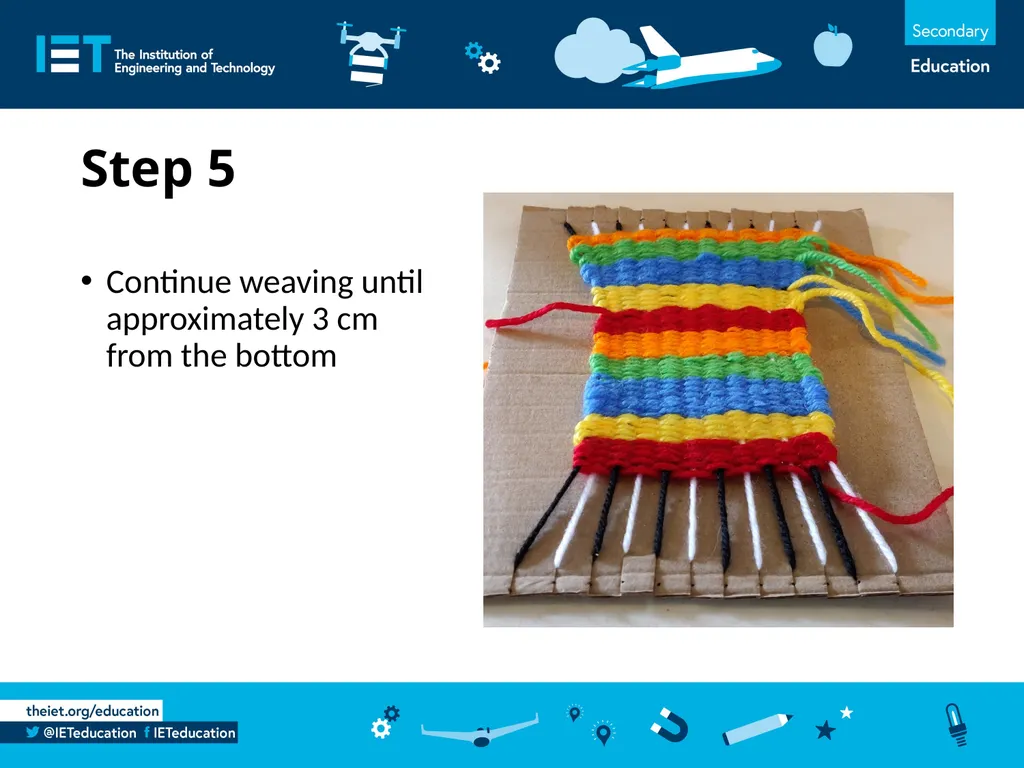
slide7. Step 5 Continue weaving until approximately 3 cm from the bottom<br>
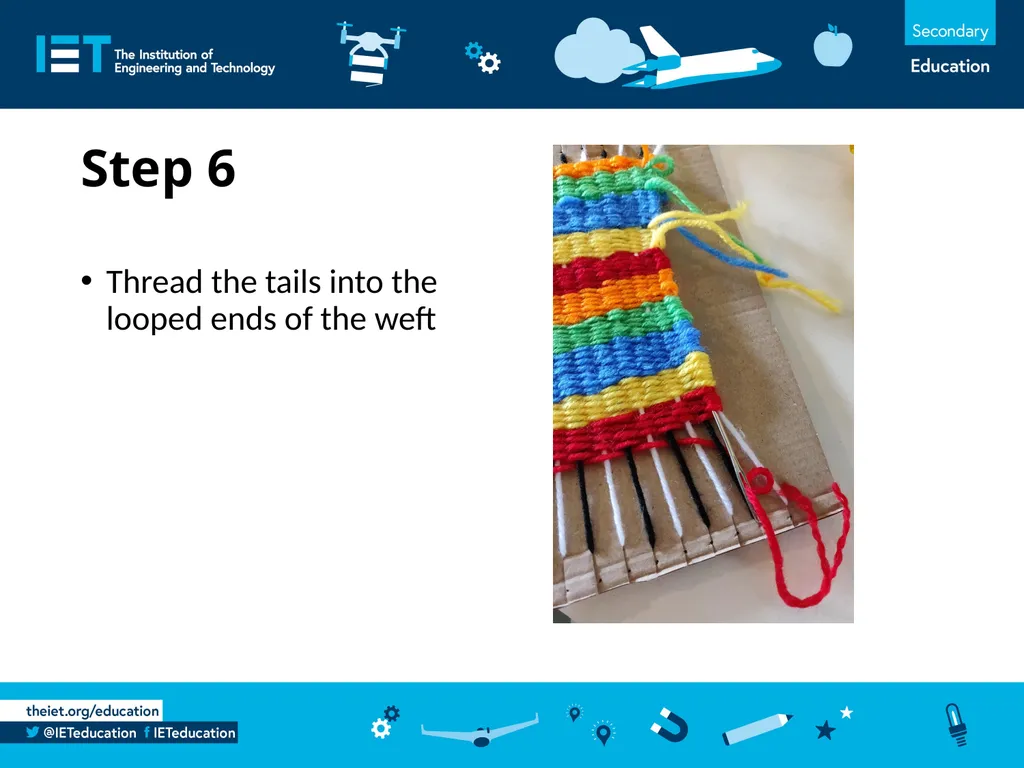
slide8. Step 6 Thread the tails into the looped ends of the weft<br>
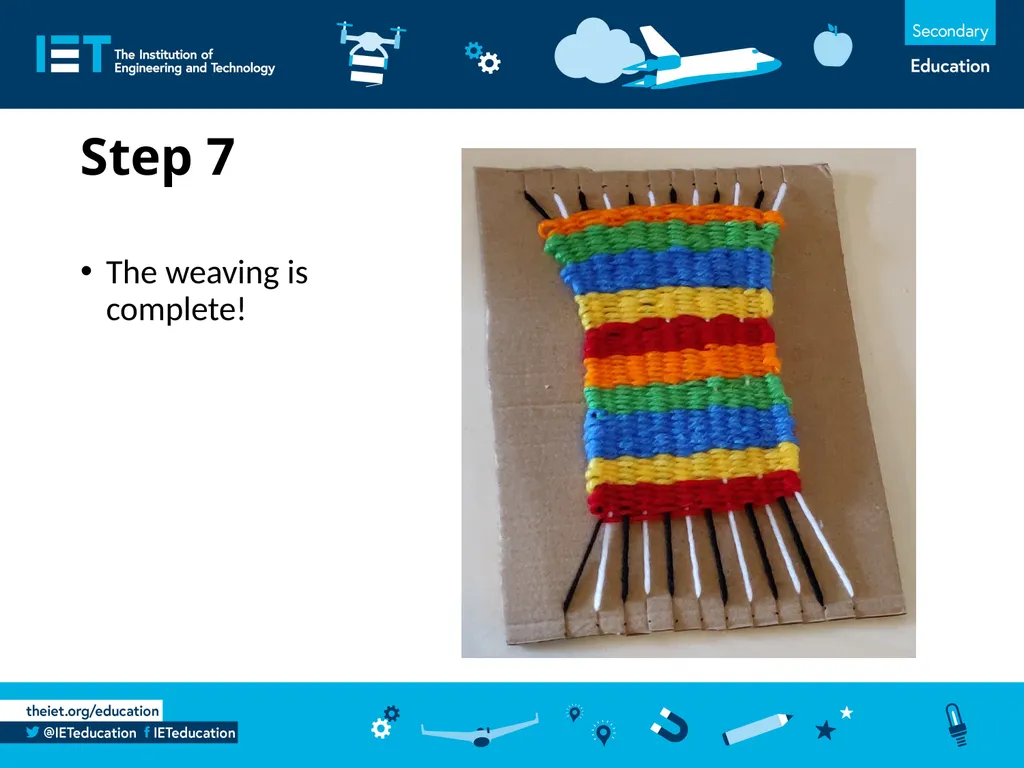
slide9. Step 7 The weaving is complete!<br>
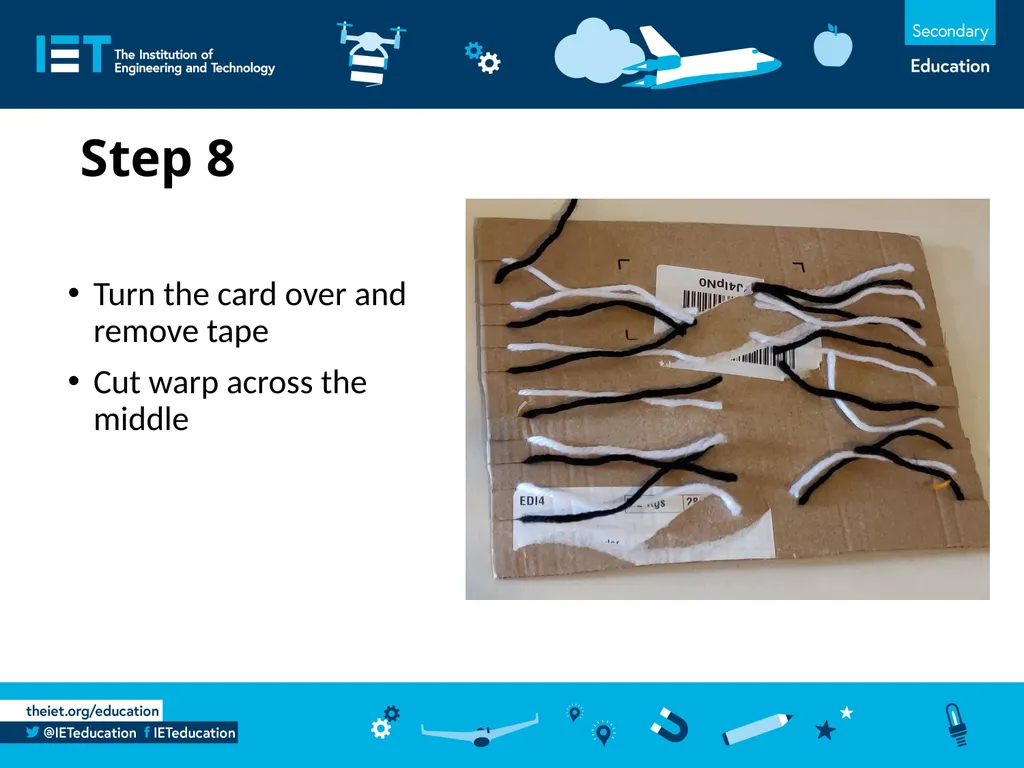
slide10. Step 8 Turn the card over and remove tape
Cut warp across the middle<br>
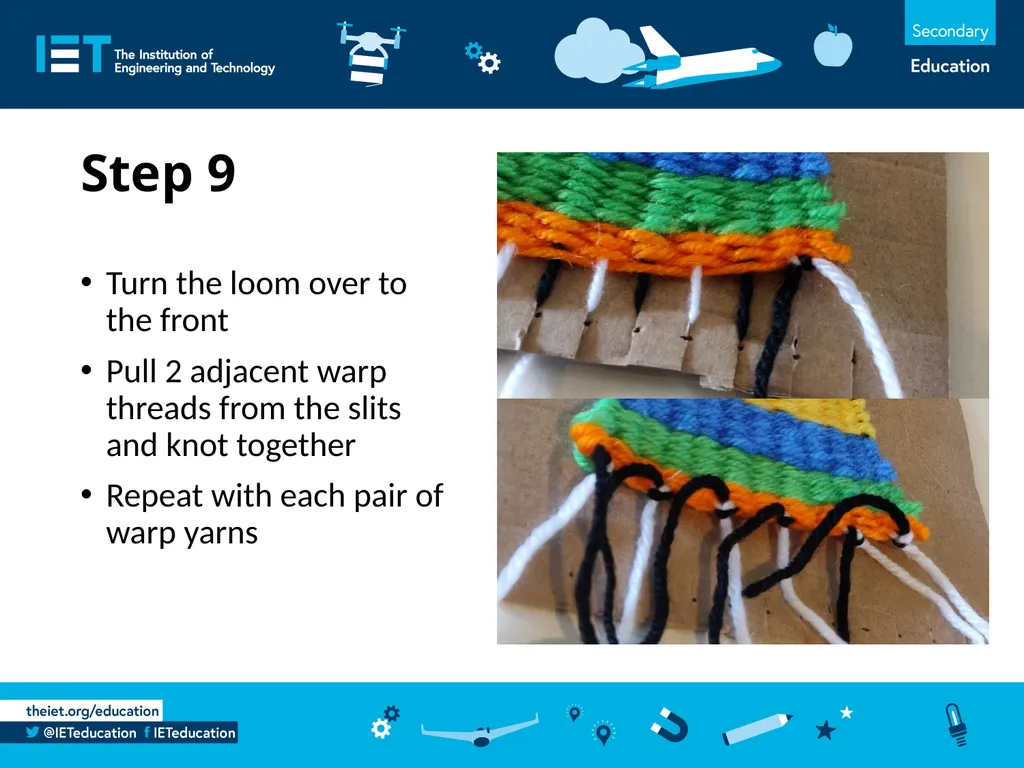
slide11. Step 9 Turn the loom over to the front
Pull 2 adjacent warp threads from the slits and knot together
Repeat with each pair of warp yarns<br>
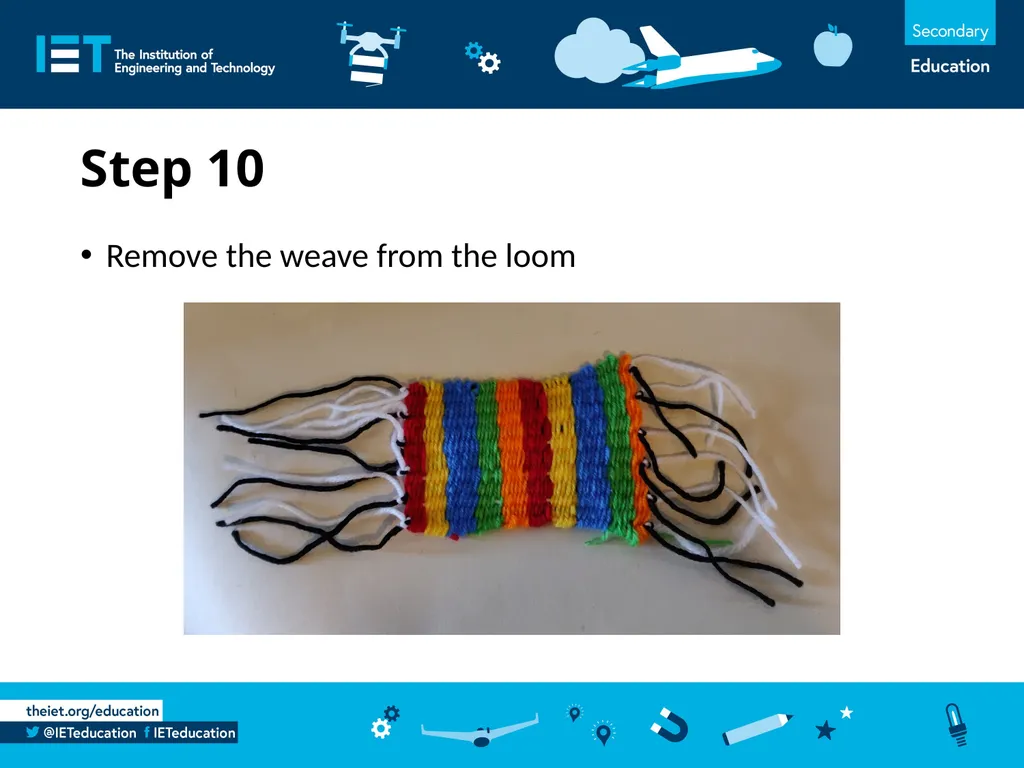
slide12. Step 10 Remove the weave from the loom<br>
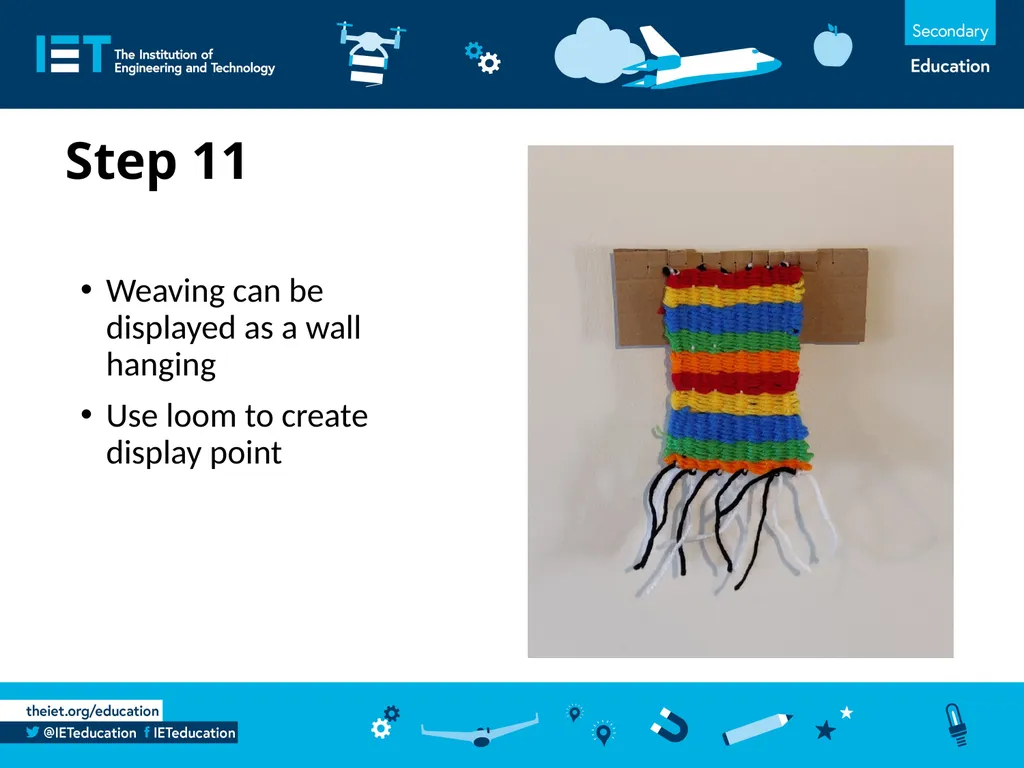
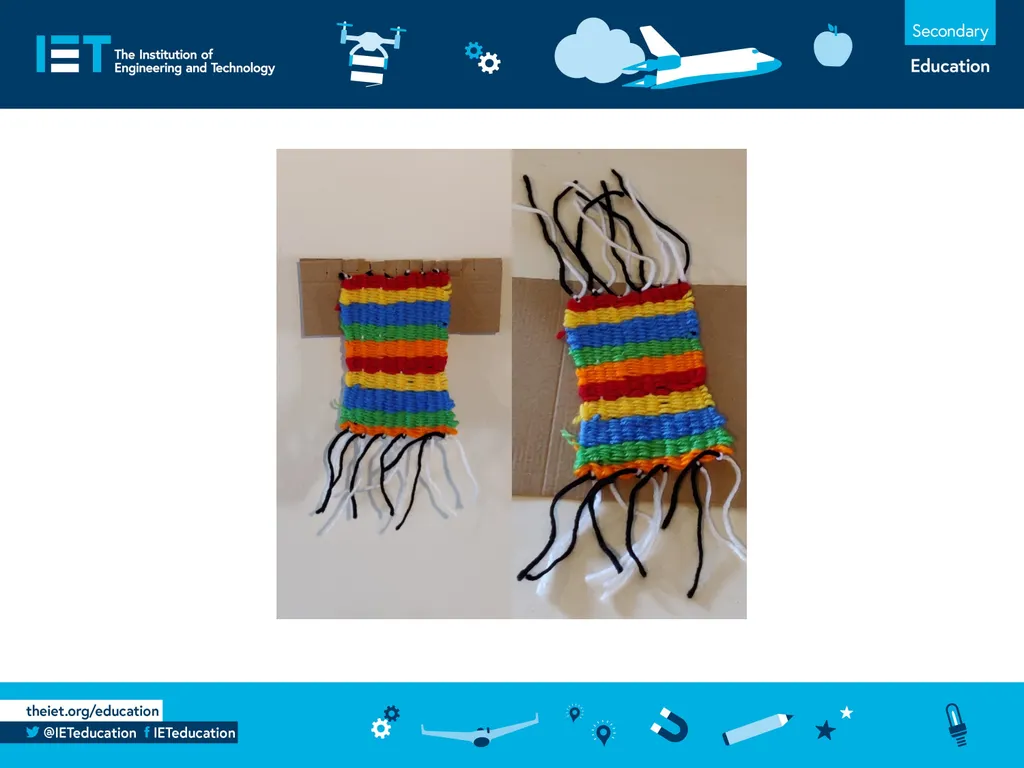
slide13. Step 11 Weaving can be displayed as a wall hanging
Use loom to create display point<br>
slide2. Equipment Cardboard
Wool
Large eye blunt needle
Masking tape<br>
slide3. Step 1 Measure and mark out slits for warp threads on the shortest edges of cardboard, 1 cm apart
Cut slits 1 cm deep<br>
slide4. Step 2 Wrap the wool around alternate slits
Stick the ends with masking tape<br>
slide5. Step 3 Thread blunt needle with wool
Leave tail when begin weaving
‘Under and Over’<br>
slide6. Step 4 Change colour when wool runs out
Leave tail when changing colour<br>
slide7. Step 5 Continue weaving until approximately 3 cm from the bottom<br>
slide8. Step 6 Thread the tails into the looped ends of the weft<br>
slide9. Step 7 The weaving is complete!<br>
slide10. Step 8 Turn the card over and remove tape
Cut warp across the middle<br>
slide11. Step 9 Turn the loom over to the front
Pull 2 adjacent warp threads from the slits and knot together
Repeat with each pair of warp yarns<br>
slide12. Step 10 Remove the weave from the loom<br>
slide13. Step 11 Weaving can be displayed as a wall hanging
Use loom to create display point<br>