/
The Scott Library Media Creation Lab The Scott Library Media Creation Lab

The Scott Library Media Creation Lab - PowerPoint Presentation

davies
davies . @davies
Follow
27 views
Uploaded On 2024-02-02

The Scott Library Media Creation Lab - PPT Presentation

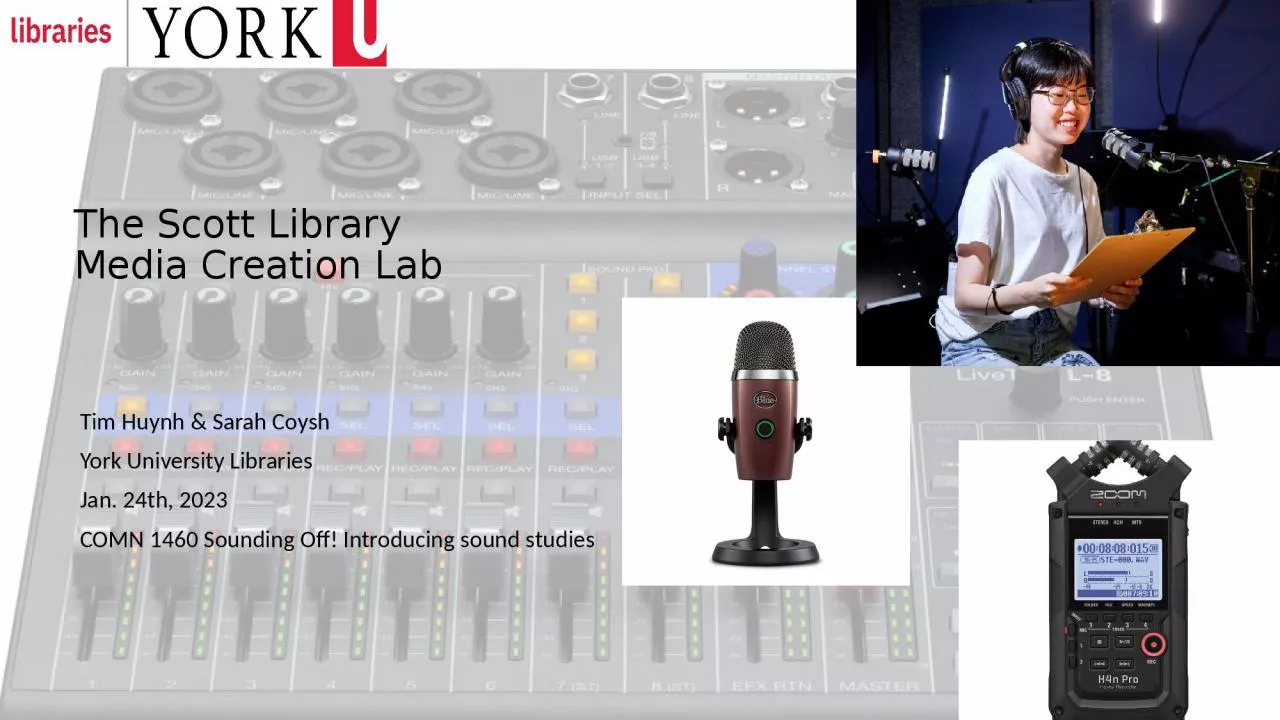
Tim Huynh amp Sarah Coysh York University Libraries Jan 24th 2023 COMN 1460 Sounding Off Introducing sound studies Media Creation Lab Tour https youtube wsGWW2J7Gt0 Media Creation Lab Equipment ID: 1043863

click amp playback clip amp click clip playback track file project select open audio drag mcl volume exporting save

Share:

Link:

Embed:

Download Presentation from below link

Download Presentation The PPT/PDF document "The Scott Library Media Creation Lab" is the property of its rightful owner. Permission is granted to download and print the materials on this web site for personal, non-commercial use only, and to display it on your personal computer provided you do not modify the materials and that you retain all copyright notices contained in the materials. By downloading content from our website, you accept the terms of this agreement.


Presentation Transcript

1. The Scott LibraryMedia Creation LabTim Huynh & Sarah CoyshYork University LibrariesJan. 24th, 2023COMN 1460 Sounding Off! Introducing sound studies

2. Media Creation Lab Tour (https://youtu.be/wsGWW2J7Gt0 )

3. Media Creation Lab Equipment

4. The MCL Websitebit.ly/mcl-yu

5. The MCL Websitebit.ly/mcl-yu 

6. Next StepsPhoto by Christopher Sardegna on Unsplash If you would like to learn more about getting access to anything we’ve talked about today, please contact us at diginit@yorku.ca Where we are located:Scott Library, Room 207 (2nd floor past the Learning Commons)Sun: 2-7PMMon, Tue, Wed, Thu: 12PM-5PM

7. 7Popular, open-source, and free audio-editing softwareWindows, macOS, LinuxAudacity: https://www.audacityteam.org/download/(Suggested) FFmpeg plugin: https://support.audacityteam.org/basics/installing-ffmpegAllows importing more types of files (e.g. .m4a)Might be difficult to find version for newer Macs (M1/M2 processor chip)Audacity: Downloading

8. 8WindowsOpen executable-file (*.exe) Follow prompts of Setup WizardAudacity: Installing on PC/Windows

9. 9macOS(If applicable) Open package file (*.pkg)Open disk-image file (*.dmg)(In window) drag Audacity icon to Applications shortcut Audacity: Installing on Mac/macOS

10. 10UI overviewThree line-markersPlayback controlsSelecting clipsMoving clipsTrimming clipsMonitoring volumeAdjusting volumeSaving & exporting workAudacity Tutorial10. Playback looping11. Playback speed12. Selective playback13. Panning audio

11. 11Menu bar File menu (Import, Save Project, Export), Effect menu, View menuToolbar Playback & recording, selection & editing (Selection Tool), zoom & miscellaneous actionsVolume meters (decibels)Record (input) & playback (output) levelsTimelineCanvas/tracks/clips1. UI overview

12. 12Bookmark Black vertical-line Appears at start by default Click clip-body or Skip To Start / Skip to End button in toolbarSkimmerWhite vertical-line Only appears when project is not playing Move cursor along timeline (appears in clip-body / track-body) PlayheadGreen triangle (inverted) with black vertical-line Only appears when project is playing or pausedClick timeline (plays from clicked point) or click Play button (plays from bookmark) 2. Three line-markers

13. 13Pause [P]Freezes/unfreezes playhead at current position in timelinePlay [spacebar]Plays from bookmark position StopClears playhead, enables editing (cannot select clips while playing or paused) 3. Playback controls

14. 14By clip-head (title bar)Single-click to select clipBy clip-body (waveforms)Double-click to select clip4. Selecting clips

15. 15Dragging (need enough space inside current track) Click clip-head (to select clip)Drag left/right by clip-headCut & paste (need enough space inside current/destination track)Select entire clipRight-click clip-bodySelect Cut action [Ctrl + X or Cmd + X]Click track-body (set bookmark)Right-click track-bodySelect Paste action [Ctrl + V or Cmd + V]5. Moving clips

16. 16Split & deleteSet bookmarkRight-click clip-bodySelect Split Clip action(Repeat process if needed)Press [Backspace] or [Delete] Drag Point to start/end edge (between clip-head & nearest waveform)Look for double-arrow cursorClick & drag clip-edge inward6. Trimming clips

17. 17Playback volumeListen as well as watch volume-meterNote peak-levels (blue lines)Ideal peaks-level (primary audio) between -12 dB and -6 dB7. Monitoring volume

18. 18Normalize clip (set to dB level)Select clipOpen Effect menuOpen Volume & Compression sub-menuSelect Normalize … function(Window) Set Normalize peak amplitude to [-12 to –6]Repeat as needed for other clipsTrack-gain adjustment (change by dB amount)Click & drag slider in +/- scale of track/layer control panel 8. Adjusting volume

19. 19Saving project Open File menuOpen Save Project sub-menuSelect [Save Project ... or Save Project As] functionSet location & name Exporting project (standalone file)Open File menuOpen Export sub-menuSelect [Export as MP3]Set location & name9. Saving & exporting work

20. 20Setting loop-range Click & drag area on timeline Toggle playback loop Click Loop On/Off in toolbar (blue shading indicates active loop)Remove loop Right-click loopSelect Clear Loop 10. Playback looping

21. 21SettingNote playback speed of slider in info panel (bottom of UI)Set to 1.00x by default11. Playback speed

22. 22Mute Click Mute (track-controls panel) to mute current trackSolo Click Solo (track-controls panel) to mute every other track 12. Selective playback

23. 23Shift direction Click & drag slider in L/R scale (track-controls panel)13. Panning audio

24. 24UI overviewThree line-markersPlayback controlsSelecting clipsMoving clipsTrimming clipsMonitoring volumeAdjusting volumeSaving & exporting workAudacity Tutorial10. Playback looping11. Playback speed12. Selective playback13. Panning audio

25. 25Thanks from the MCL team!