PPT- HAND HYGIENE LINE NECESSITY
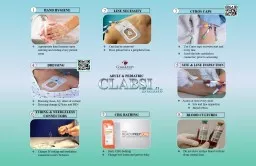
Change IV tubing and needleless connectors every 96 hours Daily CHG bathing Change bed linens and gowns daily Do not draw routine blood cultures from central lines
Download Presentation
" HAND HYGIENE LINE NECESSITY" is the property of its rightful owner. Permission is granted to download and print materials on this website for personal, non-commercial use only, provided you retain all copyright notices. By downloading content from our website, you accept the terms of this agreement.
Presentation Transcript
Transcript not available.