
Basic Navigation and Route Planning Duke of
DP
Published · 17 slides · 0 views
1 / 1
Description
Basic Navigation and Route Planning Duke of Edinburgh Award Expedition Training Course Introduction Navigation is simply getting from A to B using a map and compass. DofE is not that simple. You need to know where A and B are on a map. You
Related Topics
Share
Embed code
Download this presentation From Below
"Basic Navigation and Route Planning Duke of" is the property of its rightful owner. Permission is granted to download and print the materials on this website for personal, non-commercial use only, and to display it on your personal computer provided you do not modify the materials and that you retain all copyright notices contained in the materials. By downloading content from our website, you accept the terms of this agreement.
Presentation Transcript
01
Basic Navigation and Route Planning Duke of Edinburgh Award Expedition Training Course<br>
02
Introduction Navigation is simply getting from A to B using a map and compass.
DofE is not that simple. You need to know where A and B are on a map. You need to know where B is in relation to A and to plan and follow a route, using public rights of way and identifying landmarks to help you across the countryside.
This course introduces basic map and compass work you will need for your Duke of Edinburgh Bronze Award.<br>
03
What is a map? A map is a simplified version of a real place as if you were looking from above. A map will not include every detail and of course a map can be out of date, not reflecting recent changes.
There are a number of important features of a map. The area it covers is likely to be the title of the map. In addition a map is scaled down so that the area fits on the page. A good map shows the scale so you can calculate distances. It uses symbols to show features (human and natural) that you can find. A good map will have a legend so you understand the meaning of these symbols. Finally there should be a directional arrow pointing north.<br>
There are a number of important features of a map. The area it covers is likely to be the title of the map. In addition a map is scaled down so that the area fits on the page. A good map shows the scale so you can calculate distances. It uses symbols to show features (human and natural) that you can find. A good map will have a legend so you understand the meaning of these symbols. Finally there should be a directional arrow pointing north.<br>
04
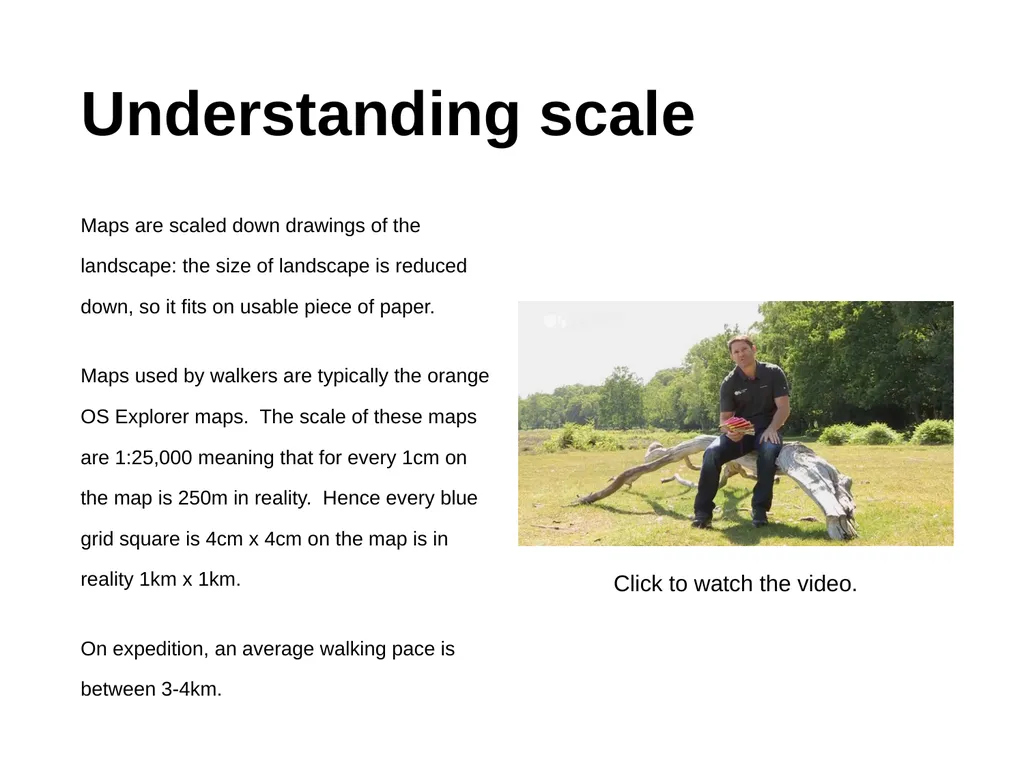
Understanding scale Maps are scaled down drawings of the landscape: the size of landscape is reduced down, so it fits on usable piece of paper.
Maps used by walkers are typically the orange OS Explorer maps. The scale of these maps are 1:25,000 meaning that for every 1cm on the map is 250m in reality. Hence every blue grid square is 4cm x 4cm on the map is in reality 1km x 1km.
On expedition, an average walking pace is between 3-4km. Click to watch the video.<br>
05
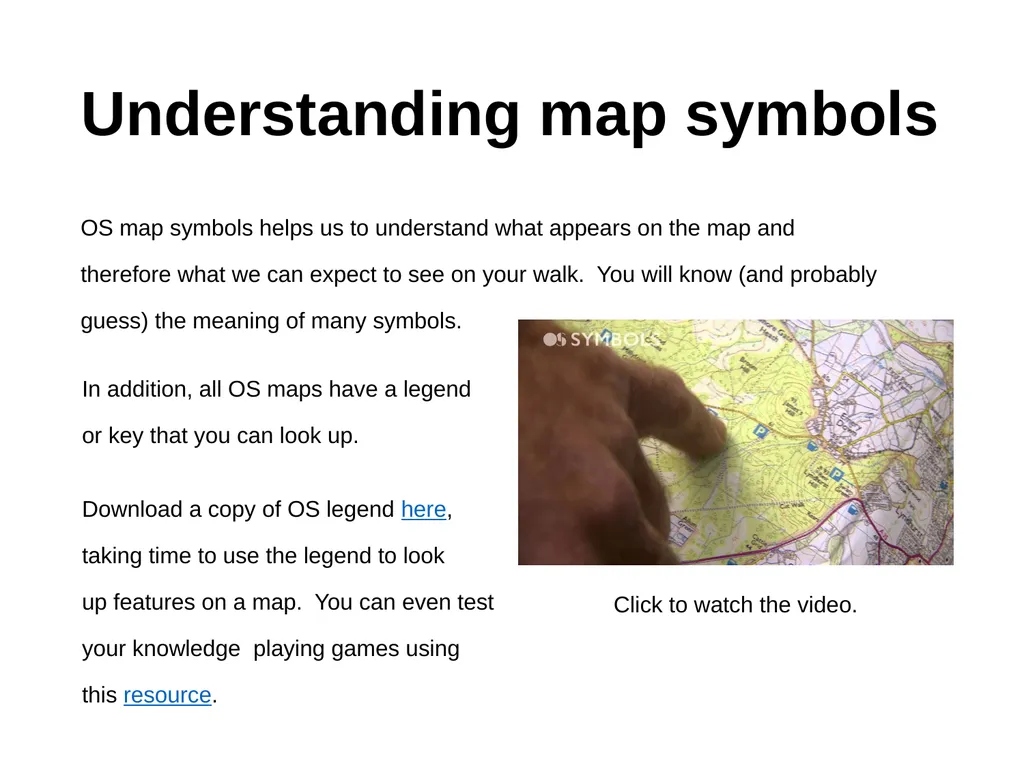
Understanding map symbols OS map symbols helps us to understand what appears on the map and therefore what we can expect to see on your walk. You will know (and probably guess) the meaning of many symbols. Click to watch the video. In addition, all OS maps have a legend or key that you can look up.
Download a copy of OS legend here, taking time to use the legend to look up features on a map. You can even test your knowledge playing games using this resource.<br>
Download a copy of OS legend here, taking time to use the legend to look up features on a map. You can even test your knowledge playing games using this resource.<br>
06
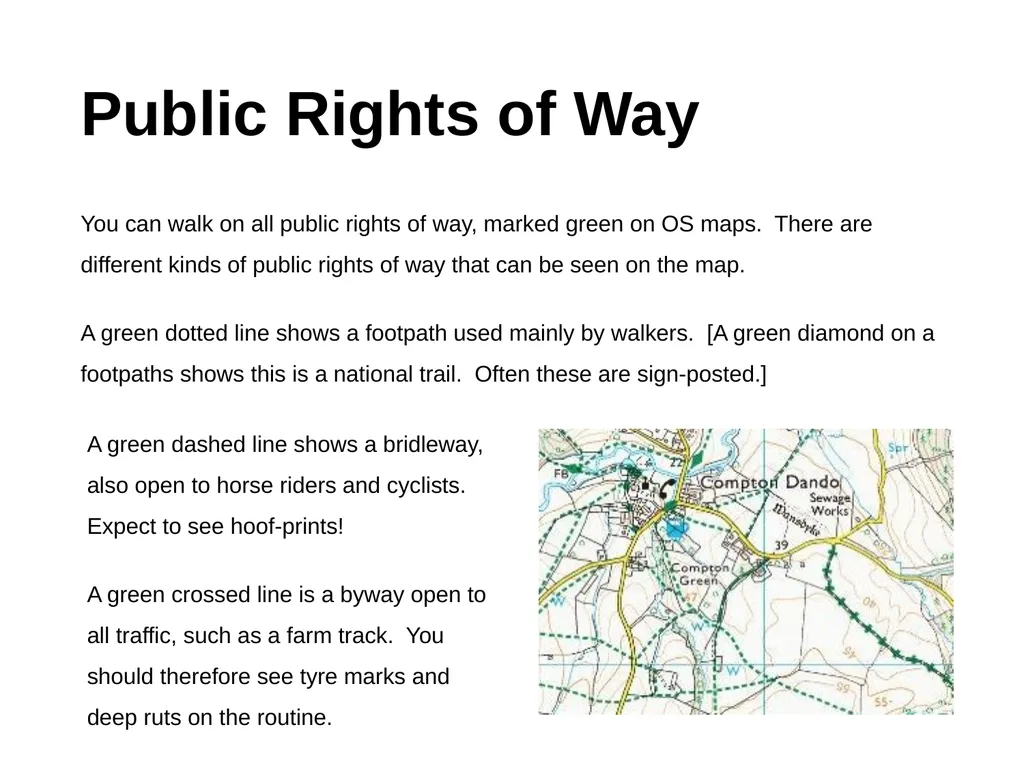
Public Rights of Way You can walk on all public rights of way, marked green on OS maps. There are different kinds of public rights of way that can be seen on the map.
A green dotted line shows a footpath used mainly by walkers. [A green diamond on a footpaths shows this is a national trail. Often these are sign-posted.] A green dashed line shows a bridleway, also open to horse riders and cyclists. Expect to see hoof-prints!
A green crossed line is a byway open to all traffic, such as a farm track. You should therefore see tyre marks and deep ruts on the routine.<br>
07
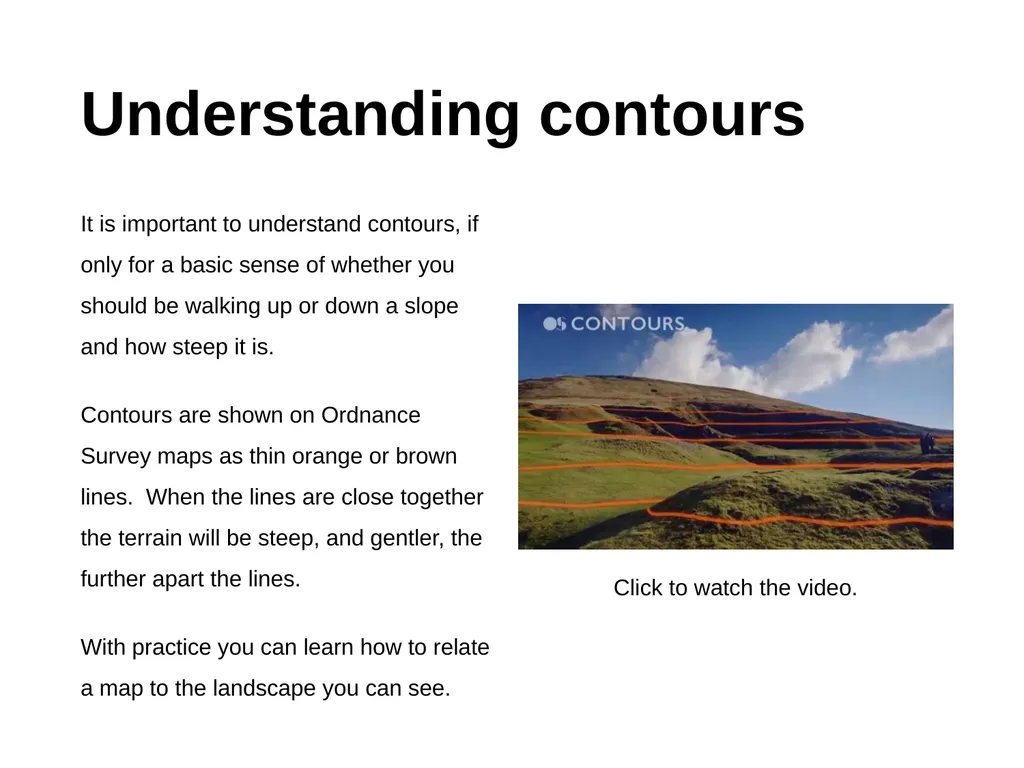
Understanding contours It is important to understand contours, if only for a basic sense of whether you should be walking up or down a slope and how steep it is.
Contours are shown on Ordnance Survey maps as thin orange or brown lines. When the lines are close together the terrain will be steep, and gentler, the further apart the lines.
With practice you can learn how to relate a map to the landscape you can see. Click to watch the video.<br>
Contours are shown on Ordnance Survey maps as thin orange or brown lines. When the lines are close together the terrain will be steep, and gentler, the further apart the lines.
With practice you can learn how to relate a map to the landscape you can see. Click to watch the video.<br>
08
How to take a grid reference Knowing how to take a grid reference is more than finding your way on a map. It could save a life.
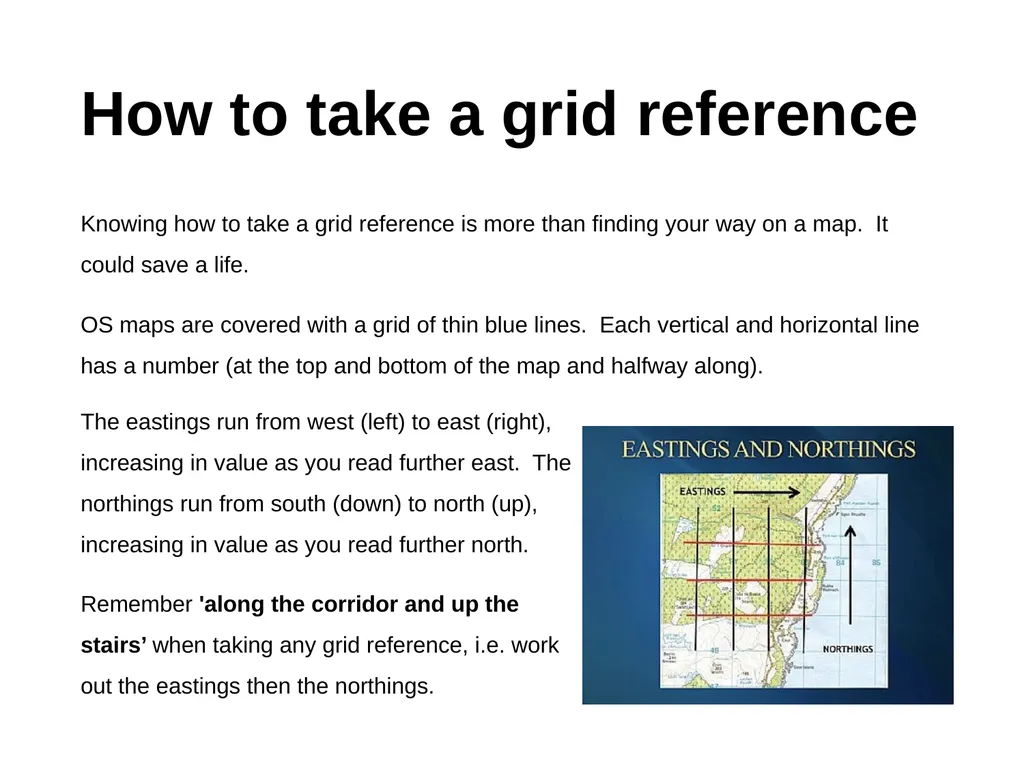
OS maps are covered with a grid of thin blue lines. Each vertical and horizontal line has a number (at the top and bottom of the map and halfway along). The eastings run from west (left) to east (right), increasing in value as you read further east. The northings run from south (down) to north (up), increasing in value as you read further north.
Remember 'along the corridor and up the stairs’ when taking any grid reference, i.e. work out the eastings then the northings.<br>
09
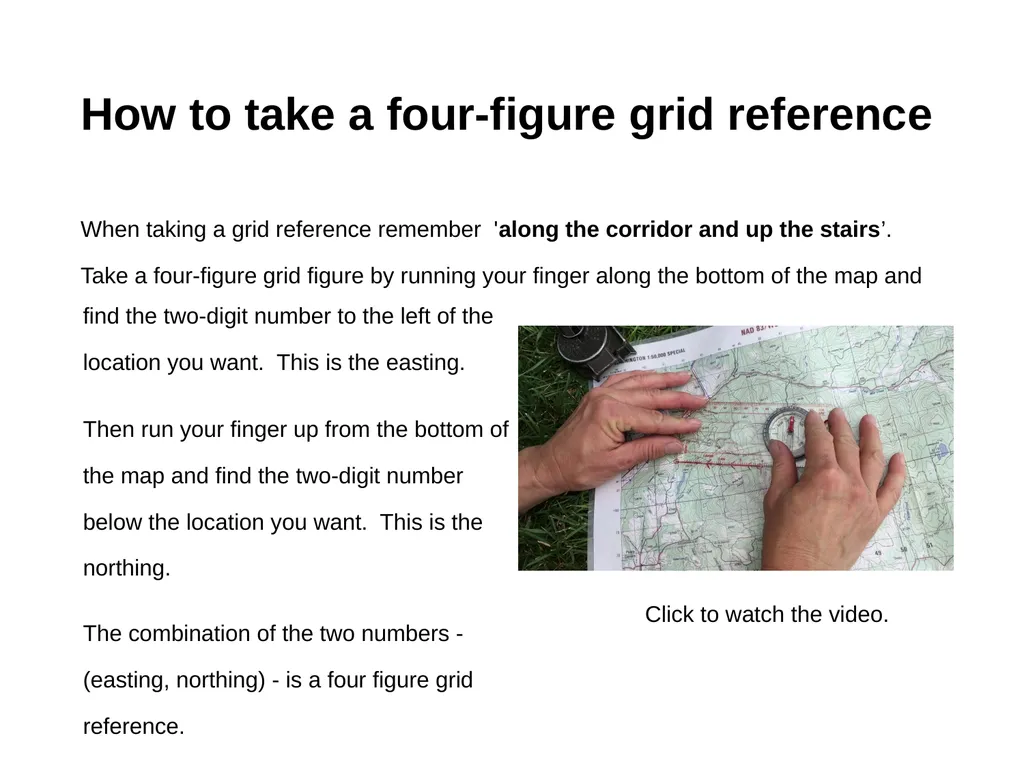
How to take a four-figure grid reference When taking a grid reference remember 'along the corridor and up the stairs’. Take a four-figure grid figure by running your finger along the bottom of the map and Click to watch the video. find the two-digit number to the left of the location you want. This is the easting.
Then run your finger up from the bottom of the map and find the two-digit number below the location you want. This is the northing.
The combination of the two numbers - (easting, northing) - is a four figure grid reference.<br>
Then run your finger up from the bottom of the map and find the two-digit number below the location you want. This is the northing.
The combination of the two numbers - (easting, northing) - is a four figure grid reference.<br>
10
How to take a six-figure grid reference When taking a grid reference remember 'along the corridor and up the stairs’.
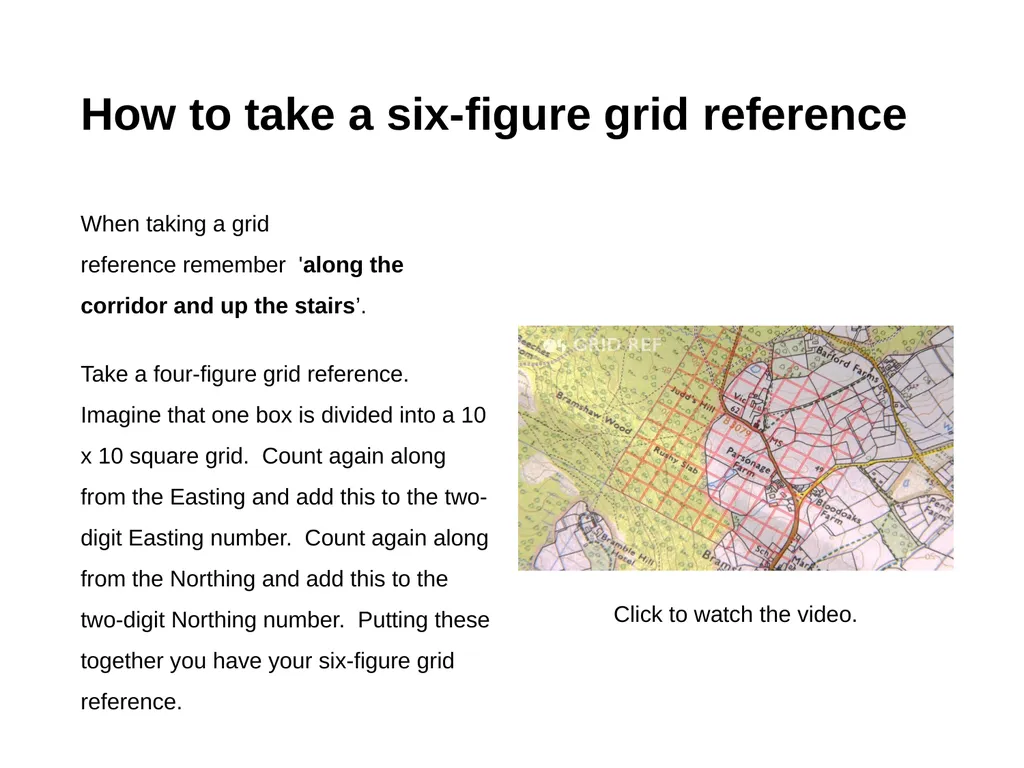
Take a four-figure grid reference. Imagine that one box is divided into a 10 x 10 square grid. Count again along from the Easting and add this to the two-digit Easting number. Count again along from the Northing and add this to the two-digit Northing number. Putting these together you have your six-figure grid reference. Click to watch the video.<br>
Take a four-figure grid reference. Imagine that one box is divided into a 10 x 10 square grid. Count again along from the Easting and add this to the two-digit Easting number. Count again along from the Northing and add this to the two-digit Northing number. Putting these together you have your six-figure grid reference. Click to watch the video.<br>
11
What is the difference between a four-figure and a six-figure grid reference? The method is exactly the same: ‘along the corridor and up the stairs’. The difference is the exactness.
A four-figure grid reference places you at the left (Easting), bottom (Northing) of a 1km2 square. A six-figure grid reference because you have further divided the grid -- will place you at the left (Easting), bottom (Northing) of a 100m2 square.
In an emergency make sure two of you are taking a six-figure grid reference of your location, ready to relay it to your teacher or the emergency services.<br>
12
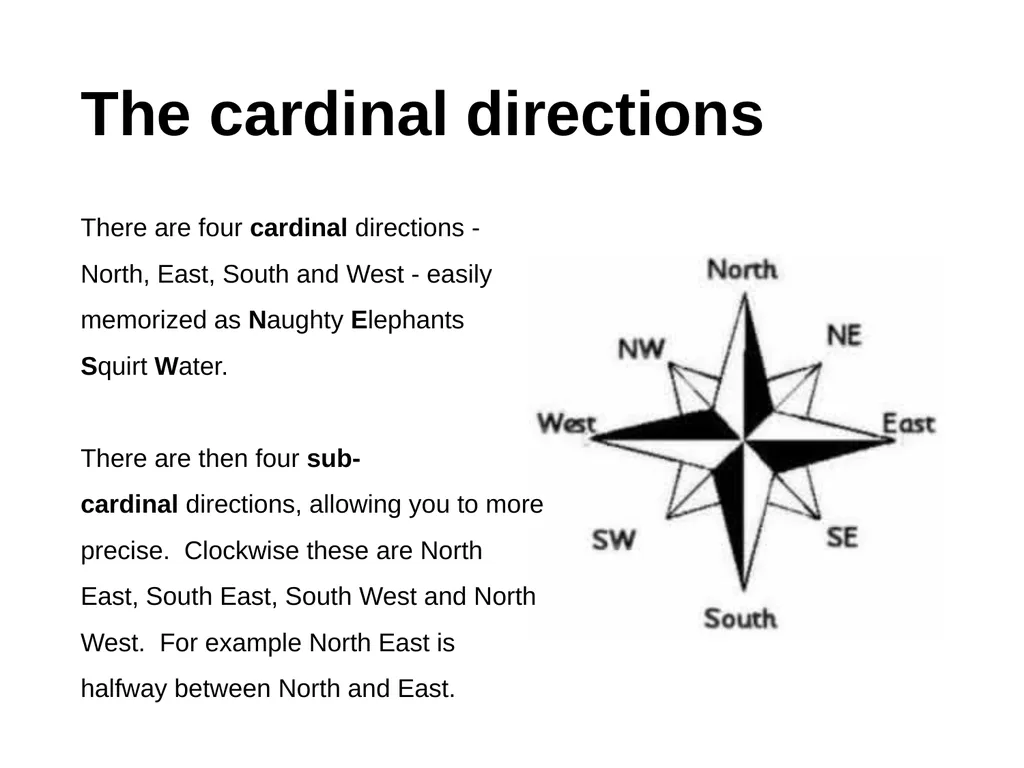
The cardinal directions There are four cardinal directions - North, East, South and West - easily memorized as Naughty Elephants Squirt Water.
There are then four sub-cardinal directions, allowing you to more precise. Clockwise these are North East, South East, South West and North West. For example North East is halfway between North and East.<br>
There are then four sub-cardinal directions, allowing you to more precise. Clockwise these are North East, South East, South West and North West. For example North East is halfway between North and East.<br>
13
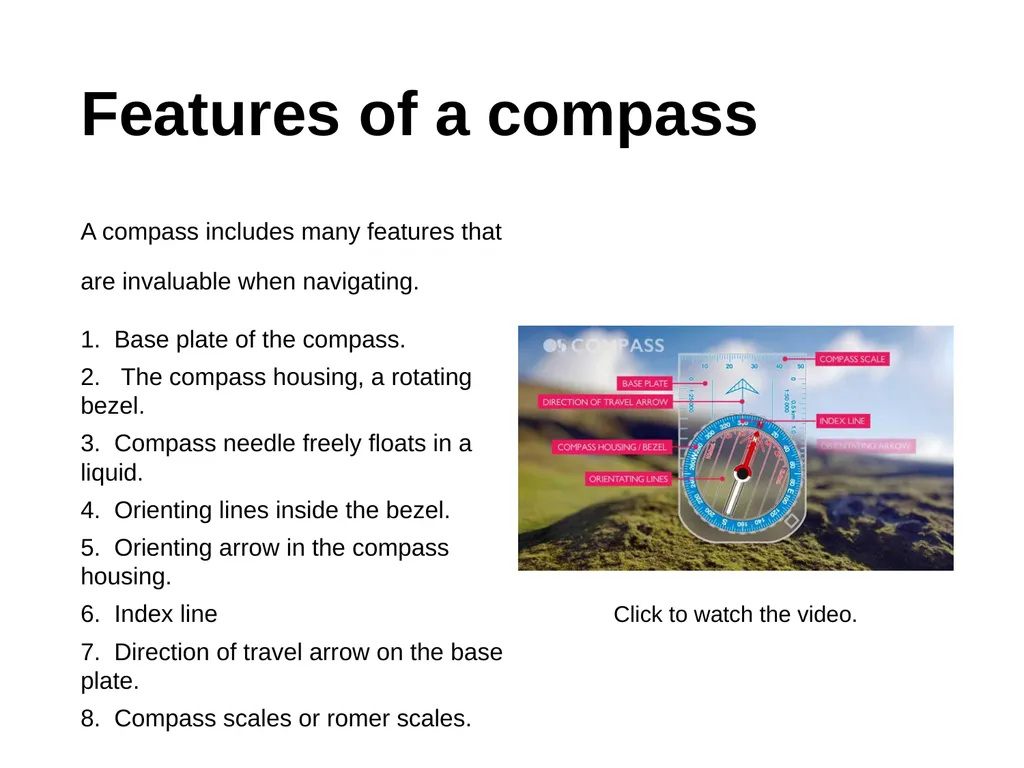
Features of a compass A compass includes many features that are invaluable when navigating.
1. Base plate of the compass.
2. The compass housing, a rotating bezel.
3. Compass needle freely floats in a liquid.
4. Orienting lines inside the bezel.
5. Orienting arrow in the compass housing.
6. Index line
7. Direction of travel arrow on the base plate.
8. Compass scales or romer scales. Click to watch the video.<br>
14
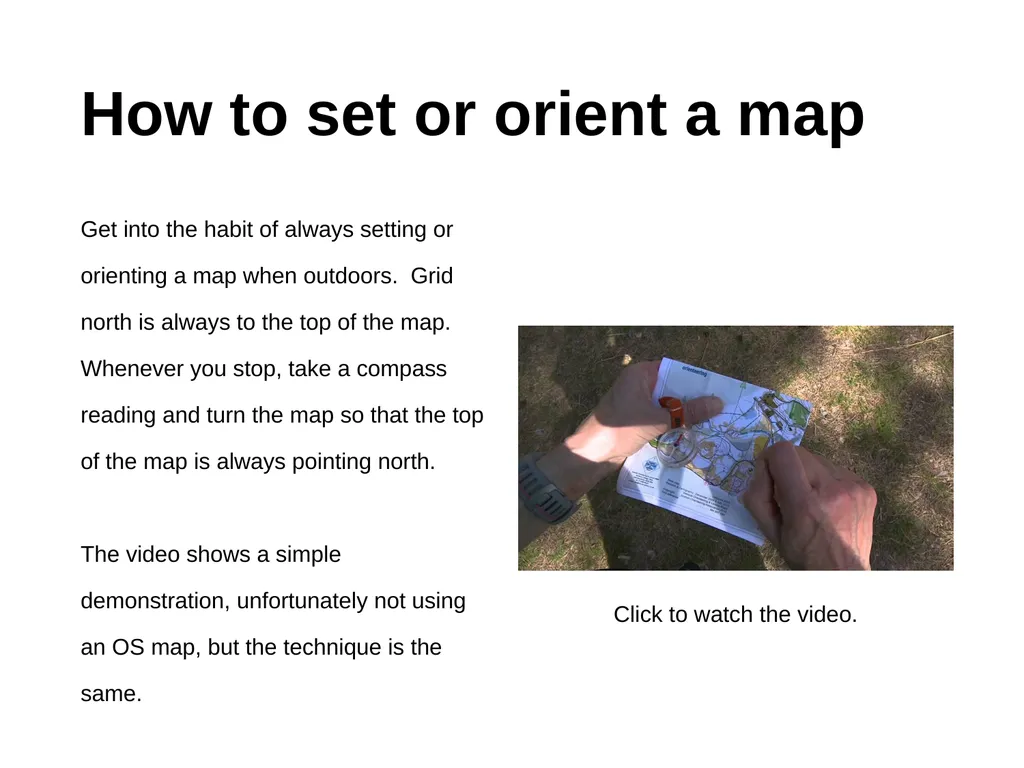
How to set or orient a map Get into the habit of always setting or orienting a map when outdoors. Grid north is always to the top of the map. Whenever you stop, take a compass reading and turn the map so that the top of the map is always pointing north.
The video shows a simple demonstration, unfortunately not using an OS map, but the technique is the same. Click to watch the video.<br>
The video shows a simple demonstration, unfortunately not using an OS map, but the technique is the same. Click to watch the video.<br>
15
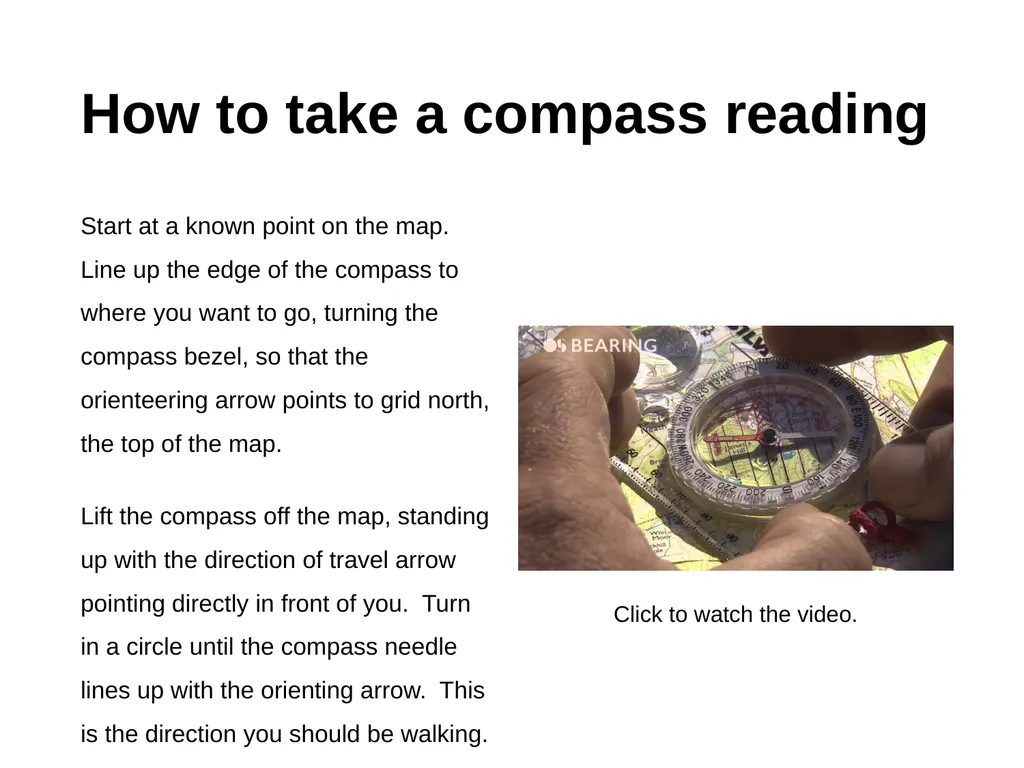
How to take a compass reading Start at a known point on the map. Line up the edge of the compass to where you want to go, turning the compass bezel, so that the orienteering arrow points to grid north, the top of the map.
Lift the compass off the map, standing up with the direction of travel arrow pointing directly in front of you. Turn in a circle until the compass needle lines up with the orienting arrow. This is the direction you should be walking. Click to watch the video.<br>
Lift the compass off the map, standing up with the direction of travel arrow pointing directly in front of you. Turn in a circle until the compass needle lines up with the orienting arrow. This is the direction you should be walking. Click to watch the video.<br>
16
Planning a route Route planning divides your route into a number of legs with detailed information about journey: where you are going and what you will see. Time taken on planning your route will save time outdoors and give you greater confidence on expedition! Here is the DofE route card. There are a number of important features:
1. There is a separate route card for each day.
2. There are a number of legs, starting and finishing at checkpoints, usually where you will meet an adult volunteer.
3. Information about the distance, timings allowing for whether you are going up or down hill.
4. Information describing the route, using cardinal directions and referring to features.
5. Escape routes: the most direct way of leaving your route to a point of safety.
6. The contact information of your supervisor.<br>
17
Self-assessment Take a moment to reflect on your understanding of this course.
Confident. Take the test and see where you need to improve, if at all.
Not confident. Work through the material again, do some extra research or ask an adult for help. Take the test and see where you need to improve.<br>
Confident. Take the test and see where you need to improve, if at all.
Not confident. Work through the material again, do some extra research or ask an adult for help. Take the test and see where you need to improve.<br>