Homework 1 Hints Homework Tips (General) FAQs: see last 3 highlighted slides for most commonly asked questions! Go through and do the ENTIRE homework in the same time period You will use all of the material from chap 1 2 Guided Exercises
"Homework 1 Hints Homework Tips (General) FAQs: see" is the property of its rightful owner. Permission is granted to
download and print the materials on this website for personal, non-commercial use only, and to display it
on your personal computer provided you do not modify the materials and that you retain all copyright
notices contained in the materials. By downloading content from our website, you accept the terms of this
agreement.
Presentation Transcript
01
Homework 1 Hints<br>
02
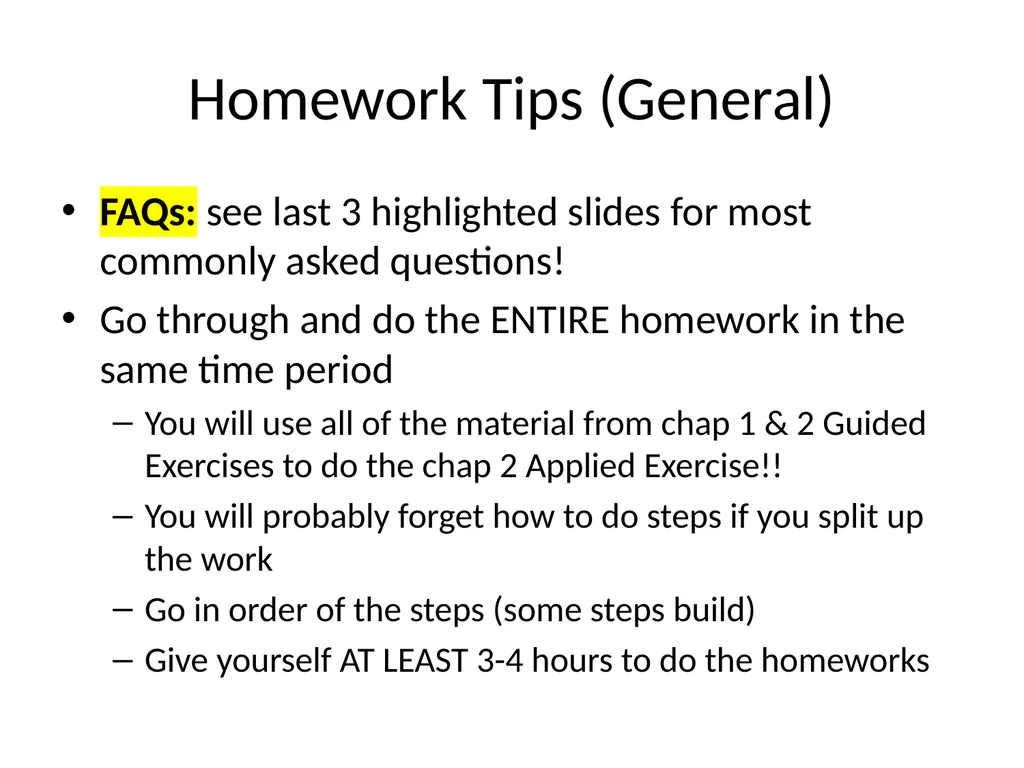
Homework Tips (General) FAQs: see last 3 highlighted slides for most commonly asked questions!
Go through and do the ENTIRE homework in the same time period
You will use all of the material from chap 1 & 2 Guided Exercises to do the chap 2 Applied Exercise!!
You will probably forget how to do steps if you split up the work
Go in order of the steps (some steps build)
Give yourself AT LEAST 3-4 hours to do the homeworks<br>
03
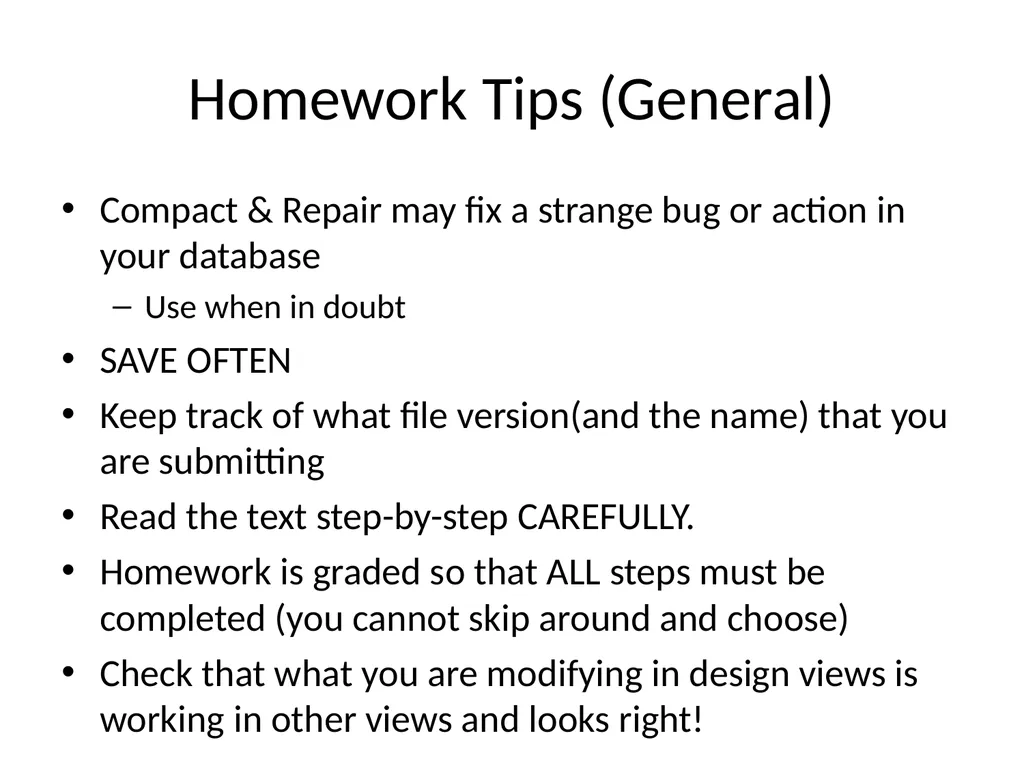
Homework Tips (General) Compact & Repair may fix a strange bug or action in your database
Use when in doubt
SAVE OFTEN
Keep track of what file version(and the name) that you are submitting
Read the text step-by-step CAREFULLY.
Homework is graded so that ALL steps must be completed (you cannot skip around and choose)
Check that what you are modifying in design views is working in other views and looks right!<br>
04
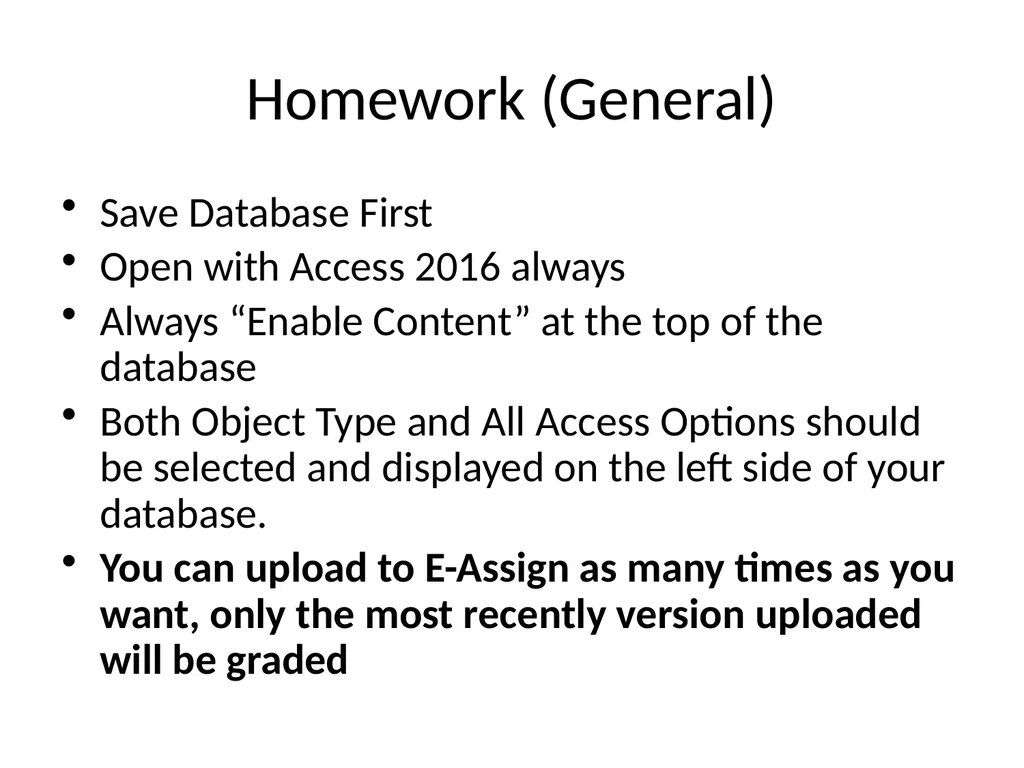
Homework (General) Save Database First
Open with Access 2016 always
Always “Enable Content” at the top of the database
Both Object Type and All Access Options should be selected and displayed on the left side of your database.
You can upload to E-Assign as many times as you want, only the most recently version uploaded will be graded<br>
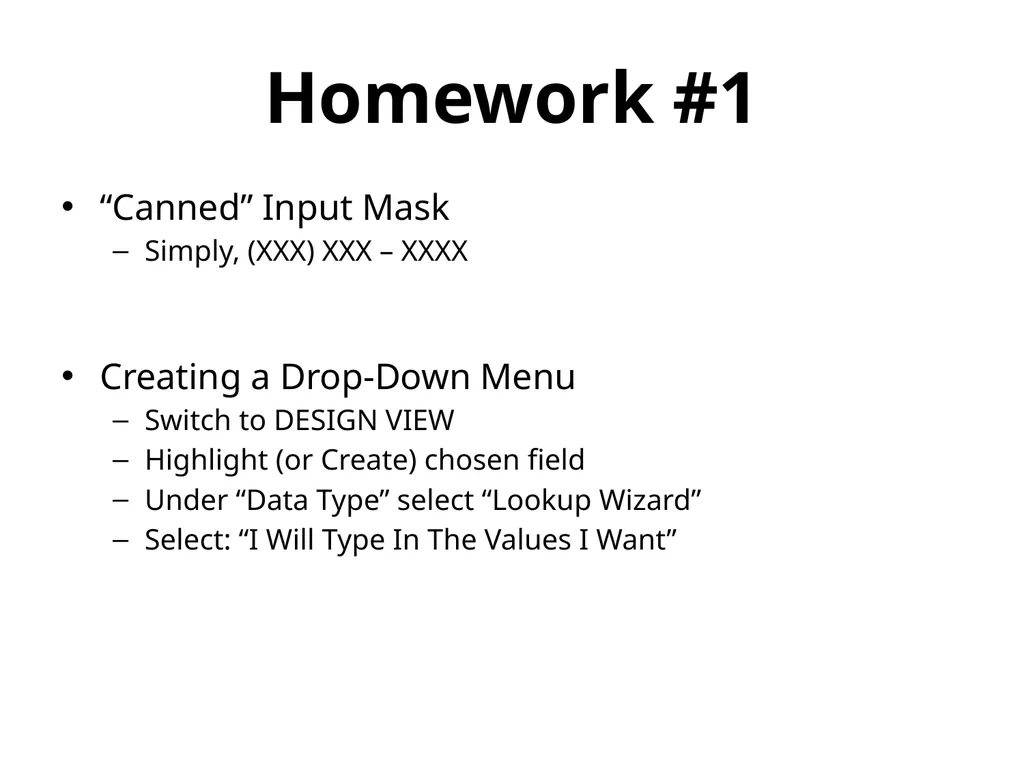
Creating a Drop-Down Menu
Switch to DESIGN VIEW
Highlight (or Create) chosen field
Under “Data Type” select “Lookup Wizard”
Select: “I Will Type In The Values I Want”<br>
06
Homework #1 Date Function: Date()
Not a trick
Validation rule
Returns today’s date
Mathematical Rules:
<> - Date cannot equal today
> - Date must be greater than today<br>
07
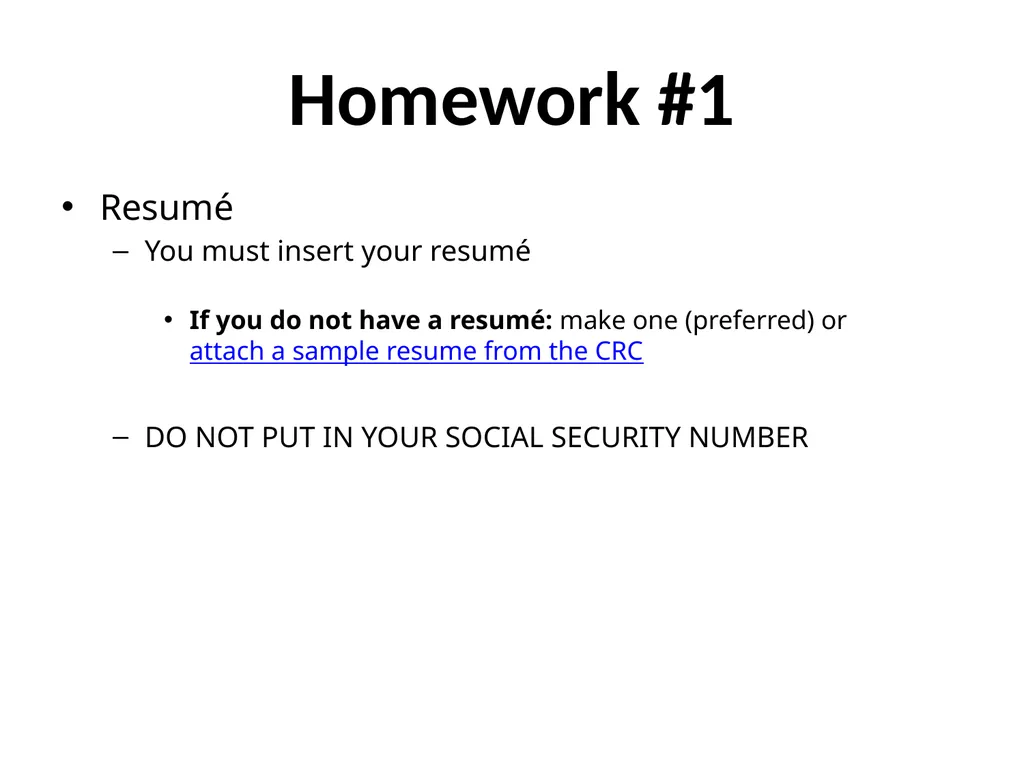
Homework #1 Resumé
You must insert your resumé
If you do not have a resumé: make one (preferred) or attach a sample resume from the CRC
DO NOT PUT IN YOUR SOCIAL SECURITY NUMBER<br>
08
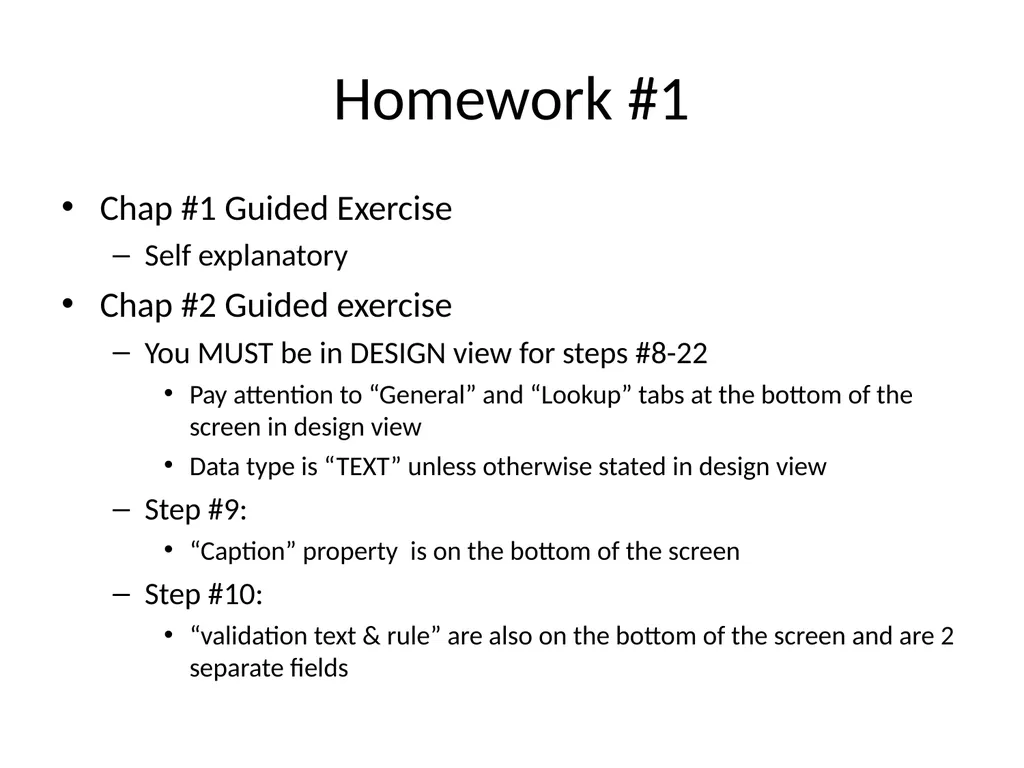
Homework #1 Chap #1 Guided Exercise
Self explanatory
Chap #2 Guided exercise
You MUST be in DESIGN view for steps #8-22
Pay attention to “General” and “Lookup” tabs at the bottom of the screen in design view
Data type is “TEXT” unless otherwise stated in design view
Step #9:
“Caption” property is on the bottom of the screen
Step #10:
“validation text & rule” are also on the bottom of the screen and are 2 separate fields<br>
09
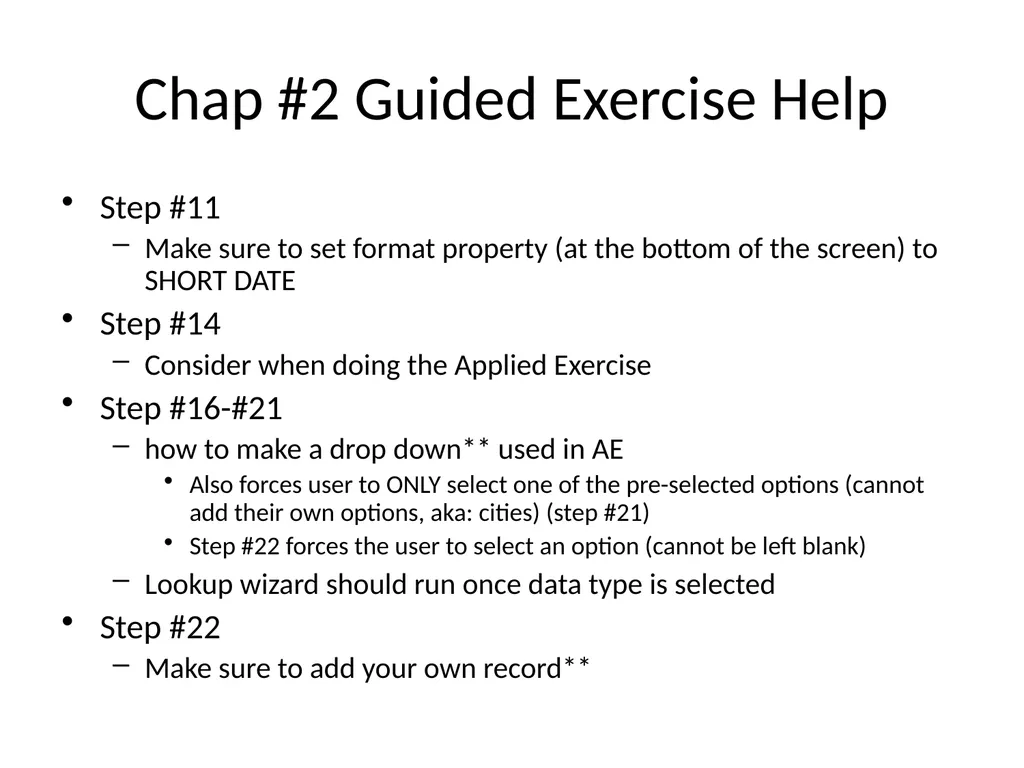
Chap #2 Guided Exercise Help Step #11
Make sure to set format property (at the bottom of the screen) to SHORT DATE
Step #14
Consider when doing the Applied Exercise
Step #16-#21
how to make a drop down** used in AE
Also forces user to ONLY select one of the pre-selected options (cannot add their own options, aka: cities) (step #21)
Step #22 forces the user to select an option (cannot be left blank)
Lookup wizard should run once data type is selected
Step #22
Make sure to add your own record**<br>
10
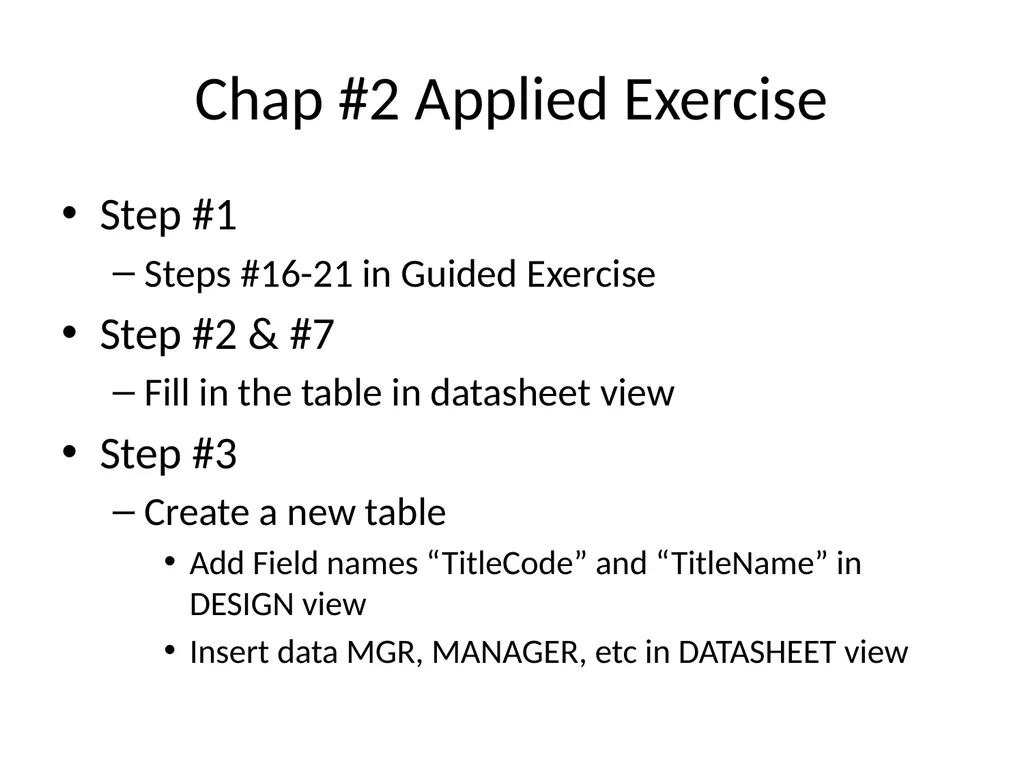
Chap #2 Applied Exercise Step #1
Steps #16-21 in Guided Exercise
Step #2 & #7
Fill in the table in datasheet view
Step #3
Create a new table
Add Field names “TitleCode” and “TitleName” in DESIGN view
Insert data MGR, MANAGER, etc in DATASHEET view<br>
11
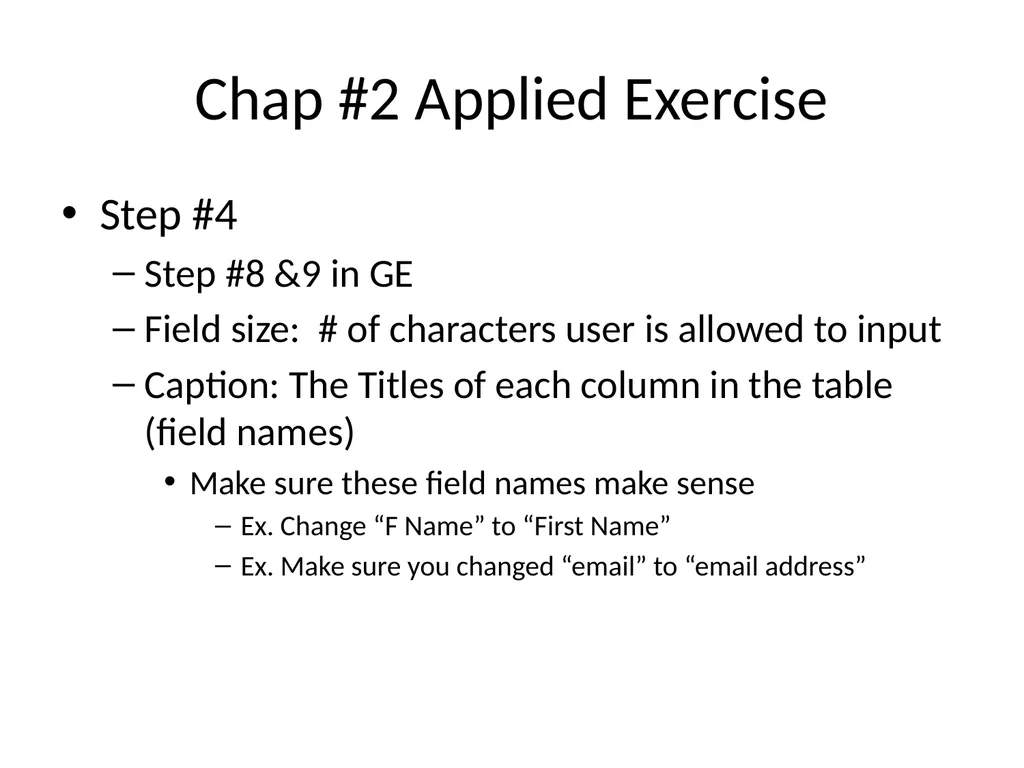
Step #4
Step #8 &9 in GE
Field size: # of characters user is allowed to input
Caption: The Titles of each column in the table (field names)
Make sure these field names make sense
Ex. Change “F Name” to “First Name”
Ex. Make sure you changed “email” to “email address” Chap #2 Applied Exercise<br>
12
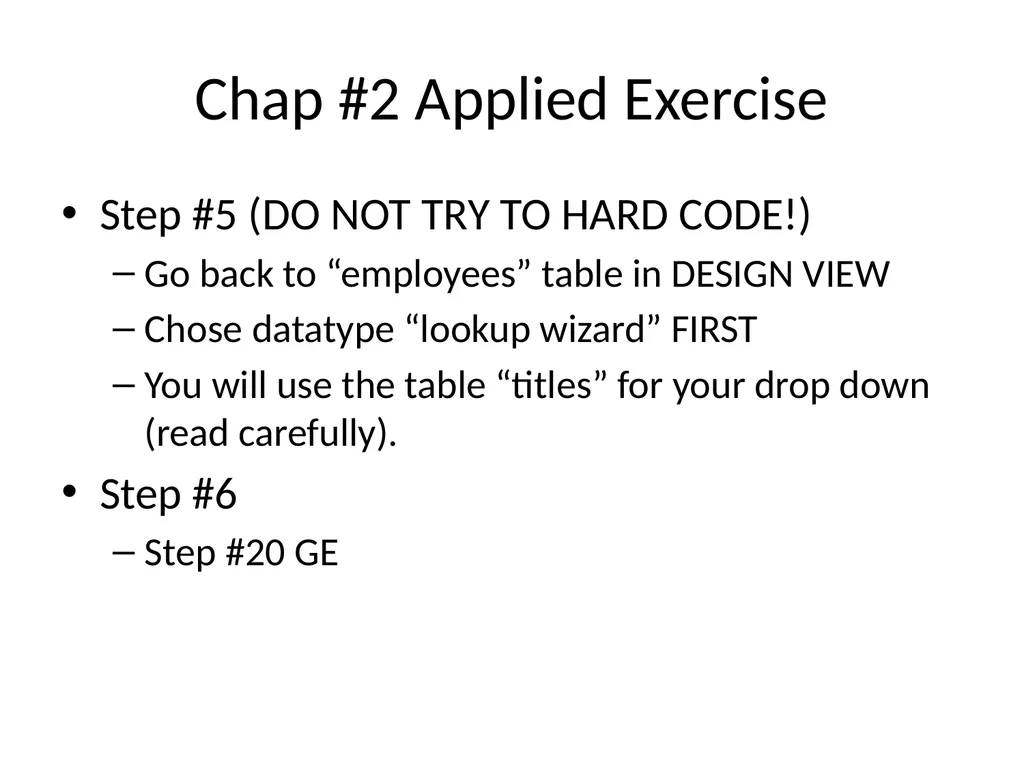
Chap #2 Applied Exercise Step #5 (DO NOT TRY TO HARD CODE!)
Go back to “employees” table in DESIGN VIEW
Chose datatype “lookup wizard” FIRST
You will use the table “titles” for your drop down (read carefully).
Step #6
Step #20 GE<br>
13
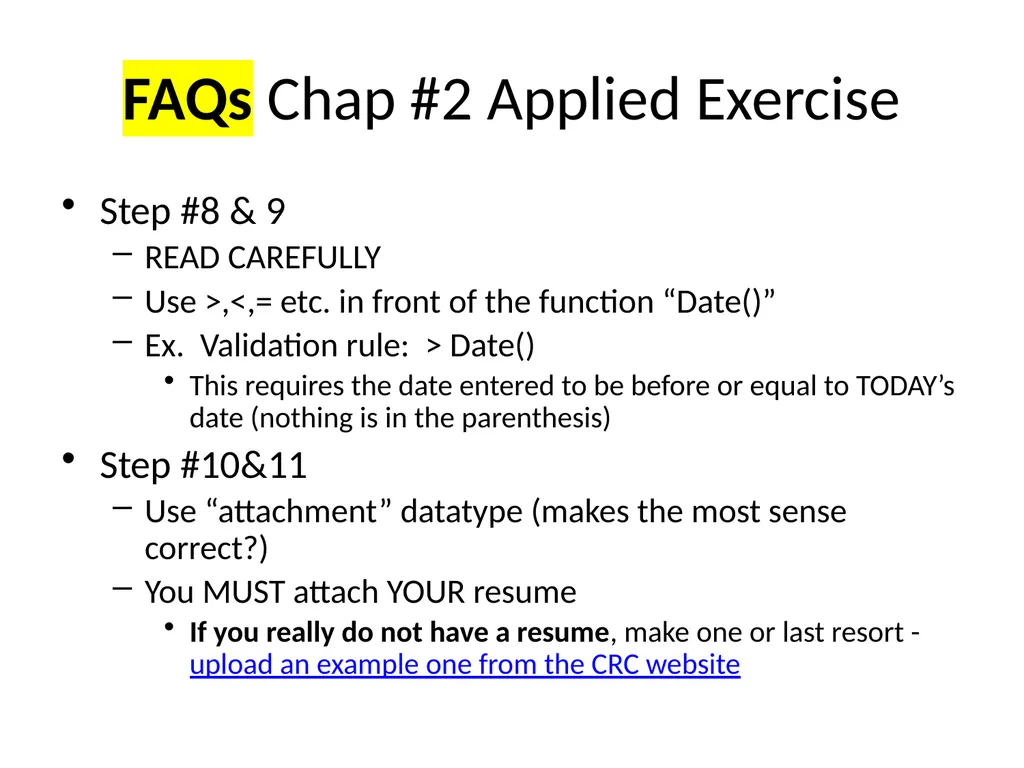
Step #8 & 9
READ CAREFULLY
Use >,<,= etc. in front of the function “Date()”
Ex. Validation rule: > Date()
This requires the date entered to be before or equal to TODAY’s date (nothing is in the parenthesis)
Step #10&11
Use “attachment” datatype (makes the most sense correct?)
You MUST attach YOUR resume
If you really do not have a resume, make one or last resort - upload an example one from the CRC website FAQs Chap #2 Applied Exercise<br>
14
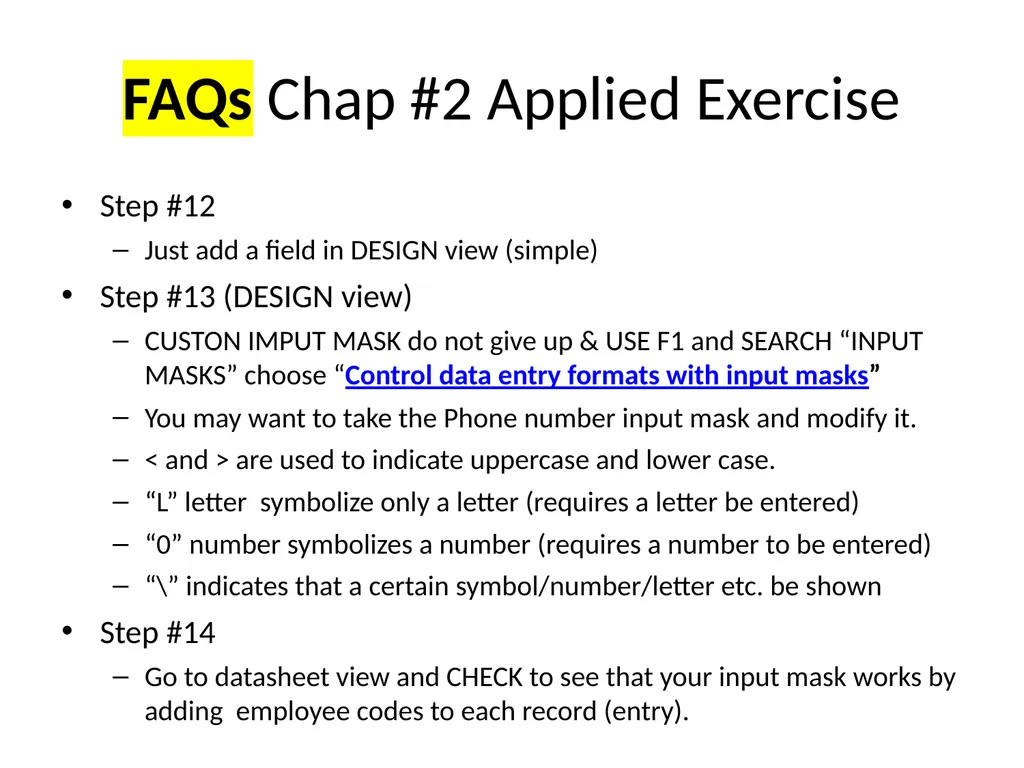
Step #12
Just add a field in DESIGN view (simple)
Step #13 (DESIGN view)
CUSTON IMPUT MASK do not give up & USE F1 and SEARCH “INPUT MASKS” choose “Control data entry formats with input masks”
You may want to take the Phone number input mask and modify it.
< and > are used to indicate uppercase and lower case.
“L” letter symbolize only a letter (requires a letter be entered)
“0” number symbolizes a number (requires a number to be entered)
“\” indicates that a certain symbol/number/letter etc. be shown
Step #14
Go to datasheet view and CHECK to see that your input mask works by adding employee codes to each record (entry). FAQs Chap #2 Applied Exercise<br>
15
FAQs Troubleshooting Errors: If you have a “Titlecode” field error in the Employees table when setting up the Employees Table.
Go to “Database Tools”
Click on “Relationships”
Delete line connecting “Title” to “Employees”
Delete “Titlecode” field in the employees table.
Re-Create a “Titlecode” field (re-start).<br>