How to take sample for analysis Taking the samples from the base material or withdrawing them from the place or the member is very important. It represents the process of chemical analysis because any difference between the sample and the
"How to take sample for analysis Taking the samples" is the property of its rightful owner. Permission is granted to
download and print the materials on this website for personal, non-commercial use only, and to display it
on your personal computer provided you do not modify the materials and that you retain all copyright
notices contained in the materials. By downloading content from our website, you accept the terms of this
agreement.
Presentation Transcript
01
How to take sample for analysis<br>
02
Taking the samples from the base material or withdrawing them from the place or the member is very important. It represents the process of chemical analysis because any difference between the sample and the basic, that mean inaccurate representation of the base material in the sample obtained will give inaccurate and unreliable results. The process of taking samples and preparing as following.<br>
03
Washing and drying
Plants and fodder crops can be washed if brought to the laboratory with normal water. A non-ionic detergent can be used. The washing process should be done as quickly as possible to reduce the loss in the dissolved parts. It is preferable to wash with normal water. Wash with distilled water and then dry with a clean cloth Or paper tissues.<br>
04
If the crops or feed to be analyzed are clean or dusty, it is sufficient to remove the dust from them by regular brush or using hand or electric air blower. It is actually preferable to wash because it may not be possible to completely dry the water-washed product using the cloth and remove the moisture. It was damaged as a result of washing and is dried to a fixed weight in the curling oven.<br>
05
Methods of taking sample: 1- Taking sample from green plants in field
Sampling from the aerial parts of the plants in field selected random at least (10) or more sample sites depending on the size of the field and should be (2-3 Kg )amount. Clip the aerial parts of the plants and it save in plastic bag. if the plant is large it may be necessary to take the sample to the laboratory and run it through a forage cutter to obtain suitable sample.<br>
06
Note: 1-The moisture is high in green plants so we should decrease or reduce the time of taking samples to decrease the moisture lost from green plant also to decrease the changes happen due to enzymes the stay for long period in plants after cutting. 2- After reach of plants in plastic bags to laboratory we cut the green plants to3-5 cm and mixed good then put in one group .then we Take 20 samples from it again randomly and also mixed in one group until we reach to sample about 500-600gm in weight that sample put in plastic bags for analysis.<br>
07
2-Taking samples from silage: Take a sample at random of silage from different sites , the weight of sample should be 4 kg , the sample take before and after fermentation to study the changes occur in material (silage) during and after fermentation.<br>
08
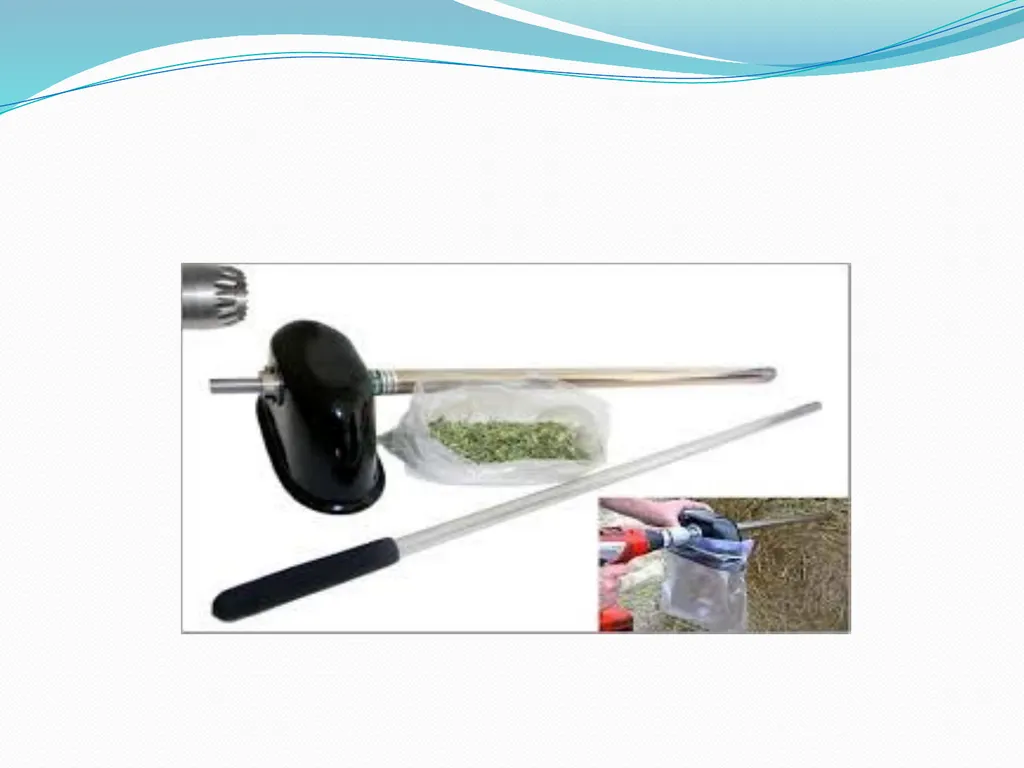
3- Taking samples from grain and meal mixtures ( concentrate ): Use a slotted single or hollow tube with pointed ends take at least 1 kg sample follows lay bag horizontally. Determine number of bags as follows: from ( 1-10 ) bags sample all bags, from (11) or more sample 10 bags at random. After taking samples all samples collected in (1) group and divided by quartering methods each group divided into 4 equal group we take just 2 group from the 4 and divided other 2 .we continuo in this process until we reach to 1 kg in weight then save the sample in plastic bag and send to laboratory.<br>
09
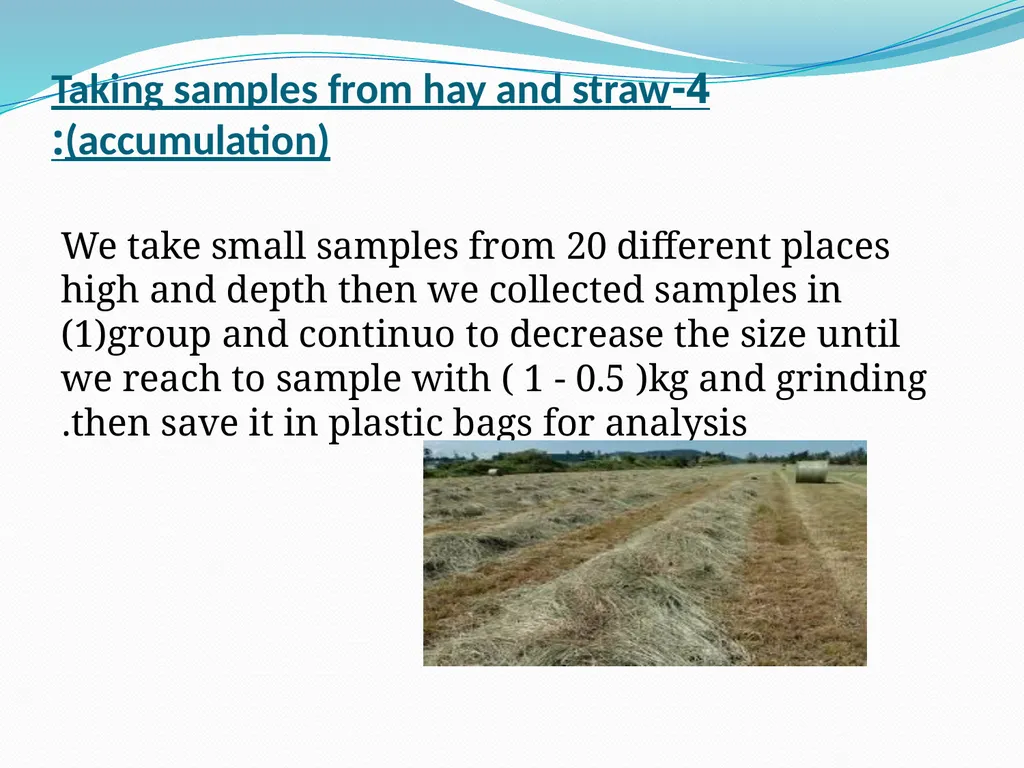
4-Taking samples from hay and straw (accumulation): We take small samples from 20 different places high and depth then we collected samples in (1)group and continuo to decrease the size until we reach to sample with ( 1 - 0.5 )kg and grinding then save it in plastic bags for analysis.<br>
10
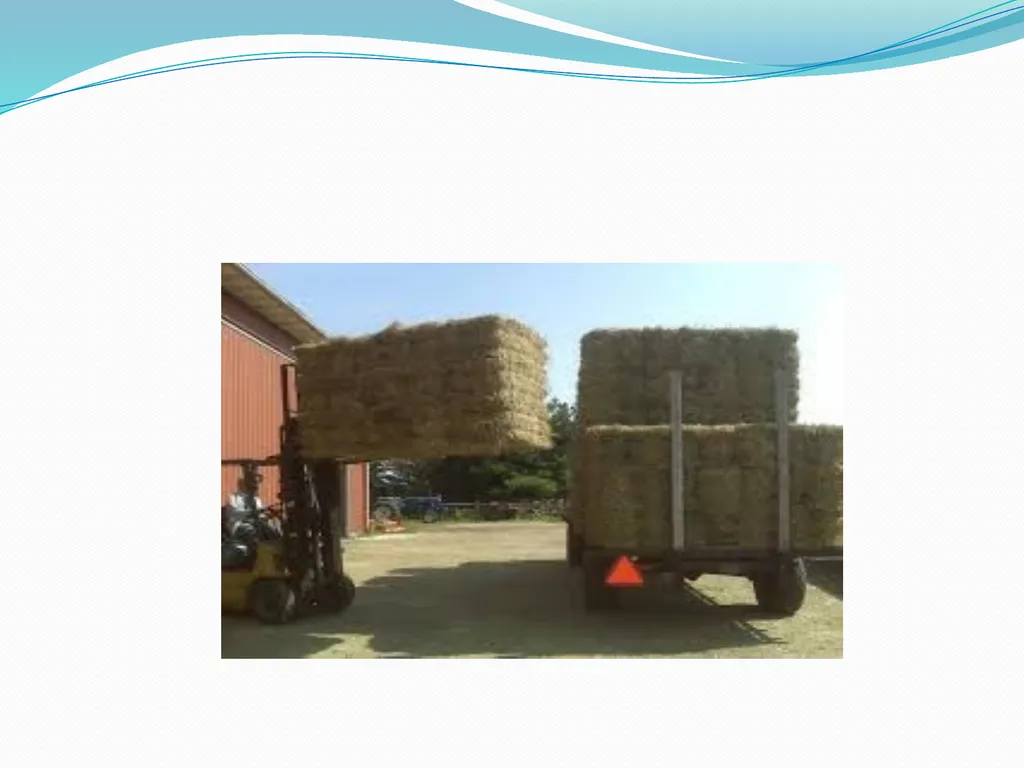
5- Taking samples from hay and straw (bales): If the number of bales less than 10 we take samples from all bales .if the number 10-20 we take samples from 10 .if the number more than 40 we take samples from 20 bales , the sample should be taken from ends and middle of each bale. The samples collected and decrease gradually in size until we reach to 1 to 0.5kg in weight the sample grinding and then save in plastic bag for analysis.<br>