04
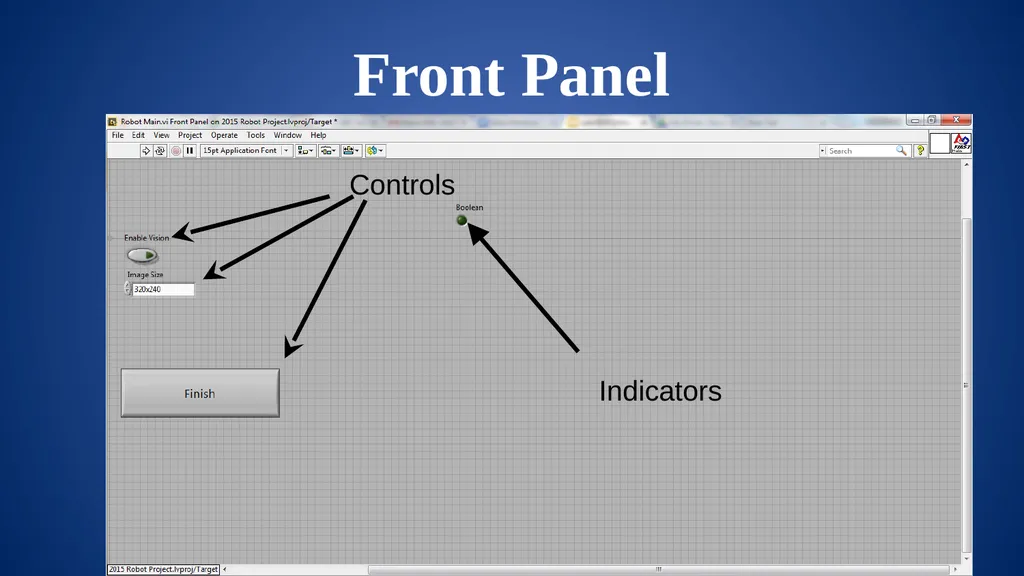
Demo Adding controls and indicators<br>
05
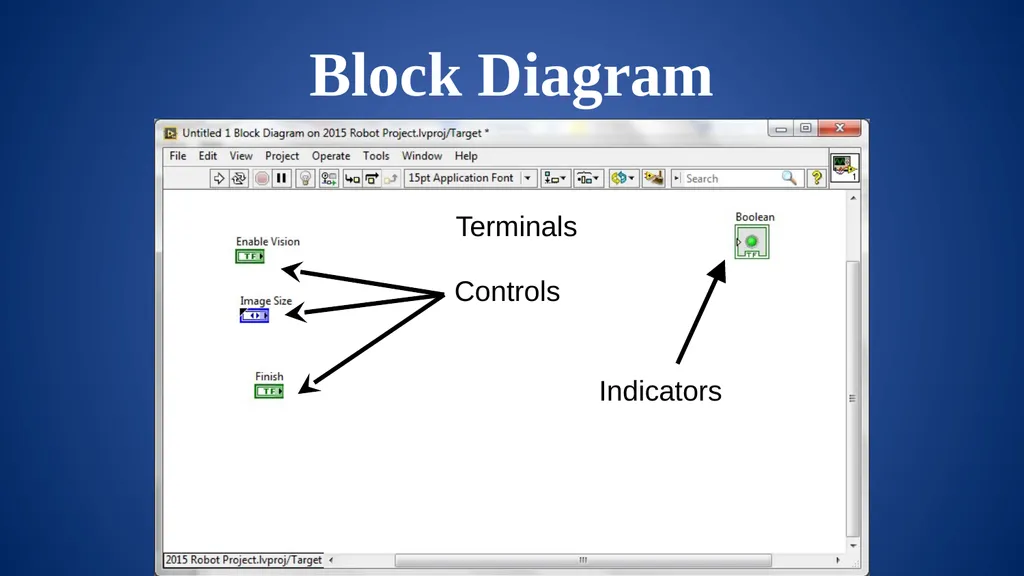
Demo Adding controls and indicators<br>
06
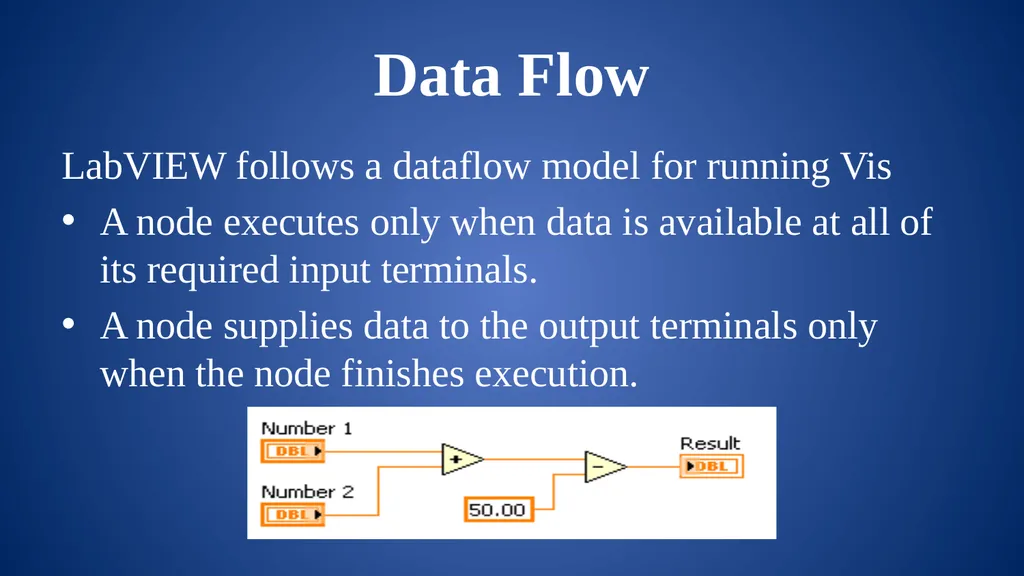
Data Flow LabVIEW follows a dataflow model for running Vis
A node executes only when data is available at all of its required input terminals.
A node supplies data to the output terminals only when the node finishes execution.<br>
07
Demo - Setting a motor Read Joystick
Set Drive motors<br>
08
Demo - Setting a motor Read Joystick
Set Drive motors<br>
09
Exercise Drive a motor.pdf<br>
10
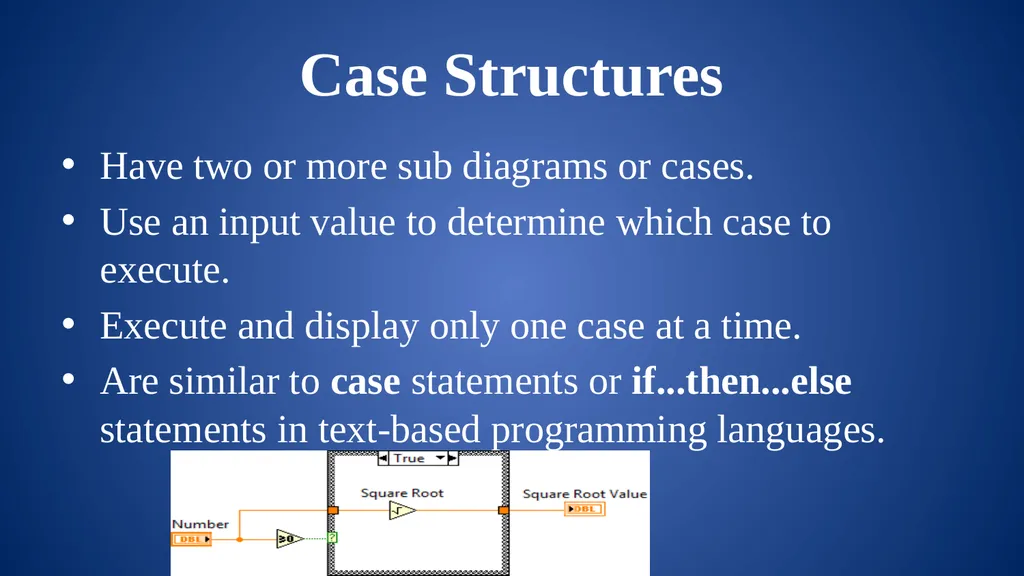
Case Structures Have two or more sub diagrams or cases.
Use an input value to determine which case to execute.
Execute and display only one case at a time.
Are similar to case statements or if...then...else statements in text-based programming languages.<br>
11
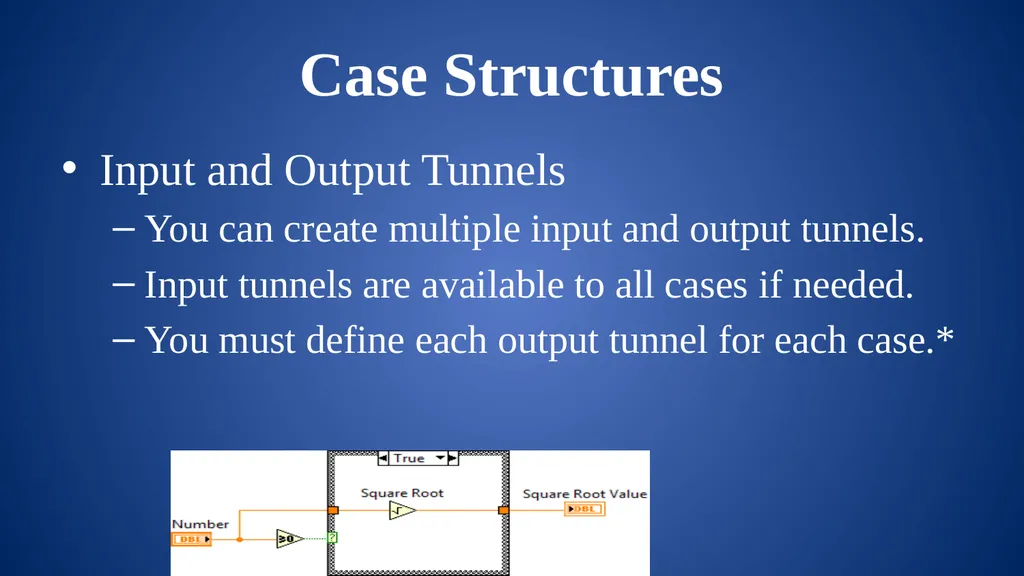
Case Structures Input and Output Tunnels
You can create multiple input and output tunnels.
Input tunnels are available to all cases if needed.
You must define each output tunnel for each case.*<br>
12
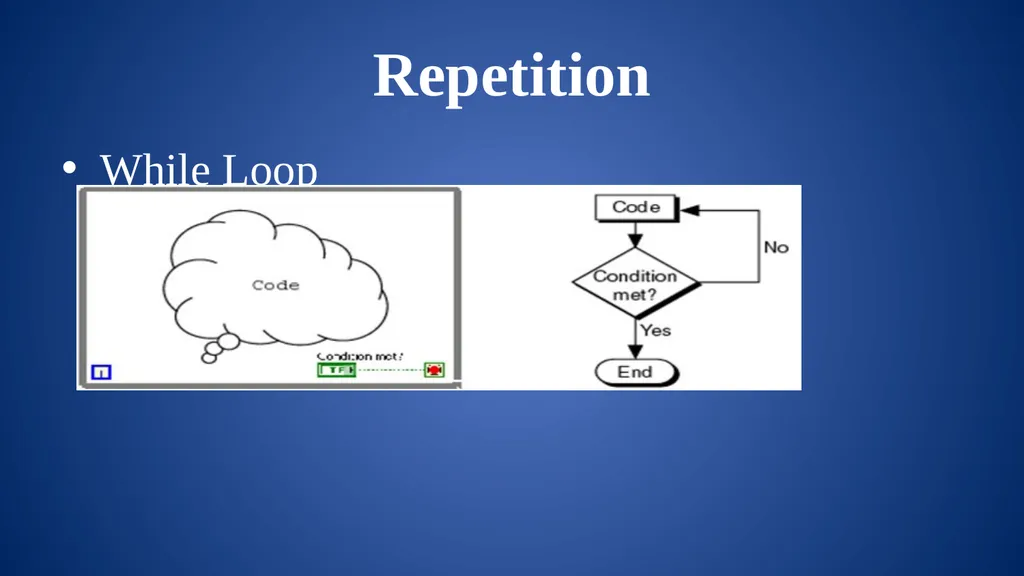
Repetition While Loop<br>
13
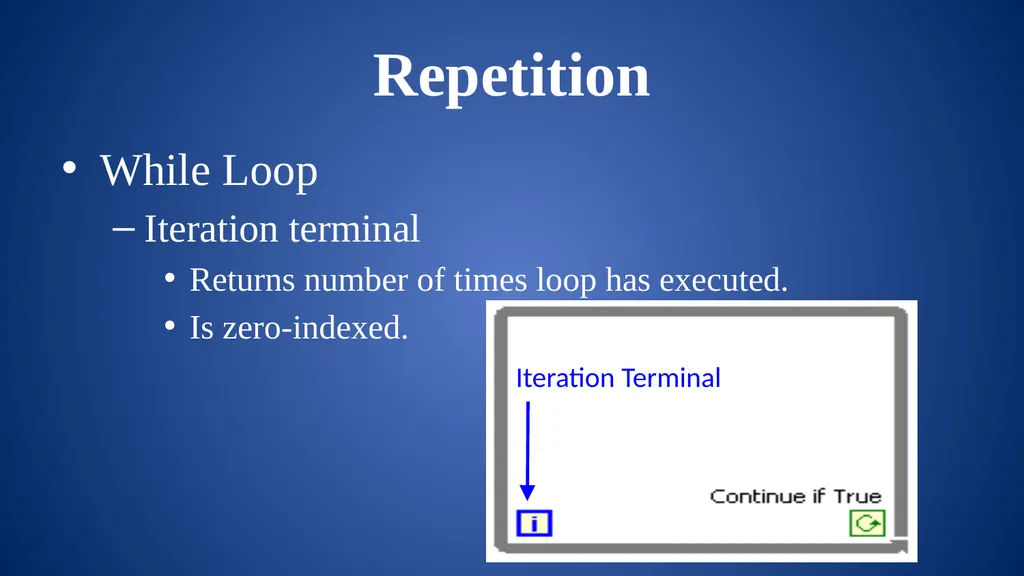
Repetition While Loop
Iteration terminal
Returns number of times loop has executed.
Is zero-indexed.<br>
14
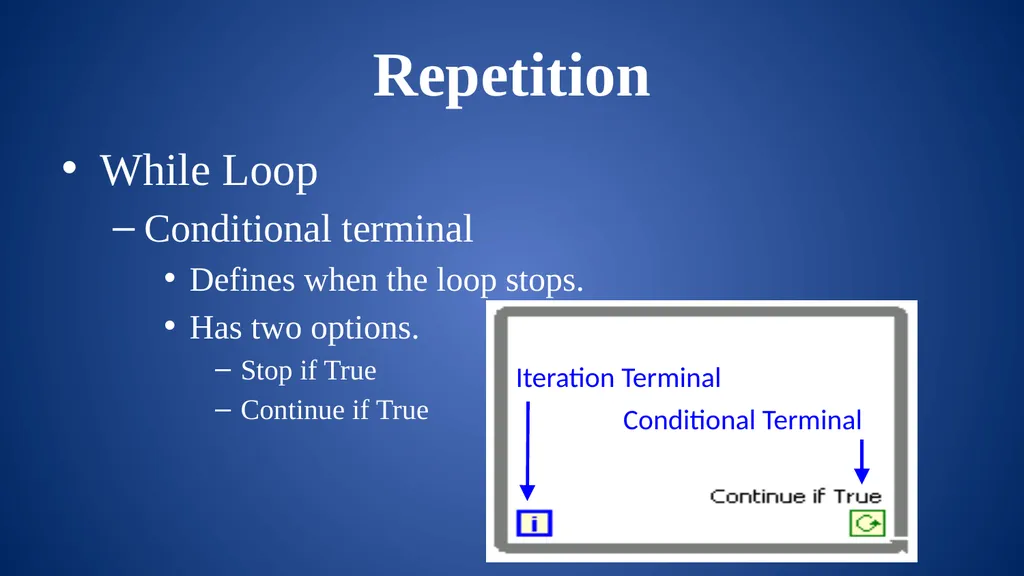
Repetition While Loop
Conditional terminal
Defines when the loop stops.
Has two options.
Stop if True
Continue if True Iteration Terminal<br>
15
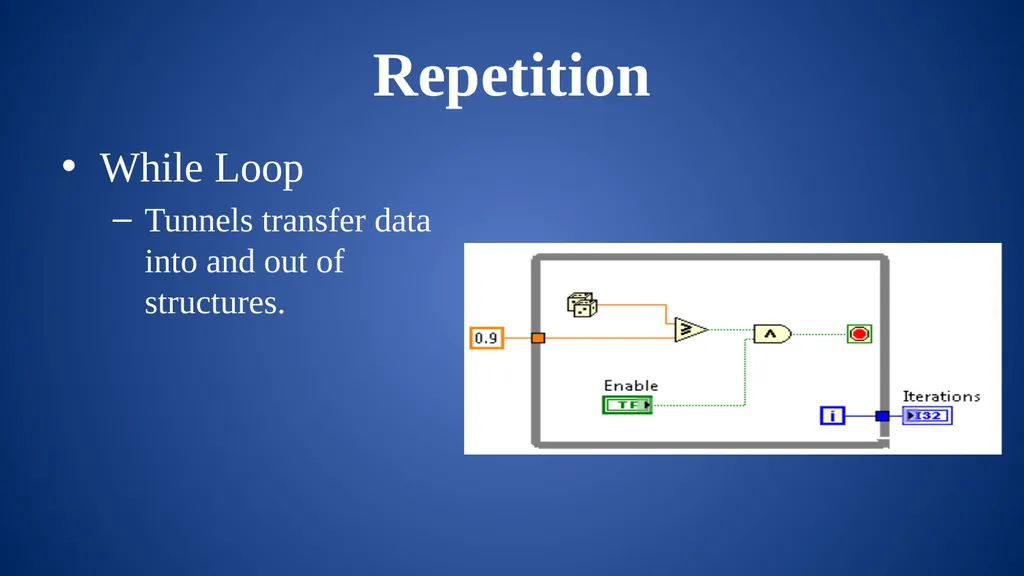
Repetition While Loop
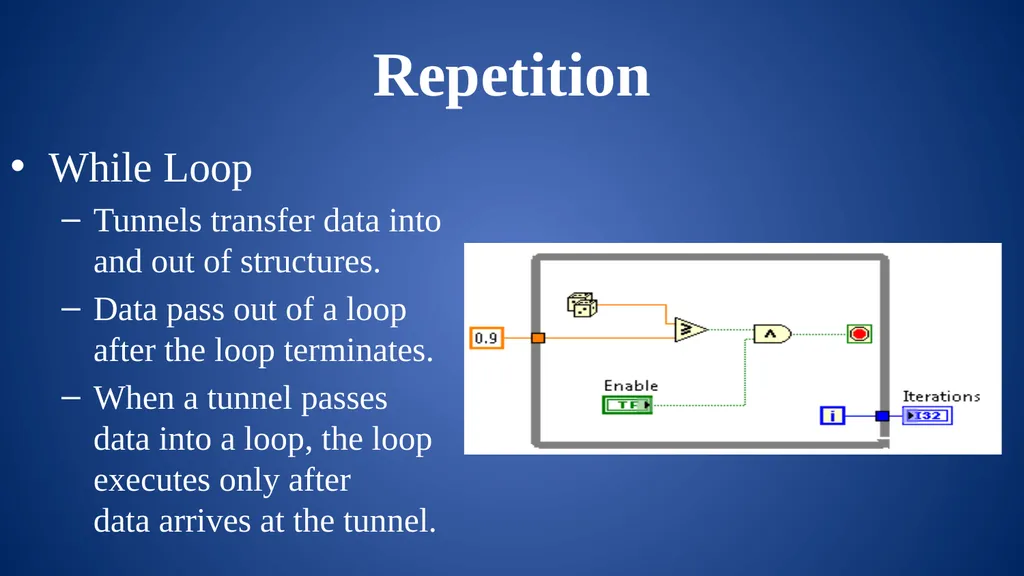
Tunnels transfer data into and out of structures.<br>
16
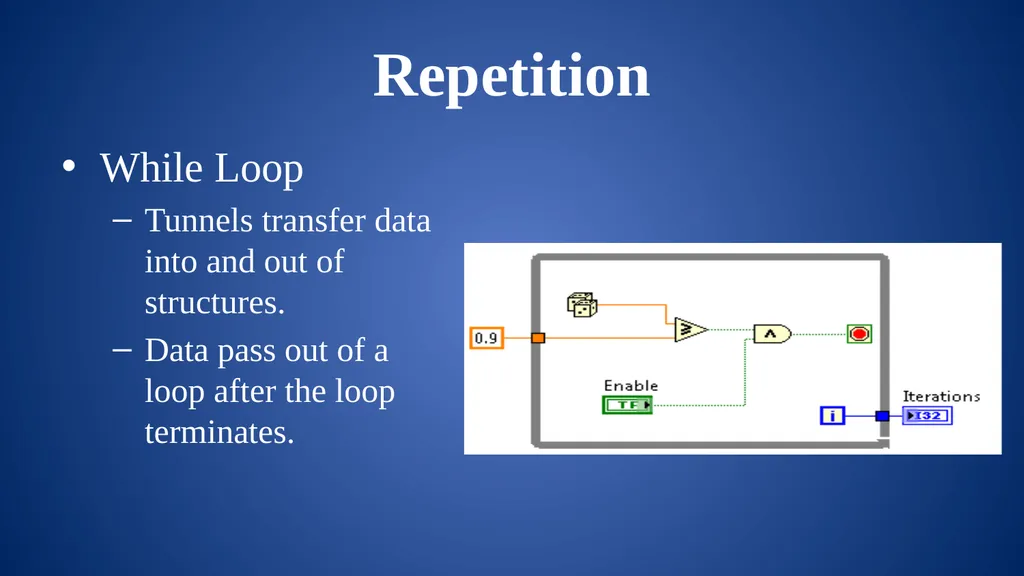
Repetition While Loop
Tunnels transfer data into and out of structures.
Data pass out of a loop after the loop terminates.<br>
17
Repetition While Loop
Tunnels transfer data into and out of structures.
Data pass out of a loop after the loop terminates.
When a tunnel passes �data into a loop, the loop �executes only after �data arrives at the tunnel.<br>
18
Exercise – While Loops While Loops.pdf<br>
19
Exercise – While Loops How many times is the Number of Iterations indicator updated? Why?<br>
20
Repetition While Loop
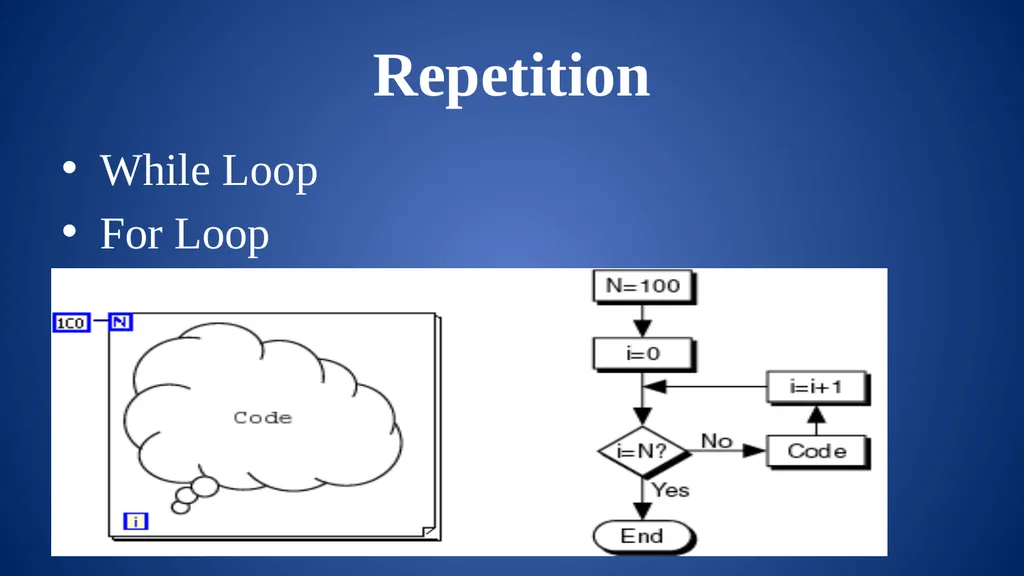
For Loop<br>
21
Repetition While Loop
For Loop
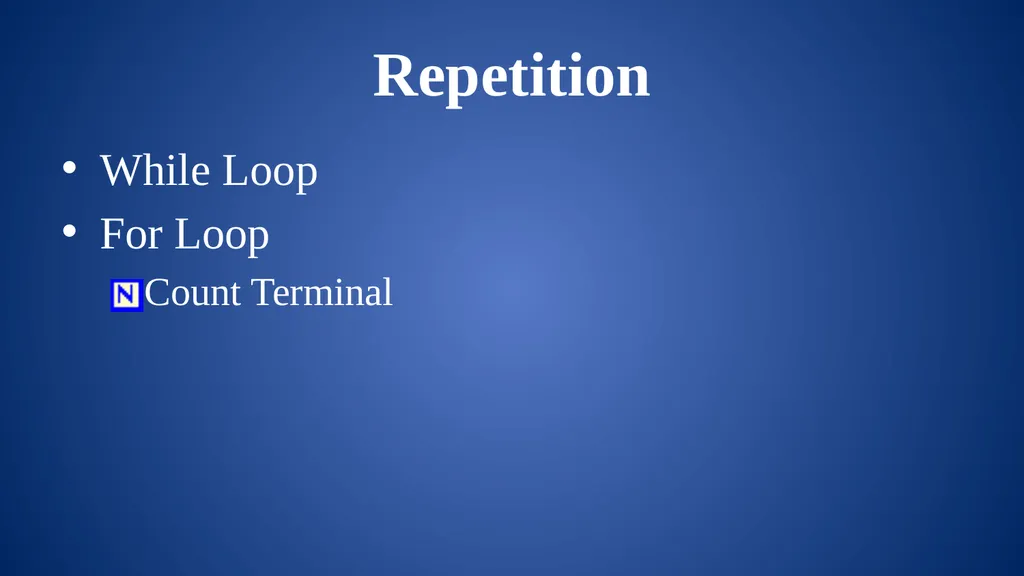
Count Terminal<br>
22
Repetition Comparison
Description
For the following scenarios, decide whether to use a While Loop or a For Loop.<br>
23
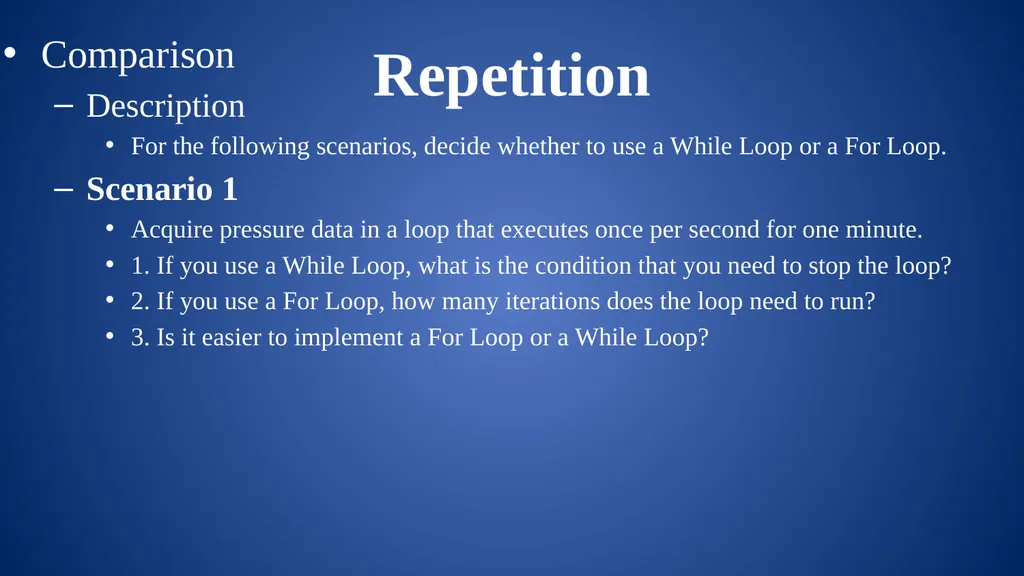
Repetition Comparison
Description
For the following scenarios, decide whether to use a While Loop or a For Loop.
Scenario 1
Acquire pressure data in a loop that executes once per second for one minute.
1. If you use a While Loop, what is the condition that you need to stop the loop?
2. If you use a For Loop, how many iterations does the loop need to run?
3. Is it easier to implement a For Loop or a While Loop?<br>
24
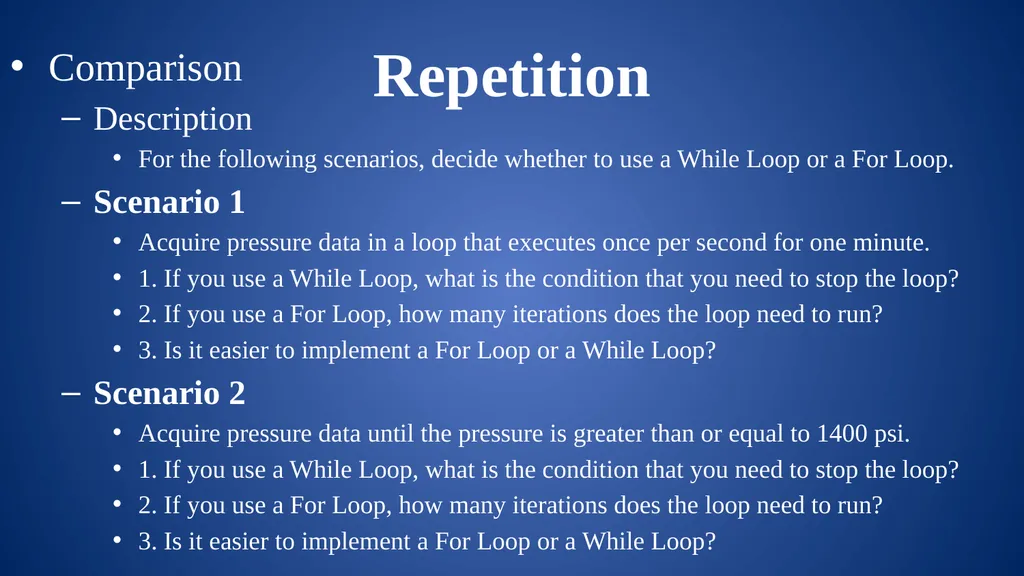
Repetition Comparison
Description
For the following scenarios, decide whether to use a While Loop or a For Loop.
Scenario 1
Acquire pressure data in a loop that executes once per second for one minute.
1. If you use a While Loop, what is the condition that you need to stop the loop?
2. If you use a For Loop, how many iterations does the loop need to run?
3. Is it easier to implement a For Loop or a While Loop?
Scenario 2
Acquire pressure data until the pressure is greater than or equal to 1400 psi.
1. If you use a While Loop, what is the condition that you need to stop the loop?
2. If you use a For Loop, how many iterations does the loop need to run?
3. Is it easier to implement a For Loop or a While Loop?<br>
25
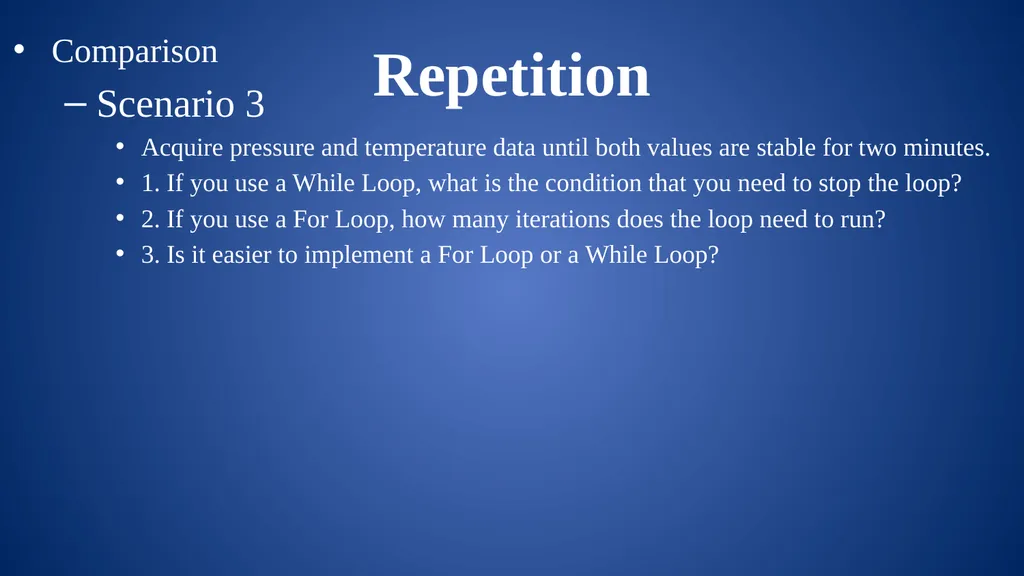
Repetition Comparison
Scenario 3
Acquire pressure and temperature data until both values are stable for two minutes.
1. If you use a While Loop, what is the condition that you need to stop the loop?
2. If you use a For Loop, how many iterations does the loop need to run?
3. Is it easier to implement a For Loop or a While Loop?<br>
26
Repetition Comparison
Scenario 3
Acquire pressure and temperature data until both values are stable for two minutes.
1. If you use a While Loop, what is the condition that you need to stop the loop?
2. If you use a For Loop, how many iterations does the loop need to run?
3. Is it easier to implement a For Loop or a While Loop?
Scenario 4
Output a voltage ramp starting at zero, increasing incrementally by 0.5 V every second, until the output voltage is equal to 5 V.
1. If you use a While Loop, what is the condition that you need to stop the loop?
2. If you use a For Loop, how many iterations does the loop need to run?
3. Is it easier to implement a For Loop or a While Loop?<br>
27
FRC Arhitecture Begin<br>
28
FRC Arhitecture Begin<br>
29
FRC Arhitecture Begin
Create references for all joysticks, motors, and sensors
Runs at power up<br>
30
FRC Arhitecture Begin
Teleop<br>
31
FRC Arhitecture Begin
Teleop<br>
32
FRC Arhitecture Begin
Teleop
Primarily used to read joysticks and set drive motors and actuators
Only runs while Teleop enabled<br>
33
FRC Arhitecture Begin
Teleop
Autonomous<br>
34
FRC Arhitecture Begin
Teleop
Autonomous<br>
35
FRC Arhitecture Begin
Teleop
Autonomous
Runs when Autonomous is enabled<br>
36
FRC Arhitecture Begin
Teleop
Autonomous
Timed Tasks<br>
37
FRC Arhitecture Begin
Teleop
Autonomous
Timed Tasks<br>
38
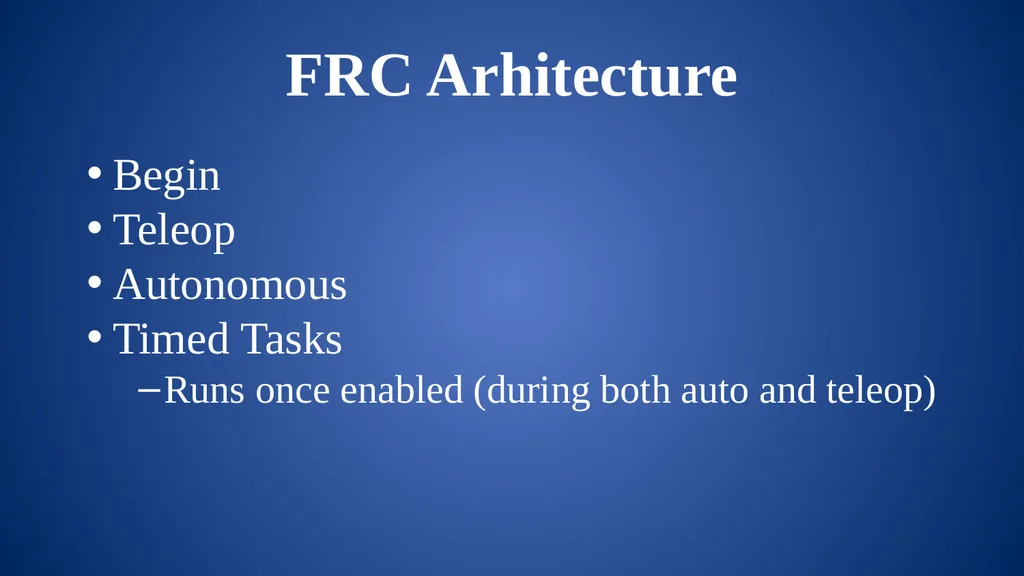
FRC Arhitecture Begin
Teleop
Autonomous
Timed Tasks
Runs once enabled (during both auto and teleop)<br>
39
FRC Deploying Code Run From Main<br>
40
FRC Deploying Code Run From Main
Deploy<br>
41
FRC Deploying Code Run From Main
Deploy
Run as Startup<br>
42
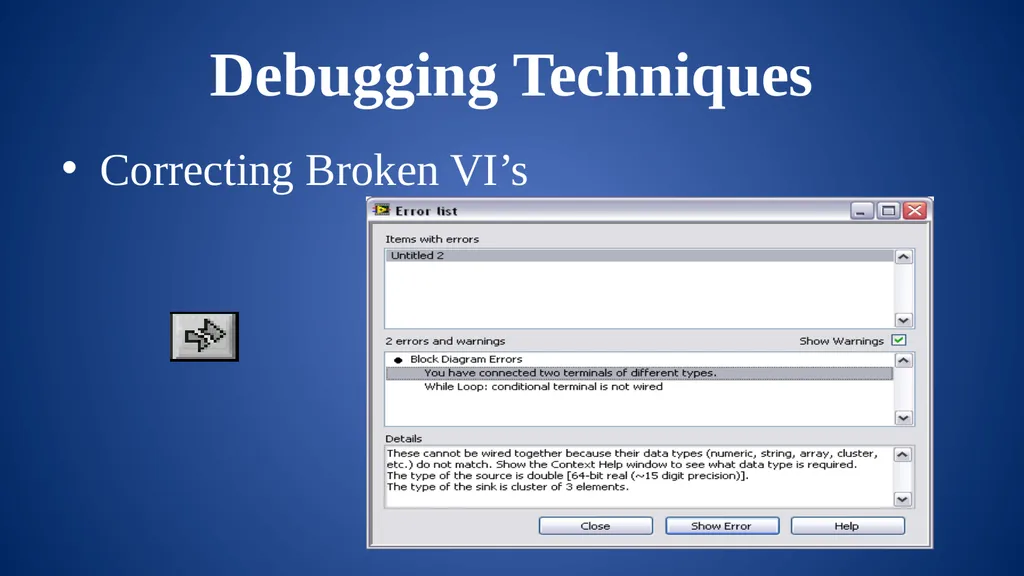
Debugging Techniques Correcting Broken VI’s<br>
43
Debugging Techniques Correcting Broken VI’s
Broken Wires Exist
You wired a Boolean control to a String indicator.
You wired a numeric control to a numeric control.<br>
44
Debugging Techniques Correcting Broken VI’s
Broken Wires Exist
You wired a Boolean control to a String indicator.
You wired a numeric control to a numeric control.
A required block diagram terminal is unwired.<br>
45
Debugging Techniques Correcting Broken VI’s
Broken Wires Exist
You wired a Boolean control to a String indicator.
You wired a numeric control to a numeric control.
A required block diagram terminal is unwired.
A subVI is broken<br>
46
Debugging Techniques Correcting Broken VI’s
Correcting Dataflow
Execution Highlighting
Single-Stepping & Breakpoints
Probes<br>
47
Debugging Techniques Correcting Broken VI’s
Correcting Dataflow
Are there any unwired or hidden subVIs?
Is the default data correct?
Does the VI pass undefined data?
Are numeric representations correct?
Are nodes executed in the correct order?<br>
48
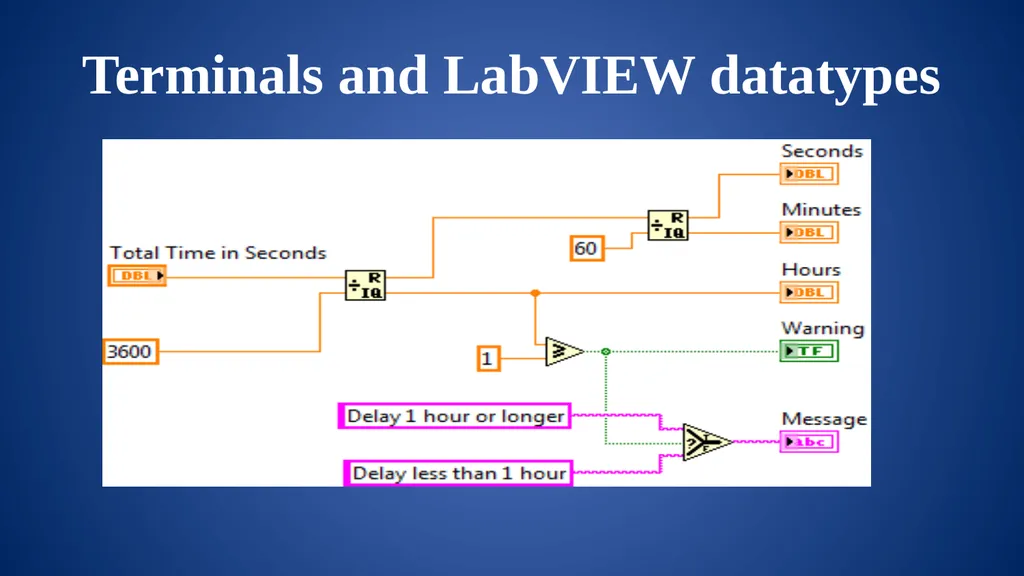
Terminals and LabVIEW datatypes<br>
49
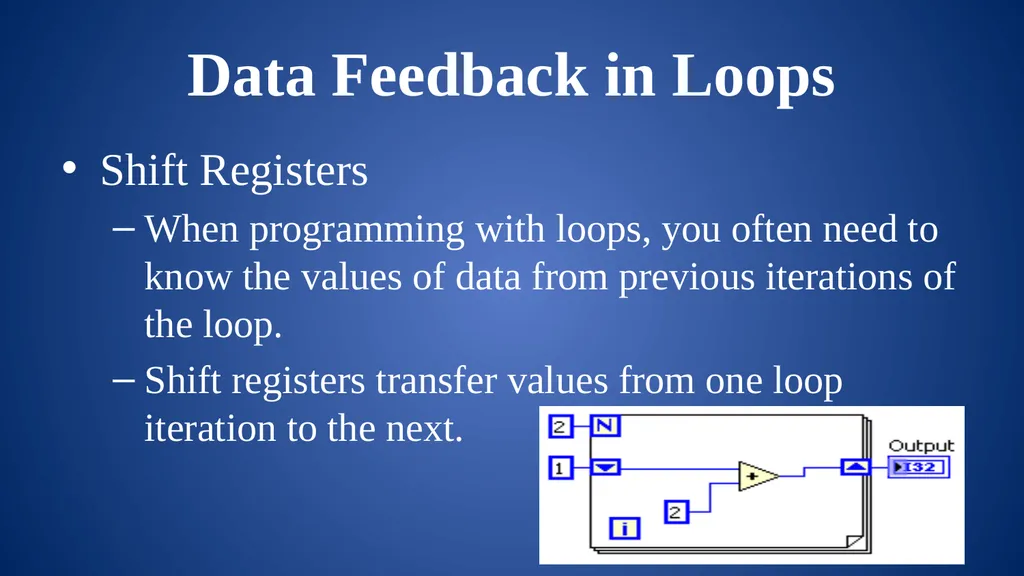
Data Feedback in Loops Shift Registers
When programming with loops, you often need to know the values of data from previous iterations of the loop.
Shift registers transfer values from one loop iteration to the next.<br>
50
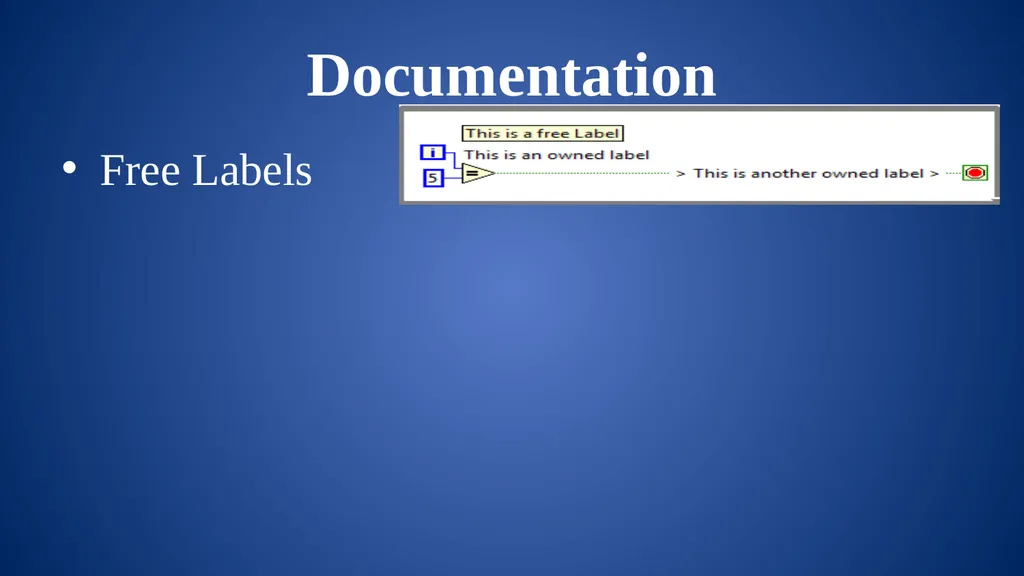
Documentation Free Labels<br>
51
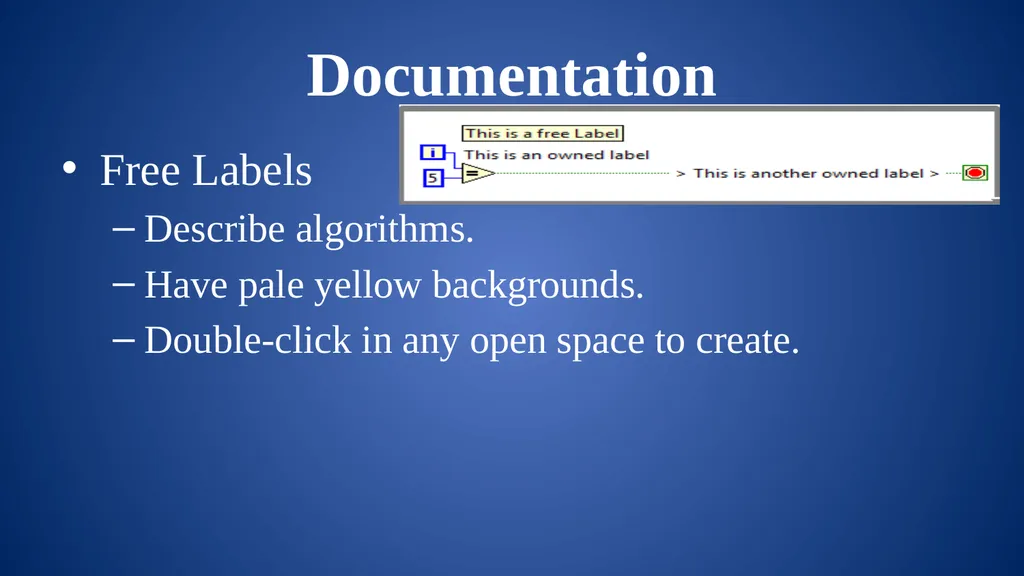
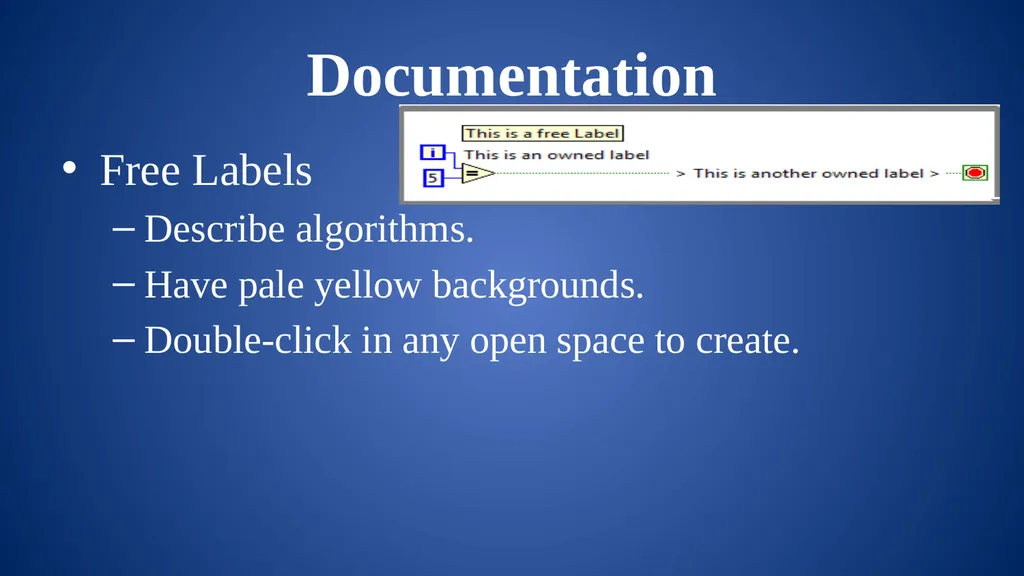
Documentation Free Labels
Describe algorithms.
Have pale yellow backgrounds.
Double-click in any open space to create.<br>
52
Documentation Free Labels
Describe algorithms.
Have pale yellow backgrounds.
Double-click in any open space to create.<br>
53
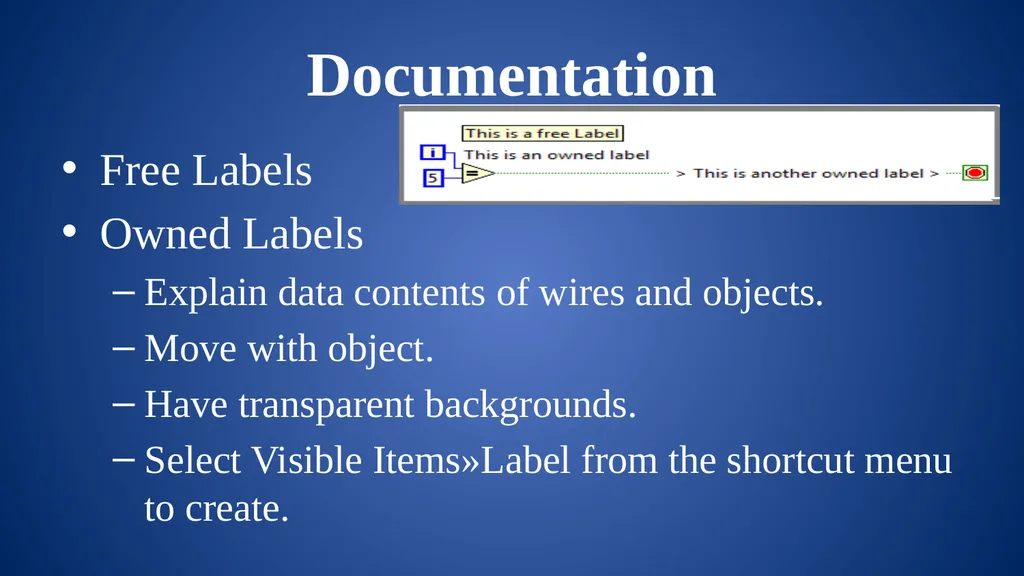
Documentation Free Labels
Owned Labels
Explain data contents of wires and objects.
Move with object.
Have transparent backgrounds.
Select Visible Items»Label from the shortcut menu to create.<br>
54
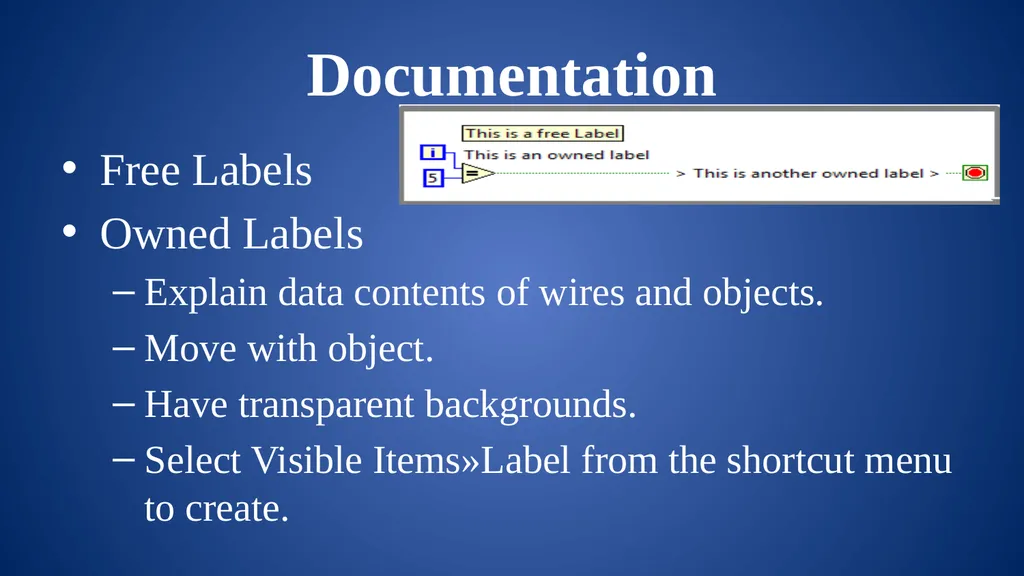
Documentation Free Labels
Owned Labels
Explain data contents of wires and objects.
Move with object.
Have transparent backgrounds.
Select Visible Items»Label from the shortcut menu to create.<br>
55
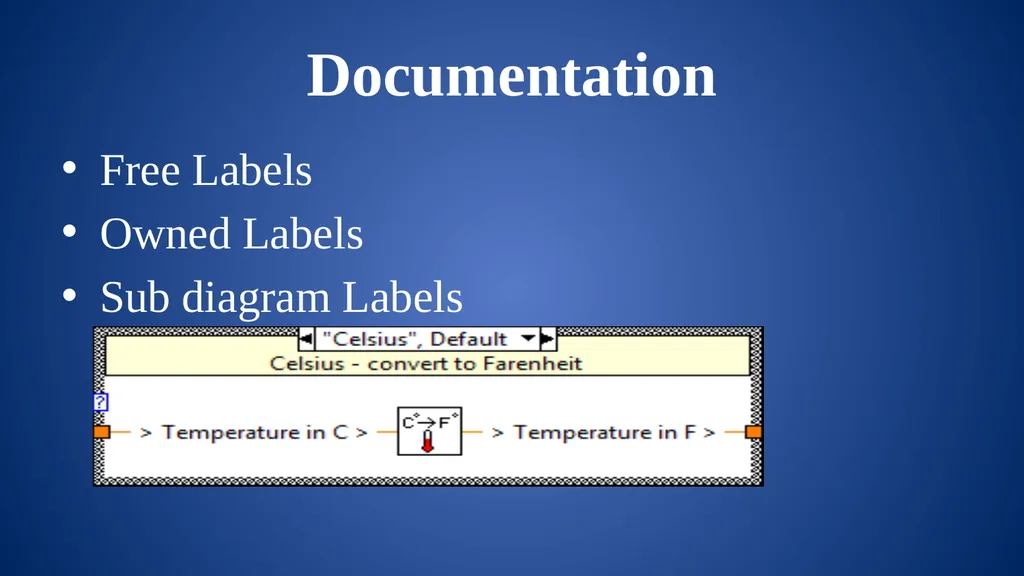
Documentation Free Labels
Owned Labels
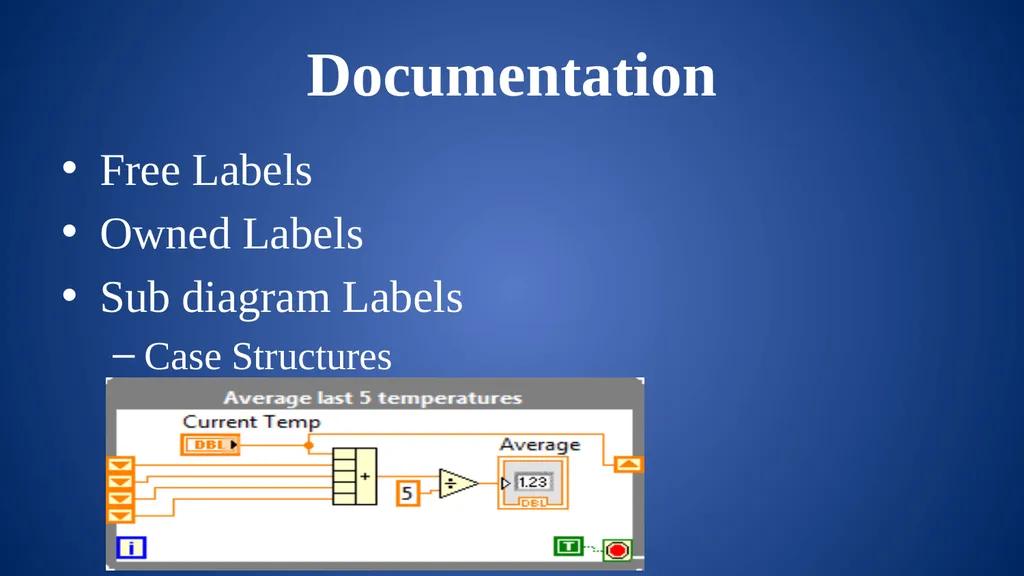
Sub diagram Labels
Case Structures<br>
56
Documentation Free Labels
Owned Labels
Sub diagram Labels
Case Structures
Loops<br>
57
Documentation Free Labels
Owned Labels
Sub diagram Labels
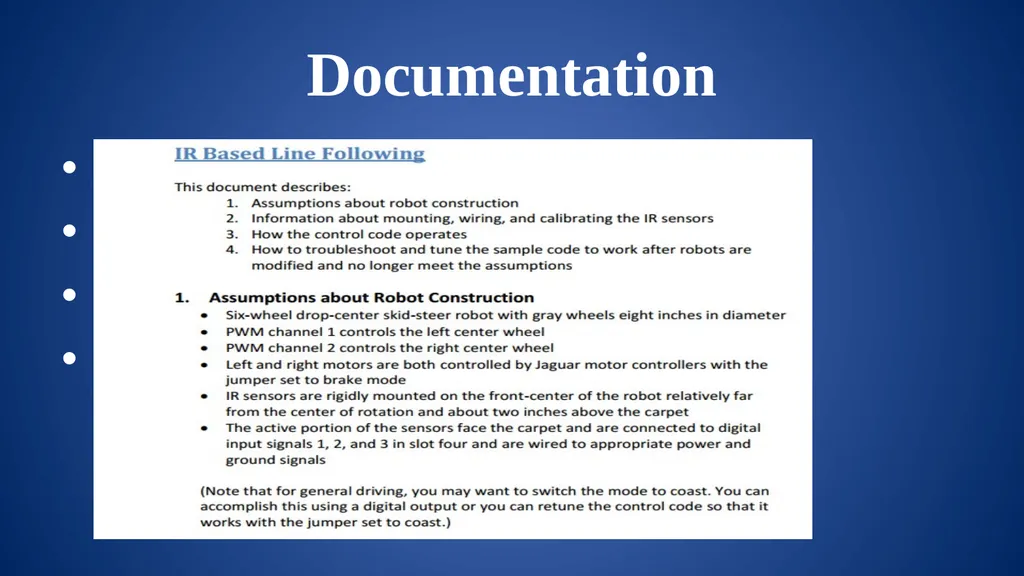
White Papers<br>
58
Documentation Free Labels
Owned Labels
Sub diagram Labels
White Papers<br>
59
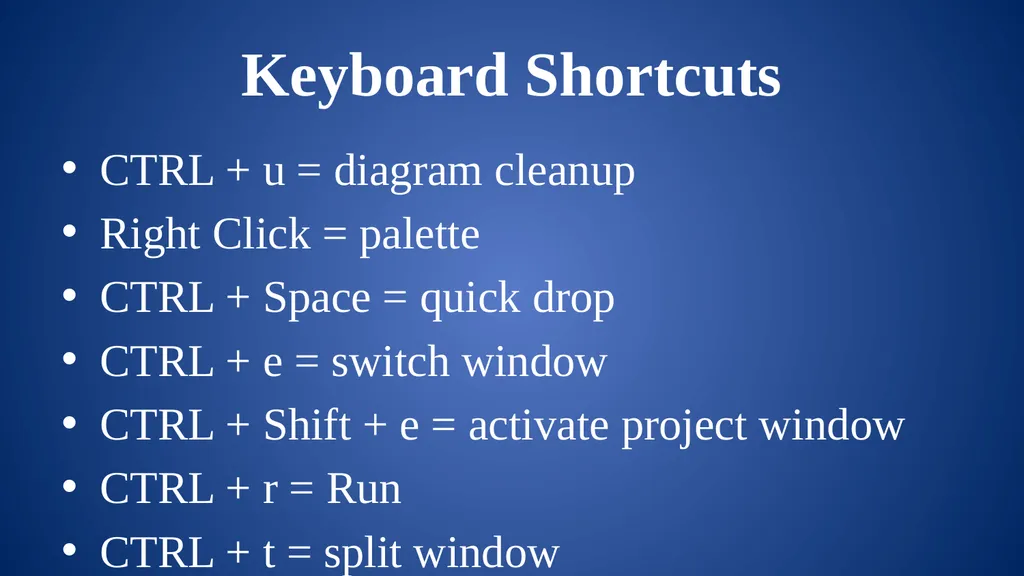
Keyboard Shortcuts CTRL + u = diagram cleanup
Right Click = palette
CTRL + Space = quick drop
CTRL + e = switch window
CTRL + Shift + e = activate project window
CTRL + r = Run
CTRL + t = split window<br>