
Learning How Artists Draw: A Sight Measuring
FD
Published · 40 slides · 0 views
1 / 1





Description
Learning How Artists Draw: A Sight Measuring Technique Drawing Project in Art Appreciation A Demonstration by David Edward Harmon The Process of Seeing Visual processing can be divided into reception, extraction, and inference. The human
Related Topics
Share
Embed code
Download this presentation From Below
"Learning How Artists Draw: A Sight Measuring" is the property of its rightful owner. Permission is granted to download and print the materials on this website for personal, non-commercial use only, and to display it on your personal computer provided you do not modify the materials and that you retain all copyright notices contained in the materials. By downloading content from our website, you accept the terms of this agreement.
Presentation Transcript
01
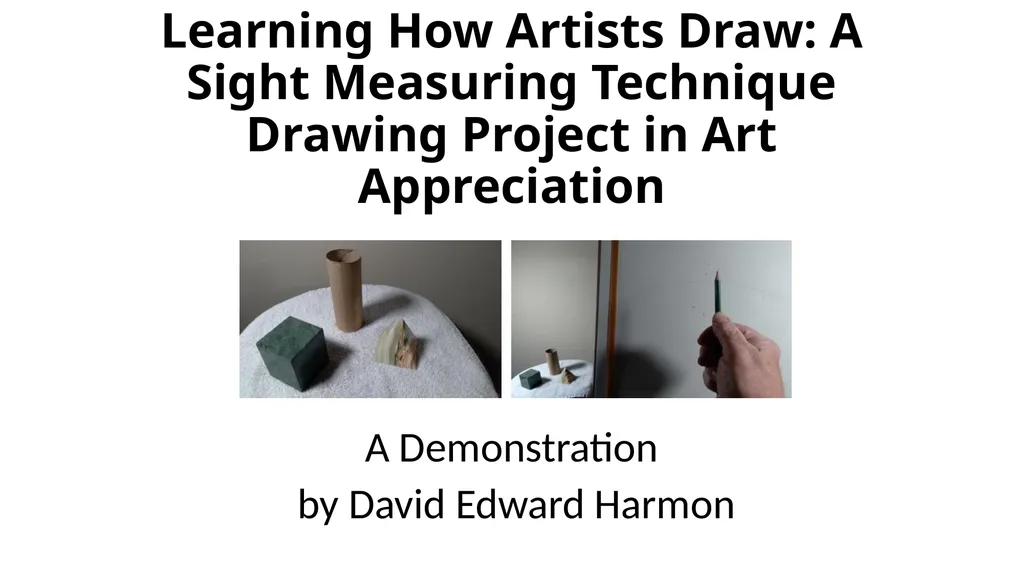
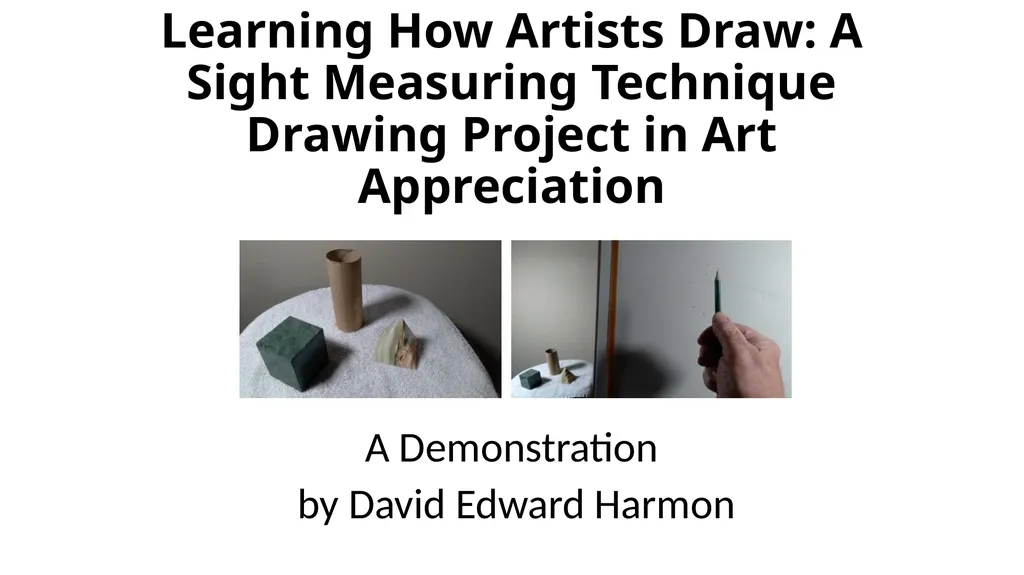
Learning How Artists Draw: A Sight Measuring Technique Drawing Project in Art Appreciation A Demonstration
by David Edward Harmon<br>
by David Edward Harmon<br>
02
The Process of Seeing Visual processing can be divided into reception, extraction, and inference.
The human retina "edits" information perceived from external sources.
Seeing is inherently creative, as you decide what details are important-artists see both the whole and parts.
In the Italian Renaissance ,drawing came to be considered an art in its own right. Artists became known as geniuses, as drawing revealed their visual concepts and processes directly using drawings on paper. Observation from nature was documented in sketchbooks made by artists.<br>
The human retina "edits" information perceived from external sources.
Seeing is inherently creative, as you decide what details are important-artists see both the whole and parts.
In the Italian Renaissance ,drawing came to be considered an art in its own right. Artists became known as geniuses, as drawing revealed their visual concepts and processes directly using drawings on paper. Observation from nature was documented in sketchbooks made by artists.<br>
03
The Creative Process Artists engage in critical thinking.
They respond to the unexpected, chance occurrences and are open to new ways of thinking.
The artist manages the process from seeing to imagining to making, becoming self-critical and exploring the possibilities of their work. Drawing is essential in this process.<br>
They respond to the unexpected, chance occurrences and are open to new ways of thinking.
The artist manages the process from seeing to imagining to making, becoming self-critical and exploring the possibilities of their work. Drawing is essential in this process.<br>
04
Art and the Idea of Drawn Beauty Aesthetics refer to our sense of what is beautiful and vary across cultures over time.
Western culture values order, regularity, proportion, and design, which are hallmarks seen through Classical art and architecture.
Drawing has been a hallmark of the creative process which we will discuss.<br>
Western culture values order, regularity, proportion, and design, which are hallmarks seen through Classical art and architecture.
Drawing has been a hallmark of the creative process which we will discuss.<br>
05
Roles of the Artist Artists help us see the world in new or innovative ways:
They Differentiate between passive and active seeing>being attentive and observant to the surrounding world.
They help define the creative process and describe the roles that artists most often assume when they engage in that process-drawing is the visual vocabulary of the artist.<br>
They Differentiate between passive and active seeing>being attentive and observant to the surrounding world.
They help define the creative process and describe the roles that artists most often assume when they engage in that process-drawing is the visual vocabulary of the artist.<br>
06
From Preparatory Sketch to Finished Work of Art Through drawing, artists can illustrate different approaches to compositions.
It is useful in its directness as well as its ability to record visual history.
Today, drawing may be viewed as an activity accessible to both artists and ordinary people. I encourage my students to draw what they see rather than what they think they see!
Paper was not manufactured in the West until the thirteenth century and was preceded by papyrus in Egypt and parchment in ancient Rome.
The publication of books aided artists access to paper especially during the Renaissance period in the 1400’s<br>
It is useful in its directness as well as its ability to record visual history.
Today, drawing may be viewed as an activity accessible to both artists and ordinary people. I encourage my students to draw what they see rather than what they think they see!
Paper was not manufactured in the West until the thirteenth century and was preceded by papyrus in Egypt and parchment in ancient Rome.
The publication of books aided artists access to paper especially during the Renaissance period in the 1400’s<br>
07
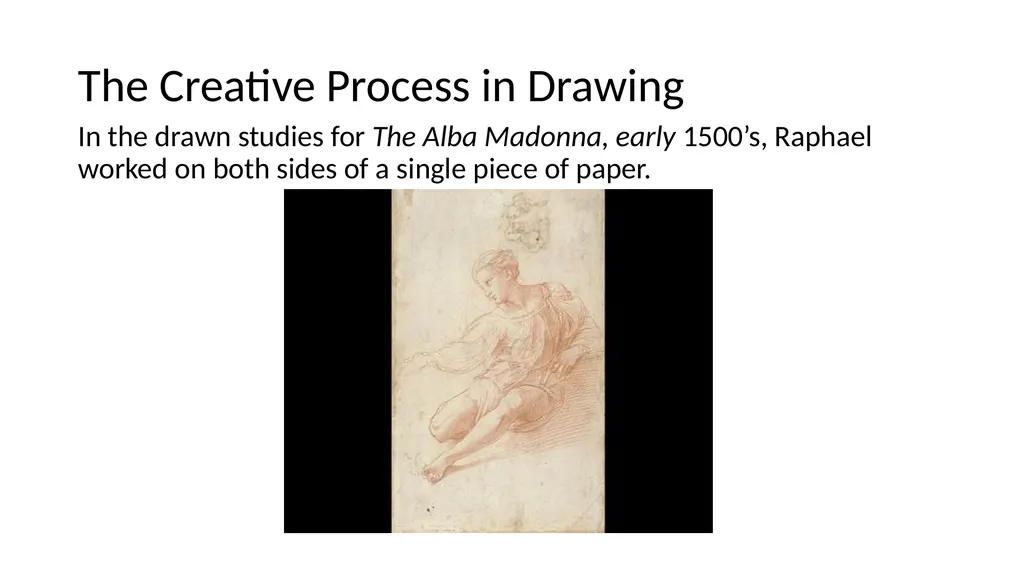
The Creative Process in Drawing In the drawn studies for The Alba Madonna, early 1500’s, Raphael worked on both sides of a single piece of paper.<br>
08
The drawing media we will use for this project is Graphite. Historically… Lead pencils became increasingly popular after black chalk became harder to find in the sixteenth century.
Originally, graphite sticks were wrapped in string. Later, the graphite was inserted into hollowed-out wooden sticks and, thus, the wood-cased pencil was born!
Nuremberg, Germany was the birthplace of the first mass-produced pencils in 1662. Spurred by Faber-Castell (established in 1761), Lyra, Staedtler and other companies, birthed an active pencil industry developed throughout the 19th century industrial revolution.<br>
Originally, graphite sticks were wrapped in string. Later, the graphite was inserted into hollowed-out wooden sticks and, thus, the wood-cased pencil was born!
Nuremberg, Germany was the birthplace of the first mass-produced pencils in 1662. Spurred by Faber-Castell (established in 1761), Lyra, Staedtler and other companies, birthed an active pencil industry developed throughout the 19th century industrial revolution.<br>
09
How Can we accurately Draw What we See? One method is referred to as sight measuring.
As defined: Sight-Size or sight measuring is an arrangement of the artist, their subject and their artwork that allows the artist to see the subject and artwork visually on a one-to-one basis.<br>
As defined: Sight-Size or sight measuring is an arrangement of the artist, their subject and their artwork that allows the artist to see the subject and artwork visually on a one-to-one basis.<br>
10
Three important concepts which you will experience :
>Sight-Size is simply an arrangement of the artist, subject and artwork that allows the artist to see their subject and artwork one-to-one. When in Sight-Size, the size you see the subject is the size you draw, paint or sculpt it.
>Your vantage point must be far enough away for you to see both your subject and artwork in one glance.
>Due to the above, Sight-Size allows you to accurately represent a given subject in the same way your eye sees it.<br>
11
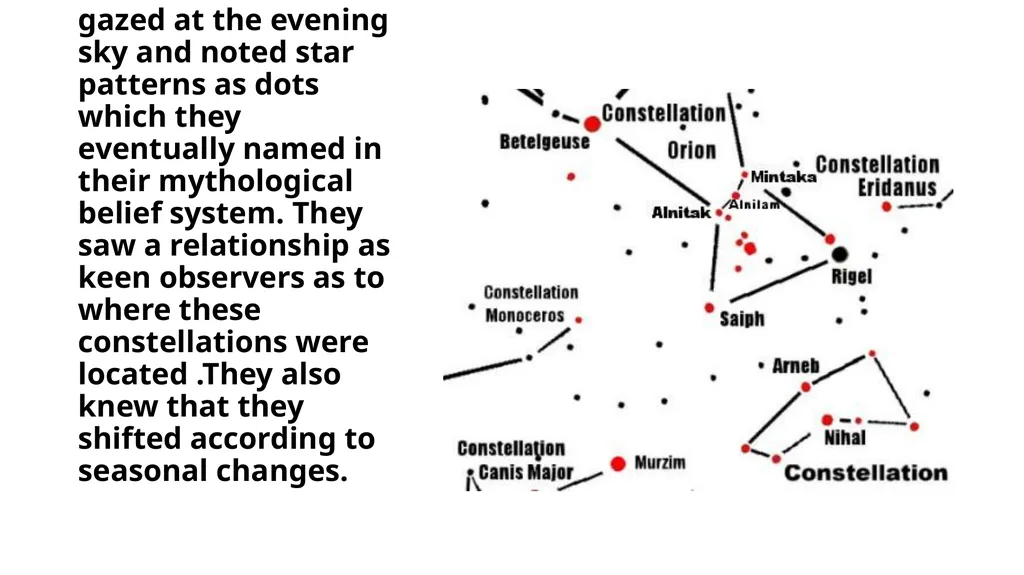
Historically, the ancient Greeks gazed at the evening sky and noted star patterns as dots which they eventually named in their mythological belief system. They saw a relationship as keen observers as to where these constellations were located .They also knew that they shifted according to seasonal changes.<br>
12
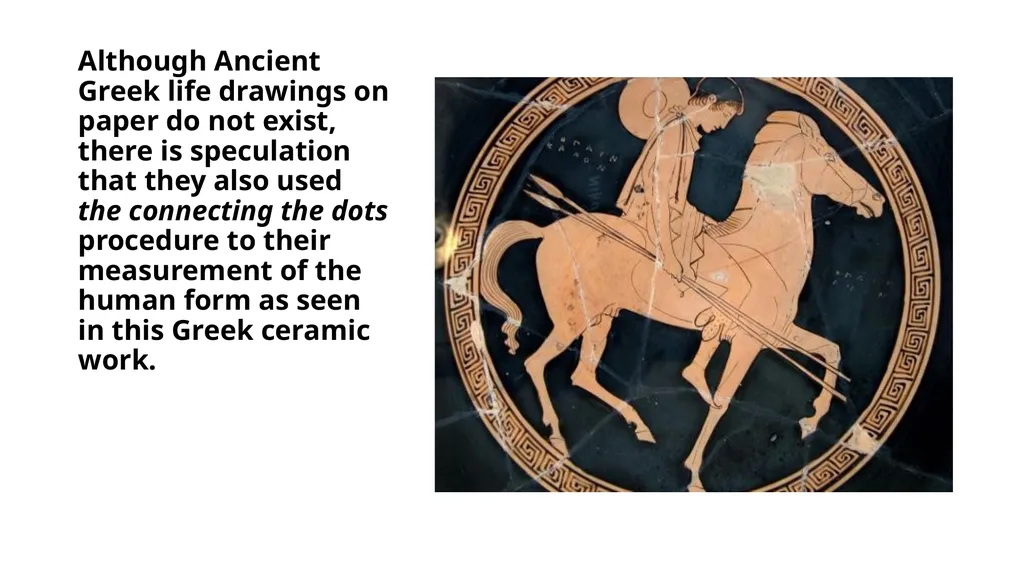
Although Ancient Greek life drawings on paper do not exist, there is speculation that they also used the connecting the dots procedure to their measurement of the human form as seen in this Greek ceramic work.<br>
13
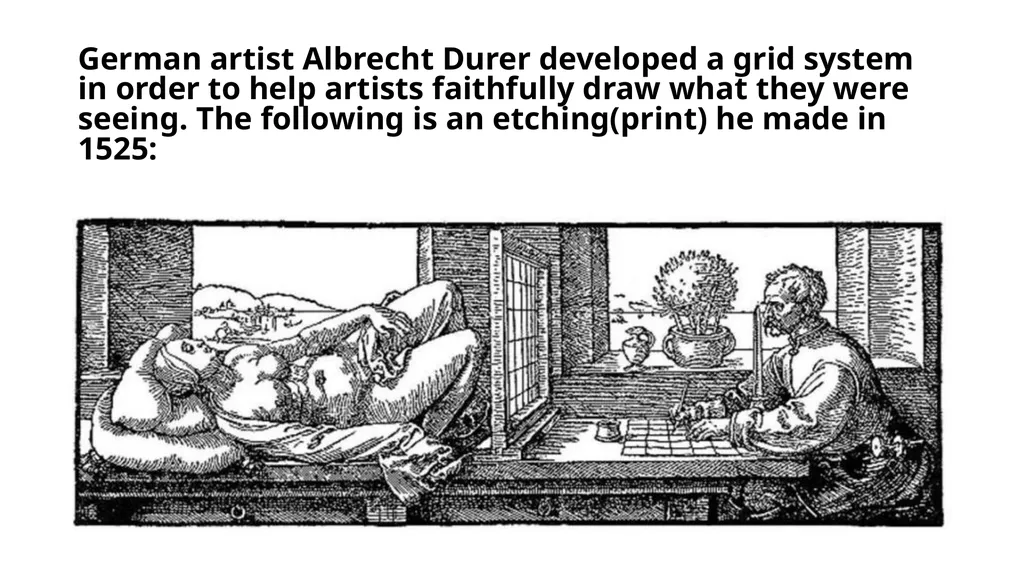
German artist Albrecht Durer developed a grid system in order to help artists faithfully draw what they were seeing. The following is an etching(print) he made in 1525:<br>
14
In 1665, French artist and theoretician, Abraham Bosse wrote a book entitled Practical Geometry and Perspective. It helped artists use a drawing system in order to draw accurately from life.<br>
15
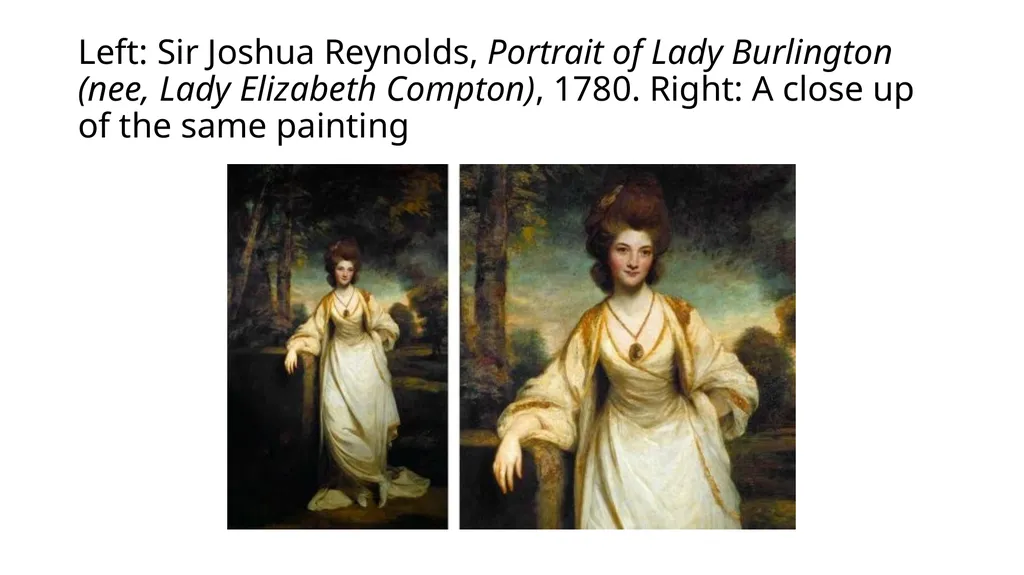
The great Royal British portraitist Sir Joshua Reynolds wrote this in the late 1700’s: “Paint at the greatest distance possible from your sitter, and place the picture near to the sitter, or sometimes under him, so as to see both together.”<br>
16
Left: Sir Joshua Reynolds, Portrait of Lady Burlington (nee, Lady Elizabeth Compton), 1780. Right: A close up of the same painting<br>
17
Rarely do we hear from an artist's students. However, one Matthew Jouett in 1816 wrote about the training he had been given under from his teacher American painter Gilbert Stuart: “The advantage of having the easel before the sitter is that by so doing you are enabled to embrace both at once. The eye, from practice, passes from one to the other with great rapidity. . . One should set a good way from his easel and early accustom themselves to look at the subject and not at the features. . .”<br>
18
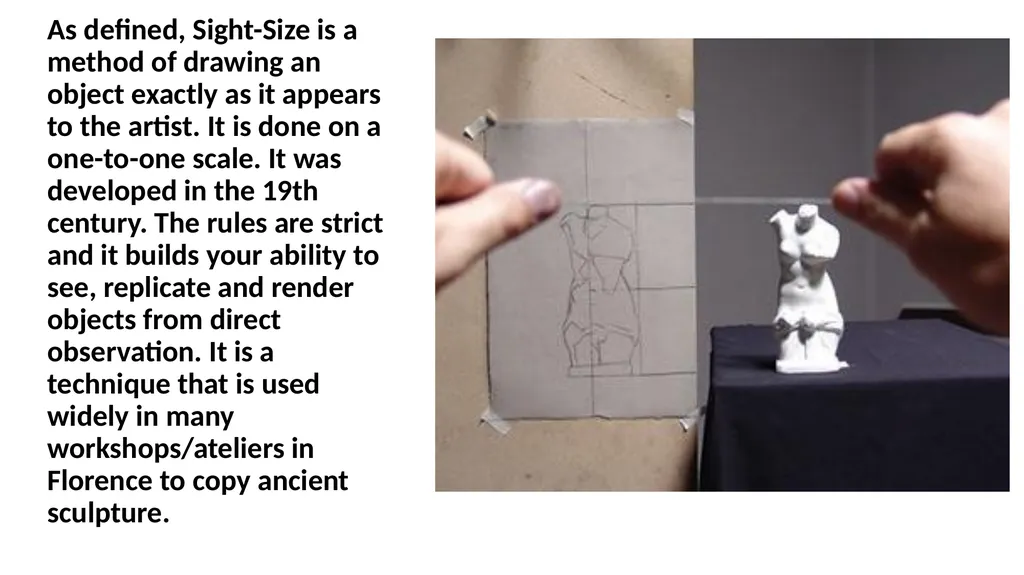
As defined, Sight-Size is a method of drawing an object exactly as it appears to the artist. It is done on a one-to-one scale. It was developed in the 19th century. The rules are strict and it builds your ability to see, replicate and render objects from direct observation. It is a technique that is used widely in many workshops/ateliers in Florence to copy ancient sculpture.<br>
19
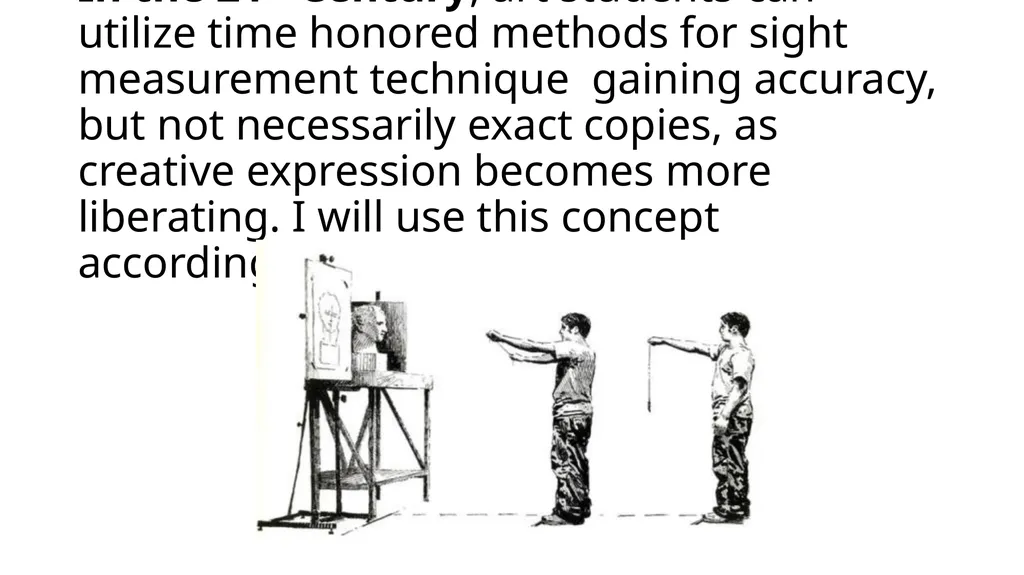
In the 21st Century, art students can utilize time honored methods for sight measurement technique gaining accuracy, but not necessarily exact copies, as creative expression becomes more liberating. I will use this concept accordingly.<br>
20
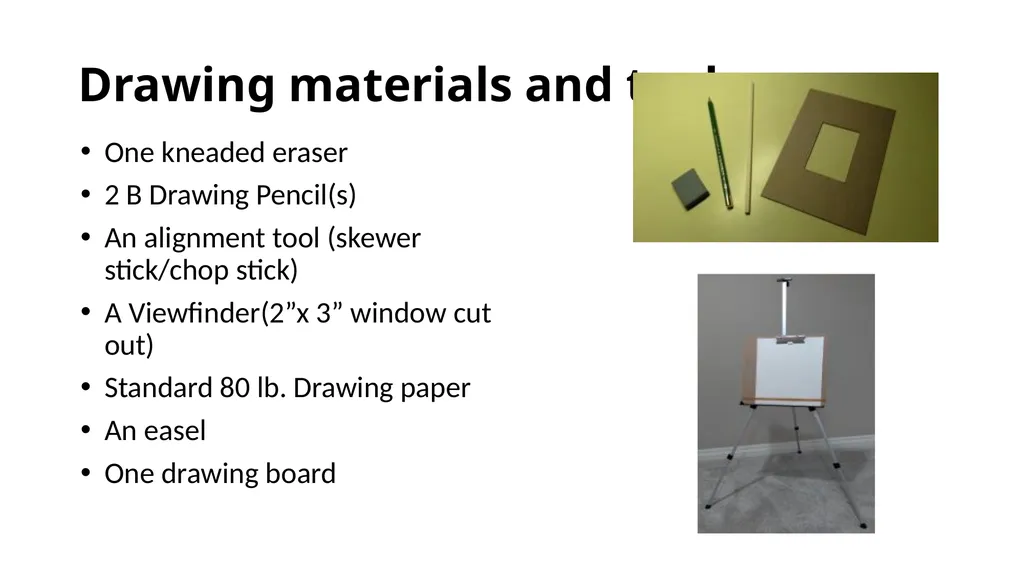
Drawing materials and tools: One kneaded eraser
2 B Drawing Pencil(s)
An alignment tool (skewer stick/chop stick)
A Viewfinder(2”x 3” window cut out)
Standard 80 lb. Drawing paper
An easel
One drawing board<br>
2 B Drawing Pencil(s)
An alignment tool (skewer stick/chop stick)
A Viewfinder(2”x 3” window cut out)
Standard 80 lb. Drawing paper
An easel
One drawing board<br>
21
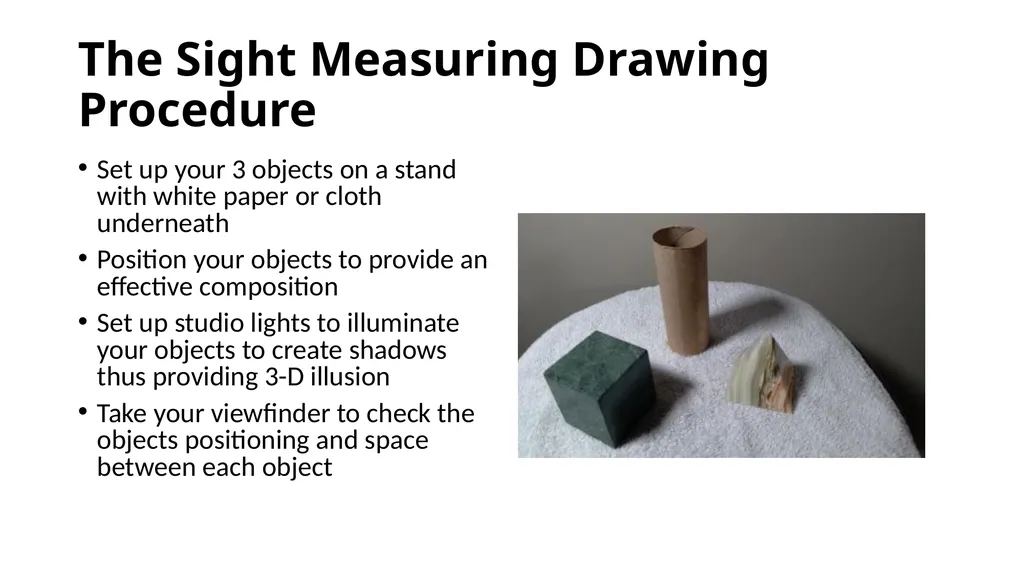
The Sight Measuring Drawing Procedure Set up your 3 objects on a stand with white paper or cloth underneath
Position your objects to provide an effective composition
Set up studio lights to illuminate your objects to create shadows thus providing 3-D illusion
Take your viewfinder to check the objects positioning and space between each object<br>
Position your objects to provide an effective composition
Set up studio lights to illuminate your objects to create shadows thus providing 3-D illusion
Take your viewfinder to check the objects positioning and space between each object<br>
22
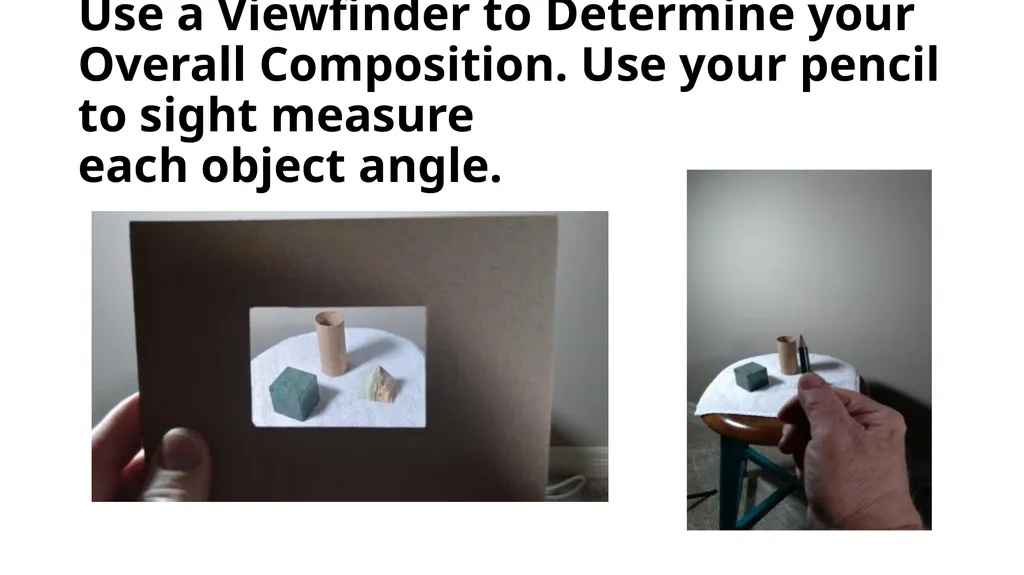
Use a Viewfinder to Determine your Overall Composition. Use your pencil to sight measure
each object angle.<br>
23
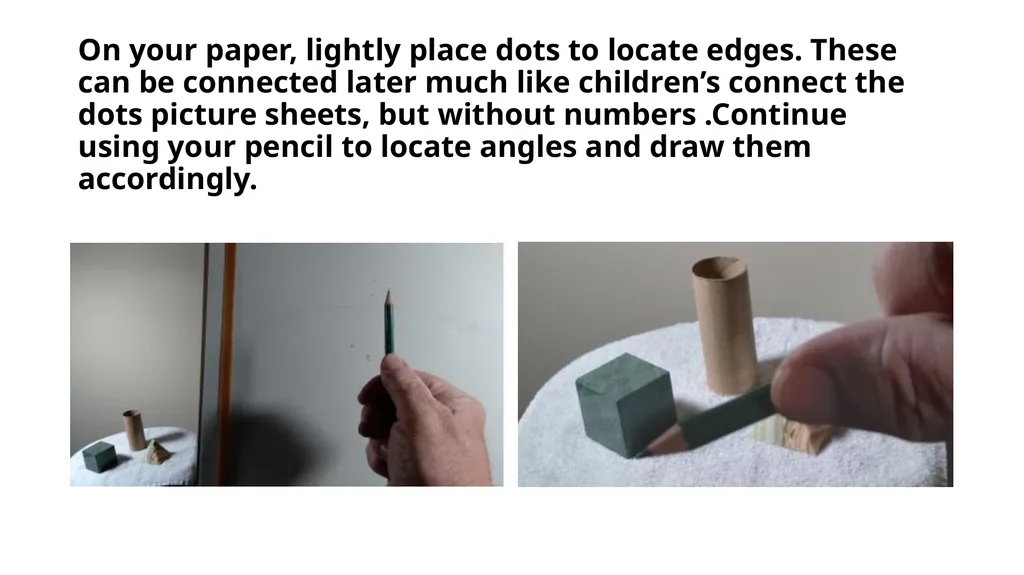
On your paper, lightly place dots to locate edges. These can be connected later much like children’s connect the dots picture sheets, but without numbers .Continue using your pencil to locate angles and draw them accordingly.<br>
24
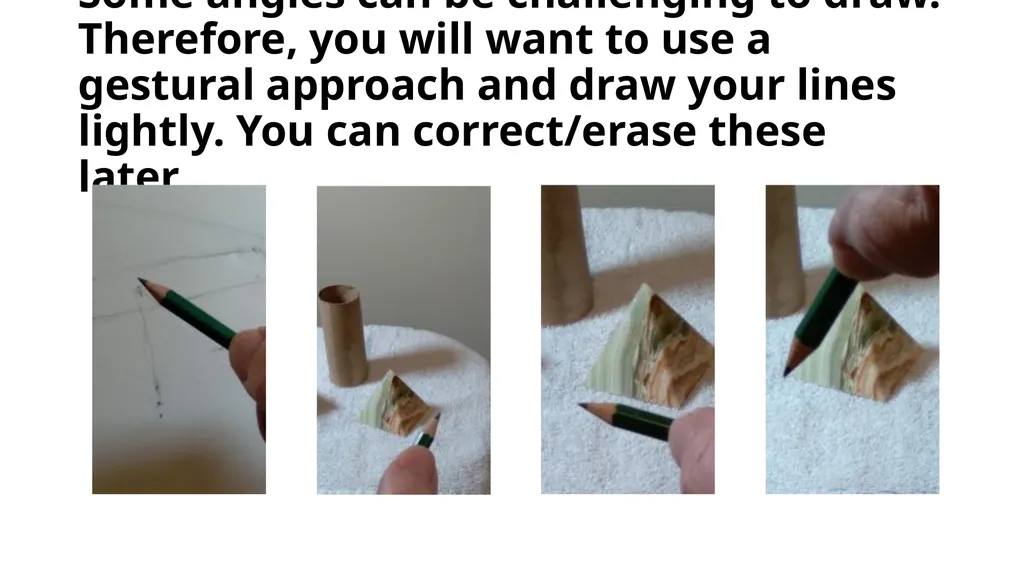
Some angles can be challenging to draw. Therefore, you will want to use a gestural approach and draw your lines lightly. You can correct/erase these later.<br>
25
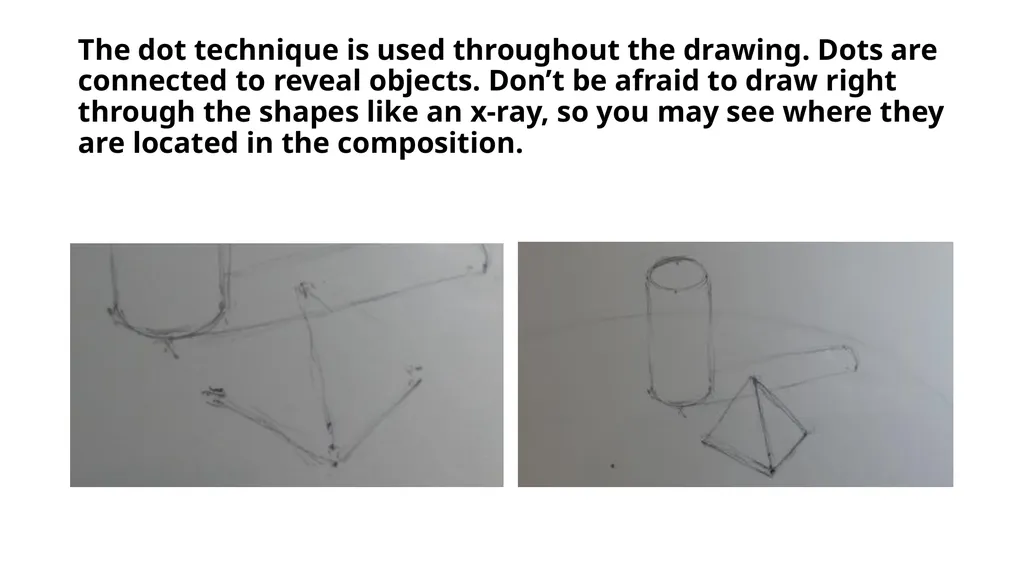
The dot technique is used throughout the drawing. Dots are connected to reveal objects. Don’t be afraid to draw right through the shapes like an x-ray, so you may see where they are located in the composition.<br>
26
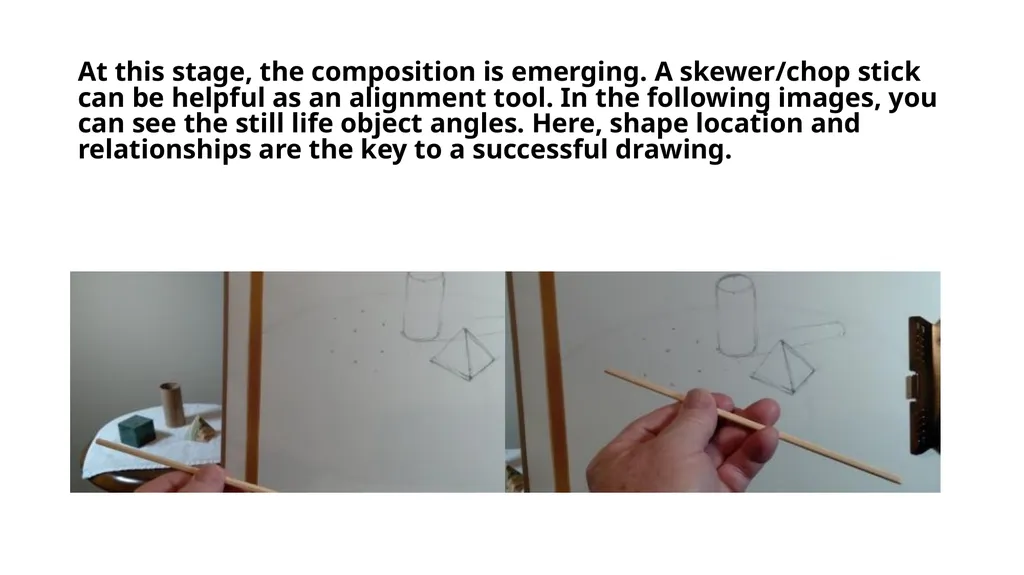
At this stage, the composition is emerging. A skewer/chop stick can be helpful as an alignment tool. In the following images, you can see the still life object angles. Here, shape location and relationships are the key to a successful drawing.<br>
27
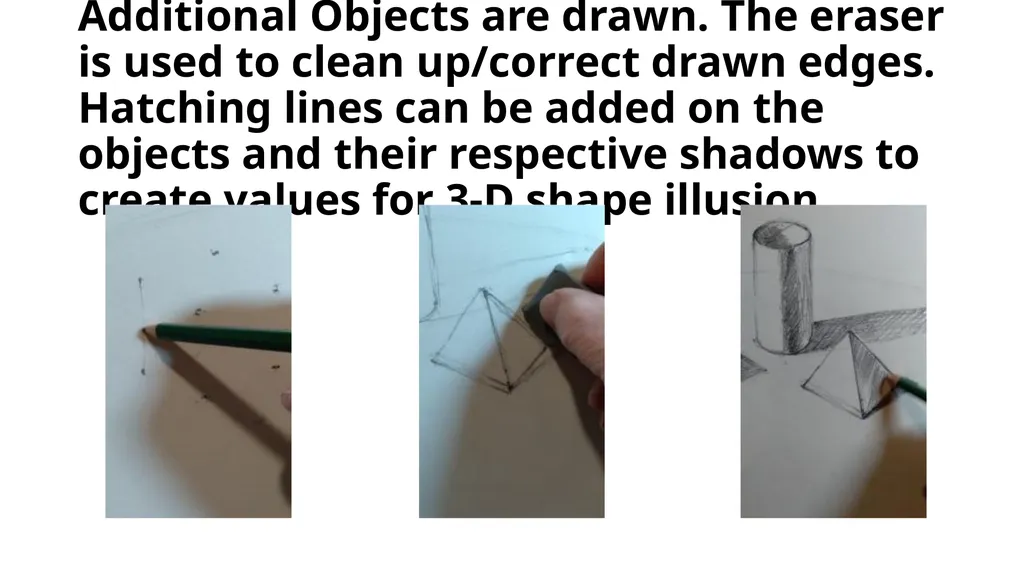
Additional Objects are drawn. The eraser is used to clean up/correct drawn edges. Hatching lines can be added on the objects and their respective shadows to create values for 3-D shape illusion.<br>
28
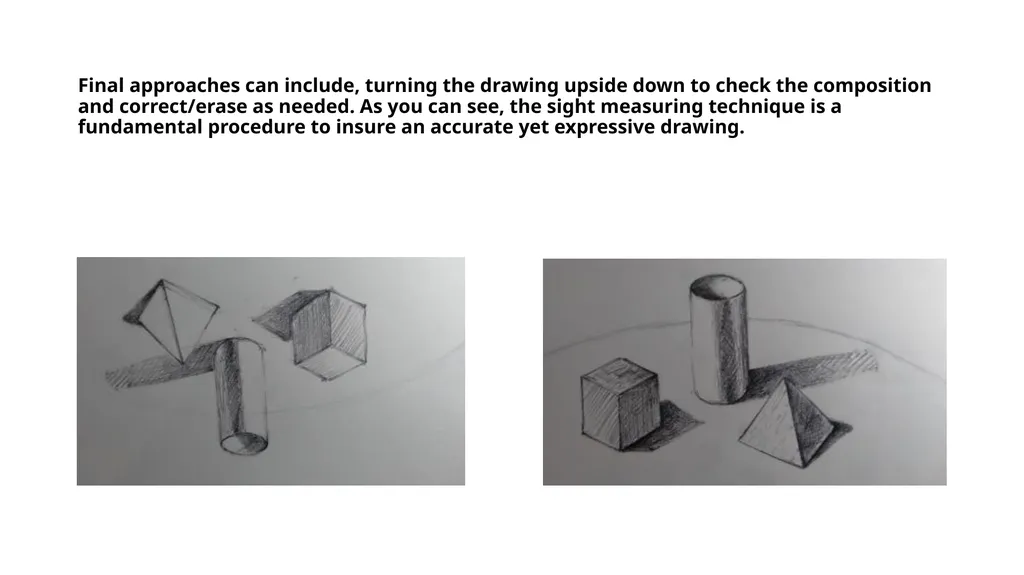
Final approaches can include, turning the drawing upside down to check the composition and correct/erase as needed. As you can see, the sight measuring technique is a fundamental procedure to insure an accurate yet expressive drawing.<br>
29
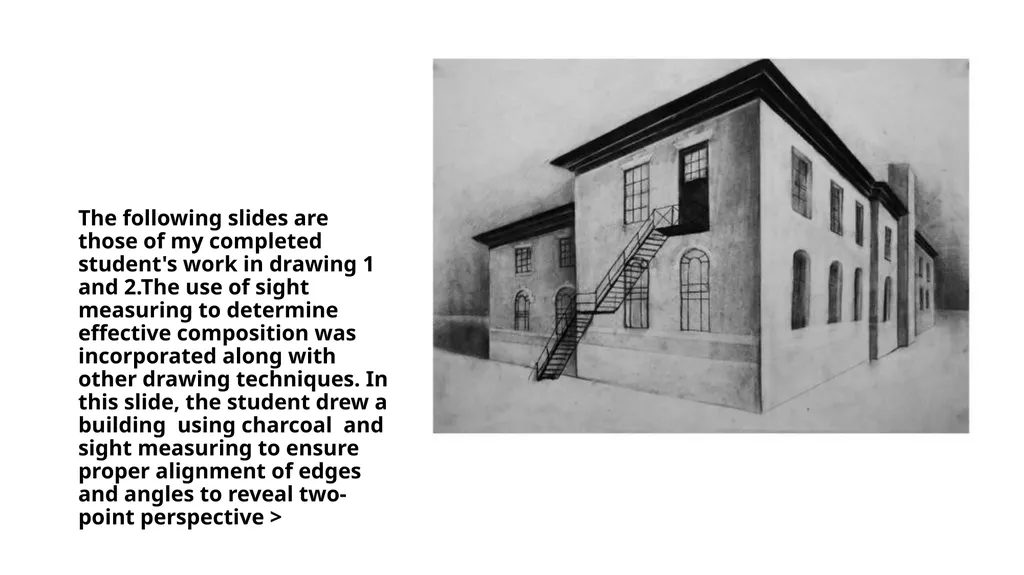
The following slides are those of my completed student's work in drawing 1 and 2.The use of sight measuring to determine effective composition was incorporated along with other drawing techniques. In this slide, the student drew a building using charcoal and sight measuring to ensure proper alignment of edges and angles to reveal two-point perspective ><br>
30
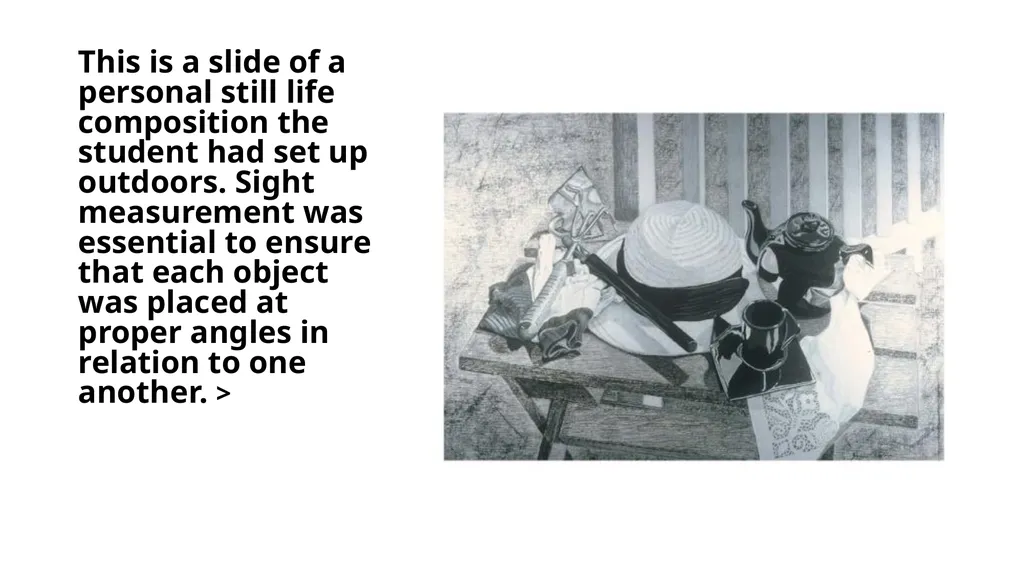
This is a slide of a personal still life composition the student had set up outdoors. Sight measurement was essential to ensure that each object was placed at proper angles in relation to one another. ><br>
31
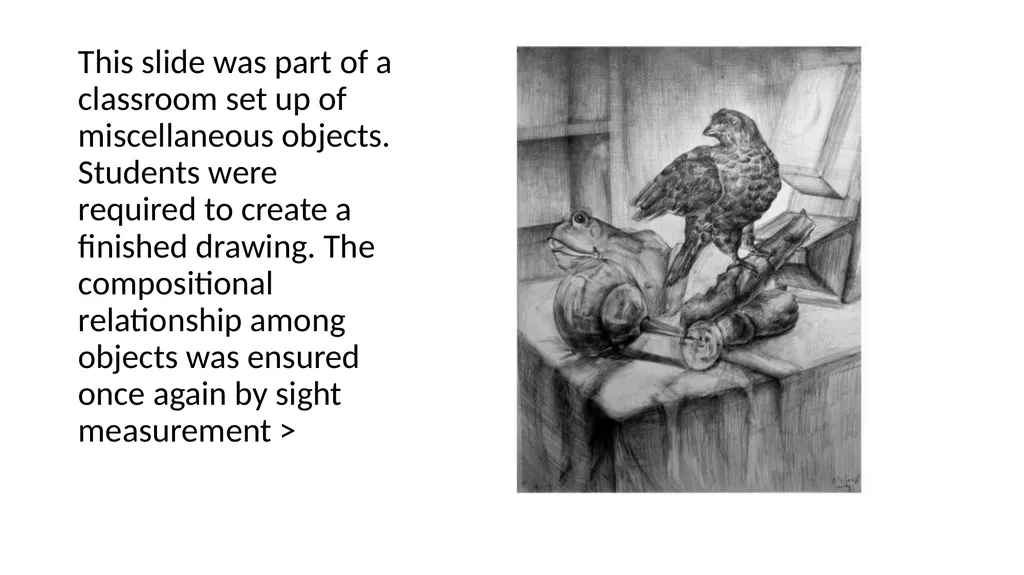
This slide was part of a classroom set up of miscellaneous objects. Students were required to create a finished drawing. The compositional relationship among objects was ensured once again by sight measurement ><br>
32
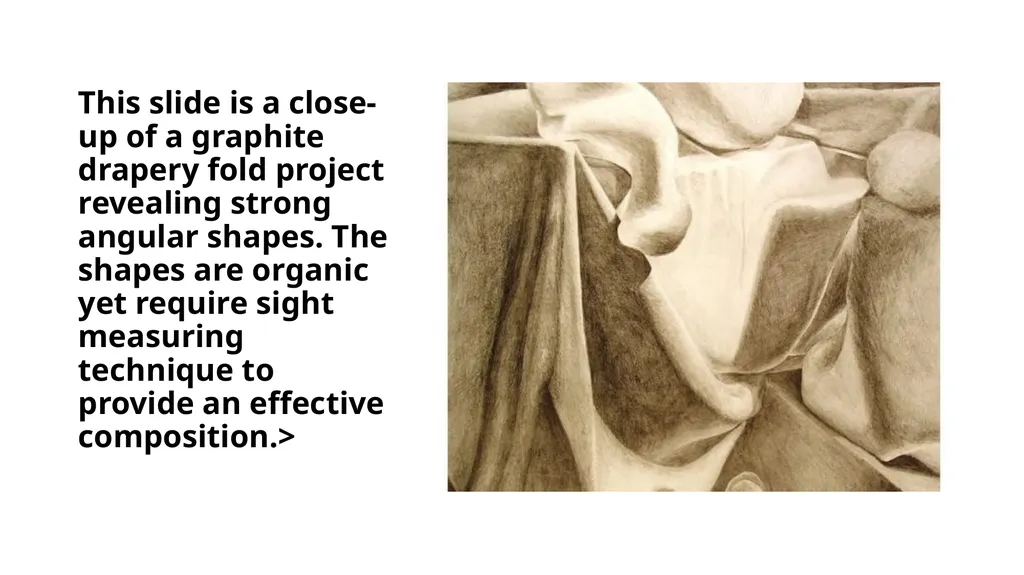
This slide is a close-up of a graphite drapery fold project revealing strong angular shapes. The shapes are organic yet require sight measuring technique to provide an effective composition.><br>
33
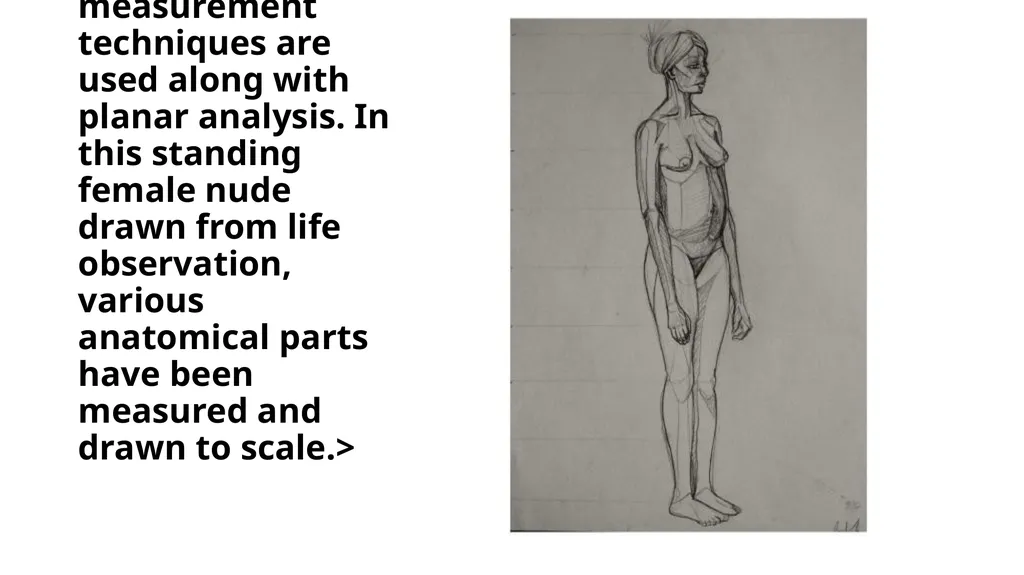
In my figure drawing class sight measurement techniques are used along with planar analysis. In this standing female nude drawn from life observation, various anatomical parts have been measured and drawn to scale.><br>
34
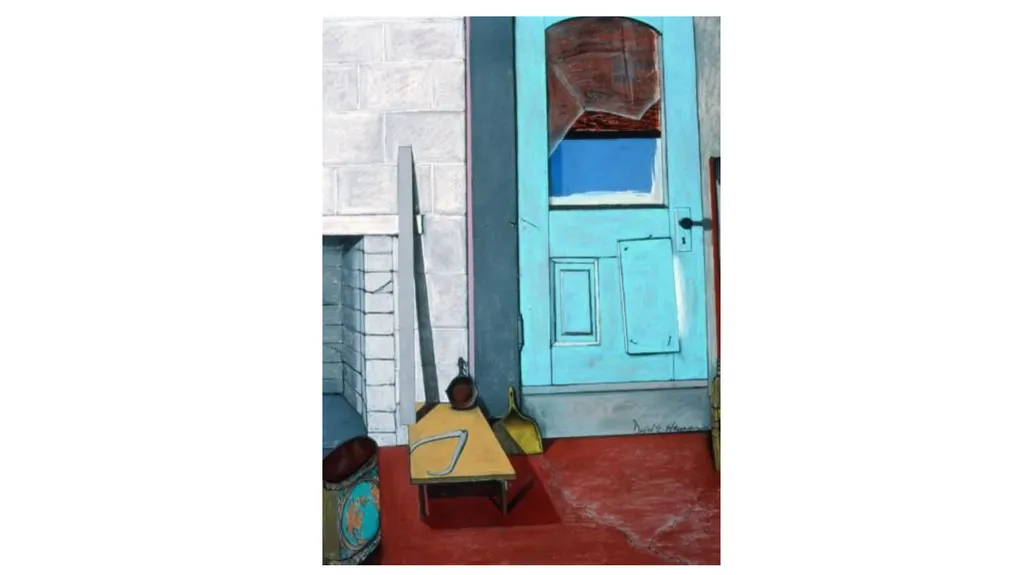
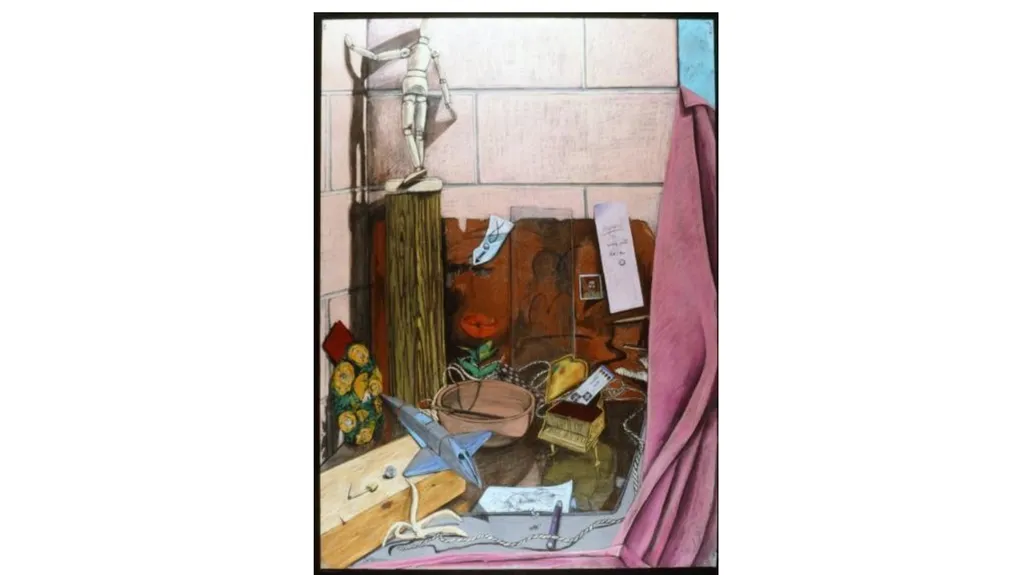
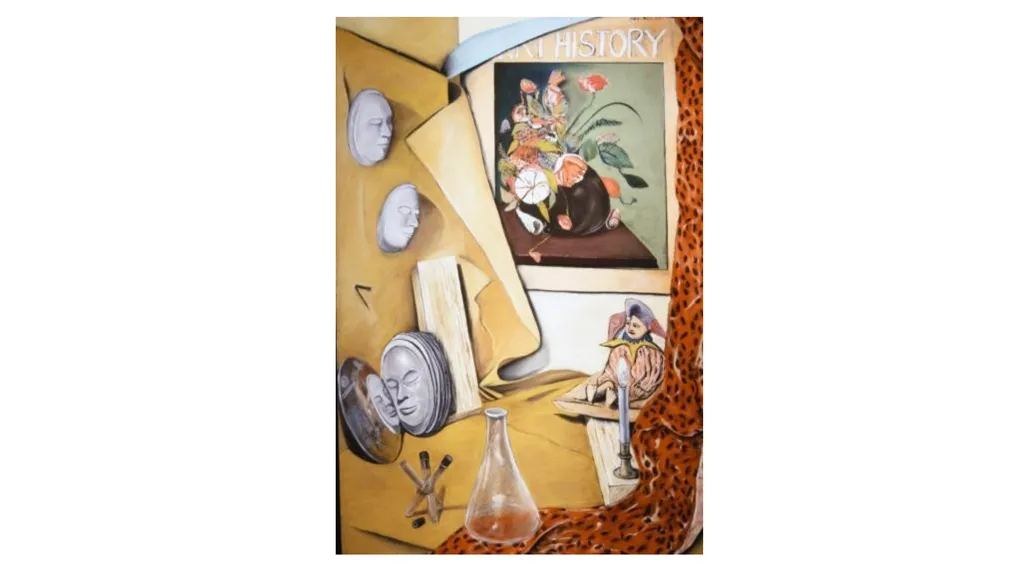
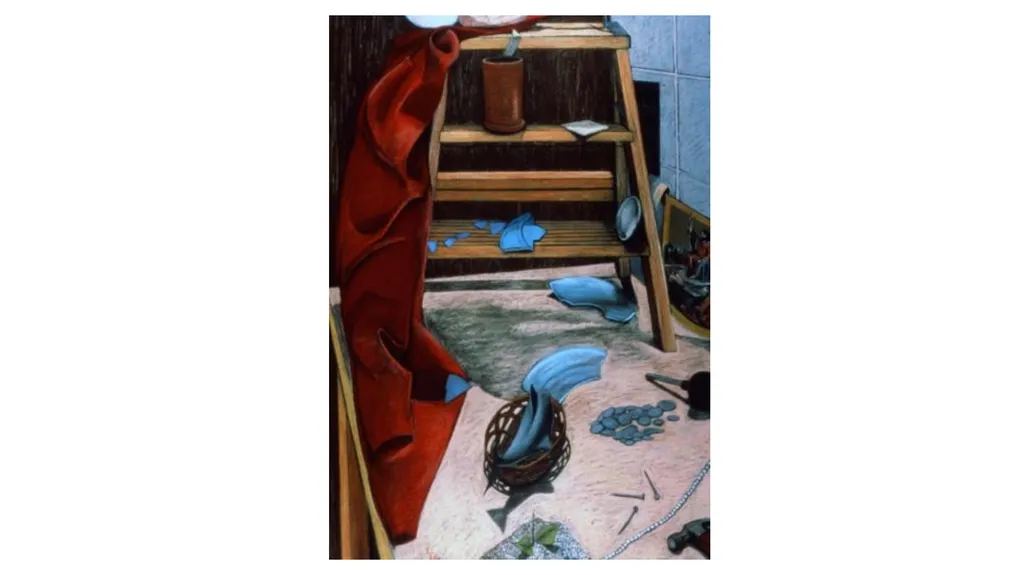
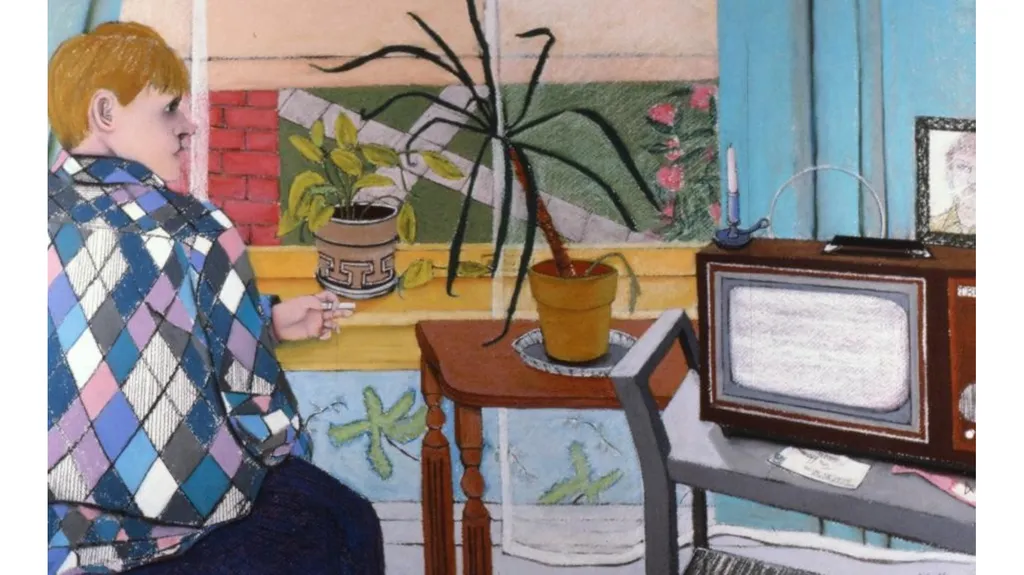
The following slides were part of my still life series including both interiors and still life objects which were drawn using sight measuring. All objects were set up by me and drawn from direct observation. The medium is dry pastel on paper,30” x 40” in size.><br>
35
In conclusion… I trust that you will have a pleasing drawing experience. Drawing requires practice. Skills can be shaped accordingly. Remember, that you will not be graded, as I would grade an art major who needs to draw accurately. The important thing is for you to participate in order to have had a drawing experience. You will gain insight into what an artist’s processes entail. You can have a deeper appreciation from this creative experience and hopefully carry it with you for years. I took music lessons in my youth , yet I am not a musician .However, I love music and have that aesthetic appreciation and experience I know you will have as well, in this art appreciation exercise!<br>