
Structured Teaching VISUAL SCHEDULES Teacher
TG
Published · 27 slides · 0 views
1 / 1



Description
Structured Teaching VISUAL SCHEDULES Teacher Professional Development Do you have students in your classroom who.. Appear confused? Dont know where to go? Or what to do next? Do some students experience difficulty with transitions. And
Related Topics
Share
Embed code
Download this presentation From Below
"Structured Teaching VISUAL SCHEDULES Teacher" is the property of its rightful owner. Permission is granted to download and print the materials on this website for personal, non-commercial use only, and to display it on your personal computer provided you do not modify the materials and that you retain all copyright notices contained in the materials. By downloading content from our website, you accept the terms of this agreement.
Presentation Transcript
01
Structured Teaching VISUAL SCHEDULES
Teacher Professional Development<br>
Teacher Professional Development<br>
02
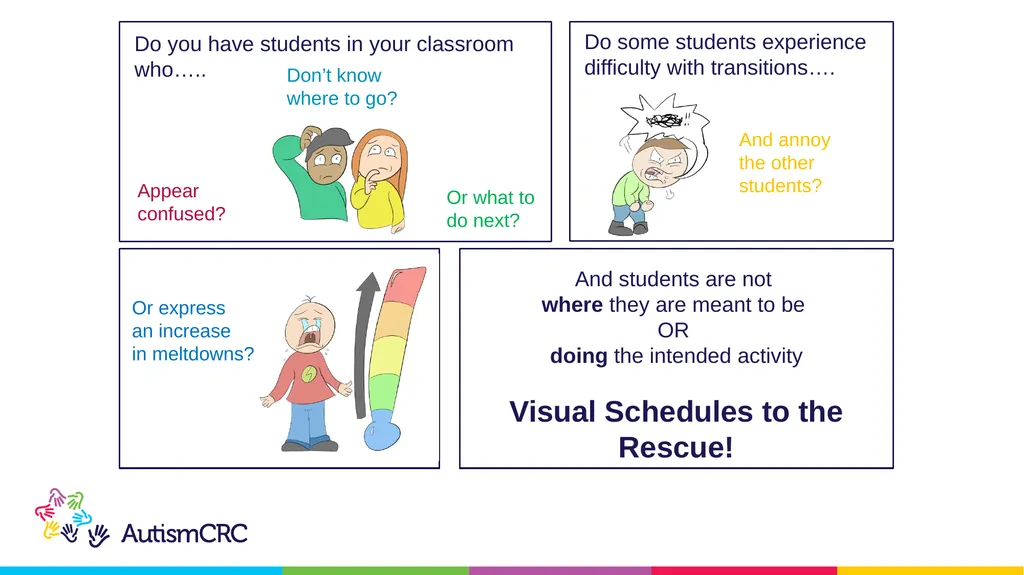
Do you have students in your classroom who….. Appear confused? Don’t know where to go? Or what to do next? Do some students experience difficulty with transitions…. And students are not
where they are meant to be
OR
doing the intended activity Or express
an increase
in meltdowns? Visual Schedules to the Rescue! And annoy the other students?<br>
where they are meant to be
OR
doing the intended activity Or express
an increase
in meltdowns? Visual Schedules to the Rescue! And annoy the other students?<br>
03
Ed the Schedule welcomes you
to this Teacher Professional Development
on Visual Schedules Teacher Professional Development<br>
to this Teacher Professional Development
on Visual Schedules Teacher Professional Development<br>
04
What are Visual Schedules?
Background information & examples of Visual Schedules
Why use Visual Schedules?
Benefits of Visual Schedules
When to use Visual Schedules?
How to use Visual Schedules?
3 step approach for Whole-of-Class & Individualised Schedules
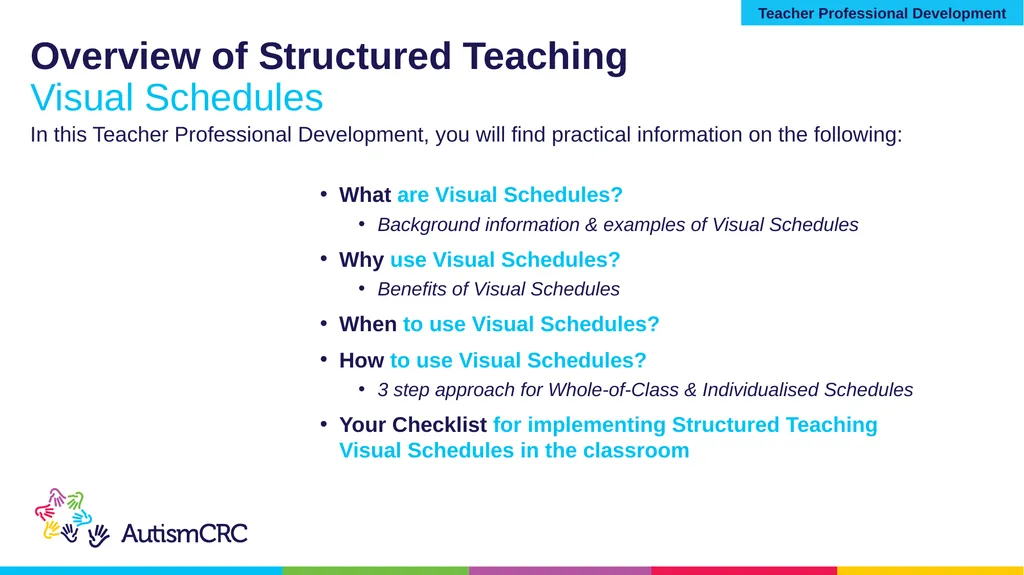
Your Checklist for implementing Structured Teaching Visual Schedules in the classroom In this Teacher Professional Development, you will find practical information on the following: Overview of Structured Teaching
Visual Schedules Teacher Professional Development<br>
Background information & examples of Visual Schedules
Why use Visual Schedules?
Benefits of Visual Schedules
When to use Visual Schedules?
How to use Visual Schedules?
3 step approach for Whole-of-Class & Individualised Schedules
Your Checklist for implementing Structured Teaching Visual Schedules in the classroom In this Teacher Professional Development, you will find practical information on the following: Overview of Structured Teaching
Visual Schedules Teacher Professional Development<br>
05
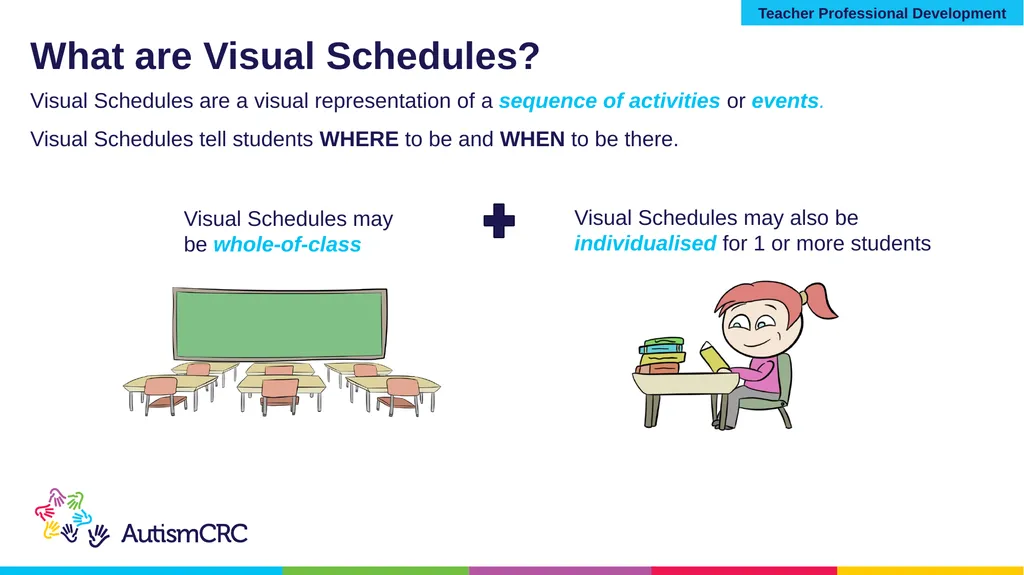
What are Visual Schedules? Visual Schedules are a visual representation of a sequence of activities or events.
Visual Schedules tell students WHERE to be and WHEN to be there. Visual Schedules may be whole-of-class Visual Schedules may also be individualised for 1 or more students Teacher Professional Development<br>
Visual Schedules tell students WHERE to be and WHEN to be there. Visual Schedules may be whole-of-class Visual Schedules may also be individualised for 1 or more students Teacher Professional Development<br>
06
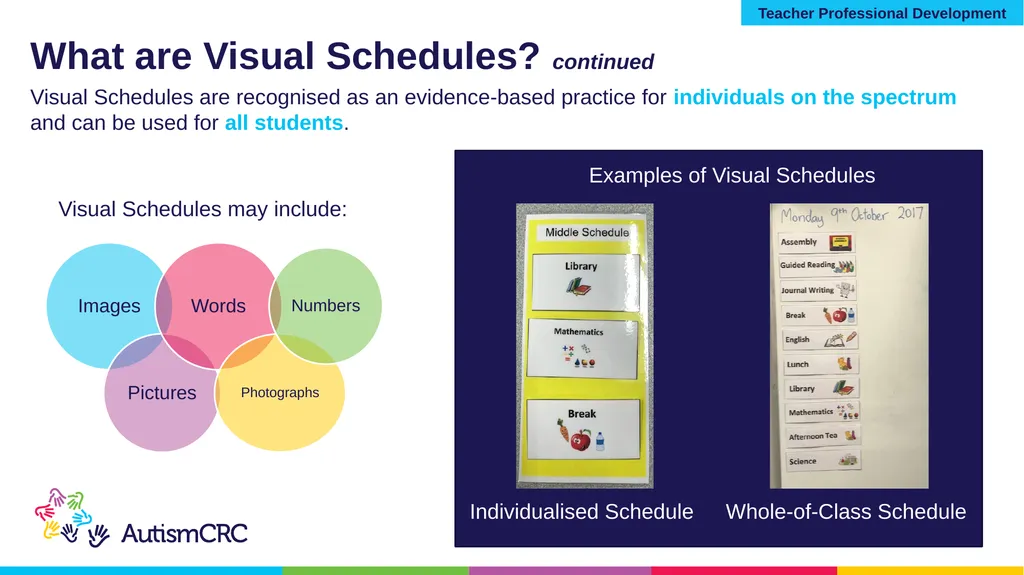
What are Visual Schedules? continued Visual Schedules are recognised as an evidence-based practice for individuals on the spectrum
and can be used for all students. Individualised Schedule Whole-of-Class Schedule Visual Schedules may include: Examples of Visual Schedules Teacher Professional Development<br>
and can be used for all students. Individualised Schedule Whole-of-Class Schedule Visual Schedules may include: Examples of Visual Schedules Teacher Professional Development<br>
07
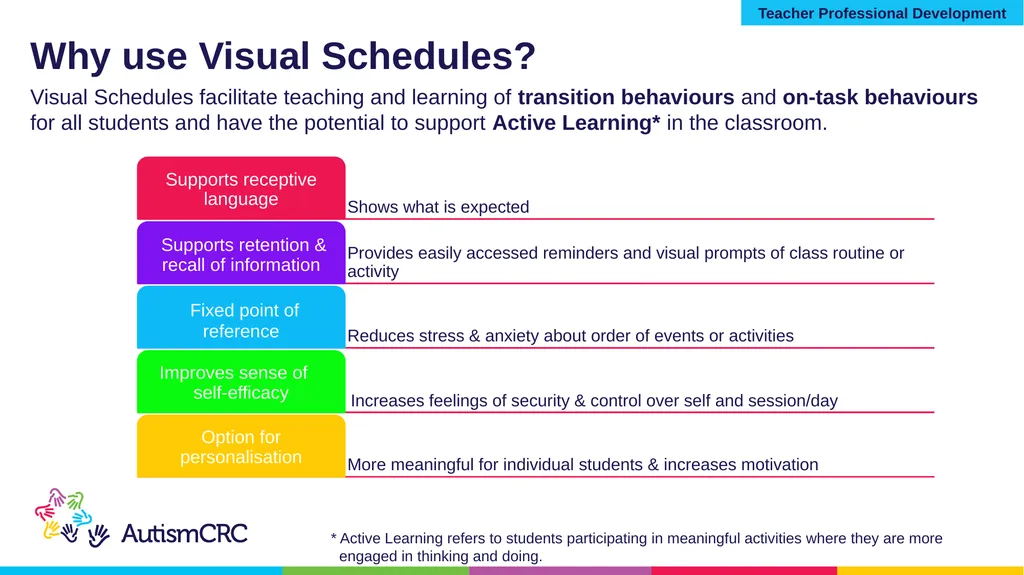
Visual Schedules facilitate teaching and learning of transition behaviours and on-task behaviours for all students and have the potential to support Active Learning* in the classroom. Why use Visual Schedules? * Active Learning refers to students participating in meaningful activities where they are more
engaged in thinking and doing. Teacher Professional Development<br>
engaged in thinking and doing. Teacher Professional Development<br>
08
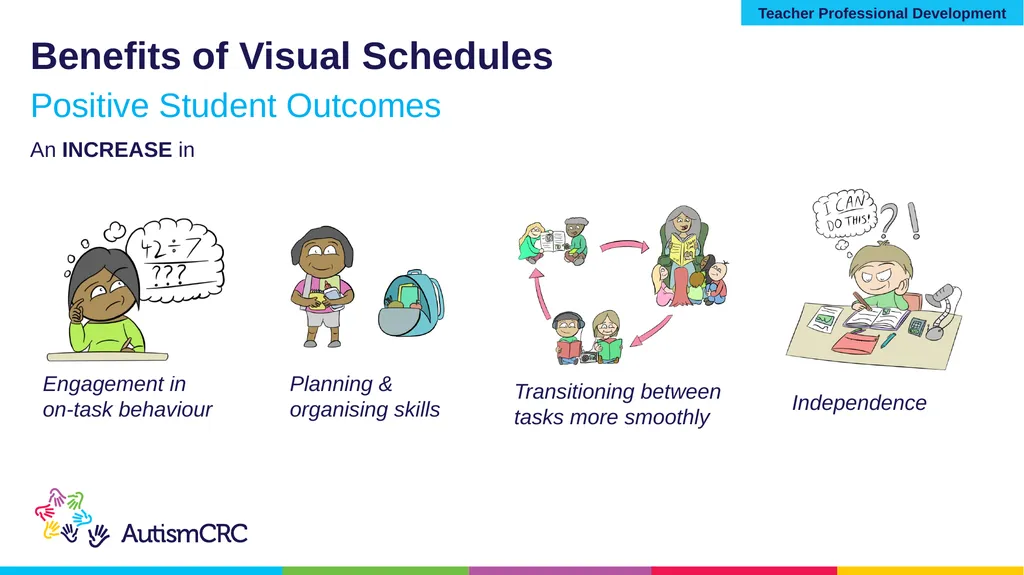
Benefits of Visual Schedules Positive Student Outcomes Independence An INCREASE in Engagement in
on-task behaviour Transitioning between tasks more smoothly Planning &
organising skills Teacher Professional Development<br>
on-task behaviour Transitioning between tasks more smoothly Planning &
organising skills Teacher Professional Development<br>
09
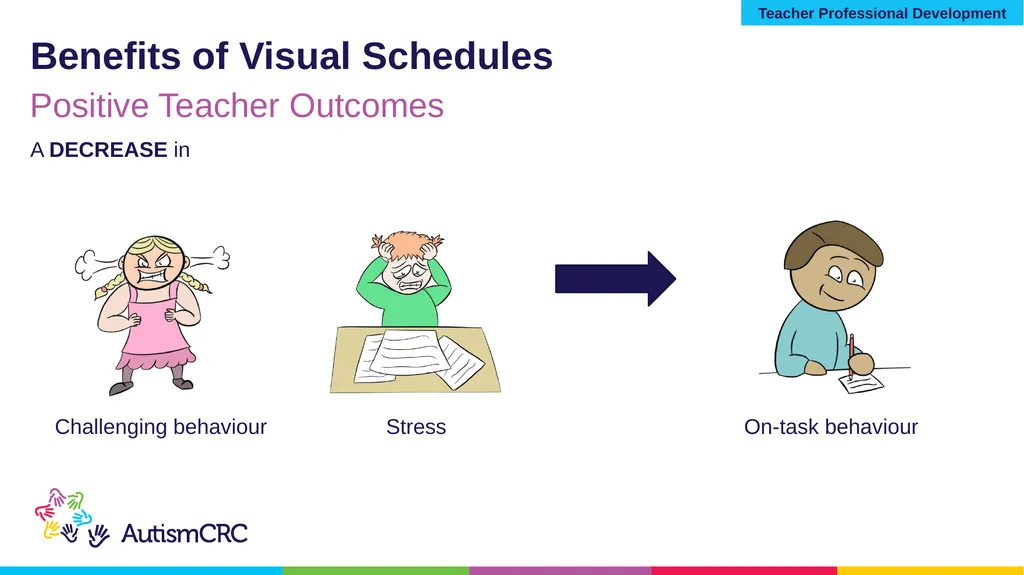
Benefits of Visual Schedules Challenging behaviour Stress On-task behaviour Teacher Professional Development Positive Teacher Outcomes<br>
10
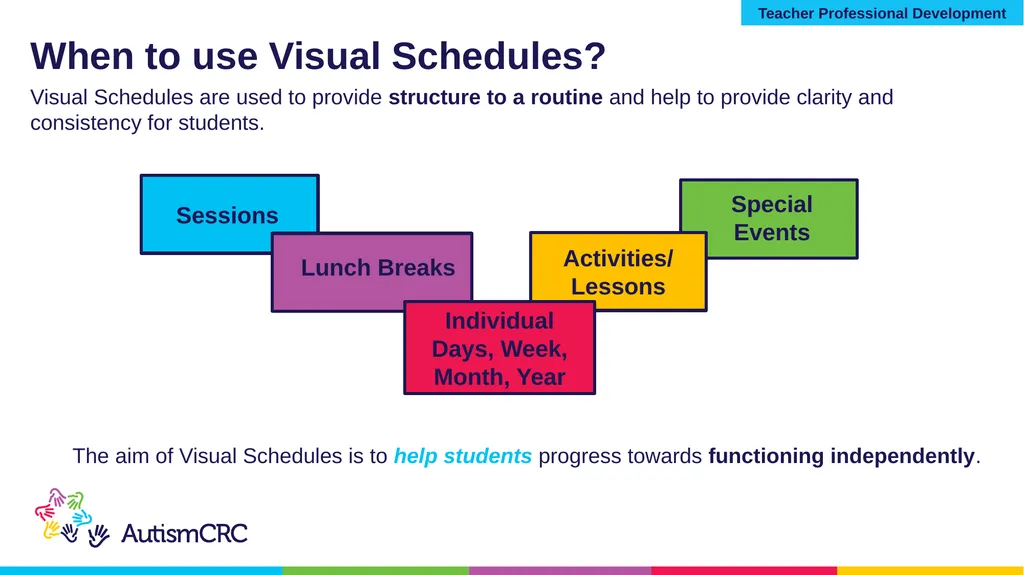
When to use Visual Schedules? The aim of Visual Schedules is to help students progress towards functioning independently. Visual Schedules are used to provide structure to a routine and help to provide clarity and consistency for students. Individual Days, Week, Month, Year Teacher Professional Development<br>
11
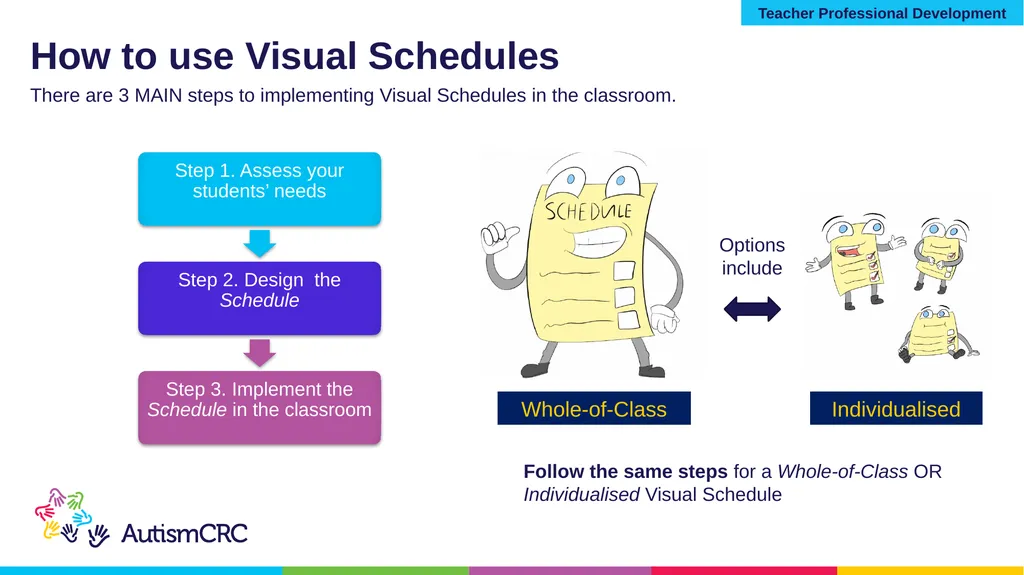
How to use Visual Schedules There are 3 MAIN steps to implementing Visual Schedules in the classroom. Whole-of-Class Individualised Options include Follow the same steps for a Whole-of-Class OR Individualised Visual Schedule Teacher Professional Development<br>
12
Step 1. Assess your students’ needs<br>
13
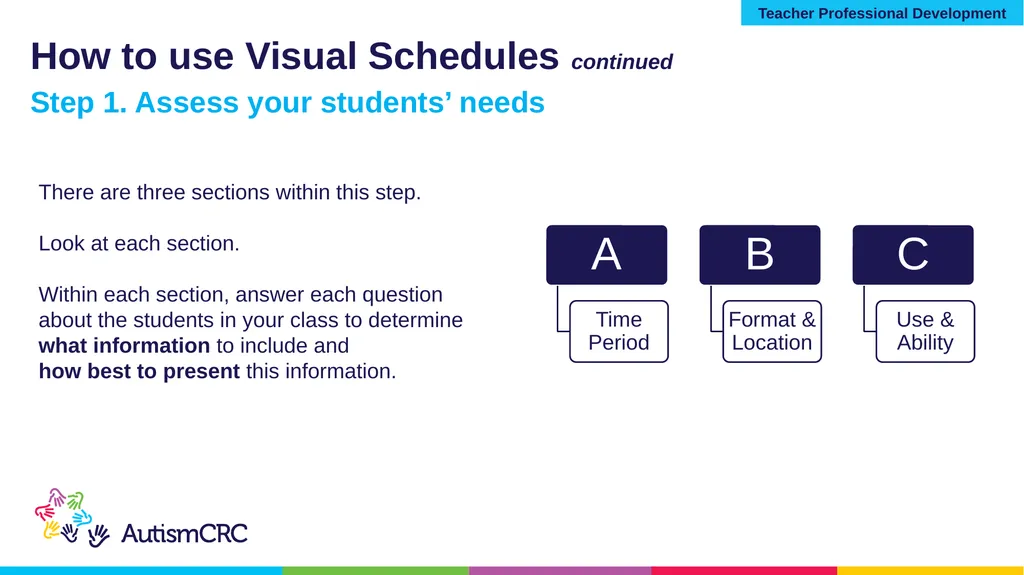
How to use Visual Schedules continued There are three sections within this step.
Look at each section.
Within each section, answer each question about the students in your class to determine what information to include and
how best to present this information. Step 1. Assess your students’ needs Teacher Professional Development<br>
Look at each section.
Within each section, answer each question about the students in your class to determine what information to include and
how best to present this information. Step 1. Assess your students’ needs Teacher Professional Development<br>
14
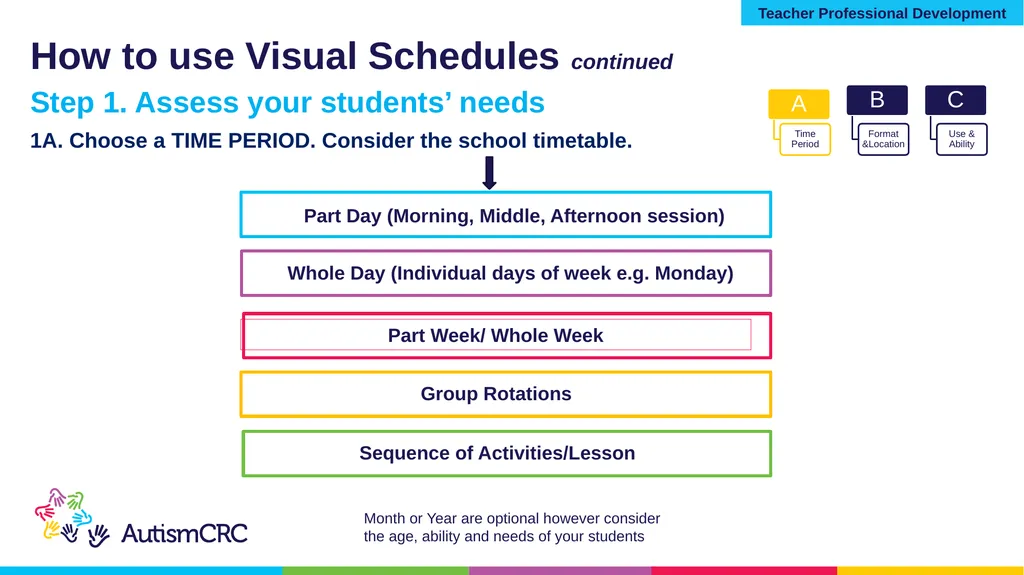
How to use Visual Schedules continued Month or Year are optional however consider
the age, ability and needs of your students 1A. Choose a TIME PERIOD. Consider the school timetable. Step 1. Assess your students’ needs Teacher Professional Development<br>
the age, ability and needs of your students 1A. Choose a TIME PERIOD. Consider the school timetable. Step 1. Assess your students’ needs Teacher Professional Development<br>
15
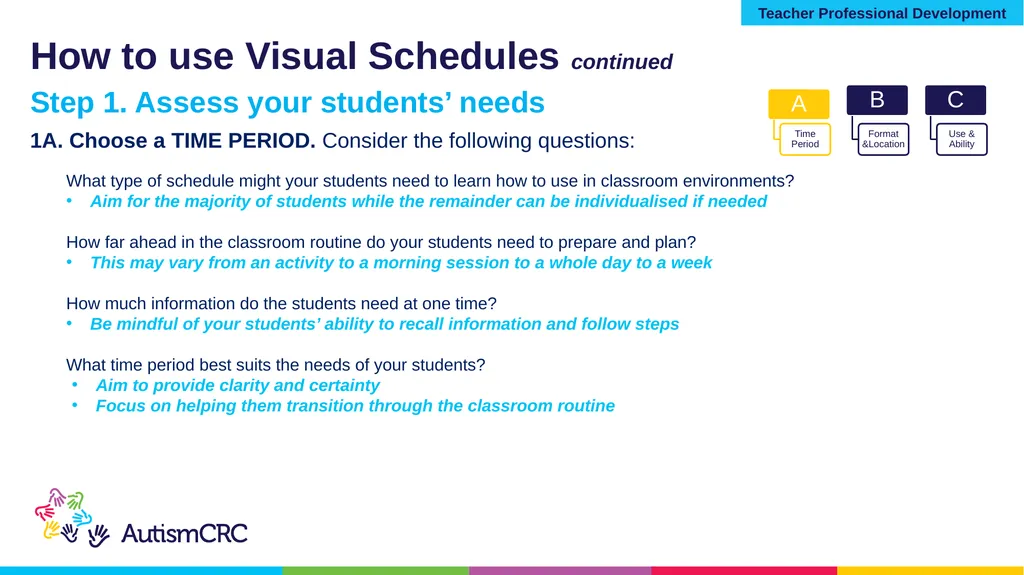
How to use Visual Schedules continued Step 1. Assess your students’ needs What type of schedule might your students need to learn how to use in classroom environments?
Aim for the majority of students while the remainder can be individualised if needed
How far ahead in the classroom routine do your students need to prepare and plan?
This may vary from an activity to a morning session to a whole day to a week
How much information do the students need at one time?
Be mindful of your students’ ability to recall information and follow steps
What time period best suits the needs of your students?
Aim to provide clarity and certainty
Focus on helping them transition through the classroom routine 1A. Choose a TIME PERIOD. Consider the following questions: Teacher Professional Development<br>
Aim for the majority of students while the remainder can be individualised if needed
How far ahead in the classroom routine do your students need to prepare and plan?
This may vary from an activity to a morning session to a whole day to a week
How much information do the students need at one time?
Be mindful of your students’ ability to recall information and follow steps
What time period best suits the needs of your students?
Aim to provide clarity and certainty
Focus on helping them transition through the classroom routine 1A. Choose a TIME PERIOD. Consider the following questions: Teacher Professional Development<br>
16
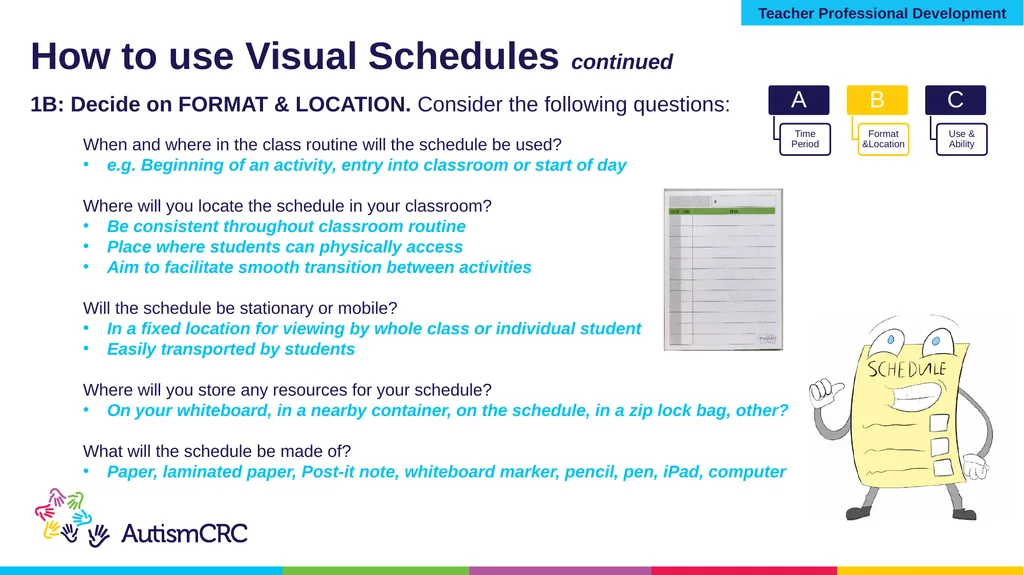
How to use Visual Schedules continued 1B: Decide on FORMAT & LOCATION. Consider the following questions: When and where in the class routine will the schedule be used?
e.g. Beginning of an activity, entry into classroom or start of day
Where will you locate the schedule in your classroom?
Be consistent throughout classroom routine
Place where students can physically access
Aim to facilitate smooth transition between activities
Will the schedule be stationary or mobile?
In a fixed location for viewing by whole class or individual student
Easily transported by students
Where will you store any resources for your schedule?
On your whiteboard, in a nearby container, on the schedule, in a zip lock bag, other?
What will the schedule be made of?
Paper, laminated paper, Post-it note, whiteboard marker, pencil, pen, iPad, computer Teacher Professional Development<br>
e.g. Beginning of an activity, entry into classroom or start of day
Where will you locate the schedule in your classroom?
Be consistent throughout classroom routine
Place where students can physically access
Aim to facilitate smooth transition between activities
Will the schedule be stationary or mobile?
In a fixed location for viewing by whole class or individual student
Easily transported by students
Where will you store any resources for your schedule?
On your whiteboard, in a nearby container, on the schedule, in a zip lock bag, other?
What will the schedule be made of?
Paper, laminated paper, Post-it note, whiteboard marker, pencil, pen, iPad, computer Teacher Professional Development<br>
17
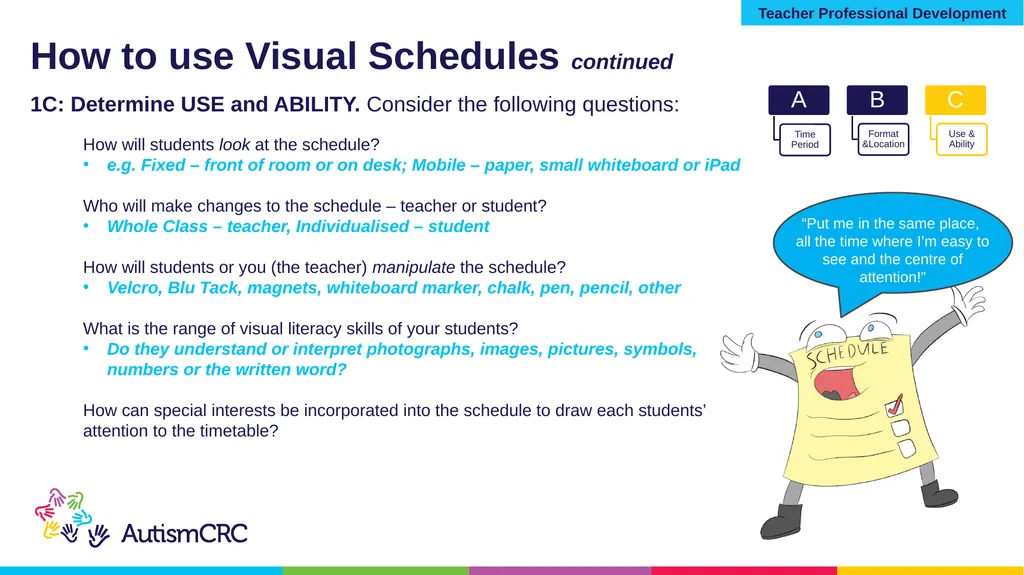
How to use Visual Schedules continued 1C: Determine USE and ABILITY. Consider the following questions: How will students look at the schedule?
e.g. Fixed – front of room or on desk; Mobile – paper, small whiteboard or iPad
Who will make changes to the schedule – teacher or student?
Whole Class – teacher, Individualised – student
How will students or you (the teacher) manipulate the schedule?
Velcro, Blu Tack, magnets, whiteboard marker, chalk, pen, pencil, other
What is the range of visual literacy skills of your students?
Do they understand or interpret photographs, images, pictures, symbols, numbers or the written word?
How can special interests be incorporated into the schedule to draw each students’ attention to the timetable? Teacher Professional Development<br>
e.g. Fixed – front of room or on desk; Mobile – paper, small whiteboard or iPad
Who will make changes to the schedule – teacher or student?
Whole Class – teacher, Individualised – student
How will students or you (the teacher) manipulate the schedule?
Velcro, Blu Tack, magnets, whiteboard marker, chalk, pen, pencil, other
What is the range of visual literacy skills of your students?
Do they understand or interpret photographs, images, pictures, symbols, numbers or the written word?
How can special interests be incorporated into the schedule to draw each students’ attention to the timetable? Teacher Professional Development<br>
18
Step 2. Design the Schedule<br>
19
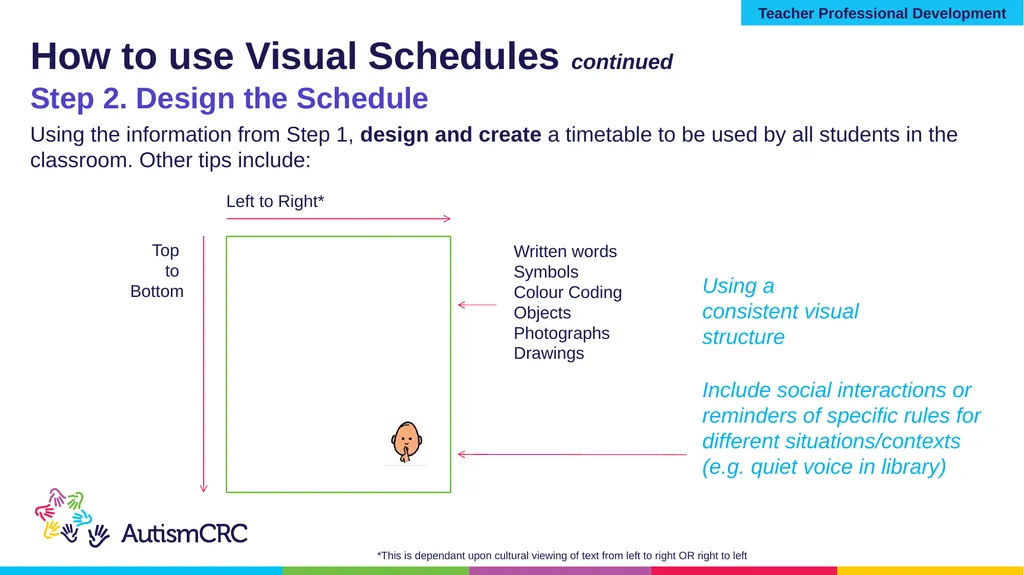
How to use Visual Schedules continued Step 2. Design the Schedule Using the information from Step 1, design and create a timetable to be used by all students in the classroom. Other tips include: Top
to
Bottom Left to Right* *This is dependant upon cultural viewing of text from left to right OR right to left Written words
Symbols
Colour Coding
Objects
Photographs
Drawings Include social interactions or reminders of specific rules for different situations/contexts
(e.g. quiet voice in library) Using a consistent visual structure Teacher Professional Development<br>
to
Bottom Left to Right* *This is dependant upon cultural viewing of text from left to right OR right to left Written words
Symbols
Colour Coding
Objects
Photographs
Drawings Include social interactions or reminders of specific rules for different situations/contexts
(e.g. quiet voice in library) Using a consistent visual structure Teacher Professional Development<br>
20
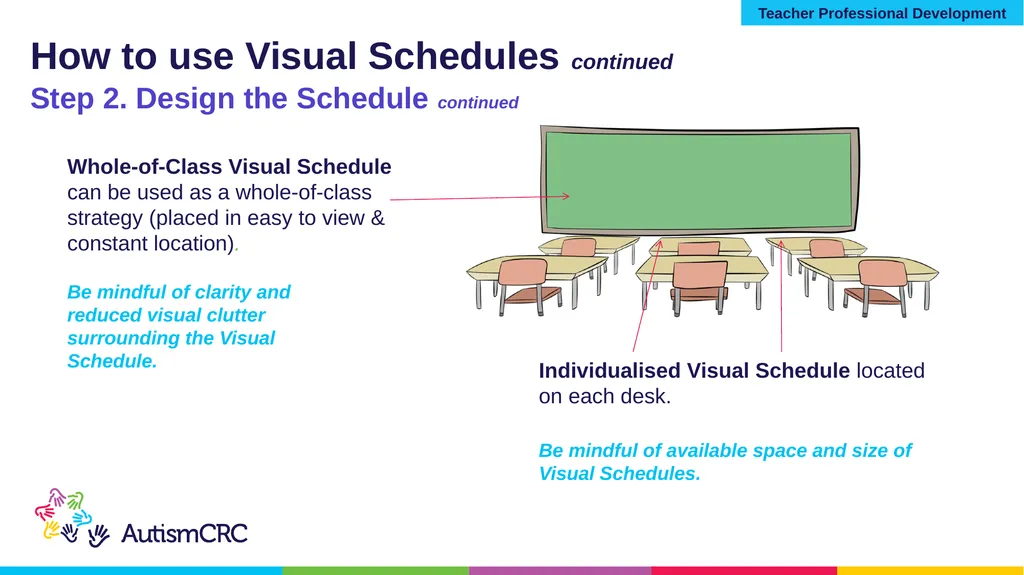
How to use Visual Schedules continued Step 2. Design the Schedule continued Whole-of-Class Visual Schedule can be used as a whole-of-class strategy (placed in easy to view & constant location). Be mindful of clarity and reduced visual clutter surrounding the Visual Schedule. Individualised Visual Schedule located on each desk. Be mindful of available space and size of Visual Schedules. Teacher Professional Development<br>
21
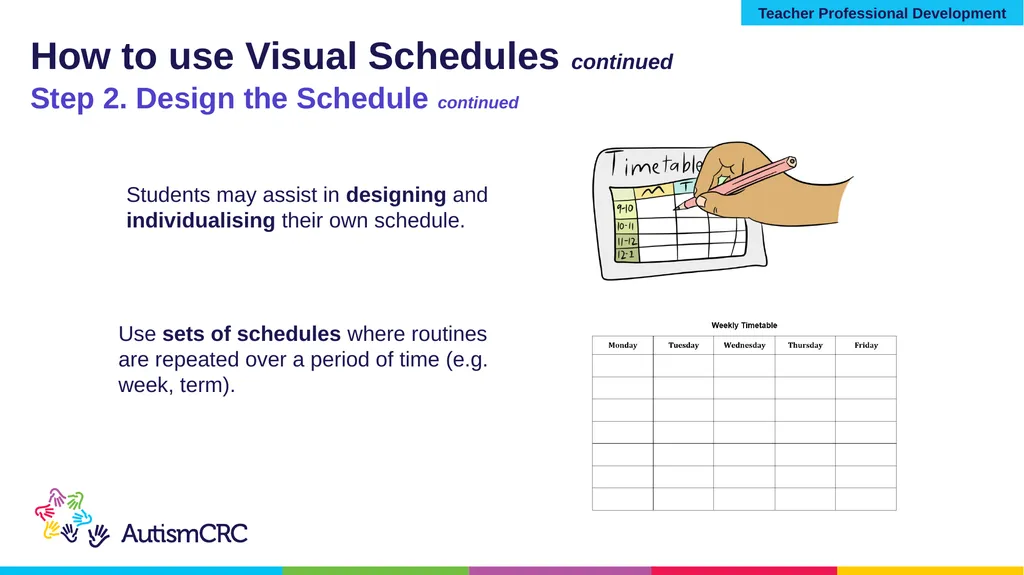
How to use Visual Schedules continued Step 2. Design the Schedule continued Students may assist in designing and individualising their own schedule. Use sets of schedules where routines are repeated over a period of time (e.g. week, term). Teacher Professional Development<br>
22
Step 3. Implement the Visual Schedule in the classroom<br>
23
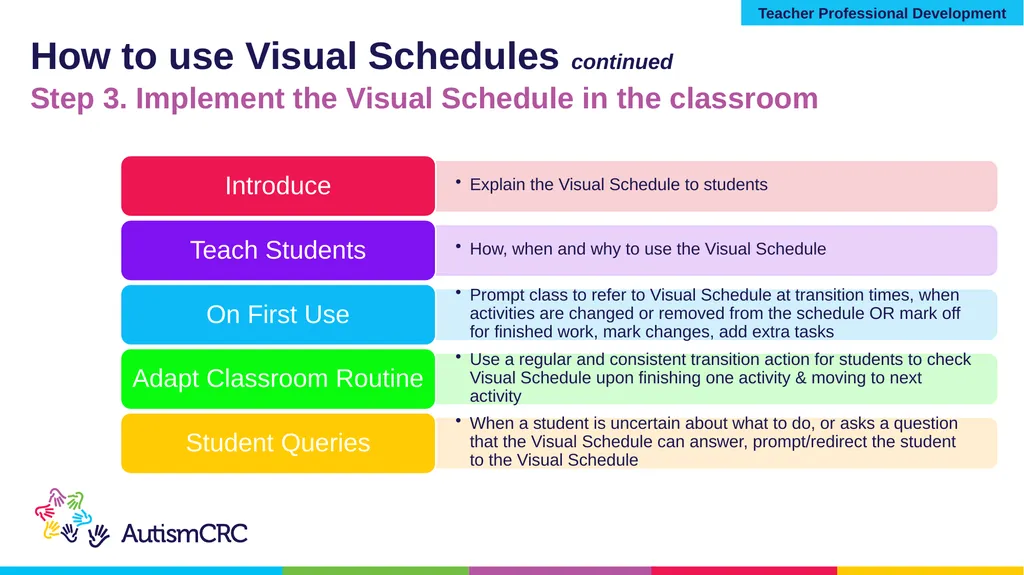
How to use Visual Schedules continued Step 3. Implement the Visual Schedule in the classroom Teacher Professional Development<br>
24
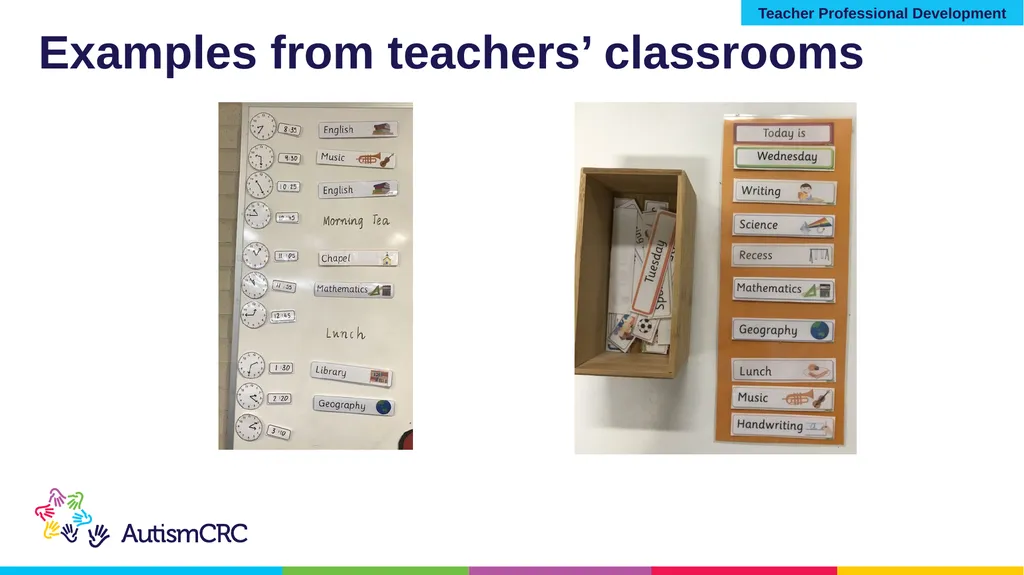
Examples from teachers’ classrooms Teacher Professional Development<br>
25
Your checklist for Structured Teaching:
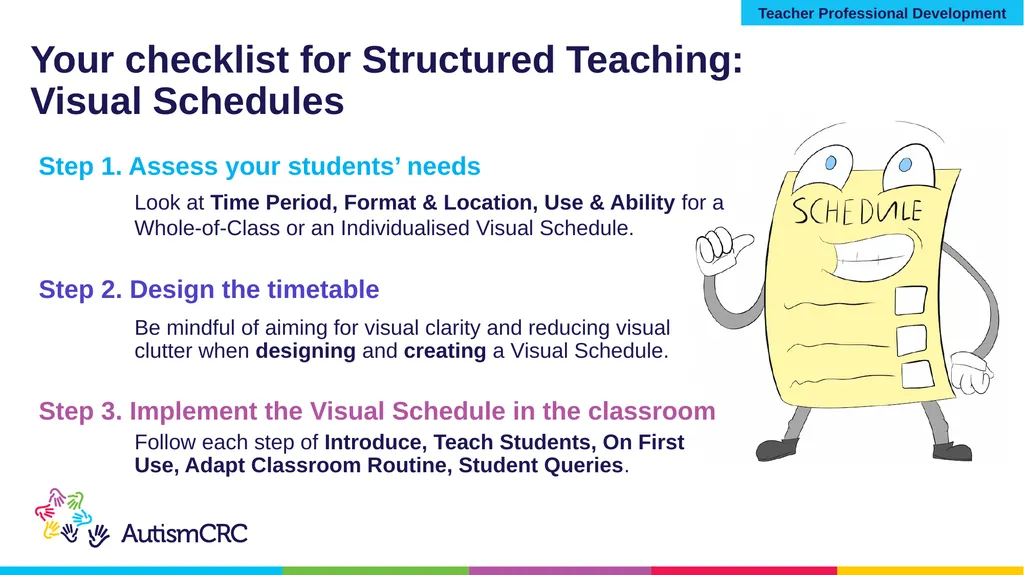
Visual Schedules Step 1. Assess your students’ needs Look at Time Period, Format & Location, Use & Ability for a Whole-of-Class or an Individualised Visual Schedule. Step 2. Design the timetable Be mindful of aiming for visual clarity and reducing visual clutter when designing and creating a Visual Schedule. Step 3. Implement the Visual Schedule in the classroom Follow each step of Introduce, Teach Students, On First Use, Adapt Classroom Routine, Student Queries. Teacher Professional Development<br>
Visual Schedules Step 1. Assess your students’ needs Look at Time Period, Format & Location, Use & Ability for a Whole-of-Class or an Individualised Visual Schedule. Step 2. Design the timetable Be mindful of aiming for visual clarity and reducing visual clutter when designing and creating a Visual Schedule. Step 3. Implement the Visual Schedule in the classroom Follow each step of Introduce, Teach Students, On First Use, Adapt Classroom Routine, Student Queries. Teacher Professional Development<br>
26
This Teacher Professional Development on Visual Schedules was created and developed by Dr Satine Winter and overseen by Dr Jill Ashburner, Autism Queensland. Funding for this project was provided by Positive Partnerships and facilitated through project collaboration between the Autism CRC, Autism Queensland, Positive Partnerships, Autism Spectrum Australia (Aspect) and the University of Queensland. The information contained within is adapted from the ‘Finished! The On-Task Toolkit – A teacher’s guide to using visual schedules and work systems in the mainstream classroom’ by Elizabeth Macdonald (Autism CRC funded PhD scholar, Griffith University) and Kaaren Haas (Autism Spectrum Australia, Aspect).
Teacher vignettes were presented by Elizabeth Scales. Animated images and filming of vignettes were created by Studio G, Autism Queensland. A final note from Ed the Schedule<br>
Teacher vignettes were presented by Elizabeth Scales. Animated images and filming of vignettes were created by Studio G, Autism Queensland. A final note from Ed the Schedule<br>
27
Autism CRC is the world’s first national, cooperative research centre focused on autism. We are taking a whole-of-life approach to autism focusing on early years, schools years and adulthood.<br>