04
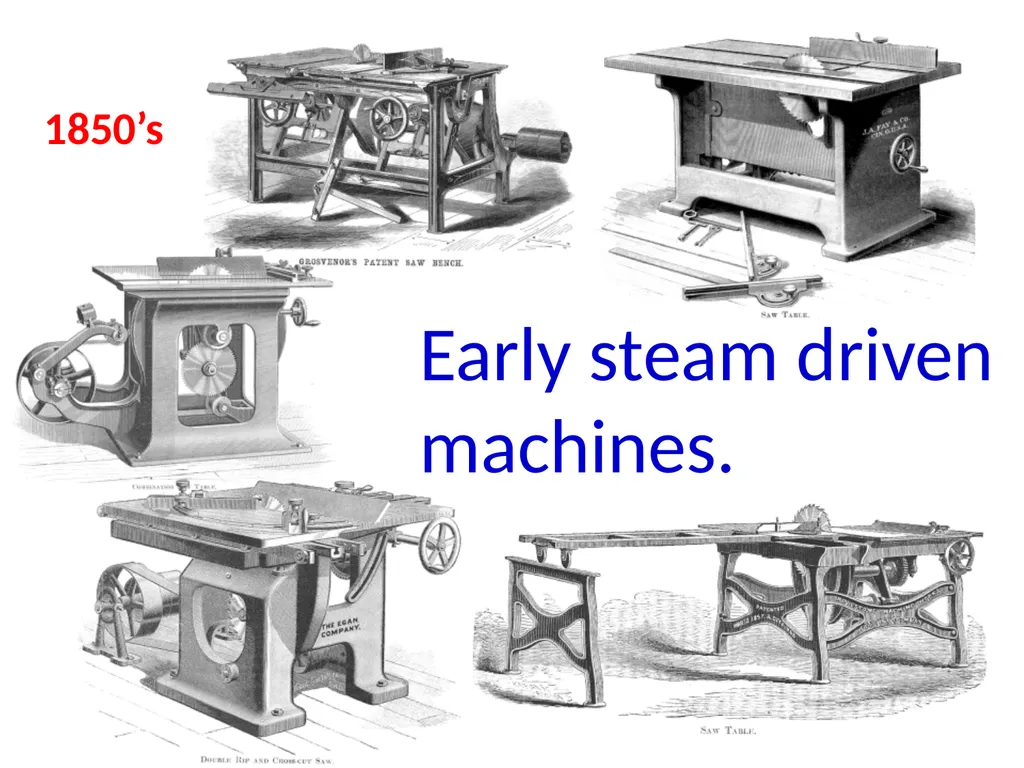
Early steam driven machines. 1850’s<br>
05
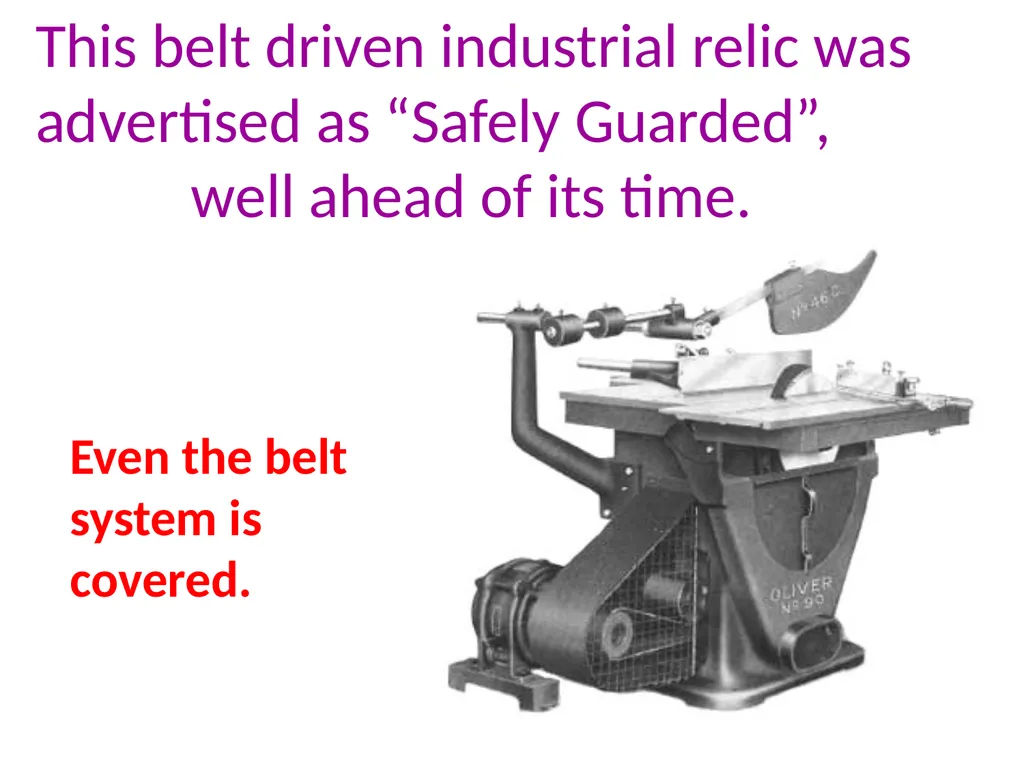
This belt driven industrial relic was advertised as “Safely Guarded”, well ahead of its time. Even the belt system is covered.<br>
06
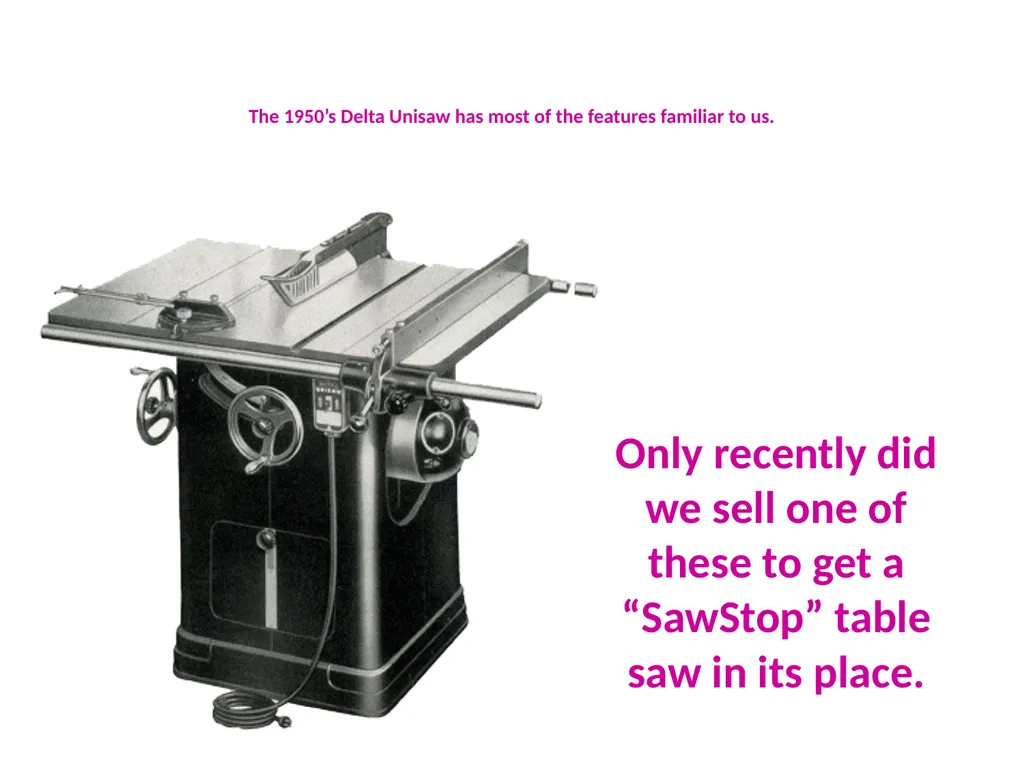
The 1950’s Delta Unisaw has most of the features familiar to us. Only recently did we sell one of these to get a “SawStop” table saw in its place.<br>
07
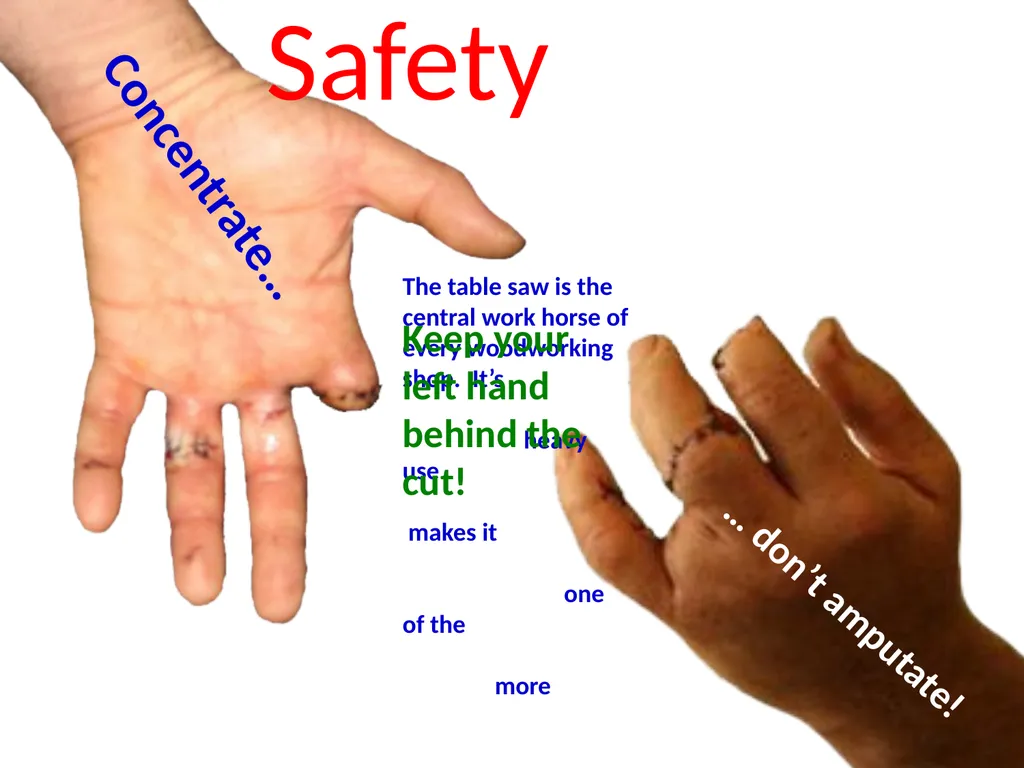
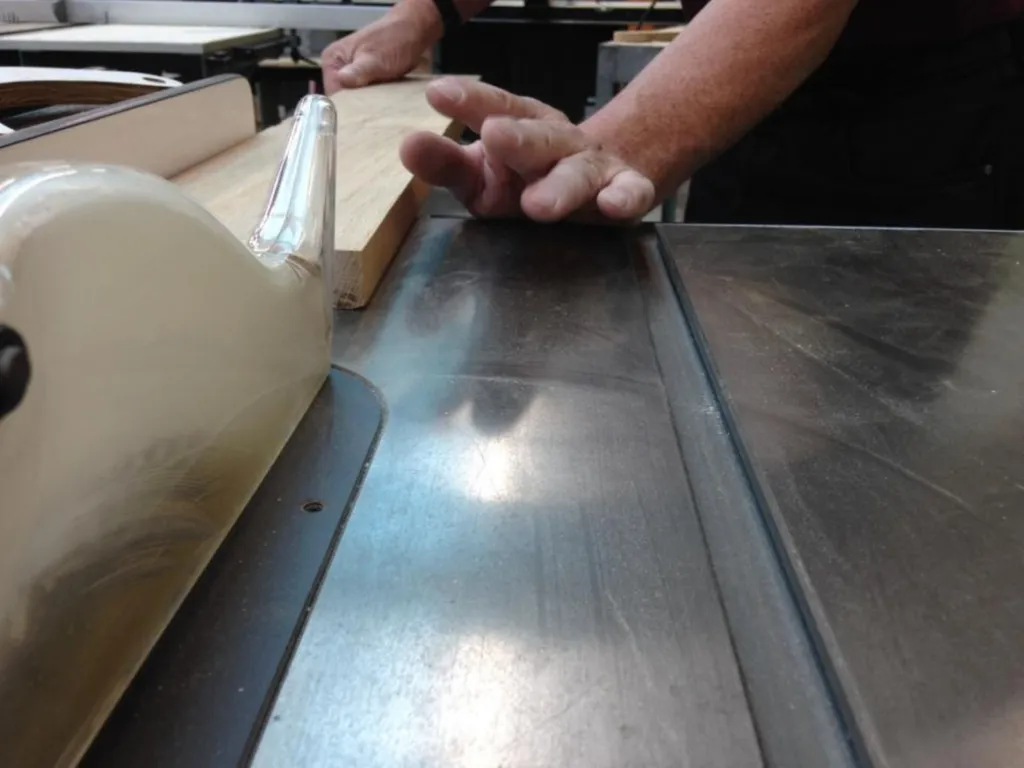
Safety The table saw is the central work horse of every woodworking shop. It’s heavy use makes it one of the more important safety concerns. … don’t amputate! Concentrate… Keep your left hand behind the cut!<br>
08
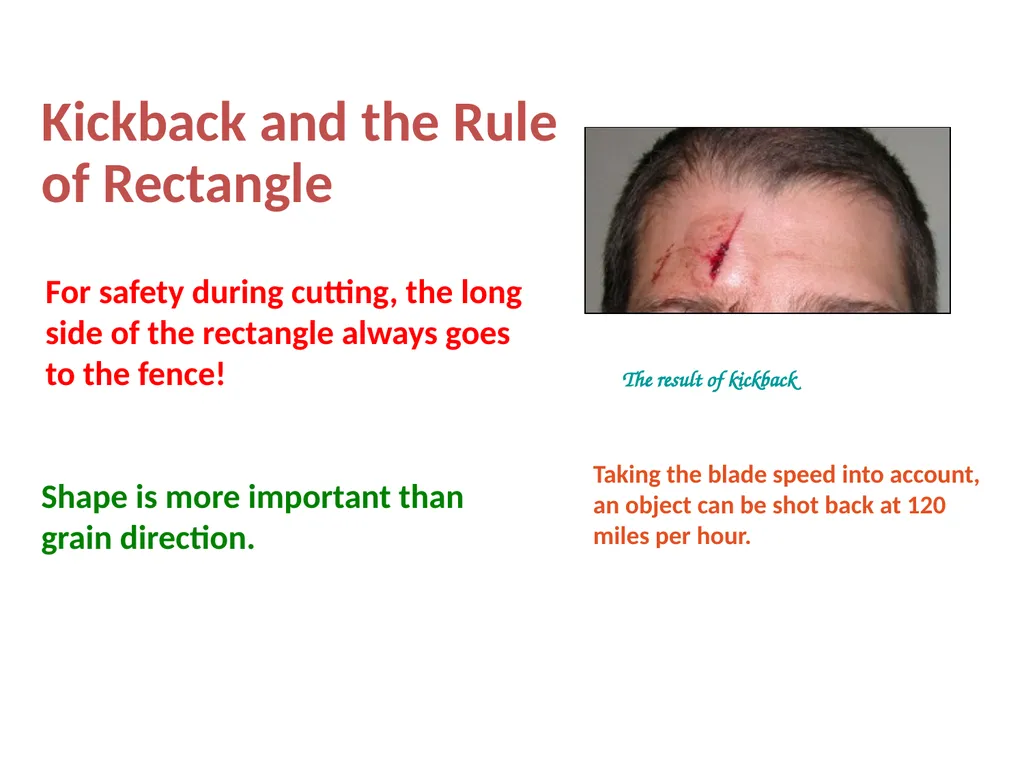
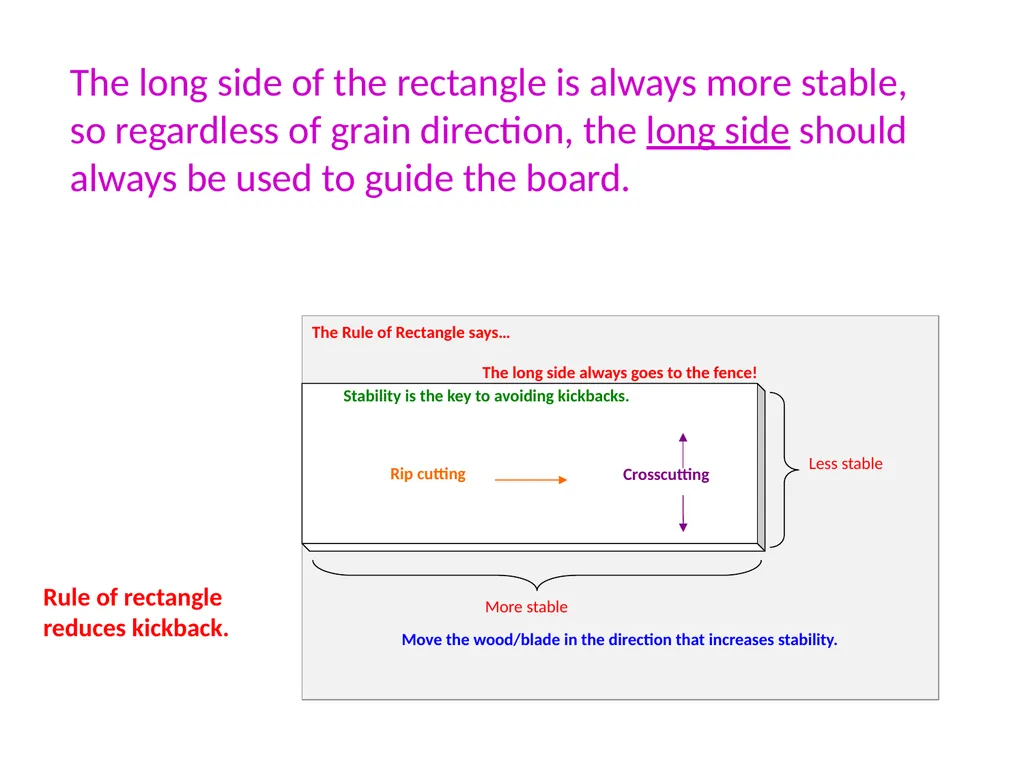
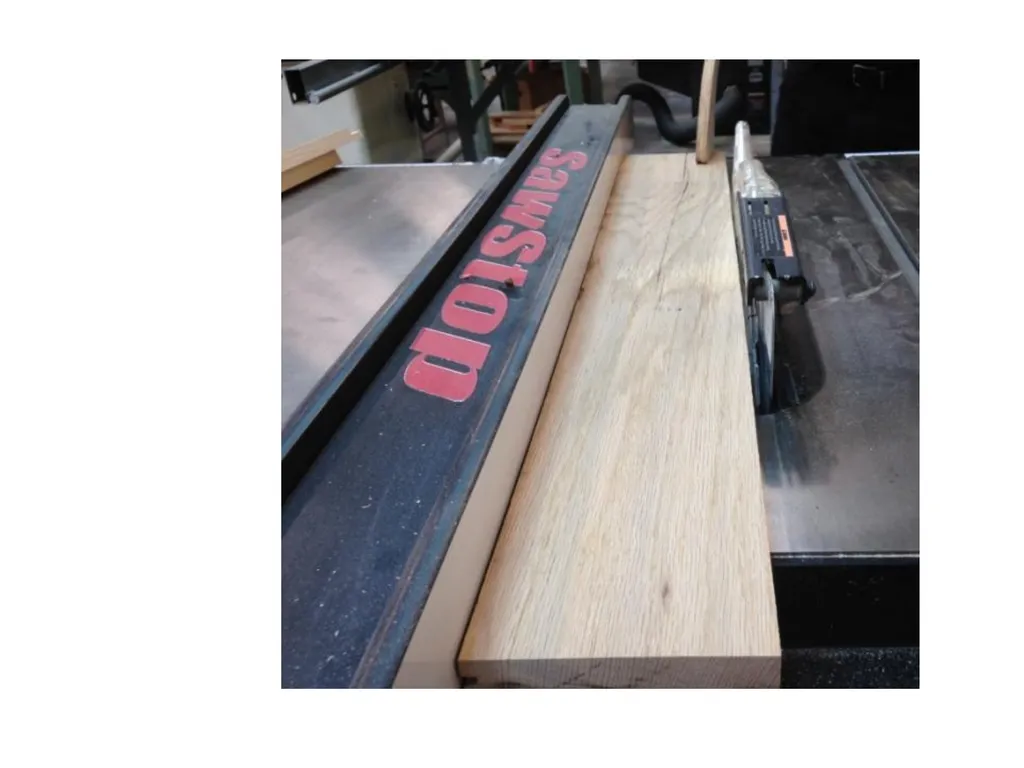
For safety during cutting, the long side of the rectangle always goes to the fence! Shape is more important than grain direction. Kickback and the Rule of Rectangle Taking the blade speed into account, an object can be shot back at 120 miles per hour. The result of kickback<br>
09
The long side of the rectangle is always more stable, so regardless of grain direction, the long side should always be used to guide the board. Rule of rectangle reduces kickback.<br>
10
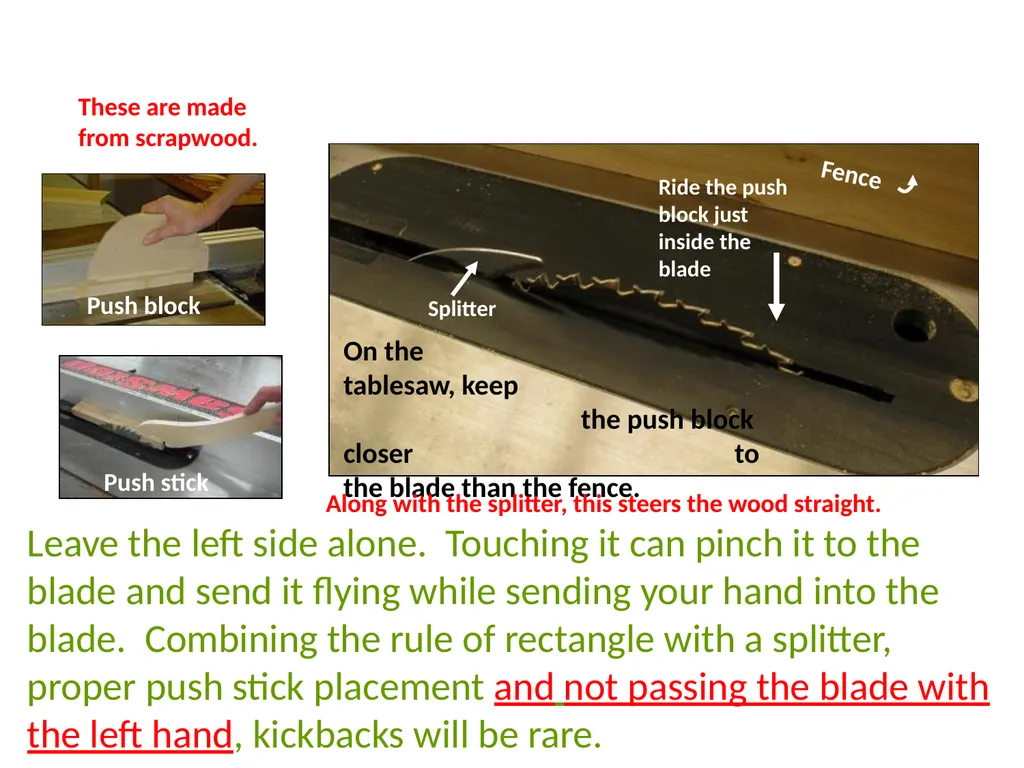
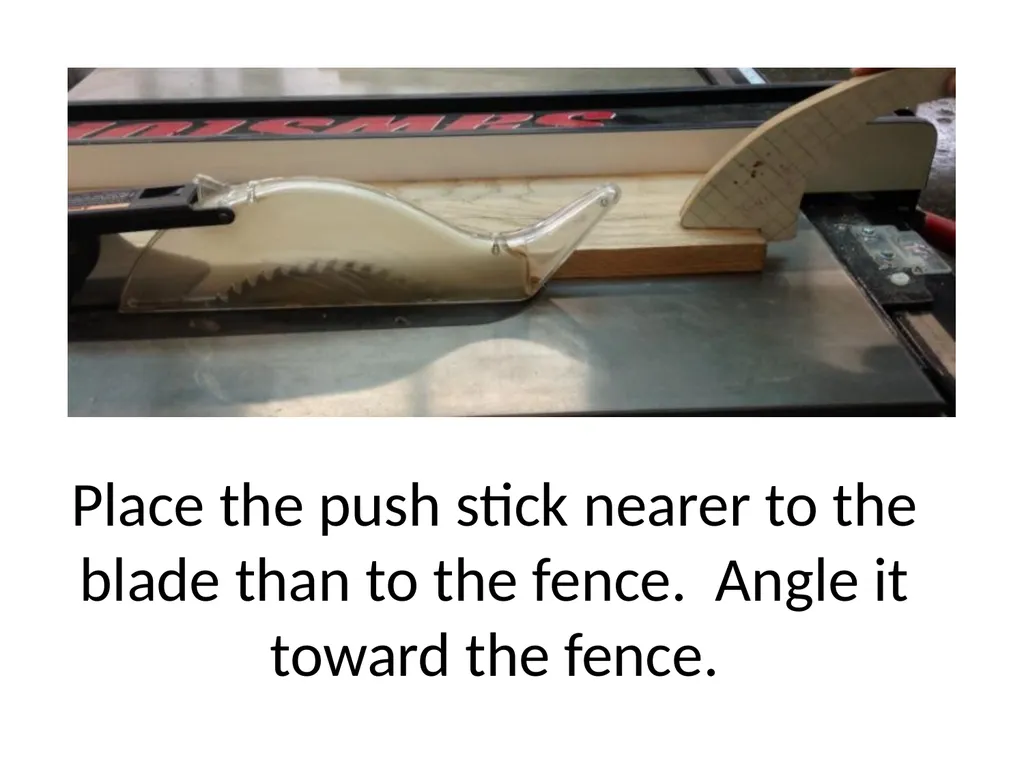
On the tablesaw, keep the push block closer to the blade than the fence. Leave the left side alone. Touching it can pinch it to the blade and send it flying while sending your hand into the blade. Combining the rule of rectangle with a splitter, proper push stick placement and not passing the blade with the left hand, kickbacks will be rare. Splitter Ride the push block just inside the blade Fence These are made from scrapwood. Along with the splitter, this steers the wood straight.<br>
11
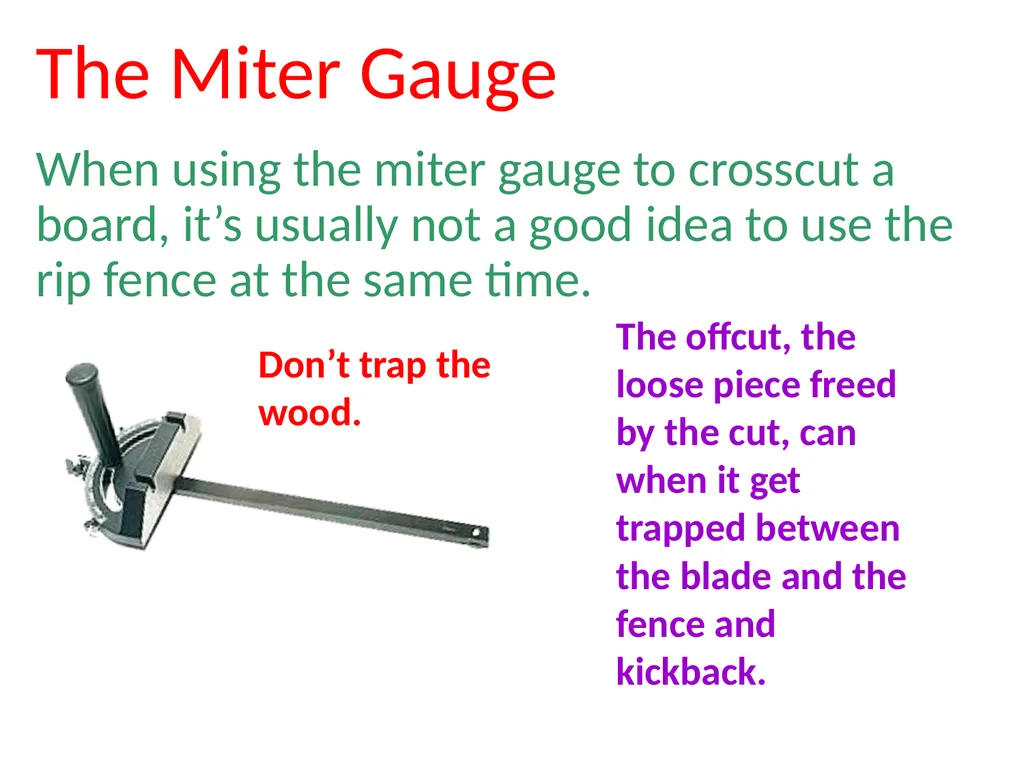
When using the miter gauge to crosscut a board, it’s usually not a good idea to use the rip fence at the same time. The offcut, the loose piece freed by the cut, can when it get trapped between the blade and the fence and kickback. Don’t trap the wood. The Miter Gauge<br>
12
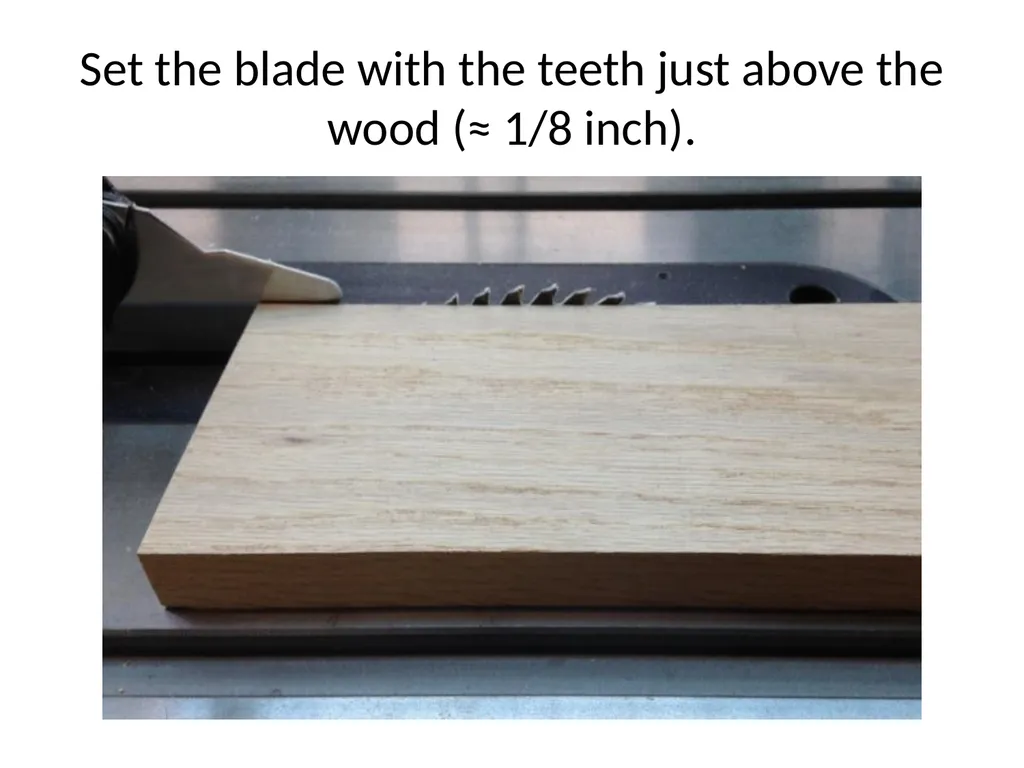
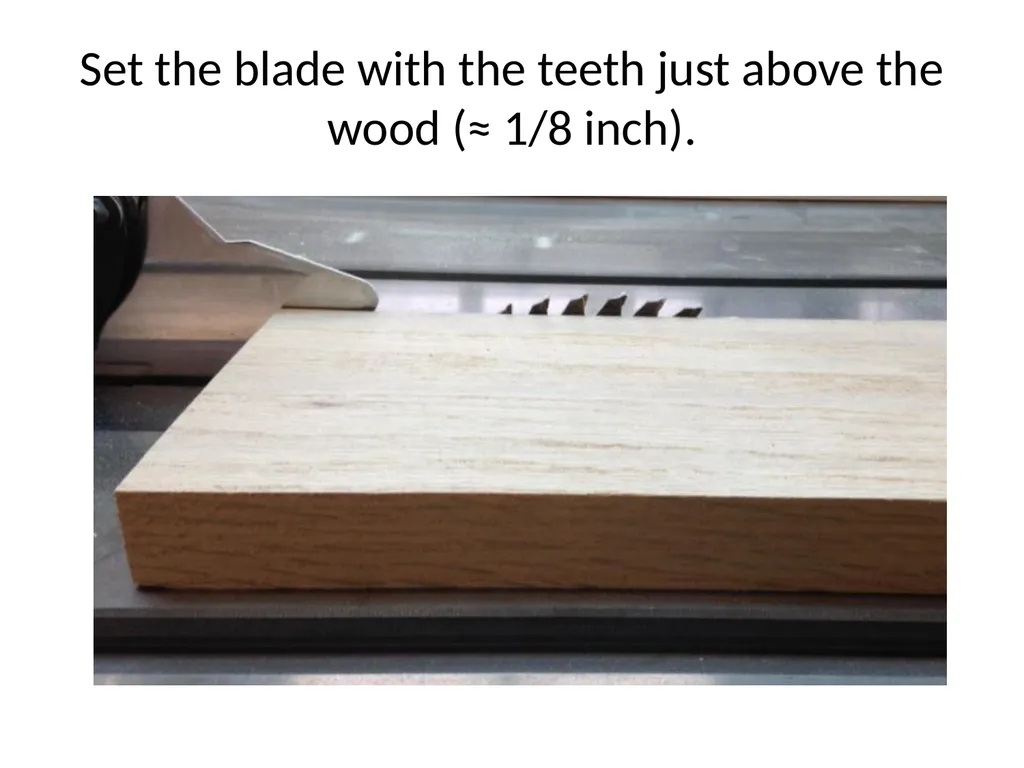
Set the blade with the teeth just above the wood (≈ 1/8 inch).<br>
13
Set the blade with the teeth just above the wood (≈ 1/8 inch).<br>
14
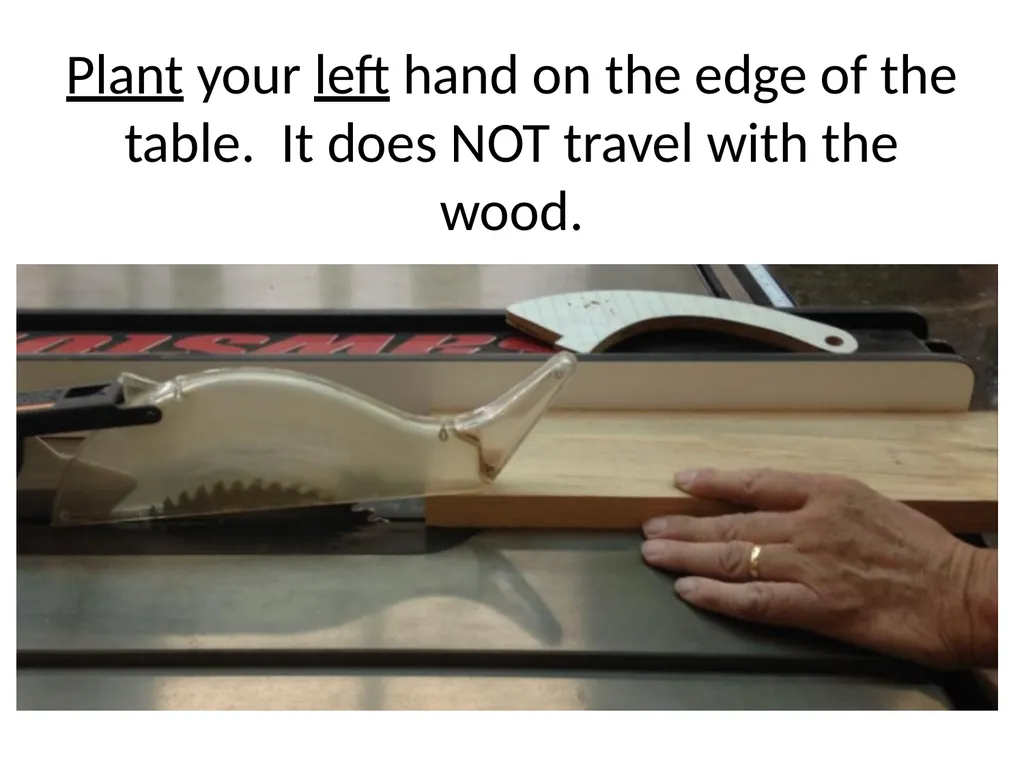
Plant your left hand on the edge of the table. It does NOT travel with the wood.<br>
15
Place the push stick nearer to the blade than to the fence. Angle it toward the fence.<br>
16
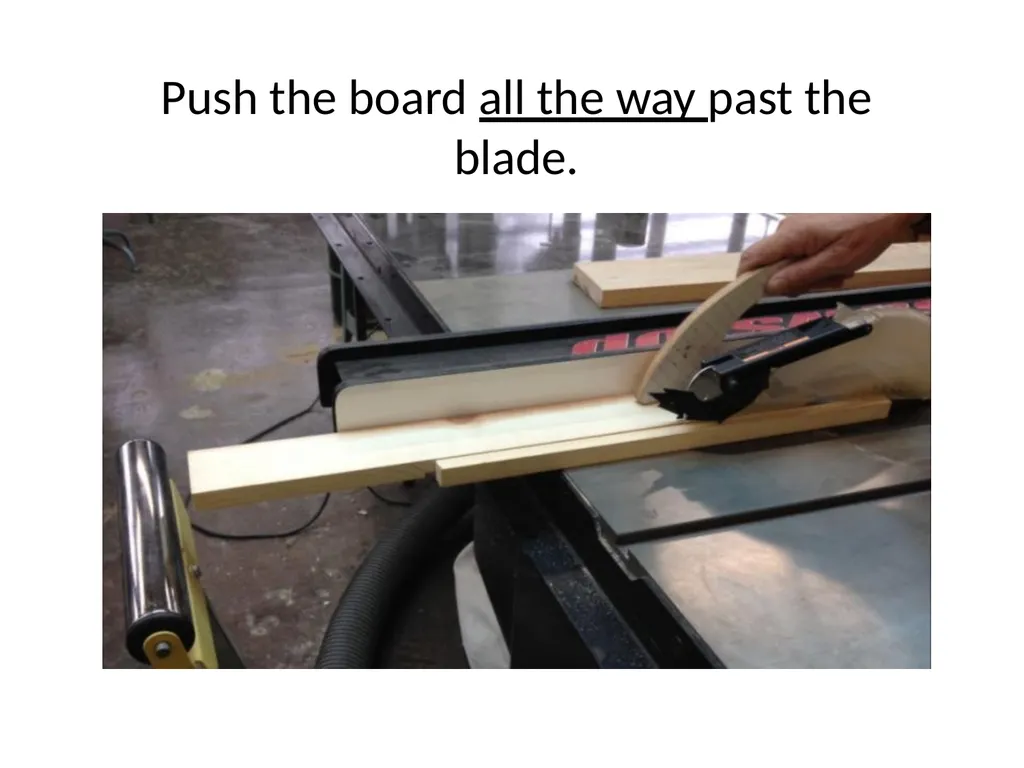
Push the board all the way past the blade.<br>
17
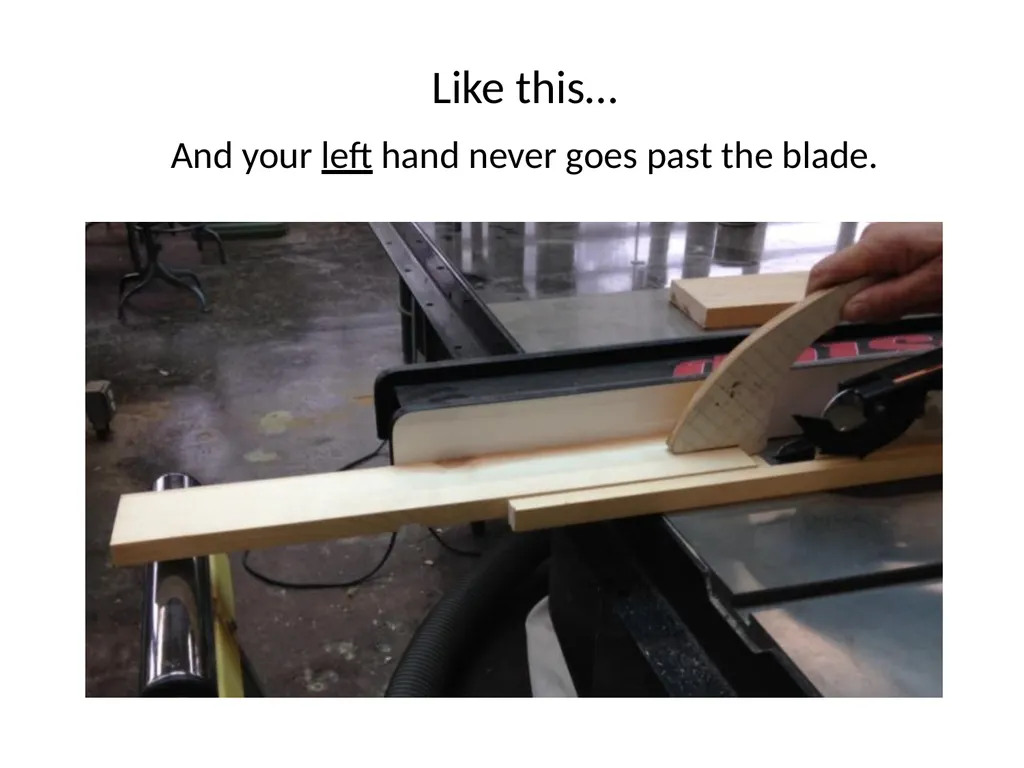
Like this…� �And your left hand never goes past the blade.<br>
18
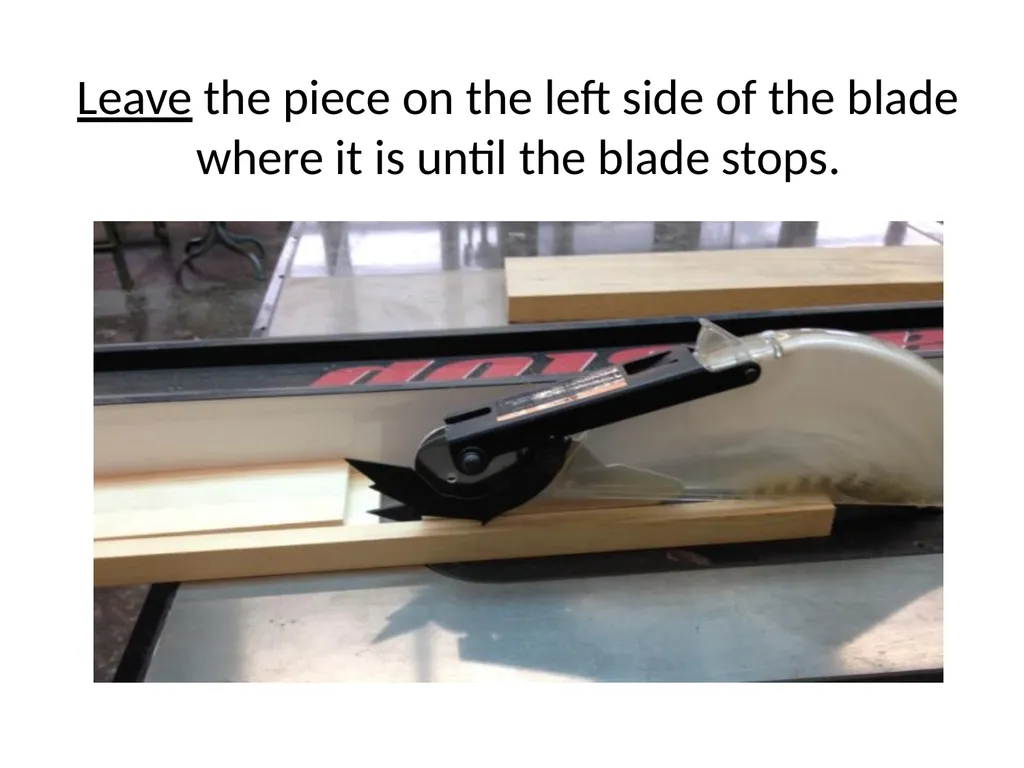
Leave the piece on the left side of the blade where it is until the blade stops.<br>
19
“Tailing off”—you don’t own thumbs.�Just support; don’t pull.<br>
20
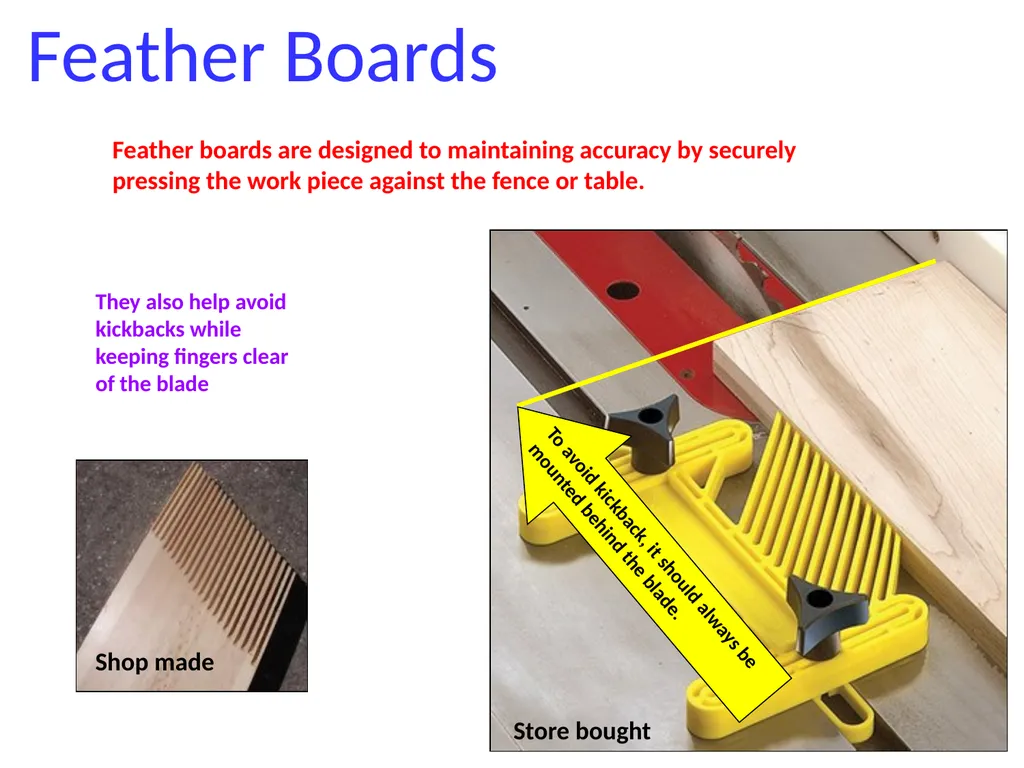
Feather Boards Feather boards are designed to maintaining accuracy by securely pressing the work piece against the fence or table. They also help avoid kickbacks while keeping fingers clear of the blade<br>
21
1. Wear safety glasses. Pull back loose hair, sleeves or jewelry.
2. Make adjustments only with the machine stopped.
3. Set the blade height no more than 1/8" above your wood (≈ height of one tooth on blade).
4. Have a clean, straight edge (from the Jointer) to put
against the fence. Use the board’s longest side to guide it (Rule of Rectangle.) Lock the fence.
5. Wood must lie flat on the table saw.
6. Don't cut through loose knots or nails. On SawStop saws NO METAL and NOTHING WET.
7. Use the guard. If cut is not possible with guard in place, see teacher for a safe way to make your cut. Safety Rules<br>
22
8. Keep your left hand “planted” on the front edge of the table saw. Do not advance your left hand toward or over the blade.
9. Check that no one is standing behind you where they might be hit in case of kickback.
10. When “tailing off”, only support the board. Do not pull the board.
11. Use a push stick for any cuts narrower than 5”.
12. Keep the stick closer to the blade than the fence and angle it toward the fence.
13. Don't use the fence and miter gauge at the same
time.
14. Never saw freehand which means cutting without
the fence or miter gauge.<br>
23
15. Never back up on a cut. Turn off the saw if board becomes stuck.
16. Feed the material at a reasonable rate of speed.
Don't overload machine by going too fast or burn
the wood by going too slow.
20. Don't reach over a moving blade.
21. Never reach for the left over scrap! Allow the blade to come to a complete stop before removing off-cuts.
Use jigs for small work whenever possible.
When you are finished lower the blade.
24. Clean up your area.<br>
24
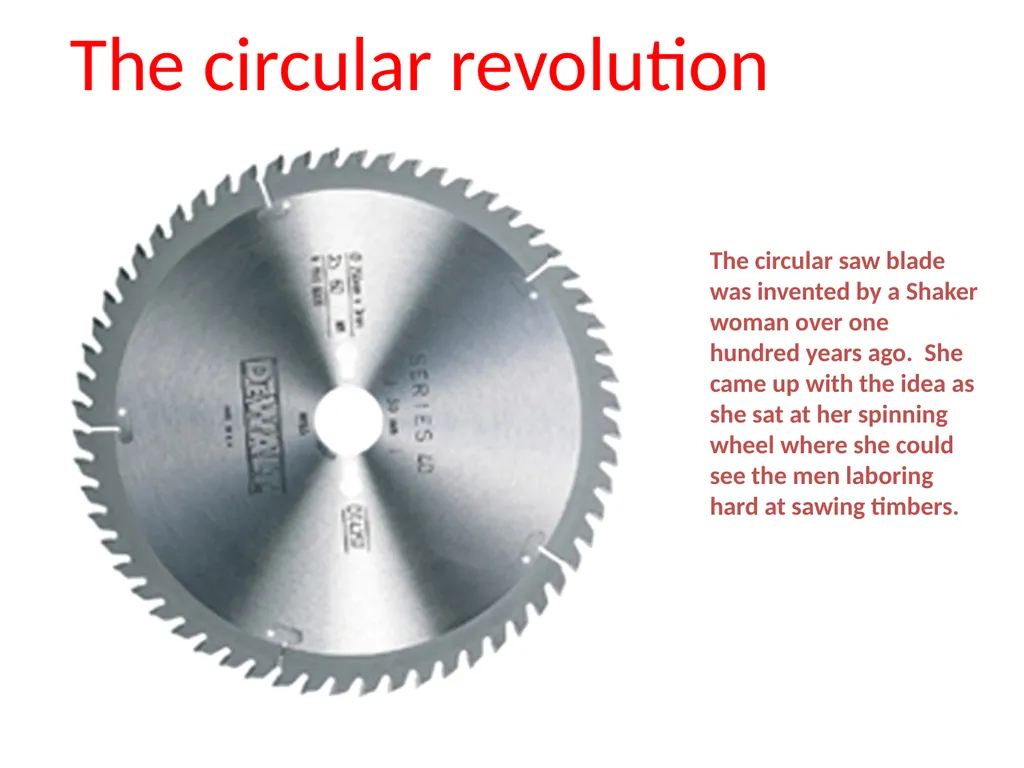
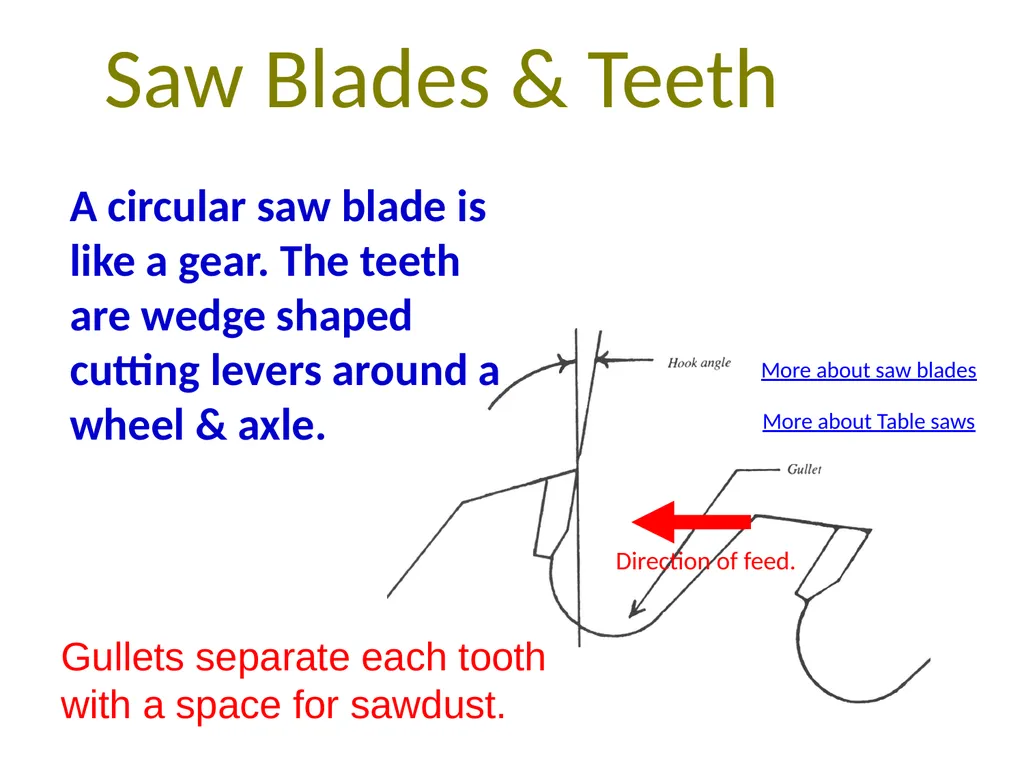
A circular saw blade is like a gear. The teeth are wedge shaped cutting levers around a wheel & axle. Saw Blades & Teeth Gullets separate each tooth with a space for sawdust. More about saw blades More about Table saws<br>
25
Saw Teeth come in a variety of shapes. Alternating top bevel Triple Chip Flat top Hollow Ground Rip teeth Crosscut teeth The kerf is the 1/8” space left by the blade during a cut.<br>
26
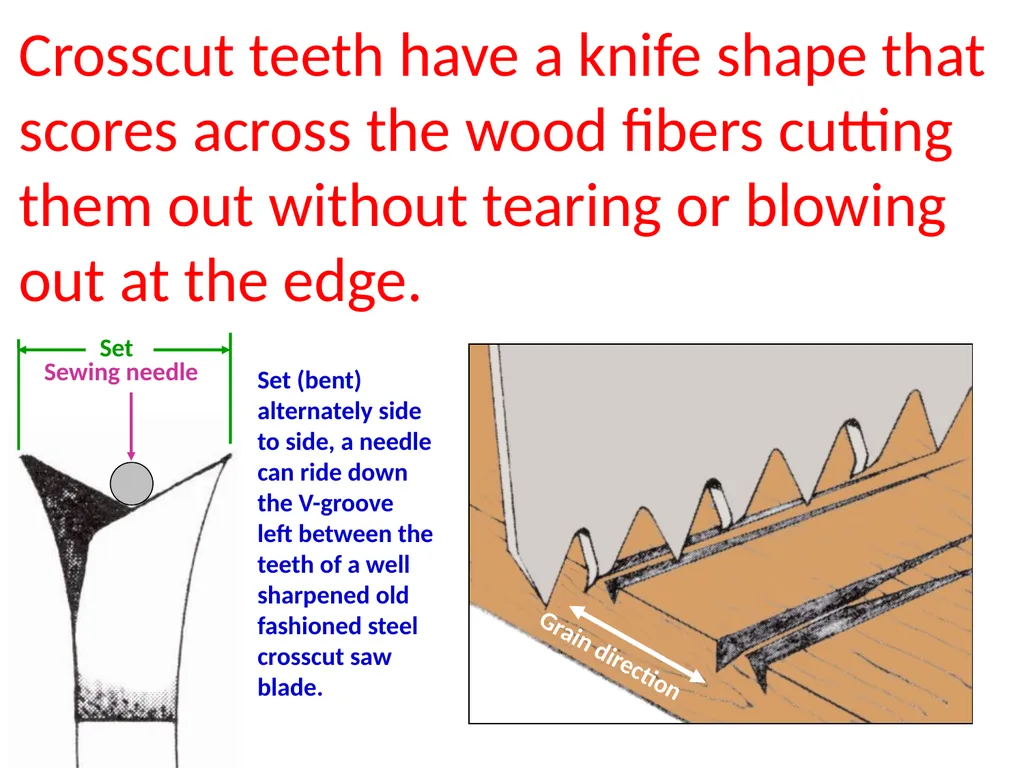
Crosscut teeth have a knife shape that scores across the wood fibers cutting them out without tearing or blowing out at the edge. Set (bent) alternately side to side, a needle can ride down the V-groove left between the teeth of a well sharpened old fashioned steel crosscut saw blade.<br>
27
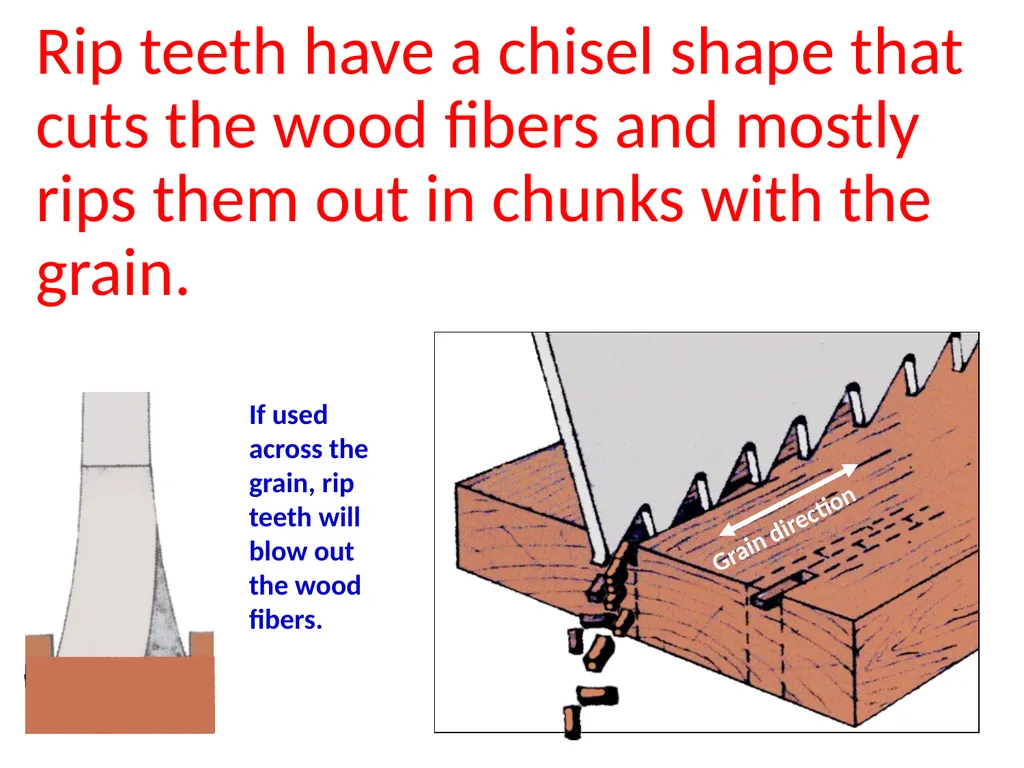
Rip teeth have a chisel shape that cuts the wood fibers and mostly rips them out in chunks with the grain. If used across the grain, rip teeth will blow out the wood fibers.<br>
28
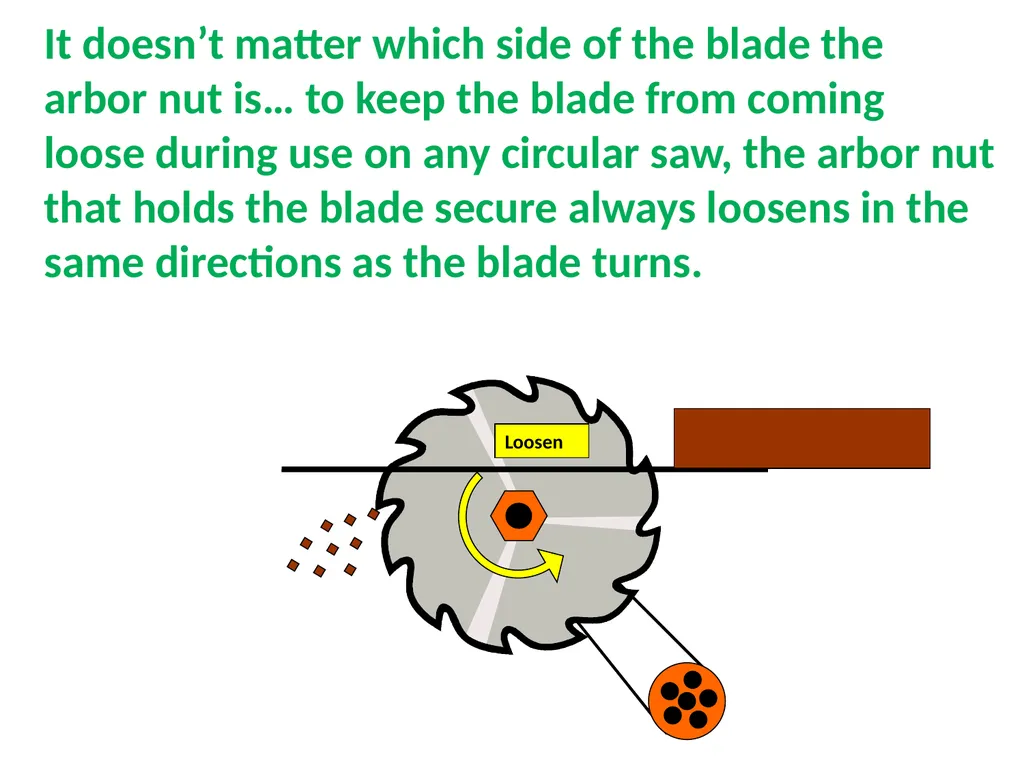
It doesn’t matter which side of the blade the arbor nut is… to keep the blade from coming loose during use on any circular saw, the arbor nut that holds the blade secure always loosens in the same directions as the blade turns. Loosen<br>
29
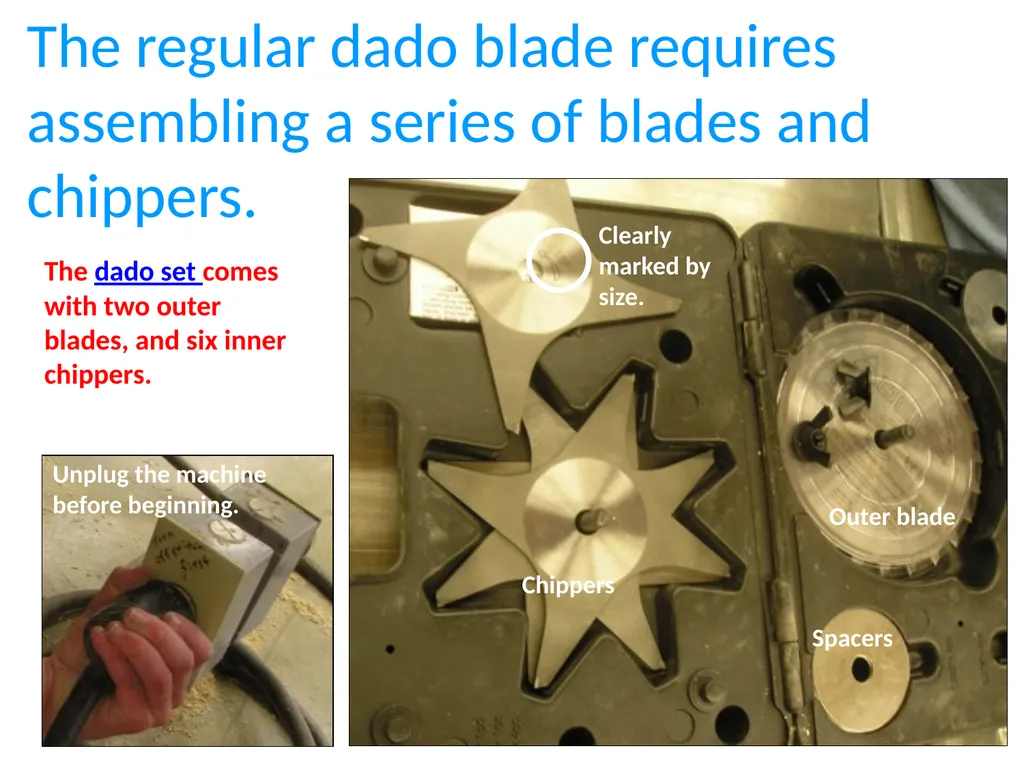
The regular dado blade requires assembling a series of blades and chippers. The dado set comes with two outer blades, and six inner chippers. Chippers Outer blade Spacers<br>
30
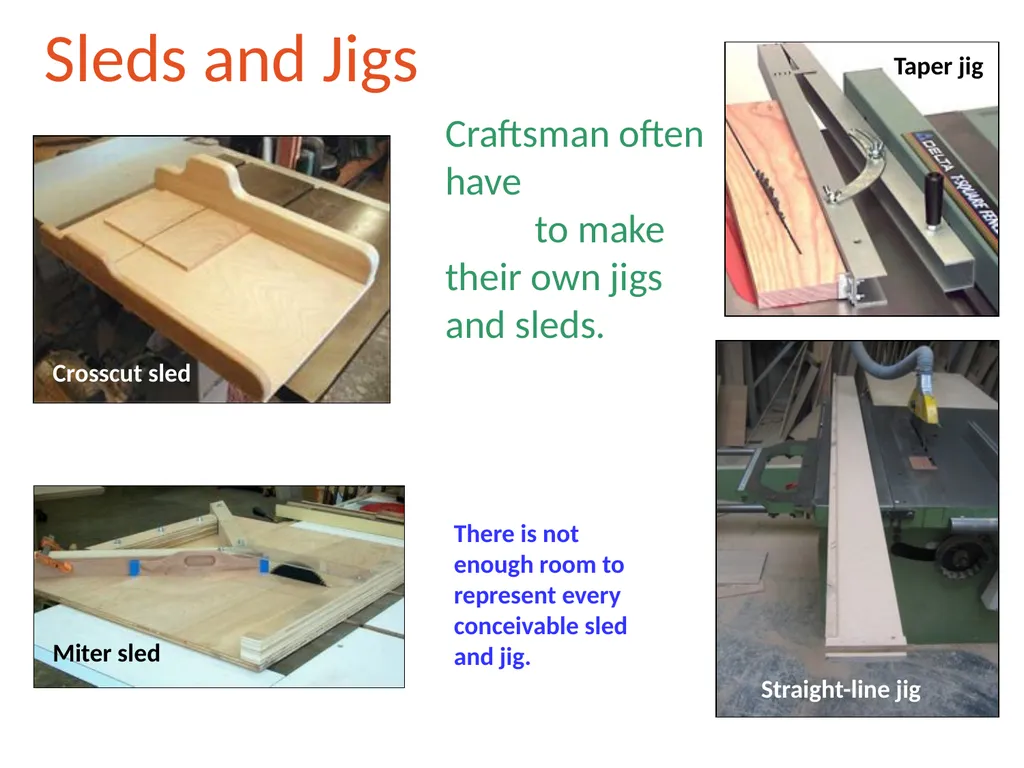
Sleds and Jigs There is not enough room to represent every conceivable sled and jig. Craftsman often have to make their own jigs and sleds.<br>
31
Rabbets and dados can be made using a stack of blades.<br>
32
The mortise and tenon joint is a popular furniture construction technique. Cutting an open mortise with the table saw. The joint is self supporting with more surface area that holds more glue making the joint very strong. Leg and rail. Mortise & Tenon Jig<br>