Vertical Ventilation Milwaukee Cut FF Justin McMenamin Purpose The purpose of this presentation is to provide the student with the basic knowledge needed to perform the Milwaukee Cut vertical ventilation technique. This presentation
"Vertical Ventilation “Milwaukee Cut” FF Justin" is the property of its rightful owner. Permission is granted to
download and print the materials on this website for personal, non-commercial use only, and to display it
on your personal computer provided you do not modify the materials and that you retain all copyright
notices contained in the materials. By downloading content from our website, you accept the terms of this
agreement.
Purpose The purpose of this presentation is to provide the student with the basic knowledge needed to perform the “Milwaukee Cut” vertical ventilation technique. This presentation will expand the firefighter’s knowledge ladder deployment needed to properly perform vertical ventilation in accordance with Menomonee Falls Fire Department SOG S2001.02.<br>
03
Learning Objectives -Describe the difference of one roof ladder VS. two roof ladders.
-Identify the equipment needed to perform the “MIlwaukee Cut”
-Identify the personnel needed and their positions.
-Discuss crew coordination considerations during roof ladder operations.
-State the proper procedure of setting up the ladders.<br>
04
References -Fire Engineering Article “Milwaukee Method for Peaked-Roof Structures” by Dave Rickert
-Menomonee Falls Fire Department SOG S2001.02<br>
05
Outline Background of the “Milwaukee Cut”
Why two roof ladders VS one roof ladders
Equipment needed
Crew positions
Deployment procedures
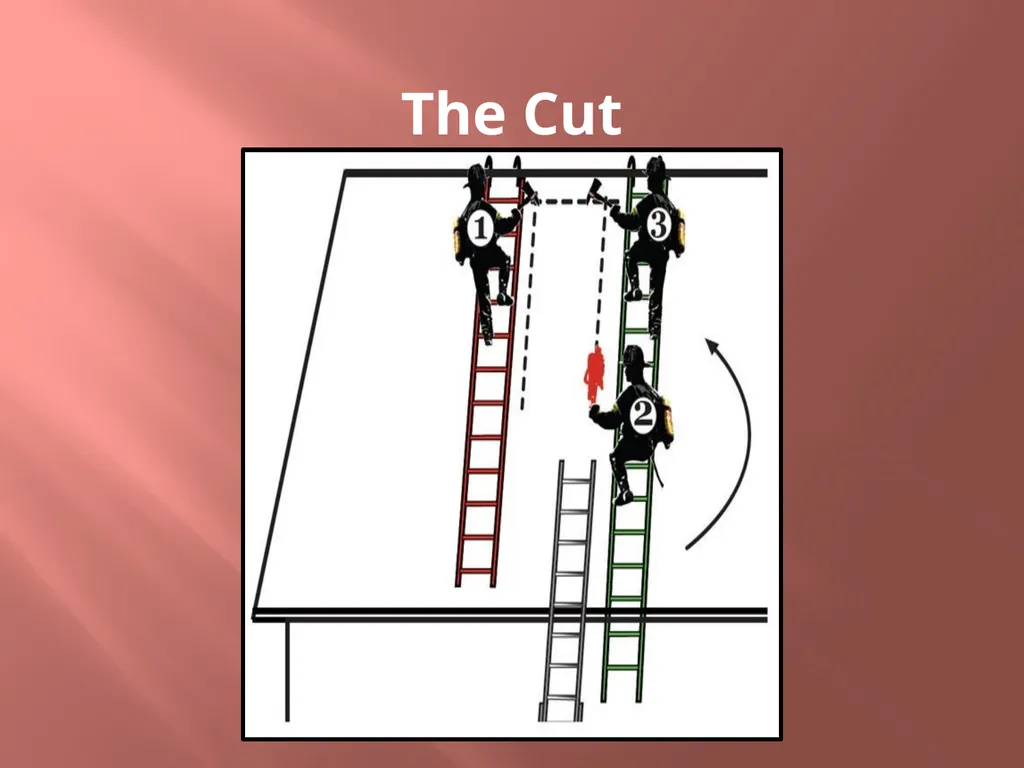
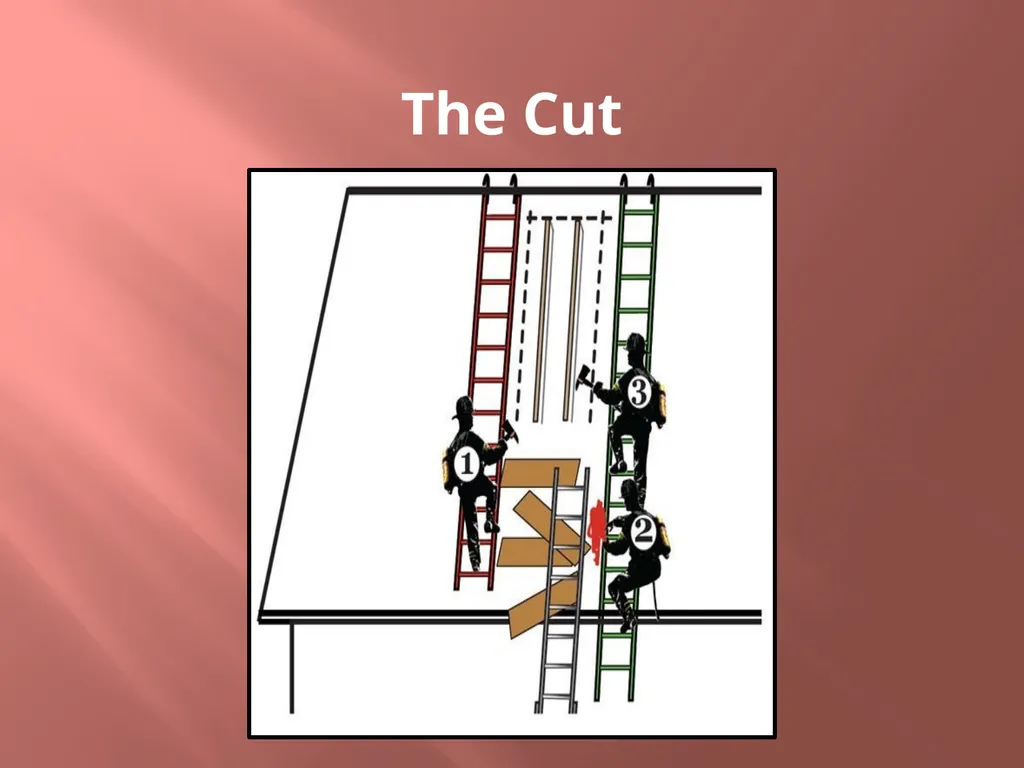
The cut
Video of deployment<br>
06
Background of the “Milwaukee Cut” The Milwaukee Fire Department (MFD) has a long history of aggressive interior attack combined with equally aggressive vertical ventilation. Truck companies are comprised of four person crews and are well versed in peaked-roof ventilation. Milwaukee’s typical peaked-roof scenario is a two and a half story wood frame private dwelling with some type of steeply- pitched, raftered gable roof; composed of roof boards, cedar shake, and shingles; add to this the possibility of ice, snow, and or sub-zero temperatures six months out of the year, and it is no wonder Milwaukee truck crews have developed their own system for venting peaked-roofs.<br>
07
Why Two Roof Ladders? The Milwaukee Method’s biggest departure from standard operating procedure (SOPs) of most departments and the generally accepted textbook method(s) is the use of a second roof ladder. The minimal time needed to deploy a second roof ladder is far outweighed by the increased safety and efficiency.
This increase in efficiency and safety comes in part from working in concert with one another instead of waiting for just one person to perform all the functions. In addition the second roof ladder:
Gives you the security of always working off of a roof ladder.
Gives you another means of egress
Allows you to easily reposition to another part or side of the roof
Provides redundancy in case one roof ladder is compromised or fails
Allows separation of working crew members operating power tools in limited visibility
Enables you to make an effective opening without having to lean too far off the roof ladder or stepping off it entirely<br>
08
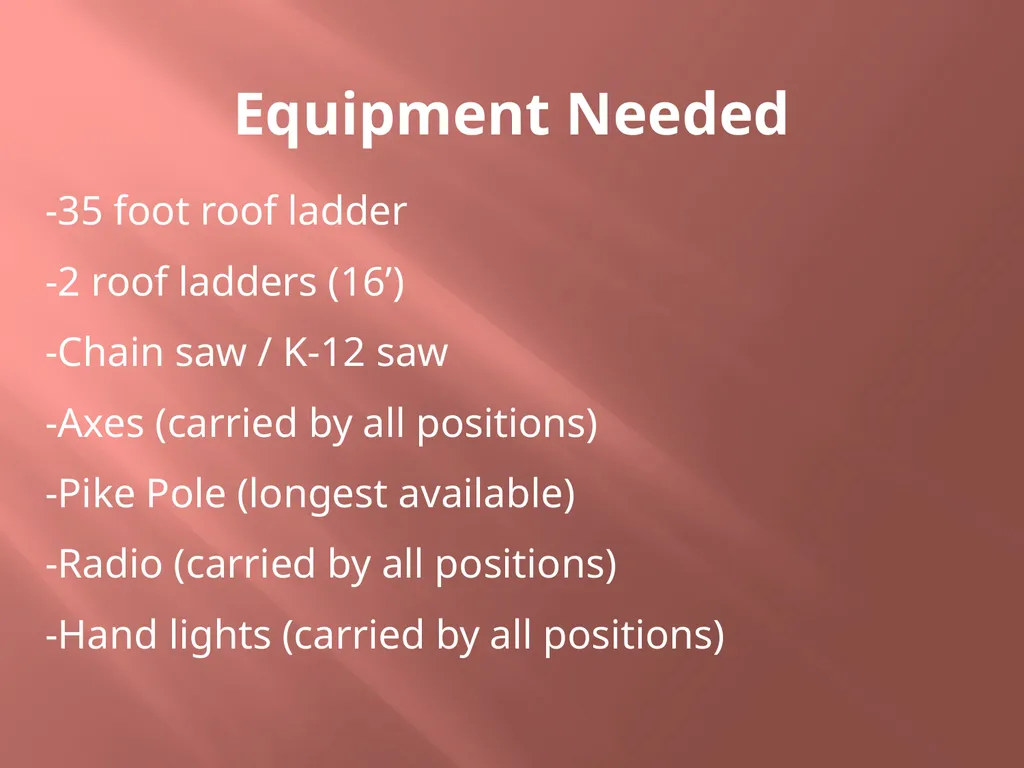
Equipment Needed -35 foot roof ladder
-2 roof ladders (16’)
-Chain saw / K-12 saw
-Axes (carried by all positions)
-Pike Pole (longest available)
-Radio (carried by all positions)
-Hand lights (carried by all positions)<br>
09
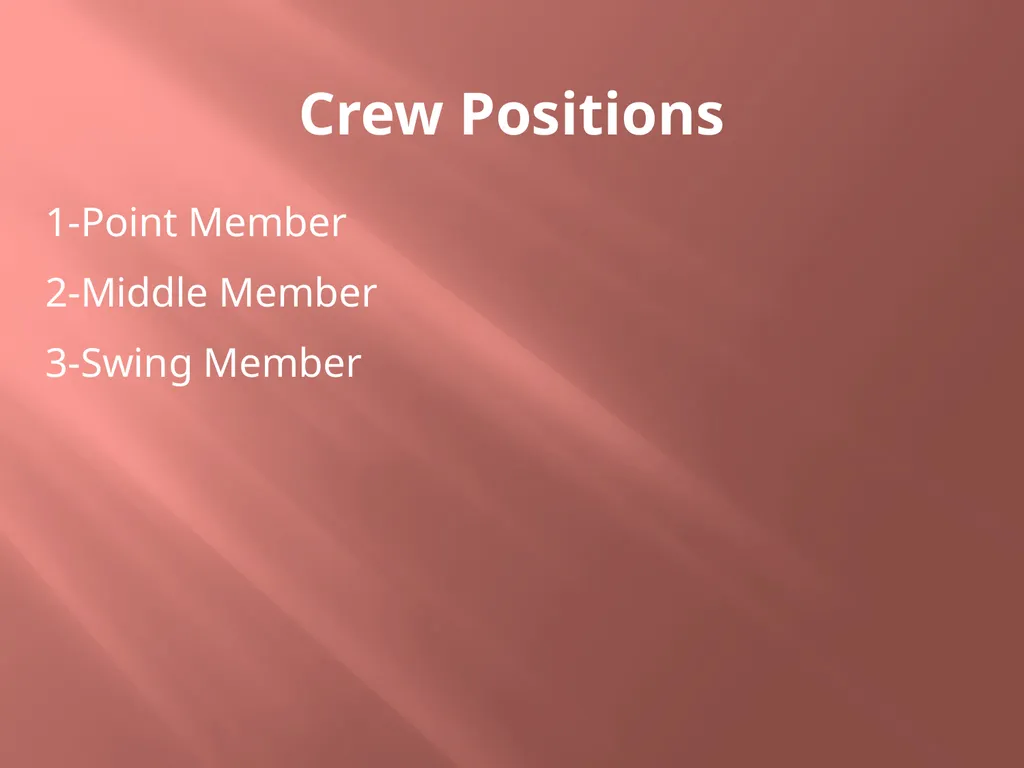
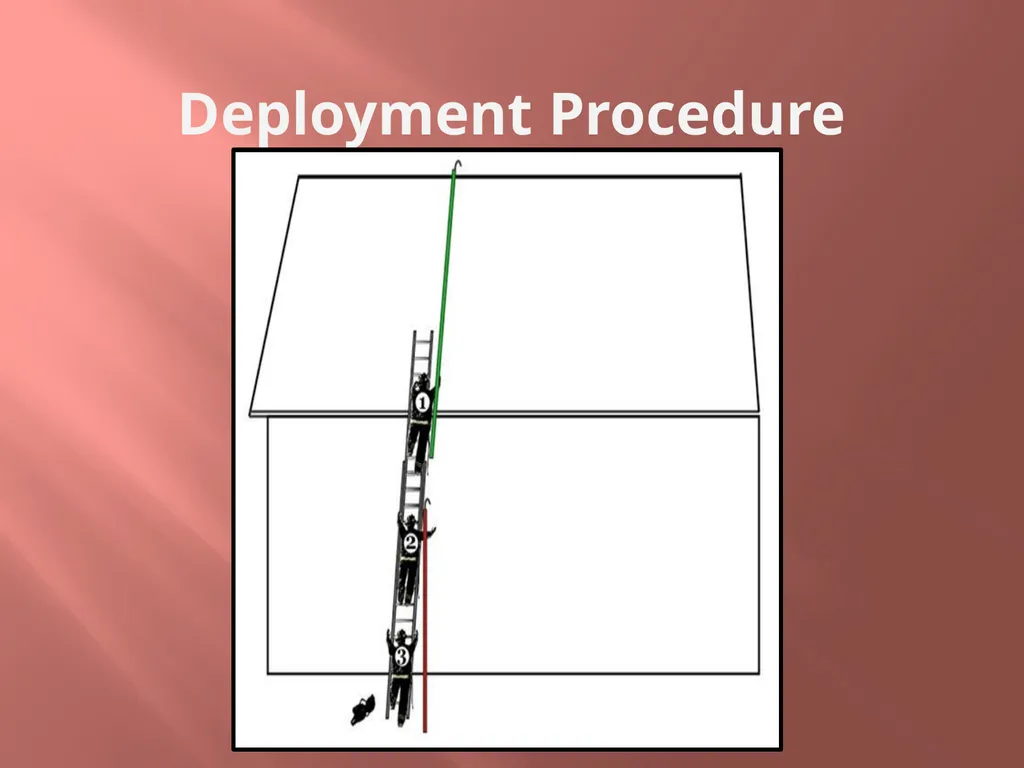
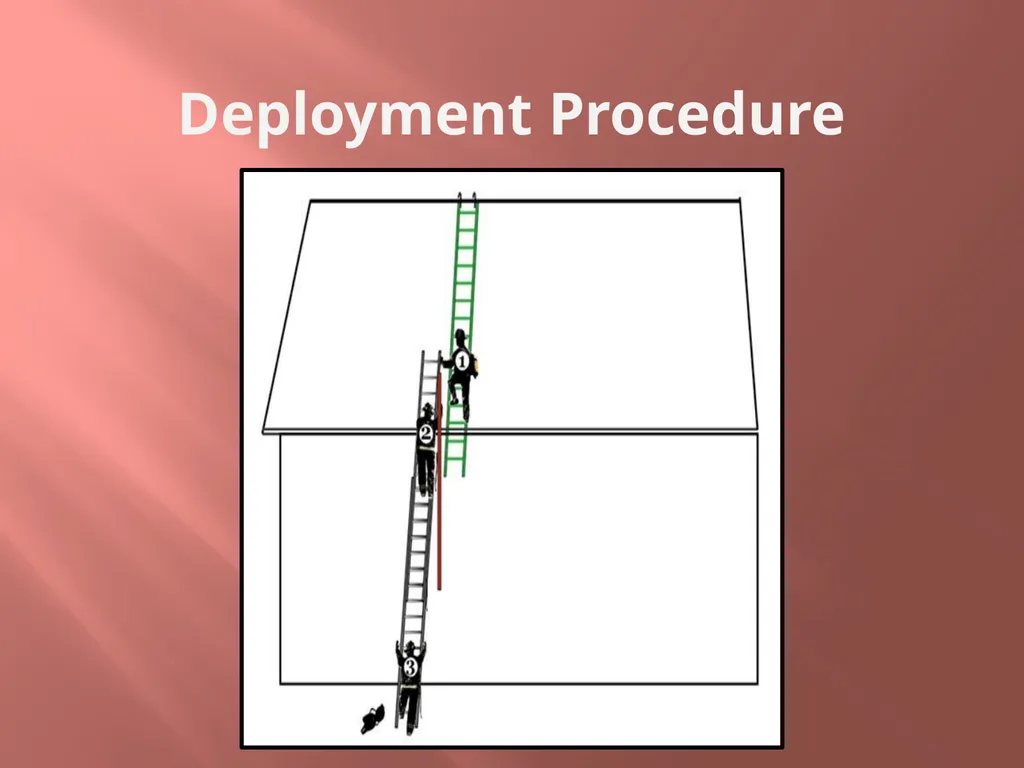
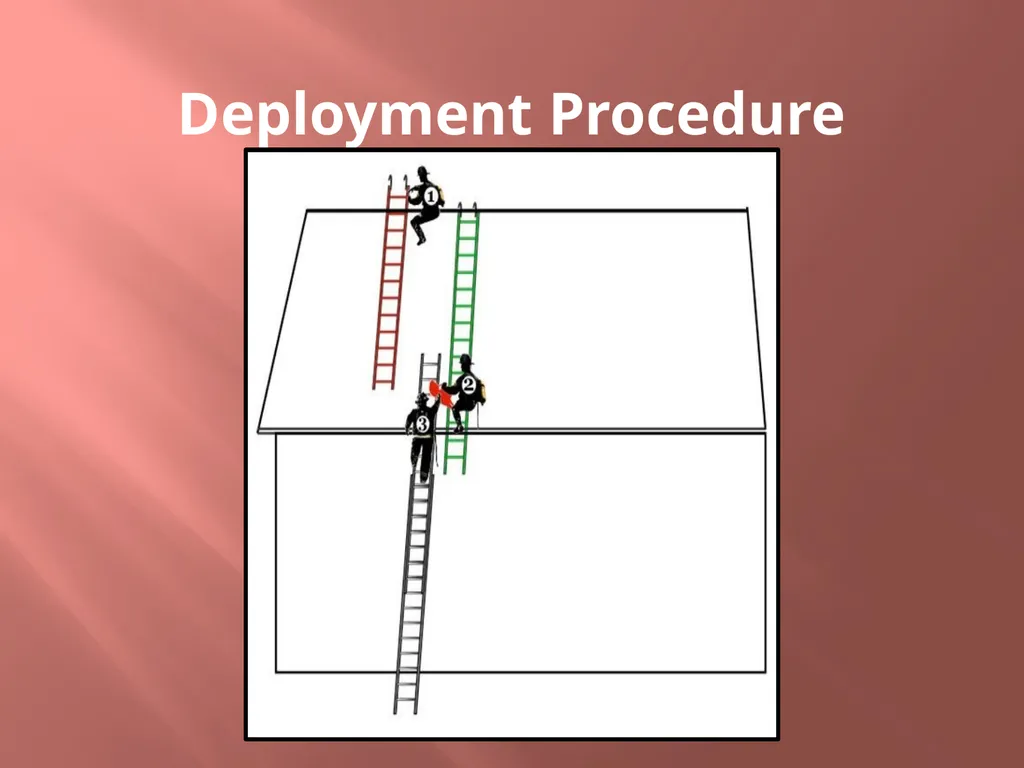
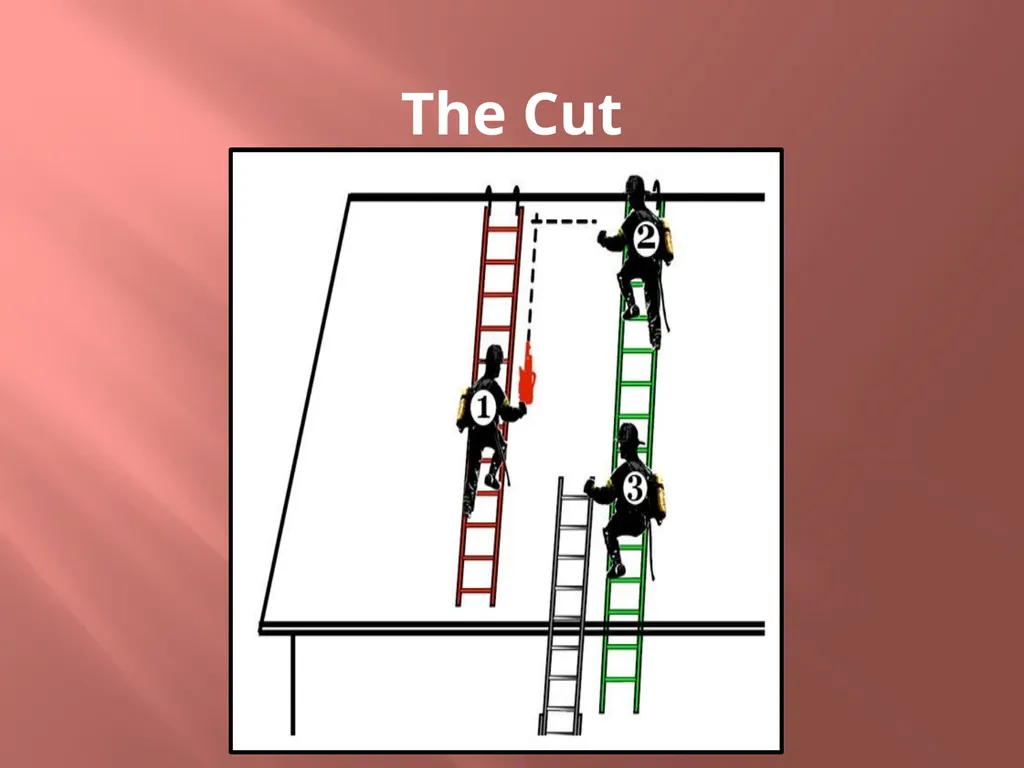
Crew Positions 1-Point Member
2-Middle Member
3-Swing Member<br>