
Welcome! Fall Prevention in Construction This



Description: Welcome! Fall Prevention in Construction This material was produced under Grant Number SH-31216-SH7 from the Occupational Safety and Health Administration, U.S. Department of Labor. It does not necessarily reflect the views or policies of
Related Topics
Download Presentation
"Welcome! Fall Prevention in Construction This" is the property of its rightful owner. Permission is granted to download and print the materials on this website for personal, non-commercial use only, and to display it on your personal computer provided you do not modify the materials and that you retain all copyright notices contained in the materials. By downloading content from our website, you accept the terms of this agreement.
Presentation Transcript
slide1. Welcome! Fall Prevention in Construction This material was produced under Grant Number SH-31216-SH7 from the Occupational Safety and Health Administration, U.S. Department of Labor. It does not necessarily reflect the views or policies of the U.S. Department of labor, nor does mention of trade names, commercial products, or organizations imply endorsement by the U.S. Government.<br>
slide2. Content The content provided in this training was developed by the National Framers Council and is in compliance with OSHA 29 CFR 1926 Subpart M.
Likewise, the content within the site-specific fall protection plan was developed by framers on the NFC Safety Committee, and have been developed to be compliant with OSHA 29 CFR 1926 Subpart M Appendix E.
This material was produced under Grant Number SH-31216-SH7 from the Occupational Safety and Health Administration, U.S. Department of Labor. It does not necessarily reflect the views or policies of the U.S. Department of labor, nor does mention of trade names, commercial products, or organizations imply endorsement by the U.S. Government.<br>
slide3. Introduction Everyone shares the responsibility of practicing jobsite safety.
Employers
Develop and enforce jobsite safety manual and regular training schedule in compliance with Occupational Safety and Health Administration (OSHA) standards
Create and maintain a safe jobsite that includes regular inspection
Oversee the proper use of all tools and safety equipment on each site
Employees
Take training seriously
Practice safety and encourage fellow employees to be safe
Learn the responsibilities of everyone on the jobsite and recognize who the qualified persons are<br>
slide4. Overview Today’s training focuses on general fall protection guidelines and requirements:
Ladders
Protection from falling objects
Guardrails
Scaffolding
Personal Fall Arrest Systems (PFAS)
Positioning Device Systems
Horizontal Lifeline System (HLL)
Rescue Planning
As well as:
Site-specific fall protection plans<br>
slide5. Overview Training is intended to include a hands-on roof truss model where trainees can apply the safety techniques of this course when setting roof trusses.
Why?
Accidental falls are the leading cause of death for framers
Setting roof trusses is one of the most dangerous activities
Truss installation exposes workers to greatest heights
Trusses are unstable until they are braced This material was produced under Grant Number SH-31216-SH7 from the Occupational Safety and Health Administration, U.S. Department of Labor. It does not necessarily reflect the views or policies of the U.S. Department of labor, nor does mention of trade names, commercial products, or organizations imply endorsement by the U.S. Government.<br>
slide6. Definitions Authorized person - a person approved or assigned by the employer to perform a specific type of duty or duties or to be at a specific location or locations at the jobsite.
Competent Person - one who is capable of identifying existing and predictable hazards in the surroundings or working conditions which are unsanitary, hazardous, or dangerous to employees, and who has authorization to take prompt corrective measures to eliminate them. Designated person - means "authorized person“.<br>
slide7. Definitions Employee - every laborer or mechanic under the Act regardless of the contractual relationship which may be alleged to exist between the laborer and mechanic and the contractor or subcontractor who engaged him…"Laborer" generally means one who performs manual labor or who labors at an occupation requiring physical strength; "mechanic" generally means a worker skilled with tools.
Employer - contractor or subcontractor within the meaning of the Act.
Qualified - one who, by possession of a recognized degree, certificate, or professional standing, or who by extensive knowledge, training, and experience, has successfully demonstrated his ability to solve or resolve problems relating to the subject matter, the work, or the project.<br>
slide8. Discussion Do you use fall protection on your jobsites?
What kind?
Are there certain tasks you perform without the use of fall protection?
Do you receive regular training on fall protection?
Employer based? External companies?
Has OSHA visited a jobsite you were working at?
How did the visit turn out?<br>
slide9. OSHA Basics Purpose:
To assure safe and healthful working conditions for working men and women; by authorizing enforcement of the standards developed under the Act; by assisting and encouraging the States in their efforts to assure safe and healthful working conditions; by providing for research, information, education, and training in the field of occupational safety and health; and for other purposes<br>
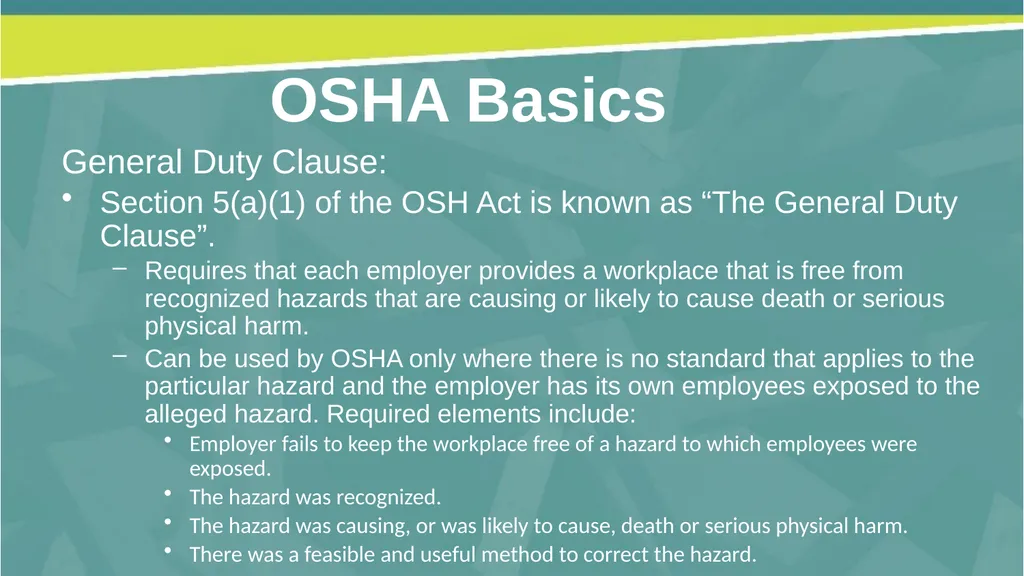
slide10. OSHA Basics General Duty Clause:
Section 5(a)(1) of the OSH Act is known as “The General Duty Clause”.
Requires that each employer provides a workplace that is free from recognized hazards that are causing or likely to cause death or serious physical harm.
Can be used by OSHA only where there is no standard that applies to the particular hazard and the employer has its own employees exposed to the alleged hazard. Required elements include:
Employer fails to keep the workplace free of a hazard to which employees were exposed.
The hazard was recognized.
The hazard was causing, or was likely to cause, death or serious physical harm.
There was a feasible and useful method to correct the hazard.<br>
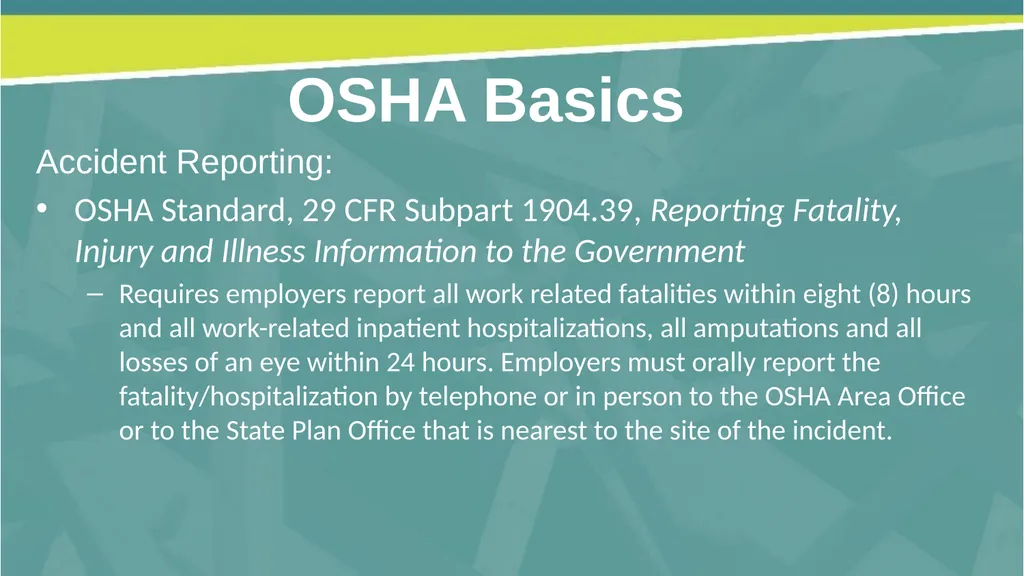
slide11. OSHA Basics Accident Reporting:
OSHA Standard, 29 CFR Subpart 1904.39, Reporting Fatality, Injury and Illness Information to the Government
Requires employers report all work related fatalities within eight (8) hours and all work-related inpatient hospitalizations, all amputations and all losses of an eye within 24 hours. Employers must orally report the fatality/hospitalization by telephone or in person to the OSHA Area Office or to the State Plan Office that is nearest to the site of the incident.<br>
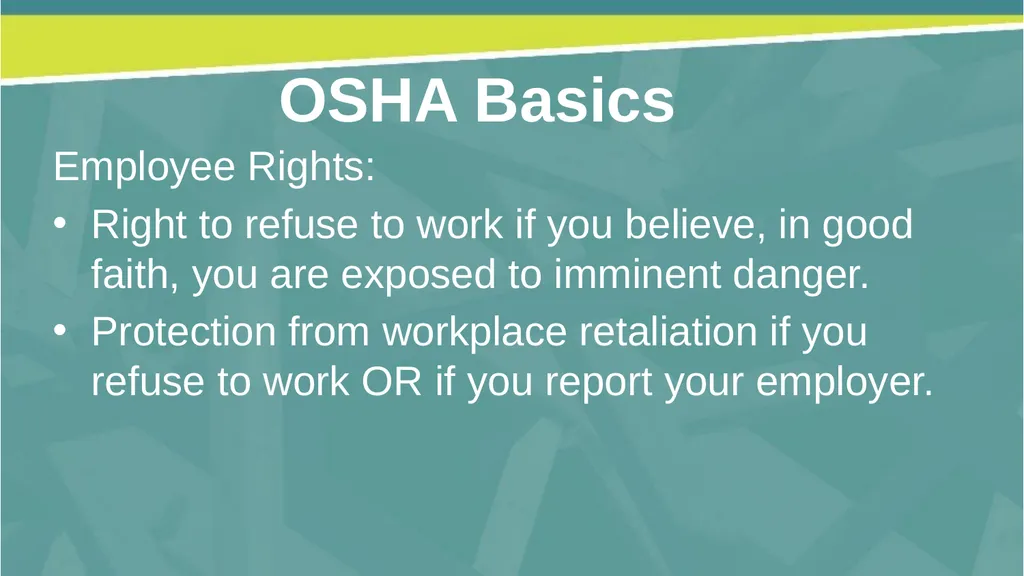
slide12. OSHA Basics Employee Rights:
Right to refuse to work if you believe, in good faith, you are exposed to imminent danger.
Protection from workplace retaliation if you refuse to work OR if you report your employer.<br>
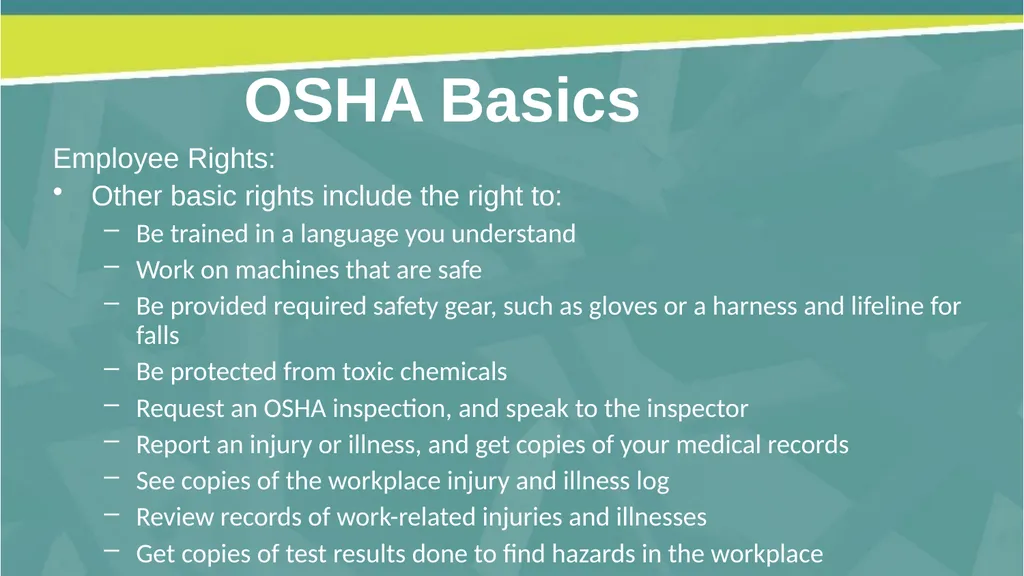
slide13. OSHA Basics Employee Rights:
Other basic rights include the right to:
Be trained in a language you understand
Work on machines that are safe
Be provided required safety gear, such as gloves or a harness and lifeline for falls
Be protected from toxic chemicals
Request an OSHA inspection, and speak to the inspector
Report an injury or illness, and get copies of your medical records
See copies of the workplace injury and illness log
Review records of work-related injuries and illnesses
Get copies of test results done to find hazards in the workplace<br>
slide14. Ladders General guidelines:
Don’t exceed maximum intended load
Never tie ladders together unless they are made to do so
Make sure ladder extends at least 3 ft. past the platform onto which you’re climbing
Maintain 3 points of contact with ladders when ascending or descending.<br>
slide15. Ladders Extension:
4-to-1 rule
For ever 4 ft. of height, the base should be placed 1 ft. from whatever the ladder is leaning against
At least 3 rungs overlapped
Never stand on the top three rungs
Step:
Don’t use as a single ladder (leaning)
Lock the spreader hinges
Do not sit/stand on the top platform<br>
slide16. Ladders Job-made wooden:
Secure top and base so it does not move
Maintain OSHA compliant rail system at the top to protect from falls
Inspections:
Loose components
Cracks, dents, splits
Tag ladders that don’t meet inspections, remove from jobsite and report to supervisor<br>
slide17. Protection from Falling Objects General guidelines:
Wear hardhat and safety glasses to protect from falling objects
Holes and opening must be covered and/or protected by a guardrail system
Hole covers must support 2-times the weight of employee with equipment and materials
Holes must be labeled
Materials must be kept 6 ft. from any leading edge unless a guardrail is in place Canopy
Must be strong enough to prevent collapse by objects that fall onto it Barricade
Must prevent employees from accessing area with falling objects<br>
slide18. Guardrails General Guidelines:
Should be erected only under the guidance of a competent person.
Use when working surface is greater than 6 ft. above a lower level
Use across holes/opening greater than 18 in.<br>
slide19. Guardrails Guardrail dimensions:
Top Rail: 42 in. +/- 3 in. above working surface
Mid Rail: At least 21 in. above working surface (halfway) when there is no wall or parapet wall at least 21 in. high
Toe Board: 3.5 in. tall
Verticals: Minimum of every 8 ft.
Additional Members: Installed so no opening is more than 19 in. apart
Weight requirements:
Force of at least 200 lbs. applied within 2 in. of the top edge<br>
slide20. Scaffolding General guidelines:
Erected only under supervision of competent person
Do not erect within 10 ft. of power lines
Settling or displacement should not occur
Pumpjack poles must be secured to building
Employees on scaffolds over 10 ft. in height must have fall protection
If guardrails are installed per manufacturer specifications and OSHA requirements, personal fall protection is not needed
If personal fall protection is required, the anchor point must be attached to a structural member; DO NOT attach to scaffolding guardrail<br>
slide21. Scaffolding Fall protection:
Do not use scaffolds where drop-off is 6 ft. or greater unless guardrail systems, including toe boards, are installed at open sides and ends.
Each walkway located within a scaffold shall be protected by a guardrail system installed within 9.5 in. of and along at least one side of the walkway
DO NOT attach personal fall protection devices to guardrail systems Inspection
Must be done by competent person before each work day and/or after events that could affect scaffold’s integrity
Remove slippery substances from floor
Remove debris
Damaged components must be removed and replaced or repaired, and tagged appropriately<br>
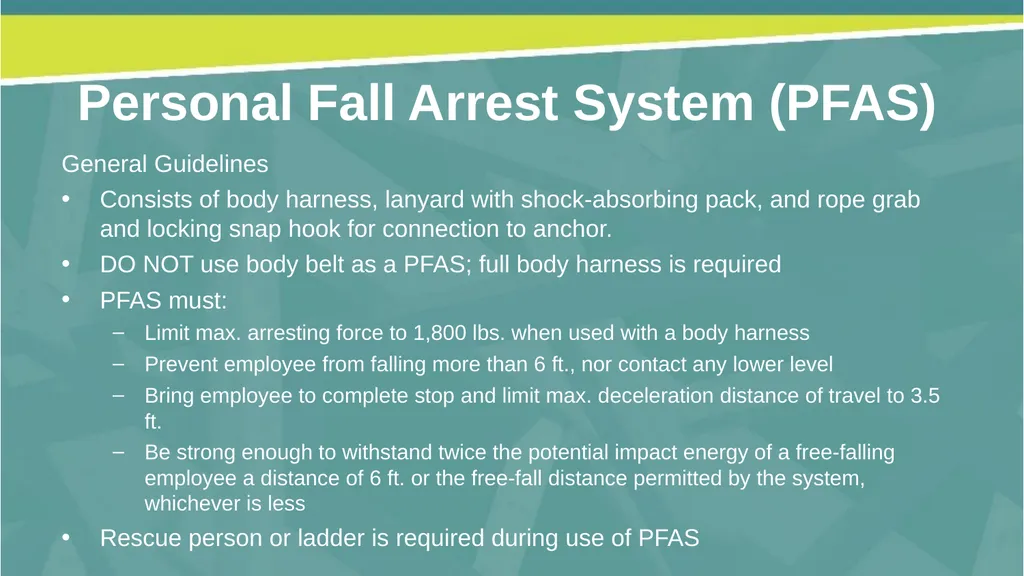
slide22. Personal Fall Arrest System (PFAS) General Guidelines
Consists of body harness, lanyard with shock-absorbing pack, and rope grab and locking snap hook for connection to anchor.
DO NOT use body belt as a PFAS; full body harness is required
PFAS must:
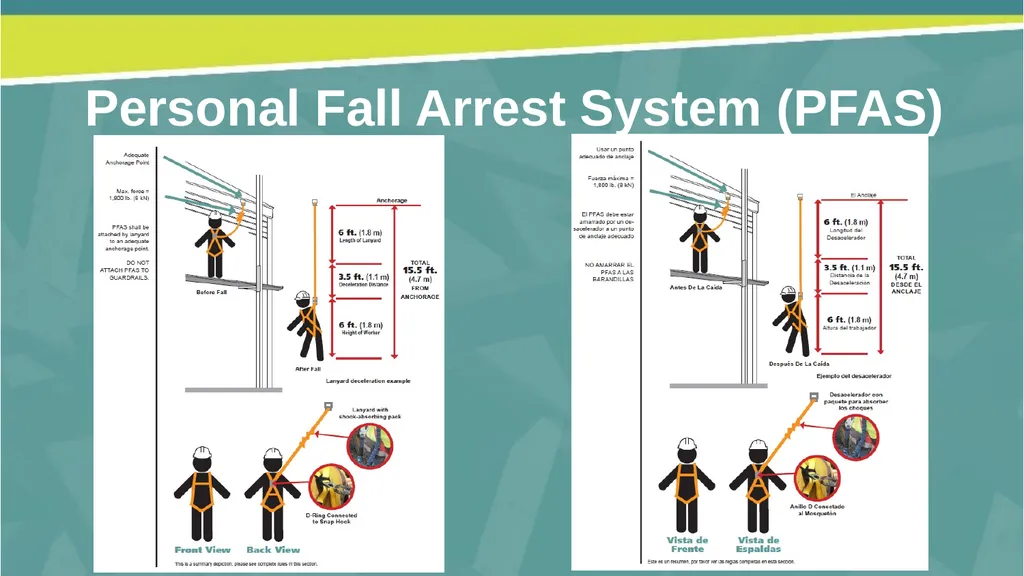
Limit max. arresting force to 1,800 lbs. when used with a body harness
Prevent employee from falling more than 6 ft., nor contact any lower level
Bring employee to complete stop and limit max. deceleration distance of travel to 3.5 ft.
Be strong enough to withstand twice the potential impact energy of a free-falling employee a distance of 6 ft. or the free-fall distance permitted by the system, whichever is less
Rescue person or ladder is required during use of PFAS<br>
slide23. Personal Fall Arrest System (PFAS)<br>
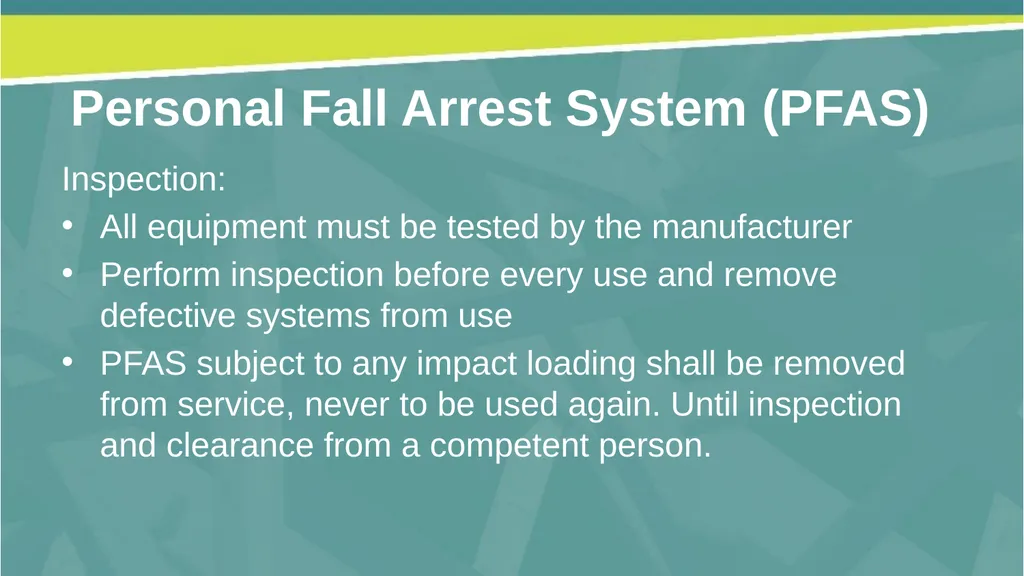
slide24. Personal Fall Arrest System (PFAS) Inspection:
All equipment must be tested by the manufacturer
Perform inspection before every use and remove defective systems from use
PFAS subject to any impact loading shall be removed from service, never to be used again. Until inspection and clearance from a competent person.<br>
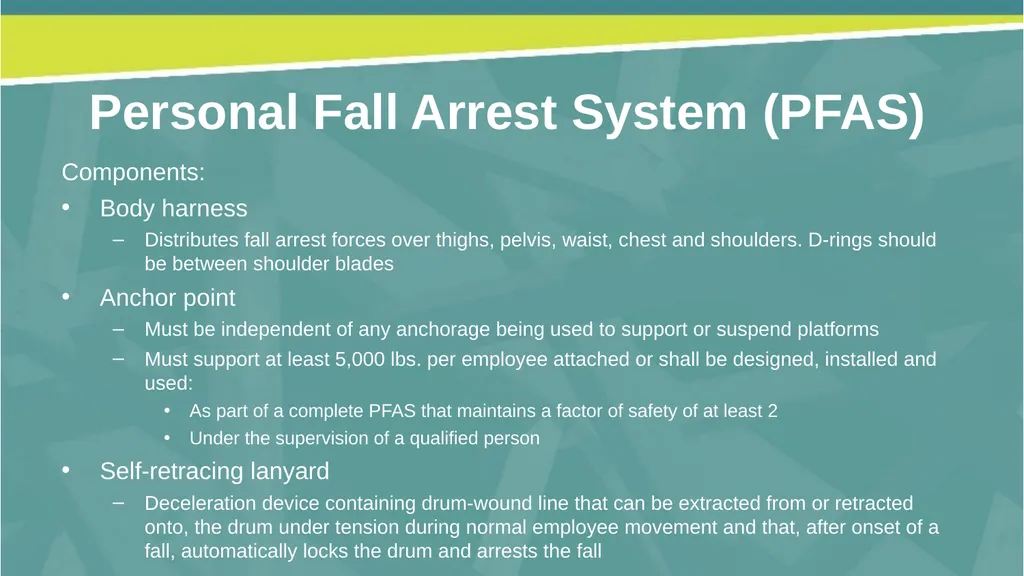
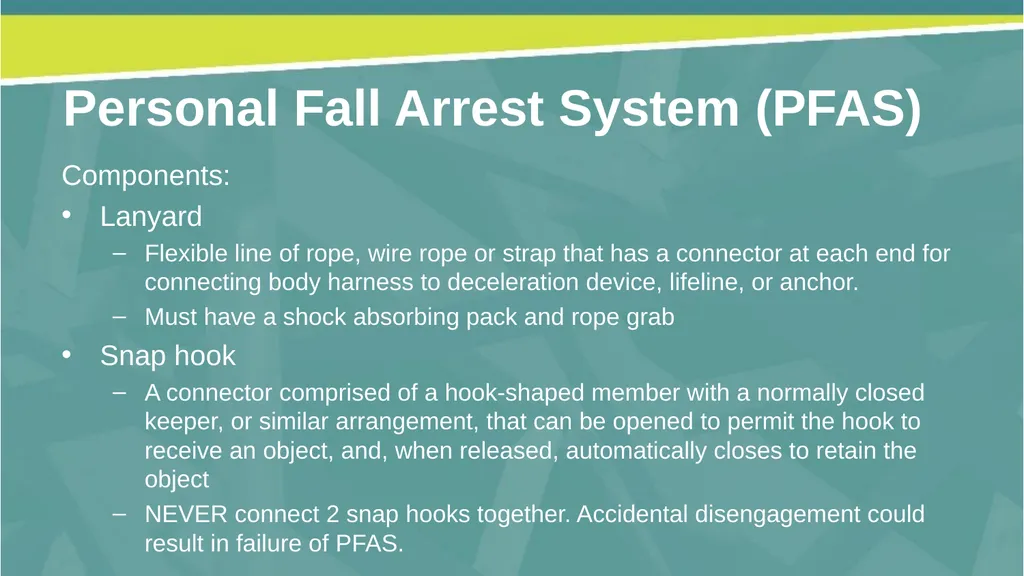
slide25. Personal Fall Arrest System (PFAS) Components:
Body harness
Distributes fall arrest forces over thighs, pelvis, waist, chest and shoulders. D-rings should be between shoulder blades
Anchor point
Must be independent of any anchorage being used to support or suspend platforms
Must support at least 5,000 lbs. per employee attached or shall be designed, installed and used:
As part of a complete PFAS that maintains a factor of safety of at least 2
Under the supervision of a qualified person
Self-retracing lanyard
Deceleration device containing drum-wound line that can be extracted from or retracted onto, the drum under tension during normal employee movement and that, after onset of a fall, automatically locks the drum and arrests the fall<br>
slide26. Personal Fall Arrest System (PFAS) Components:
Lanyard
Flexible line of rope, wire rope or strap that has a connector at each end for connecting body harness to deceleration device, lifeline, or anchor.
Must have a shock absorbing pack and rope grab
Snap hook
A connector comprised of a hook-shaped member with a normally closed keeper, or similar arrangement, that can be opened to permit the hook to receive an object, and, when released, automatically closes to retain the object
NEVER connect 2 snap hooks together. Accidental disengagement could result in failure of PFAS.<br>
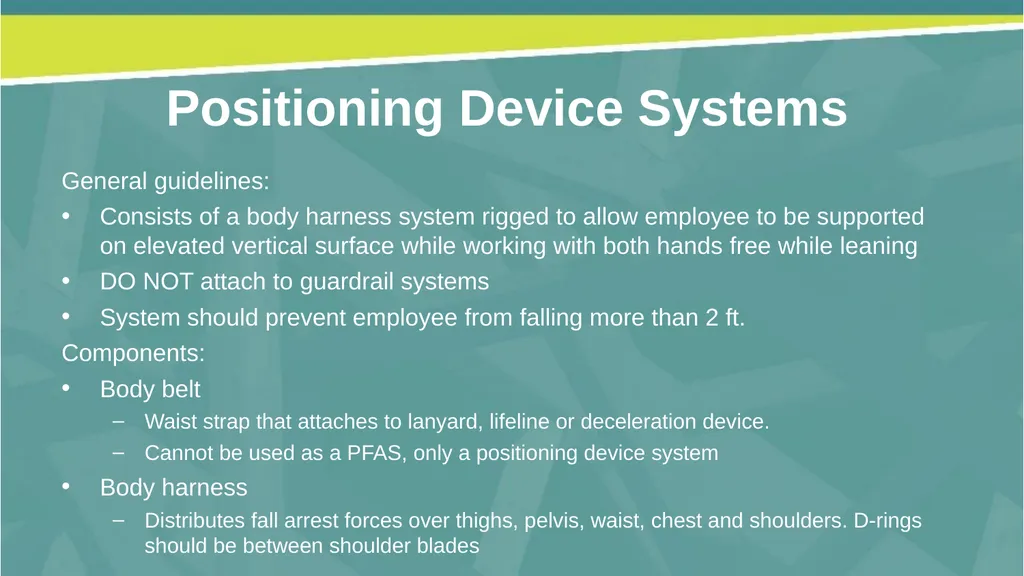
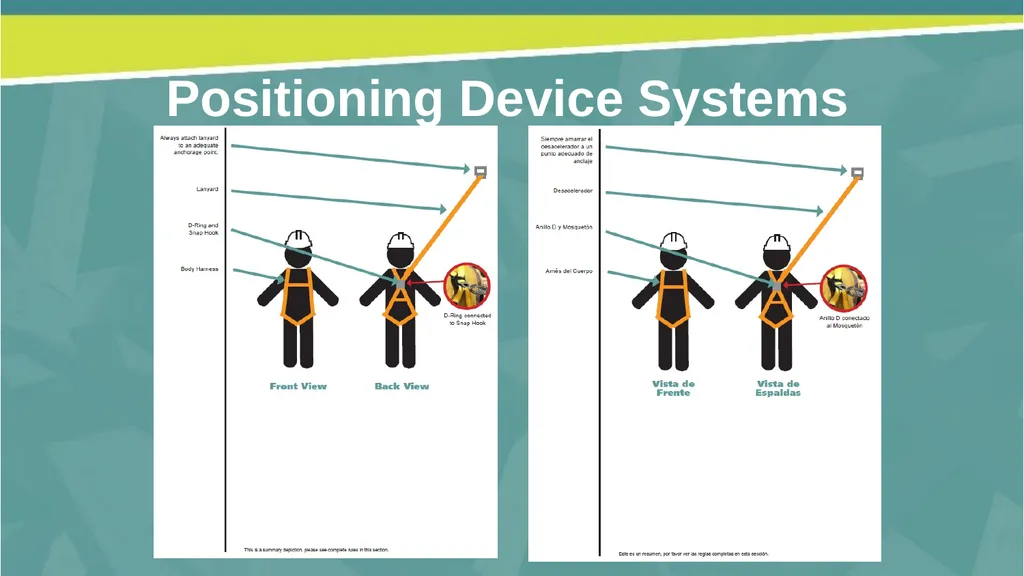
slide27. Positioning Device Systems General guidelines:
Consists of a body harness system rigged to allow employee to be supported on elevated vertical surface while working with both hands free while leaning
DO NOT attach to guardrail systems
System should prevent employee from falling more than 2 ft.
Components:
Body belt
Waist strap that attaches to lanyard, lifeline or deceleration device.
Cannot be used as a PFAS, only a positioning device system
Body harness
Distributes fall arrest forces over thighs, pelvis, waist, chest and shoulders. D-rings should be between shoulder blades<br>
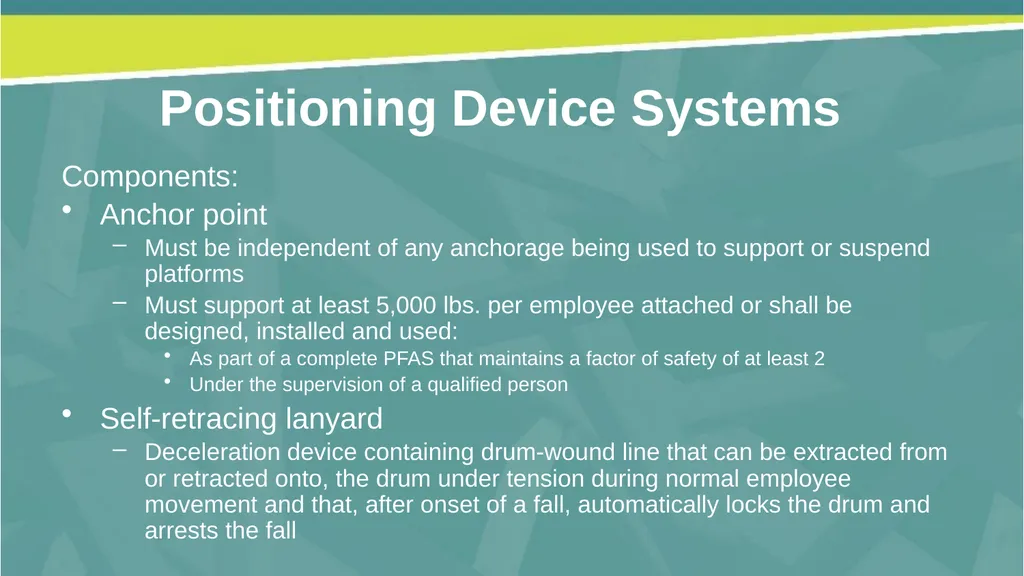
slide28. Positioning Device Systems Components:
Anchor point
Must be independent of any anchorage being used to support or suspend platforms
Must support at least 5,000 lbs. per employee attached or shall be designed, installed and used:
As part of a complete PFAS that maintains a factor of safety of at least 2
Under the supervision of a qualified person
Self-retracing lanyard
Deceleration device containing drum-wound line that can be extracted from or retracted onto, the drum under tension during normal employee movement and that, after onset of a fall, automatically locks the drum and arrests the fall<br>
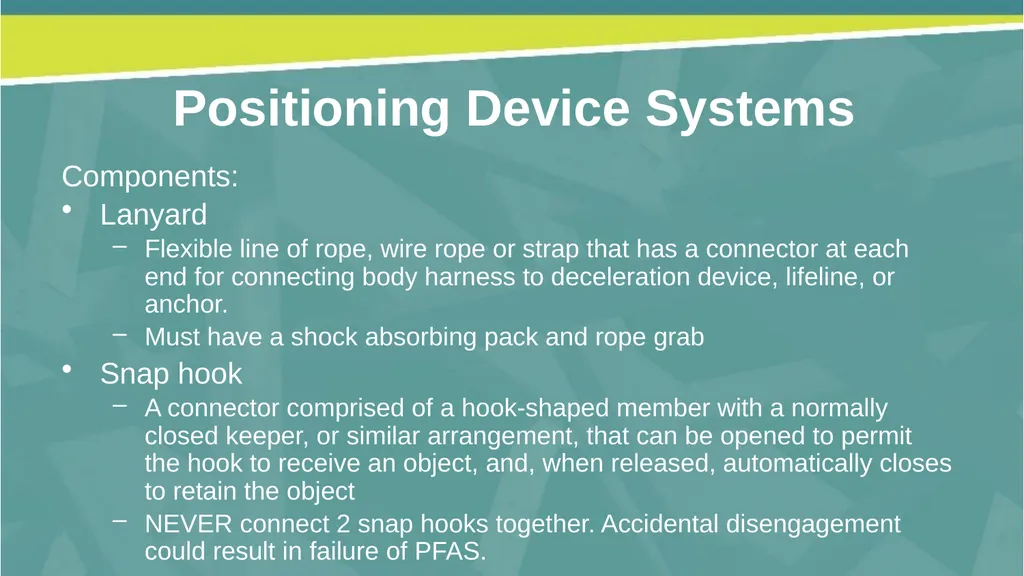
slide29. Positioning Device Systems Components:
Lanyard
Flexible line of rope, wire rope or strap that has a connector at each end for connecting body harness to deceleration device, lifeline, or anchor.
Must have a shock absorbing pack and rope grab
Snap hook
A connector comprised of a hook-shaped member with a normally closed keeper, or similar arrangement, that can be opened to permit the hook to receive an object, and, when released, automatically closes to retain the object
NEVER connect 2 snap hooks together. Accidental disengagement could result in failure of PFAS.<br>
slide30. Positioning Device Systems<br>
slide31. Positioning Device Systems Inspection:
All equipment must be tested by the manufacturer
Perform inspection before every use and remove defective systems from use<br>
slide32. Horizontal Lifeline (HLL) System General guidelines:
HLL System shall be installed according to the manufacturer’s instructions.
Lifelines must:
Limit max. arresting force to 1,800 lbs. when used with a body harness
Prevent employee from falling more than 6 ft., nor contact any lower level
Bring employee to complete stop and limit max. deceleration distance of travel to 3.5 ft.
Be strong enough to withstand twice the potential impact energy of a free-falling employee a distance of 6 ft. or the free-fall distance permitted by the system, whichever is less
Rescue person or ladder is required during use of PFAS<br>
slide33. Horizontal Lifeline (HLL) System Inspection:
All equipment must be tested by the manufacturer
Perform inspection before every use and remove defective systems from use
HLL Systems subject to any impact loading shall be removed from service, never to be used again until inspection and clearance from a competent person.<br>
slide34. Horizontal Lifeline (HLL) System Components:
HLL
Must be independent of any anchorage being used to support or suspend platforms
Must support at least 5,000 lbs. per employee attached or shall be designed, installed and used:
As part of a complete PFAS that maintains a factor of safety of at least 2
Under the supervision of a qualified person
Body harness
Distributes fall arrest forces over thighs, pelvis, waist, chest and shoulders. D-rings should be between shoulder blades<br>
slide35. Horizontal Lifeline (HLL) System Components:
Self-retracing lifeline
Deceleration device containing drum-wound line that can be extracted from or retracted onto, the drum under tension during normal employee movement and that, after onset of a fall, automatically locks the drum and arrests the fall
This differs from self-retracting lanyards; HLLs are not designed to accommodate lanyards
Snap hook
A connector comprised of a hook-shaped member with a normally closed keeper, or similar arrangement, that can be opened to permit the hook to receive an object, and, when released, automatically closes to retain the object
NEVER connect 2 snap hooks together. Accidental disengagement could result in failure of PFAS.<br>
slide36. Rescue Planning Time is the most important factor when a fall occurs on a jobsite. Being informed and having a plan in place before a fall happens will help reduce or limit injury to a fellow employee after a fall.
Discussion
Has a fall ever happened on a jobsite you were on? What happened? How did the events unfold?<br>
slide37. Discussion In your opinion, is there a practical way to perform roof truss installation that meets the safety requirements of OSHA? This material was produced under Grant Number SH-31216-SH7 from the Occupational Safety and Health Administration, U.S. Department of Labor. It does not necessarily reflect the views or policies of the U.S. Department of labor, nor does mention of trade names, commercial products, or organizations imply endorsement by the U.S. Government.<br>
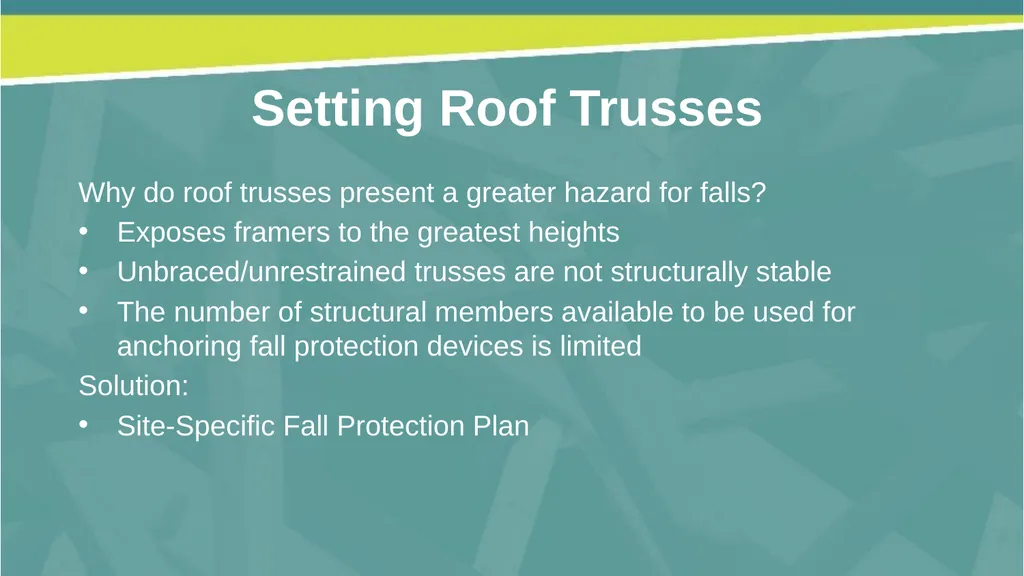
slide38. Setting Roof Trusses Why do roof trusses present a greater hazard for falls?
Exposes framers to the greatest heights
Unbraced/unrestrained trusses are not structurally stable
The number of structural members available to be used for anchoring fall protection devices is limited
Solution:
Site-Specific Fall Protection Plan<br>
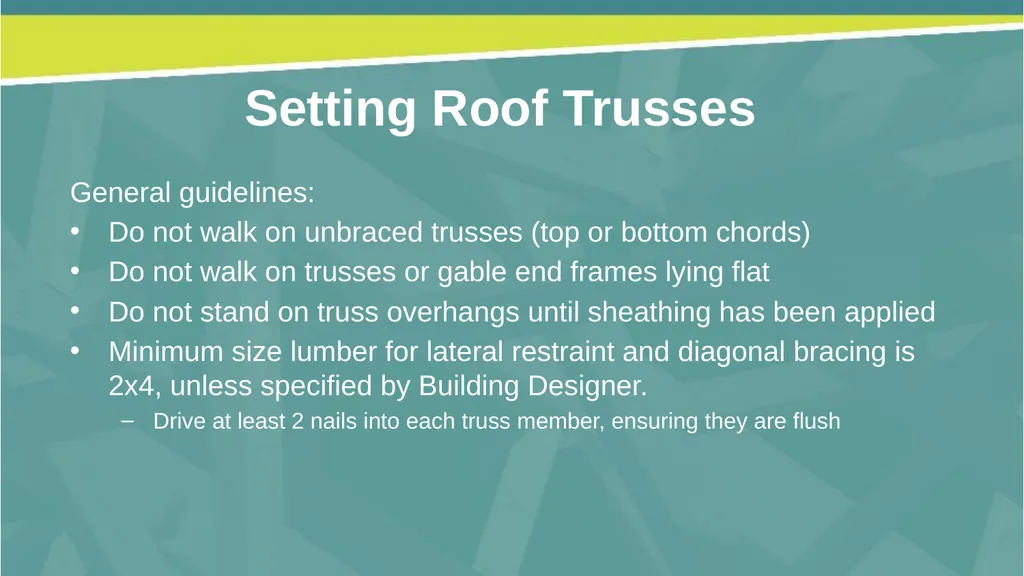
slide39. Setting Roof Trusses General guidelines:
Do not walk on unbraced trusses (top or bottom chords)
Do not walk on trusses or gable end frames lying flat
Do not stand on truss overhangs until sheathing has been applied
Minimum size lumber for lateral restraint and diagonal bracing is 2x4, unless specified by Building Designer.
Drive at least 2 nails into each truss member, ensuring they are flush<br>
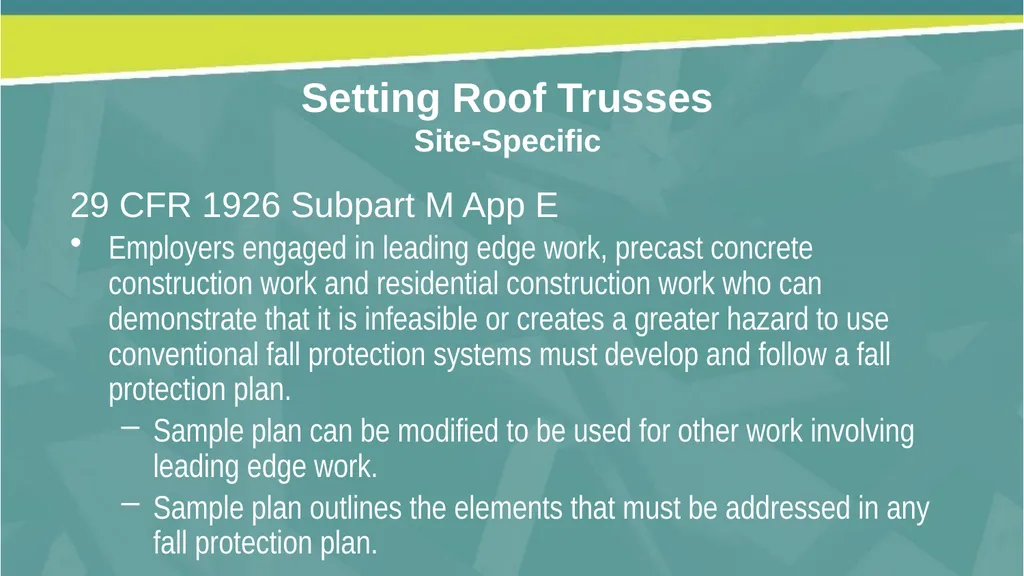
slide40. Setting Roof Trusses Site-Specific 29 CFR 1926 Subpart M App E
Employers engaged in leading edge work, precast concrete construction work and residential construction work who can demonstrate that it is infeasible or creates a greater hazard to use conventional fall protection systems must develop and follow a fall protection plan.
Sample plan can be modified to be used for other work involving leading edge work.
Sample plan outlines the elements that must be addressed in any fall protection plan.<br>
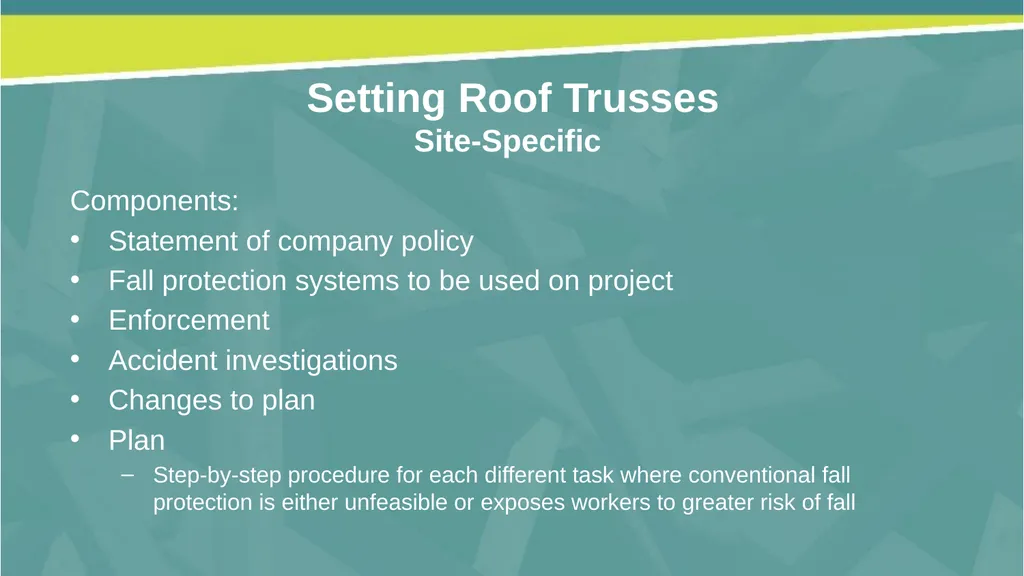
slide41. Setting Roof Trusses Site-Specific Components:
Statement of company policy
Fall protection systems to be used on project
Enforcement
Accident investigations
Changes to plan
Plan
Step-by-step procedure for each different task where conventional fall protection is either unfeasible or exposes workers to greater risk of fall<br>
slide42. Questions?<br>
slide43. This material was produced under Grant Number SH-31216-SH7 from the Occupational Safety and Health Administration, U.S. Department of Labor. It does not necessarily reflect the views or policies of the U.S. Department of labor, nor does mention of trade names, commercial products, or organizations imply endorsement by the U.S. Government. “Work Safely. Go home Safely”
. Thank you!<br>
slide2. Content The content provided in this training was developed by the National Framers Council and is in compliance with OSHA 29 CFR 1926 Subpart M.
Likewise, the content within the site-specific fall protection plan was developed by framers on the NFC Safety Committee, and have been developed to be compliant with OSHA 29 CFR 1926 Subpart M Appendix E.
This material was produced under Grant Number SH-31216-SH7 from the Occupational Safety and Health Administration, U.S. Department of Labor. It does not necessarily reflect the views or policies of the U.S. Department of labor, nor does mention of trade names, commercial products, or organizations imply endorsement by the U.S. Government.<br>
slide3. Introduction Everyone shares the responsibility of practicing jobsite safety.
Employers
Develop and enforce jobsite safety manual and regular training schedule in compliance with Occupational Safety and Health Administration (OSHA) standards
Create and maintain a safe jobsite that includes regular inspection
Oversee the proper use of all tools and safety equipment on each site
Employees
Take training seriously
Practice safety and encourage fellow employees to be safe
Learn the responsibilities of everyone on the jobsite and recognize who the qualified persons are<br>
slide4. Overview Today’s training focuses on general fall protection guidelines and requirements:
Ladders
Protection from falling objects
Guardrails
Scaffolding
Personal Fall Arrest Systems (PFAS)
Positioning Device Systems
Horizontal Lifeline System (HLL)
Rescue Planning
As well as:
Site-specific fall protection plans<br>
slide5. Overview Training is intended to include a hands-on roof truss model where trainees can apply the safety techniques of this course when setting roof trusses.
Why?
Accidental falls are the leading cause of death for framers
Setting roof trusses is one of the most dangerous activities
Truss installation exposes workers to greatest heights
Trusses are unstable until they are braced This material was produced under Grant Number SH-31216-SH7 from the Occupational Safety and Health Administration, U.S. Department of Labor. It does not necessarily reflect the views or policies of the U.S. Department of labor, nor does mention of trade names, commercial products, or organizations imply endorsement by the U.S. Government.<br>
slide6. Definitions Authorized person - a person approved or assigned by the employer to perform a specific type of duty or duties or to be at a specific location or locations at the jobsite.
Competent Person - one who is capable of identifying existing and predictable hazards in the surroundings or working conditions which are unsanitary, hazardous, or dangerous to employees, and who has authorization to take prompt corrective measures to eliminate them. Designated person - means "authorized person“.<br>
slide7. Definitions Employee - every laborer or mechanic under the Act regardless of the contractual relationship which may be alleged to exist between the laborer and mechanic and the contractor or subcontractor who engaged him…"Laborer" generally means one who performs manual labor or who labors at an occupation requiring physical strength; "mechanic" generally means a worker skilled with tools.
Employer - contractor or subcontractor within the meaning of the Act.
Qualified - one who, by possession of a recognized degree, certificate, or professional standing, or who by extensive knowledge, training, and experience, has successfully demonstrated his ability to solve or resolve problems relating to the subject matter, the work, or the project.<br>
slide8. Discussion Do you use fall protection on your jobsites?
What kind?
Are there certain tasks you perform without the use of fall protection?
Do you receive regular training on fall protection?
Employer based? External companies?
Has OSHA visited a jobsite you were working at?
How did the visit turn out?<br>
slide9. OSHA Basics Purpose:
To assure safe and healthful working conditions for working men and women; by authorizing enforcement of the standards developed under the Act; by assisting and encouraging the States in their efforts to assure safe and healthful working conditions; by providing for research, information, education, and training in the field of occupational safety and health; and for other purposes<br>
slide10. OSHA Basics General Duty Clause:
Section 5(a)(1) of the OSH Act is known as “The General Duty Clause”.
Requires that each employer provides a workplace that is free from recognized hazards that are causing or likely to cause death or serious physical harm.
Can be used by OSHA only where there is no standard that applies to the particular hazard and the employer has its own employees exposed to the alleged hazard. Required elements include:
Employer fails to keep the workplace free of a hazard to which employees were exposed.
The hazard was recognized.
The hazard was causing, or was likely to cause, death or serious physical harm.
There was a feasible and useful method to correct the hazard.<br>
slide11. OSHA Basics Accident Reporting:
OSHA Standard, 29 CFR Subpart 1904.39, Reporting Fatality, Injury and Illness Information to the Government
Requires employers report all work related fatalities within eight (8) hours and all work-related inpatient hospitalizations, all amputations and all losses of an eye within 24 hours. Employers must orally report the fatality/hospitalization by telephone or in person to the OSHA Area Office or to the State Plan Office that is nearest to the site of the incident.<br>
slide12. OSHA Basics Employee Rights:
Right to refuse to work if you believe, in good faith, you are exposed to imminent danger.
Protection from workplace retaliation if you refuse to work OR if you report your employer.<br>
slide13. OSHA Basics Employee Rights:
Other basic rights include the right to:
Be trained in a language you understand
Work on machines that are safe
Be provided required safety gear, such as gloves or a harness and lifeline for falls
Be protected from toxic chemicals
Request an OSHA inspection, and speak to the inspector
Report an injury or illness, and get copies of your medical records
See copies of the workplace injury and illness log
Review records of work-related injuries and illnesses
Get copies of test results done to find hazards in the workplace<br>
slide14. Ladders General guidelines:
Don’t exceed maximum intended load
Never tie ladders together unless they are made to do so
Make sure ladder extends at least 3 ft. past the platform onto which you’re climbing
Maintain 3 points of contact with ladders when ascending or descending.<br>
slide15. Ladders Extension:
4-to-1 rule
For ever 4 ft. of height, the base should be placed 1 ft. from whatever the ladder is leaning against
At least 3 rungs overlapped
Never stand on the top three rungs
Step:
Don’t use as a single ladder (leaning)
Lock the spreader hinges
Do not sit/stand on the top platform<br>
slide16. Ladders Job-made wooden:
Secure top and base so it does not move
Maintain OSHA compliant rail system at the top to protect from falls
Inspections:
Loose components
Cracks, dents, splits
Tag ladders that don’t meet inspections, remove from jobsite and report to supervisor<br>
slide17. Protection from Falling Objects General guidelines:
Wear hardhat and safety glasses to protect from falling objects
Holes and opening must be covered and/or protected by a guardrail system
Hole covers must support 2-times the weight of employee with equipment and materials
Holes must be labeled
Materials must be kept 6 ft. from any leading edge unless a guardrail is in place Canopy
Must be strong enough to prevent collapse by objects that fall onto it Barricade
Must prevent employees from accessing area with falling objects<br>
slide18. Guardrails General Guidelines:
Should be erected only under the guidance of a competent person.
Use when working surface is greater than 6 ft. above a lower level
Use across holes/opening greater than 18 in.<br>
slide19. Guardrails Guardrail dimensions:
Top Rail: 42 in. +/- 3 in. above working surface
Mid Rail: At least 21 in. above working surface (halfway) when there is no wall or parapet wall at least 21 in. high
Toe Board: 3.5 in. tall
Verticals: Minimum of every 8 ft.
Additional Members: Installed so no opening is more than 19 in. apart
Weight requirements:
Force of at least 200 lbs. applied within 2 in. of the top edge<br>
slide20. Scaffolding General guidelines:
Erected only under supervision of competent person
Do not erect within 10 ft. of power lines
Settling or displacement should not occur
Pumpjack poles must be secured to building
Employees on scaffolds over 10 ft. in height must have fall protection
If guardrails are installed per manufacturer specifications and OSHA requirements, personal fall protection is not needed
If personal fall protection is required, the anchor point must be attached to a structural member; DO NOT attach to scaffolding guardrail<br>
slide21. Scaffolding Fall protection:
Do not use scaffolds where drop-off is 6 ft. or greater unless guardrail systems, including toe boards, are installed at open sides and ends.
Each walkway located within a scaffold shall be protected by a guardrail system installed within 9.5 in. of and along at least one side of the walkway
DO NOT attach personal fall protection devices to guardrail systems Inspection
Must be done by competent person before each work day and/or after events that could affect scaffold’s integrity
Remove slippery substances from floor
Remove debris
Damaged components must be removed and replaced or repaired, and tagged appropriately<br>
slide22. Personal Fall Arrest System (PFAS) General Guidelines
Consists of body harness, lanyard with shock-absorbing pack, and rope grab and locking snap hook for connection to anchor.
DO NOT use body belt as a PFAS; full body harness is required
PFAS must:
Limit max. arresting force to 1,800 lbs. when used with a body harness
Prevent employee from falling more than 6 ft., nor contact any lower level
Bring employee to complete stop and limit max. deceleration distance of travel to 3.5 ft.
Be strong enough to withstand twice the potential impact energy of a free-falling employee a distance of 6 ft. or the free-fall distance permitted by the system, whichever is less
Rescue person or ladder is required during use of PFAS<br>
slide23. Personal Fall Arrest System (PFAS)<br>
slide24. Personal Fall Arrest System (PFAS) Inspection:
All equipment must be tested by the manufacturer
Perform inspection before every use and remove defective systems from use
PFAS subject to any impact loading shall be removed from service, never to be used again. Until inspection and clearance from a competent person.<br>
slide25. Personal Fall Arrest System (PFAS) Components:
Body harness
Distributes fall arrest forces over thighs, pelvis, waist, chest and shoulders. D-rings should be between shoulder blades
Anchor point
Must be independent of any anchorage being used to support or suspend platforms
Must support at least 5,000 lbs. per employee attached or shall be designed, installed and used:
As part of a complete PFAS that maintains a factor of safety of at least 2
Under the supervision of a qualified person
Self-retracing lanyard
Deceleration device containing drum-wound line that can be extracted from or retracted onto, the drum under tension during normal employee movement and that, after onset of a fall, automatically locks the drum and arrests the fall<br>
slide26. Personal Fall Arrest System (PFAS) Components:
Lanyard
Flexible line of rope, wire rope or strap that has a connector at each end for connecting body harness to deceleration device, lifeline, or anchor.
Must have a shock absorbing pack and rope grab
Snap hook
A connector comprised of a hook-shaped member with a normally closed keeper, or similar arrangement, that can be opened to permit the hook to receive an object, and, when released, automatically closes to retain the object
NEVER connect 2 snap hooks together. Accidental disengagement could result in failure of PFAS.<br>
slide27. Positioning Device Systems General guidelines:
Consists of a body harness system rigged to allow employee to be supported on elevated vertical surface while working with both hands free while leaning
DO NOT attach to guardrail systems
System should prevent employee from falling more than 2 ft.
Components:
Body belt
Waist strap that attaches to lanyard, lifeline or deceleration device.
Cannot be used as a PFAS, only a positioning device system
Body harness
Distributes fall arrest forces over thighs, pelvis, waist, chest and shoulders. D-rings should be between shoulder blades<br>
slide28. Positioning Device Systems Components:
Anchor point
Must be independent of any anchorage being used to support or suspend platforms
Must support at least 5,000 lbs. per employee attached or shall be designed, installed and used:
As part of a complete PFAS that maintains a factor of safety of at least 2
Under the supervision of a qualified person
Self-retracing lanyard
Deceleration device containing drum-wound line that can be extracted from or retracted onto, the drum under tension during normal employee movement and that, after onset of a fall, automatically locks the drum and arrests the fall<br>
slide29. Positioning Device Systems Components:
Lanyard
Flexible line of rope, wire rope or strap that has a connector at each end for connecting body harness to deceleration device, lifeline, or anchor.
Must have a shock absorbing pack and rope grab
Snap hook
A connector comprised of a hook-shaped member with a normally closed keeper, or similar arrangement, that can be opened to permit the hook to receive an object, and, when released, automatically closes to retain the object
NEVER connect 2 snap hooks together. Accidental disengagement could result in failure of PFAS.<br>
slide30. Positioning Device Systems<br>
slide31. Positioning Device Systems Inspection:
All equipment must be tested by the manufacturer
Perform inspection before every use and remove defective systems from use<br>
slide32. Horizontal Lifeline (HLL) System General guidelines:
HLL System shall be installed according to the manufacturer’s instructions.
Lifelines must:
Limit max. arresting force to 1,800 lbs. when used with a body harness
Prevent employee from falling more than 6 ft., nor contact any lower level
Bring employee to complete stop and limit max. deceleration distance of travel to 3.5 ft.
Be strong enough to withstand twice the potential impact energy of a free-falling employee a distance of 6 ft. or the free-fall distance permitted by the system, whichever is less
Rescue person or ladder is required during use of PFAS<br>
slide33. Horizontal Lifeline (HLL) System Inspection:
All equipment must be tested by the manufacturer
Perform inspection before every use and remove defective systems from use
HLL Systems subject to any impact loading shall be removed from service, never to be used again until inspection and clearance from a competent person.<br>
slide34. Horizontal Lifeline (HLL) System Components:
HLL
Must be independent of any anchorage being used to support or suspend platforms
Must support at least 5,000 lbs. per employee attached or shall be designed, installed and used:
As part of a complete PFAS that maintains a factor of safety of at least 2
Under the supervision of a qualified person
Body harness
Distributes fall arrest forces over thighs, pelvis, waist, chest and shoulders. D-rings should be between shoulder blades<br>
slide35. Horizontal Lifeline (HLL) System Components:
Self-retracing lifeline
Deceleration device containing drum-wound line that can be extracted from or retracted onto, the drum under tension during normal employee movement and that, after onset of a fall, automatically locks the drum and arrests the fall
This differs from self-retracting lanyards; HLLs are not designed to accommodate lanyards
Snap hook
A connector comprised of a hook-shaped member with a normally closed keeper, or similar arrangement, that can be opened to permit the hook to receive an object, and, when released, automatically closes to retain the object
NEVER connect 2 snap hooks together. Accidental disengagement could result in failure of PFAS.<br>
slide36. Rescue Planning Time is the most important factor when a fall occurs on a jobsite. Being informed and having a plan in place before a fall happens will help reduce or limit injury to a fellow employee after a fall.
Discussion
Has a fall ever happened on a jobsite you were on? What happened? How did the events unfold?<br>
slide37. Discussion In your opinion, is there a practical way to perform roof truss installation that meets the safety requirements of OSHA? This material was produced under Grant Number SH-31216-SH7 from the Occupational Safety and Health Administration, U.S. Department of Labor. It does not necessarily reflect the views or policies of the U.S. Department of labor, nor does mention of trade names, commercial products, or organizations imply endorsement by the U.S. Government.<br>
slide38. Setting Roof Trusses Why do roof trusses present a greater hazard for falls?
Exposes framers to the greatest heights
Unbraced/unrestrained trusses are not structurally stable
The number of structural members available to be used for anchoring fall protection devices is limited
Solution:
Site-Specific Fall Protection Plan<br>
slide39. Setting Roof Trusses General guidelines:
Do not walk on unbraced trusses (top or bottom chords)
Do not walk on trusses or gable end frames lying flat
Do not stand on truss overhangs until sheathing has been applied
Minimum size lumber for lateral restraint and diagonal bracing is 2x4, unless specified by Building Designer.
Drive at least 2 nails into each truss member, ensuring they are flush<br>
slide40. Setting Roof Trusses Site-Specific 29 CFR 1926 Subpart M App E
Employers engaged in leading edge work, precast concrete construction work and residential construction work who can demonstrate that it is infeasible or creates a greater hazard to use conventional fall protection systems must develop and follow a fall protection plan.
Sample plan can be modified to be used for other work involving leading edge work.
Sample plan outlines the elements that must be addressed in any fall protection plan.<br>
slide41. Setting Roof Trusses Site-Specific Components:
Statement of company policy
Fall protection systems to be used on project
Enforcement
Accident investigations
Changes to plan
Plan
Step-by-step procedure for each different task where conventional fall protection is either unfeasible or exposes workers to greater risk of fall<br>
slide42. Questions?<br>
slide43. This material was produced under Grant Number SH-31216-SH7 from the Occupational Safety and Health Administration, U.S. Department of Labor. It does not necessarily reflect the views or policies of the U.S. Department of labor, nor does mention of trade names, commercial products, or organizations imply endorsement by the U.S. Government. “Work Safely. Go home Safely”
. Thank you!<br>