
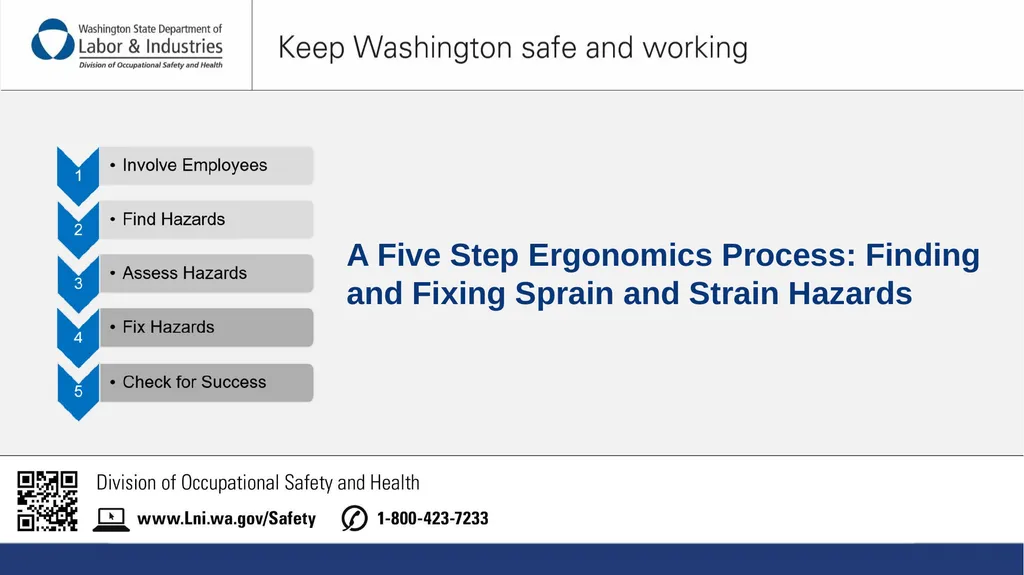
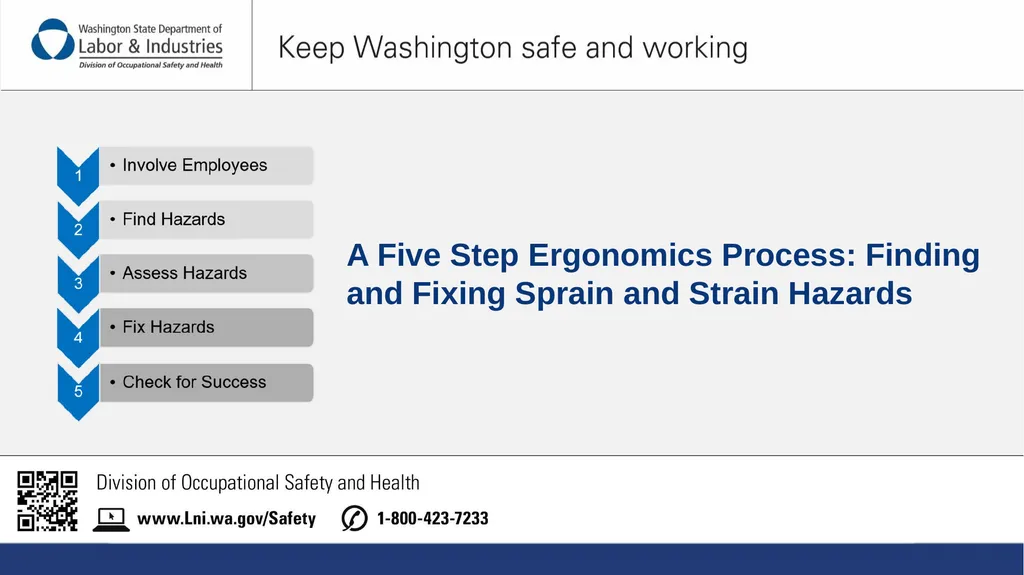
A Five Step Ergonomics Process: Finding and Fixing


Description: A Five Step Ergonomics Process: Finding and Fixing Sprain and Strain Hazards Preventing Sprain and Strain Injuries This presentation takes you through a 5 step ergonomics process that can help you find and fix sprain and strain hazards in
Related Topics
Download Presentation
"A Five Step Ergonomics Process: Finding and Fixing" is the property of its rightful owner. Permission is granted to download and print the materials on this website for personal, non-commercial use only, and to display it on your personal computer provided you do not modify the materials and that you retain all copyright notices contained in the materials. By downloading content from our website, you accept the terms of this agreement.
Presentation Transcript
slide1. A Five Step Ergonomics Process: Finding and Fixing Sprain and Strain Hazards<br>
slide2. Preventing Sprain and Strain Injuries This presentation takes you through a 5 step ergonomics process that can help you find and fix sprain and strain hazards in your workplace.
As you go through this presentation you will follow the Washington Safety Shoe Company as they use this process to make their workplace safer.<br>
slide3. By the end of this presentation you will be able to: Describe the 5 steps of an ergonomics process.
Decide how your employees can help you find and fix hazards.
Use this process to find and fix hazards.<br>
slide4. Sprain and Strain Injuries Soft tissue injuries - “sprains and strains” - are the most common type of work-related injury in Washington State.
It is important to remember that:
There is a lot you can do to prevent them using this 5 step process.
These prevention efforts are often simple and cost-effective.<br>
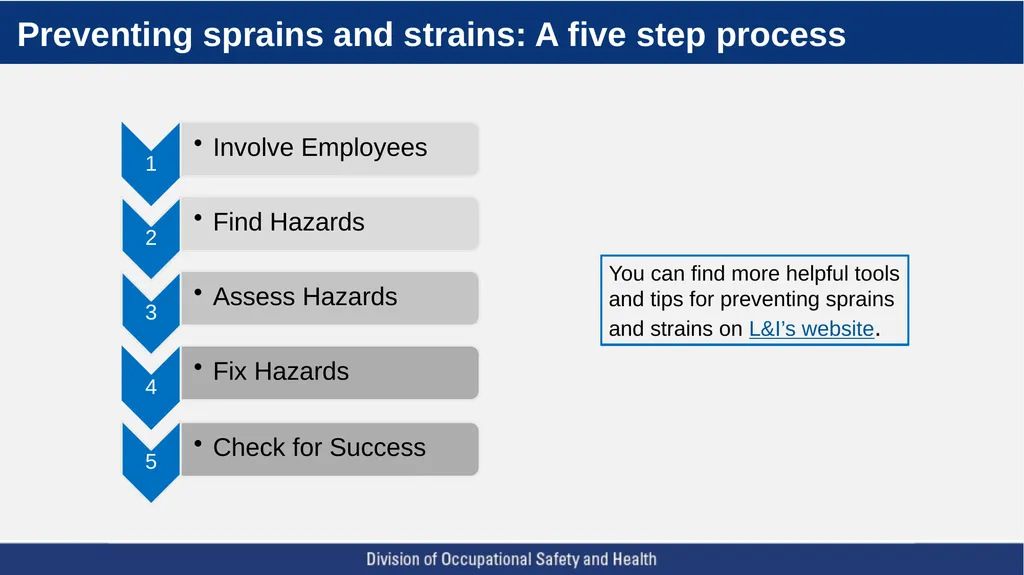
slide5. Preventing sprains and strains: A five step process You can find more helpful tools and tips for preventing sprains and strains on L&I’s website.<br>
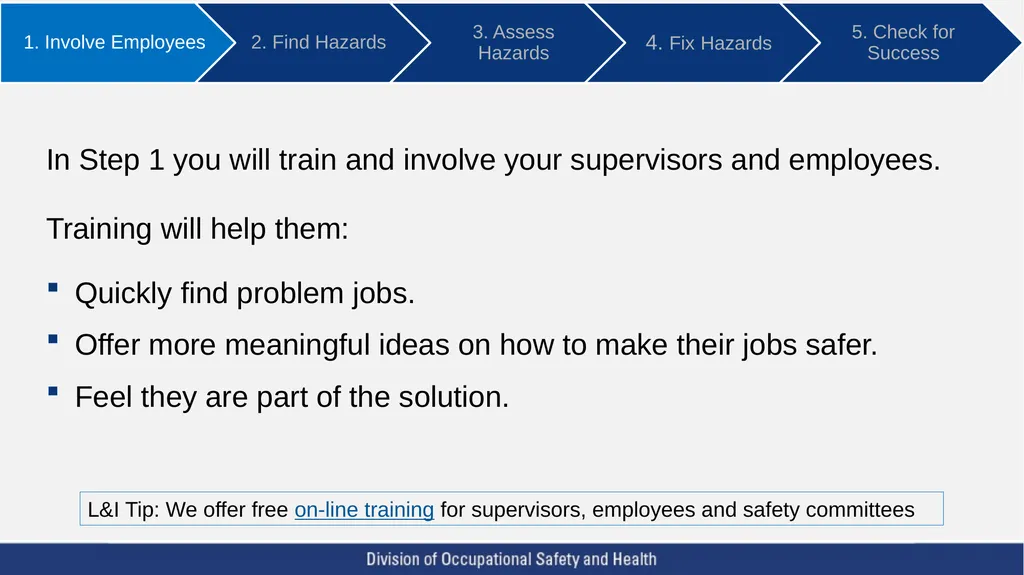
slide6. In Step 1 you will train and involve your supervisors and employees.
Training will help them:
Quickly find problem jobs.
Offer more meaningful ideas on how to make their jobs safer.
Feel they are part of the solution. L&I Tip: We offer free on-line training for supervisors, employees and safety committees<br>
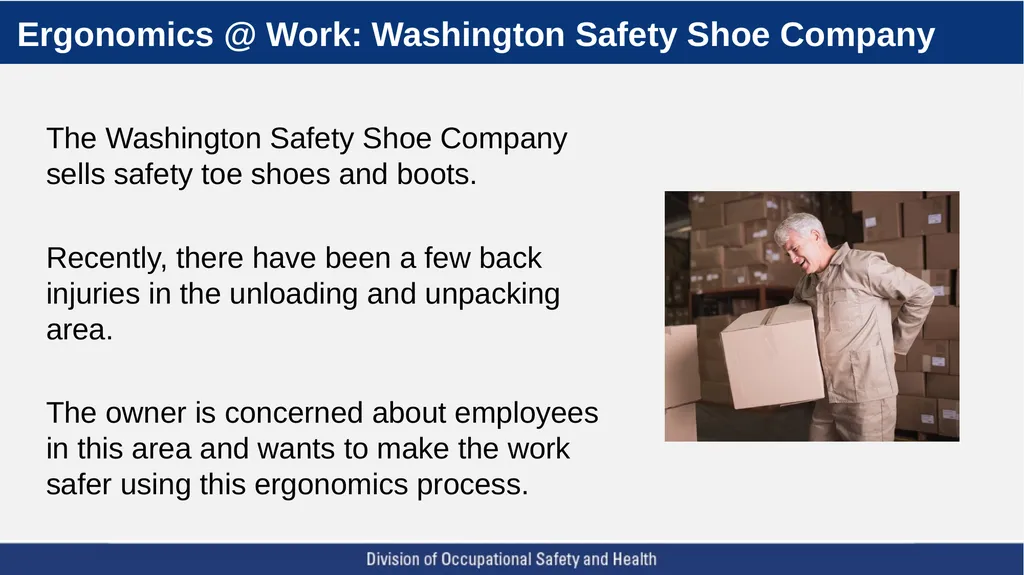
slide7. Ergonomics @ Work: Washington Safety Shoe Company The Washington Safety Shoe Company sells safety toe shoes and boots.
Recently, there have been a few back injuries in the unloading and unpacking area.
The owner is concerned about employees in this area and wants to make the work safer using this ergonomics process.<br>
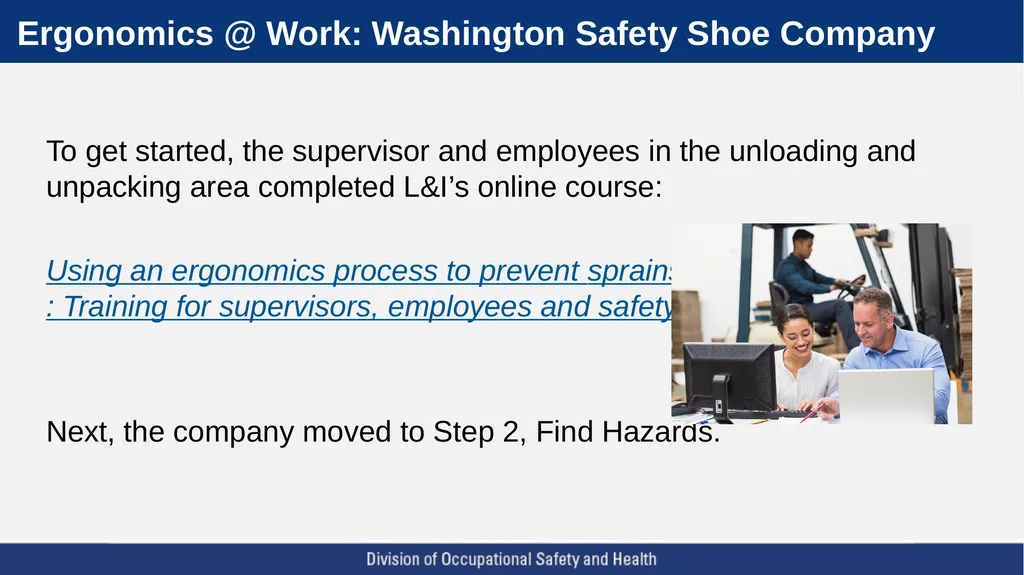
slide8. Ergonomics @ Work: Washington Safety Shoe Company To get started, the supervisor and employees in the unloading and unpacking area completed L&I’s online course:
Using an ergonomics process to prevent sprains and strains: Training for supervisors, employees and safety committees
Next, the company moved to Step 2, Find Hazards.<br>
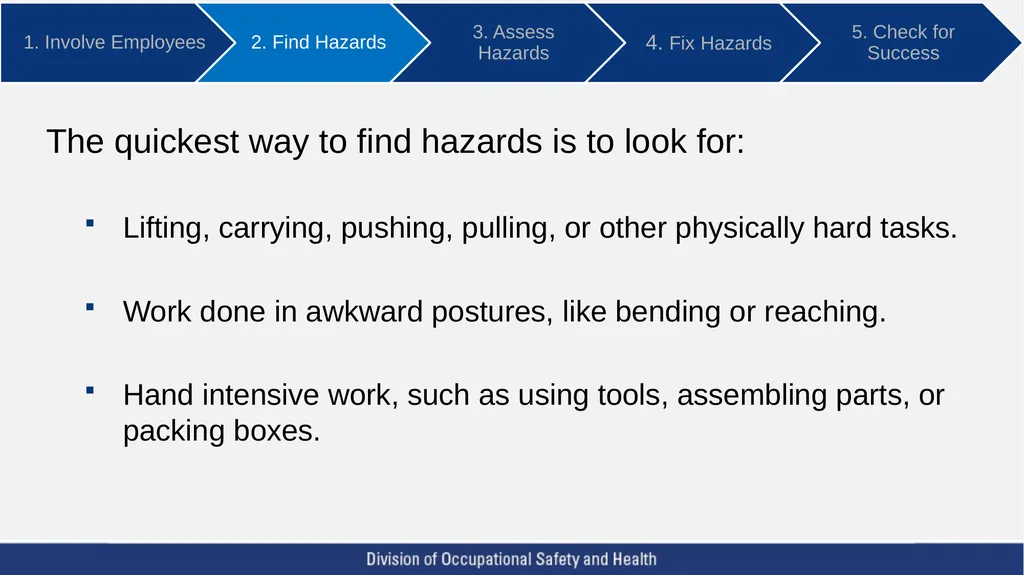
slide9. The quickest way to find hazards is to look for: Lifting, carrying, pushing, pulling, or other physically hard tasks.
Work done in awkward postures, like bending or reaching.
Hand intensive work, such as using tools, assembling parts, or packing boxes.<br>
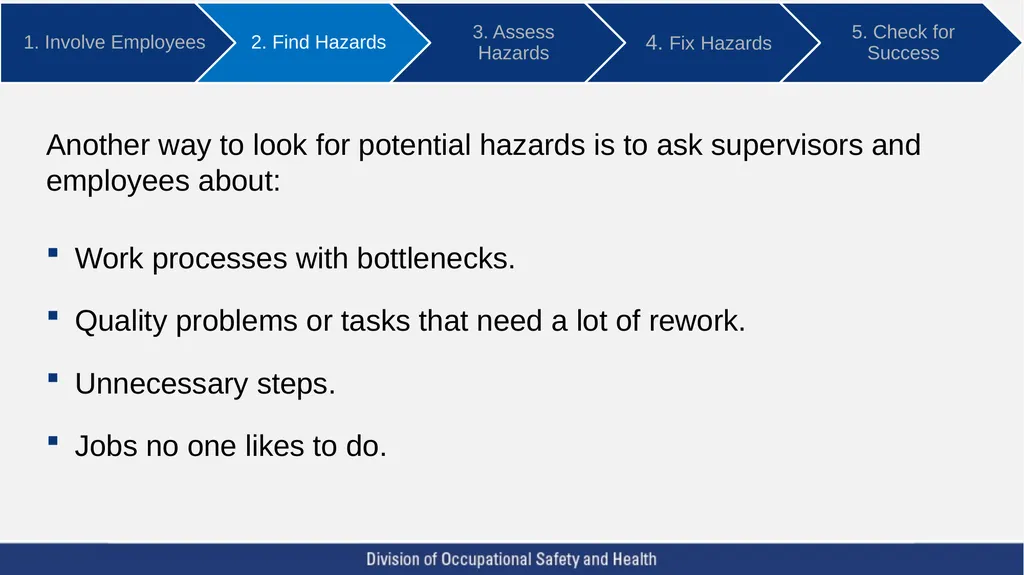
slide10. Another way to look for potential hazards is to ask supervisors and employees about:
Work processes with bottlenecks.
Quality problems or tasks that need a lot of rework.
Unnecessary steps.
Jobs no one likes to do.<br>
slide11. Other ways to find hazards are:
Look at your sprain and strain injuries.
Do a Job Hazard Analysis (JHA).
Review safety committee minutes.
Include ergonomics when changing processes, equipment and tools. L&I Tip: We have resources to help you do a Job Hazard Analysis<br>
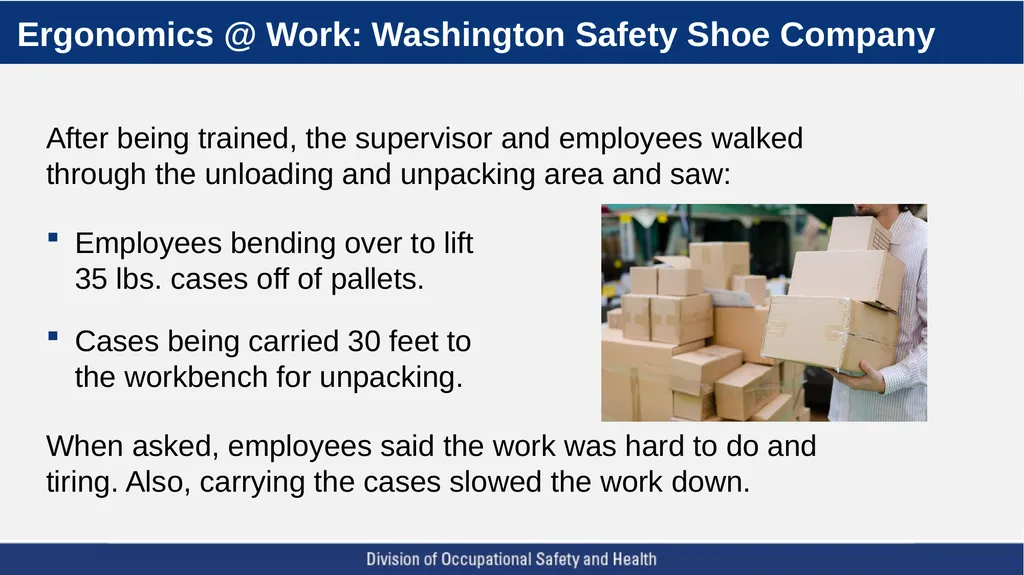
slide12. Ergonomics @ Work: Washington Safety Shoe Company After being trained, the supervisor and employees walked through the unloading and unpacking area and saw:
Employees bending over to lift 35 lbs. cases off of pallets.
Cases being carried 30 feet to the workbench for unpacking.
When asked, employees said the work was hard to do and tiring. Also, carrying the cases slowed the work down.<br>
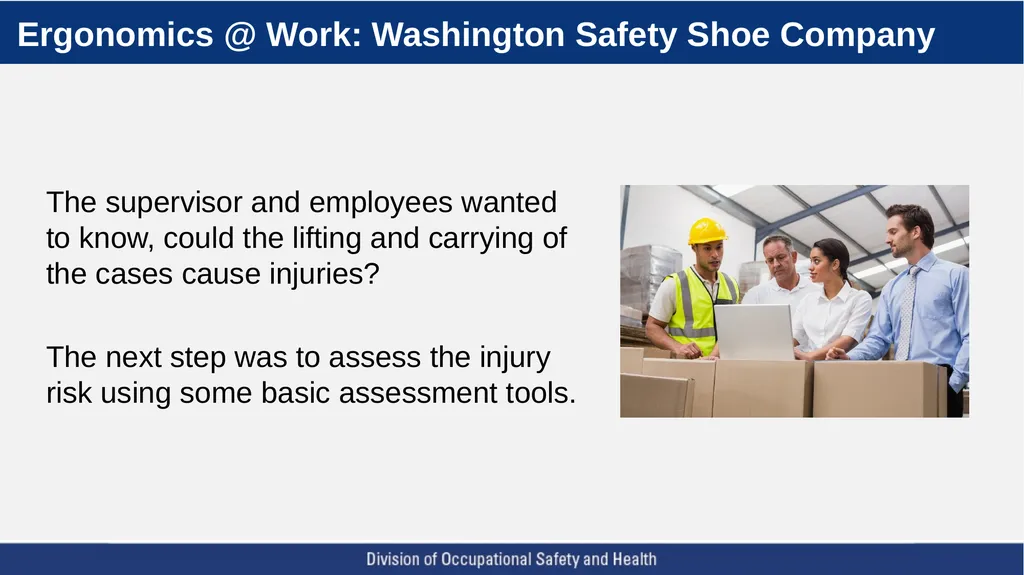
slide13. Ergonomics @ Work: Washington Safety Shoe Company The supervisor and employees wanted to know, could the lifting and carrying of the cases cause injuries?
The next step was to assess the injury risk using some basic assessment tools.<br>
slide14. After you find a job with a potential hazard, avoid "analysis paralysis."
Sometimes the risk of injury is obvious and there are simple solutions that you can put in place quickly, without a lot of evaluation.
However, there are times a more careful analysis is needed to understand the risk and the best approach to fixing it. L&I Tip: We have resources to help you quickly find hazards with simple solutions<br>
slide15. Analysis tools can help you:
Assess a job or task in more detail.
Decide when a risk is an injury hazard.
Prioritize your injury prevention efforts.
Determine if a solution fixed a hazard.<br>
slide16. Basic tools L&I Caution Zone Checklist
L&I Hazard Zone Checklist
Lifting Calculator App
Push/Pull/Carry Calculator
Push/Pull Guidelines L&I Tip: These basic evaluation tools can be found on our website<br>
slide17. Advanced tools L&I Industry-Specific Job Evaluation Checklists
Quick Exposure Check L&I Tip: These advanced evaluation tools and others can be found on our website<br>
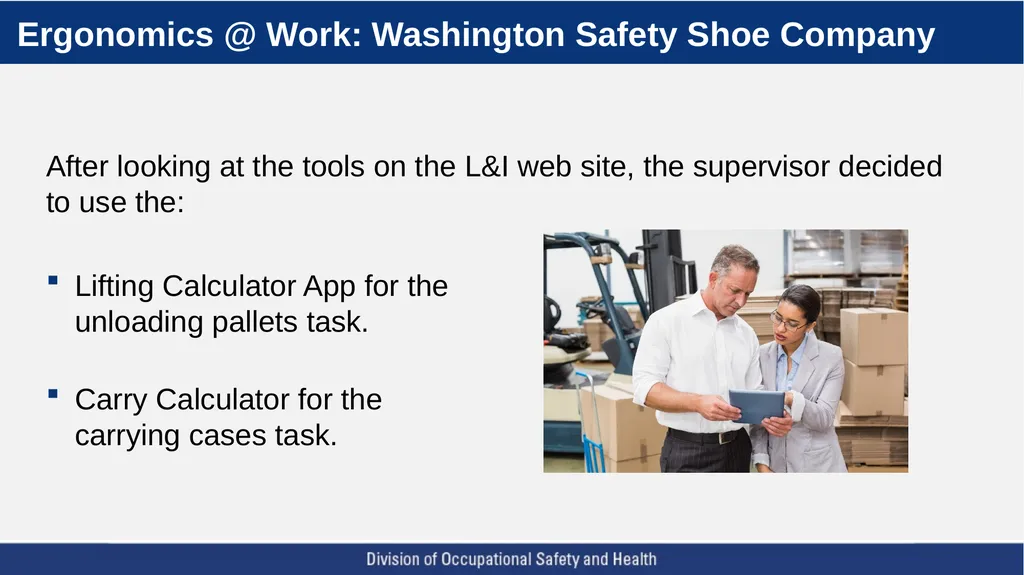
slide18. Ergonomics @ Work: Washington Safety Shoe Company After looking at the tools on the L&I web site, the supervisor decided to use the:
Lifting Calculator App for the unloading pallets task.
Carry Calculator for the carrying cases task.<br>
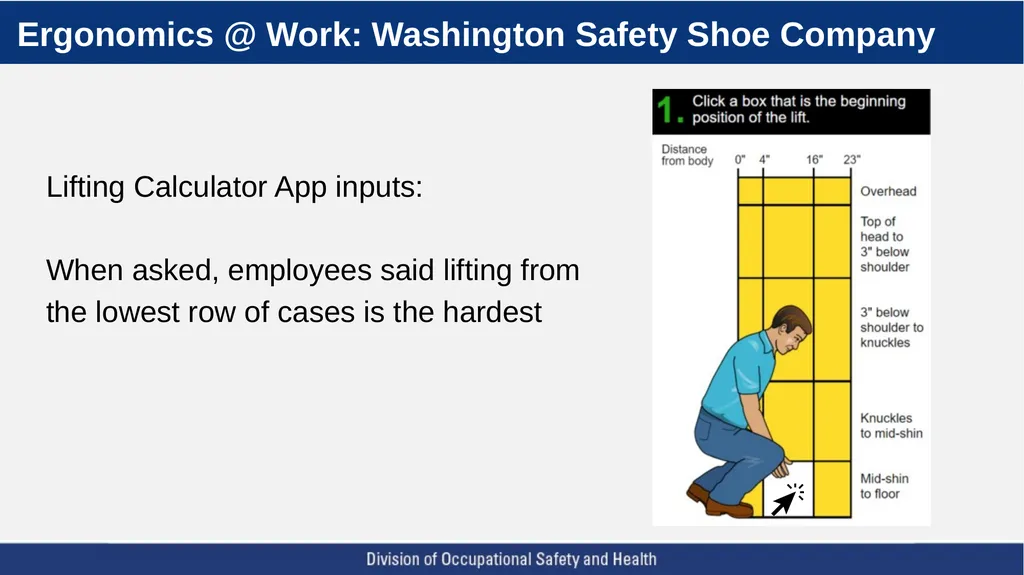
slide19. Ergonomics @ Work: Washington Safety Shoe Company Lifting Calculator App inputs:
When asked, employees said lifting from
the lowest row of cases is the hardest<br>
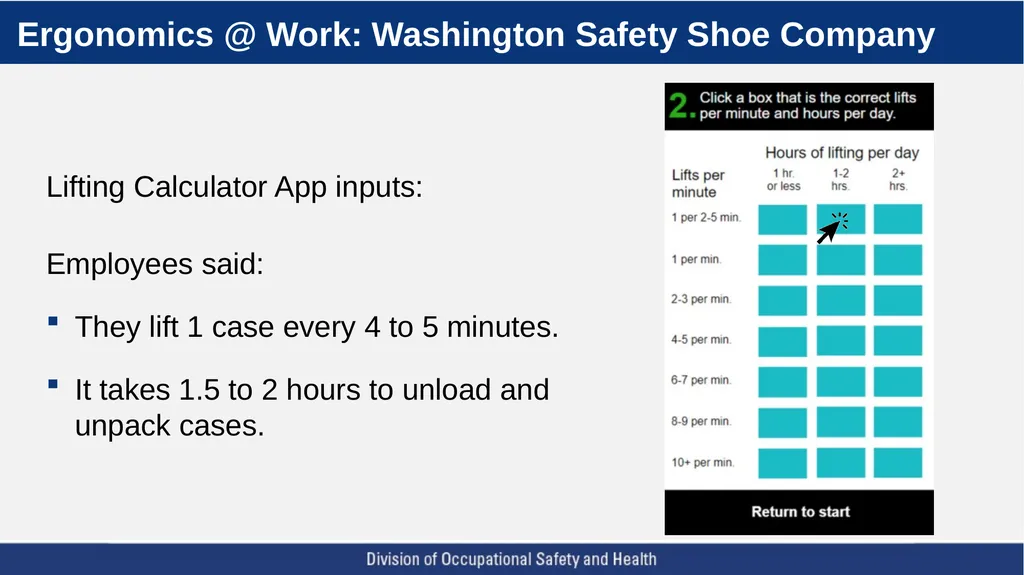
slide20. Ergonomics @ Work: Washington Safety Shoe Company Lifting Calculator App inputs:
Employees said:
They lift 1 case every 4 to 5 minutes.
It takes 1.5 to 2 hours to unload and unpack cases.<br>
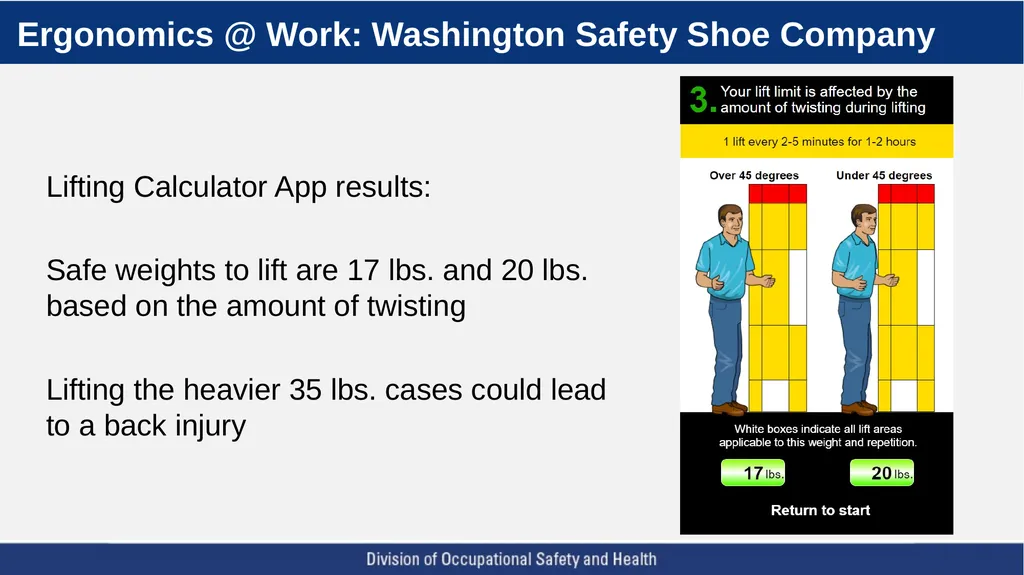
slide21. Ergonomics @ Work: Washington Safety Shoe Company Lifting Calculator App results:
Safe weights to lift are 17 lbs. and 20 lbs. based on the amount of twisting
Lifting the heavier 35 lbs. cases could lead to a back injury<br>
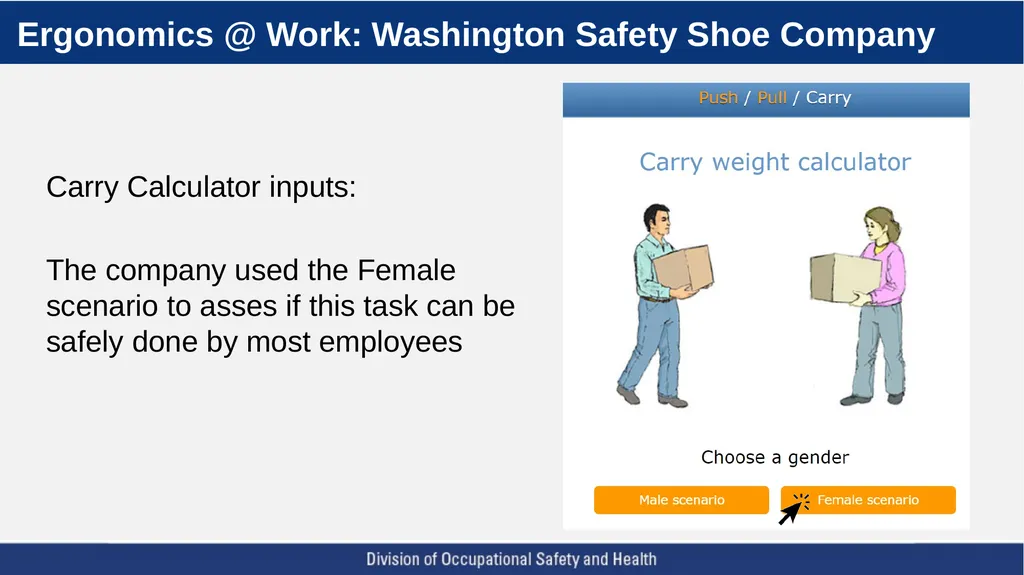
slide22. Ergonomics @ Work: Washington Safety Shoe Company Carry Calculator inputs:
The company used the Female scenario to asses if this task can be safely done by most employees<br>
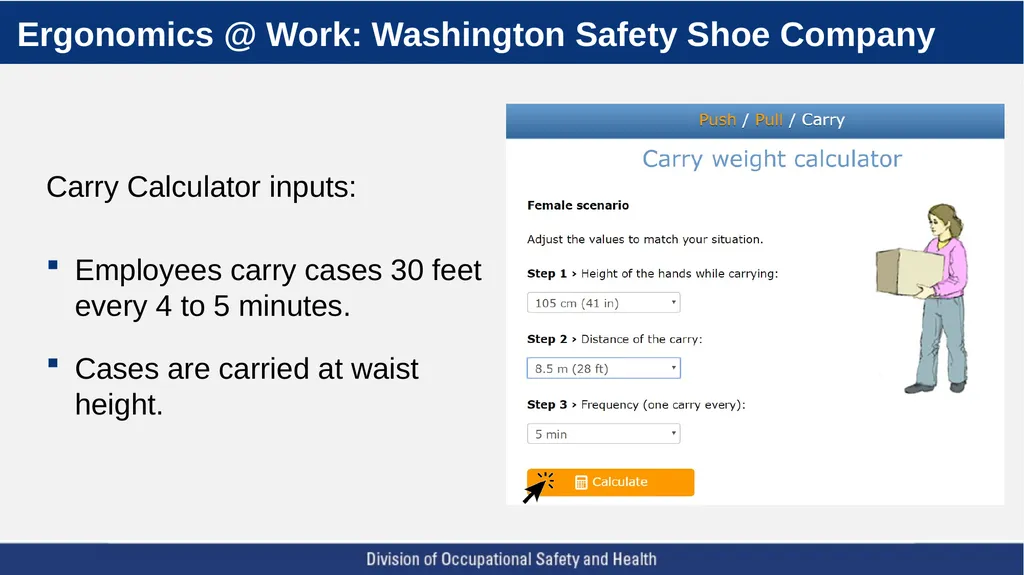
slide23. Ergonomics @ Work: Washington Safety Shoe Company Carry Calculator inputs:
Employees carry cases 30 feet every 4 to 5 minutes.
Cases are carried at waist height.<br>
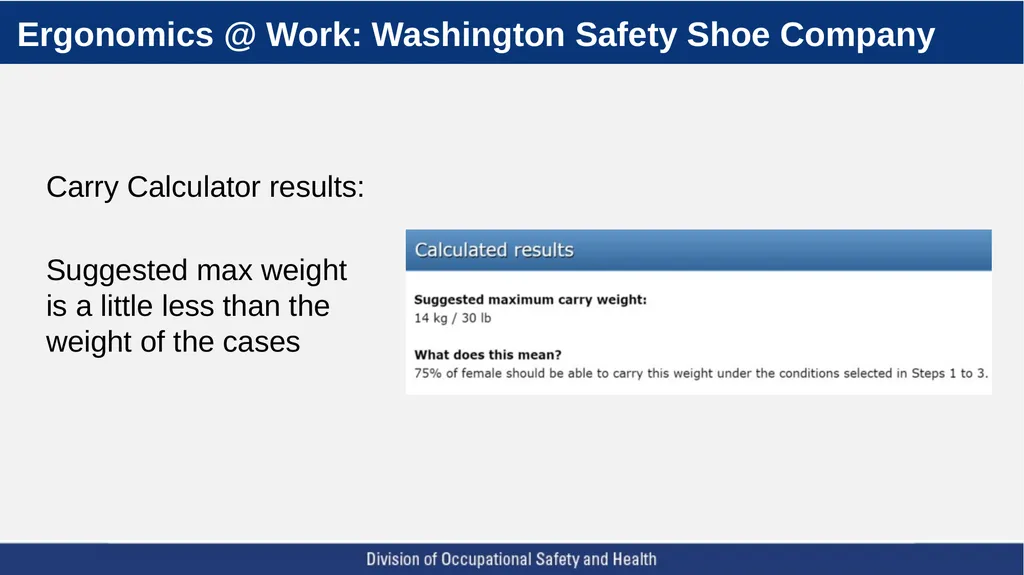
slide24. Ergonomics @ Work: Washington Safety Shoe Company Carry Calculator results:
Suggested max weight is a little less than the weight of the cases<br>
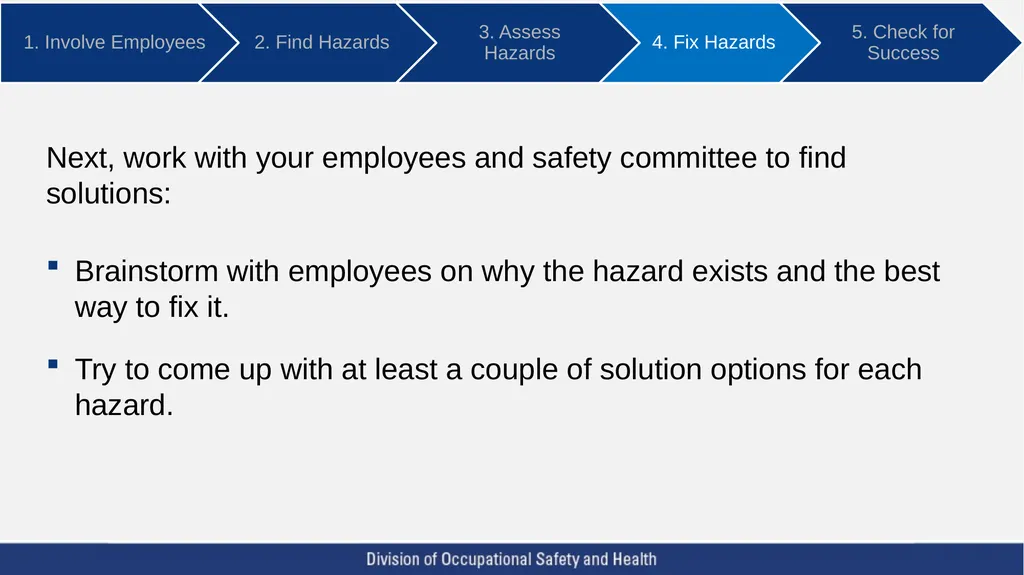
slide25. Next, work with your employees and safety committee to find solutions:
Brainstorm with employees on why the hazard exists and the best way to fix it.
Try to come up with at least a couple of solution options for each hazard.<br>
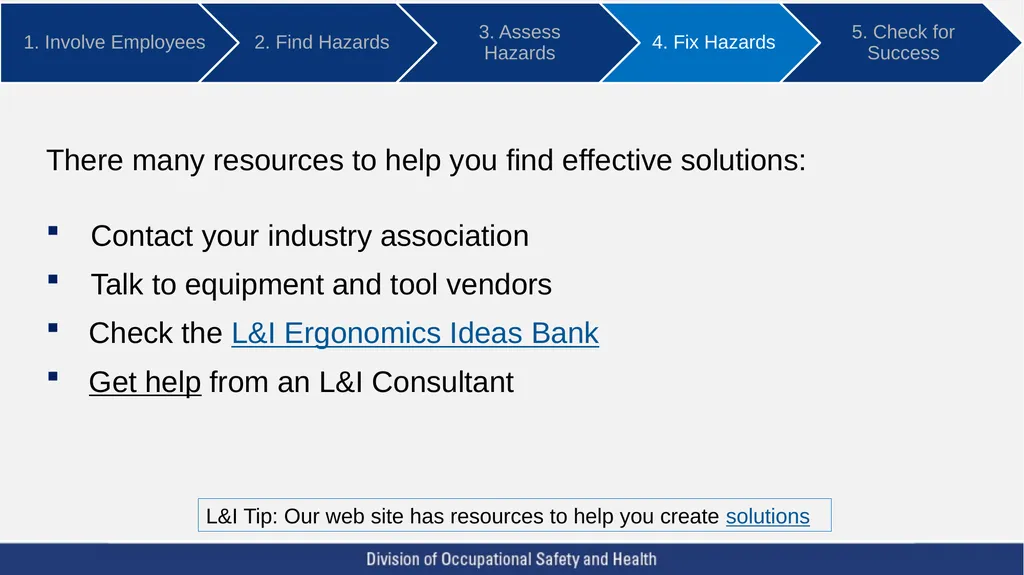
slide26. There many resources to help you find effective solutions:
Contact your industry association
Talk to equipment and tool vendors
Check the L&I Ergonomics Ideas Bank
Get help from an L&I Consultant L&I Tip: Our web site has resources to help you create solutions<br>
slide27. As you create a list of possible solutions for each hazard:
Look for quick fixes to get momentum going.
Focus on the most effective solutions.
Expect results, but be patient.<br>
slide28. Making a plan After you have decided on the fixes to put in place:
Identify a person to be responsible for each solution.
Assign completion dates and track progress.<br>
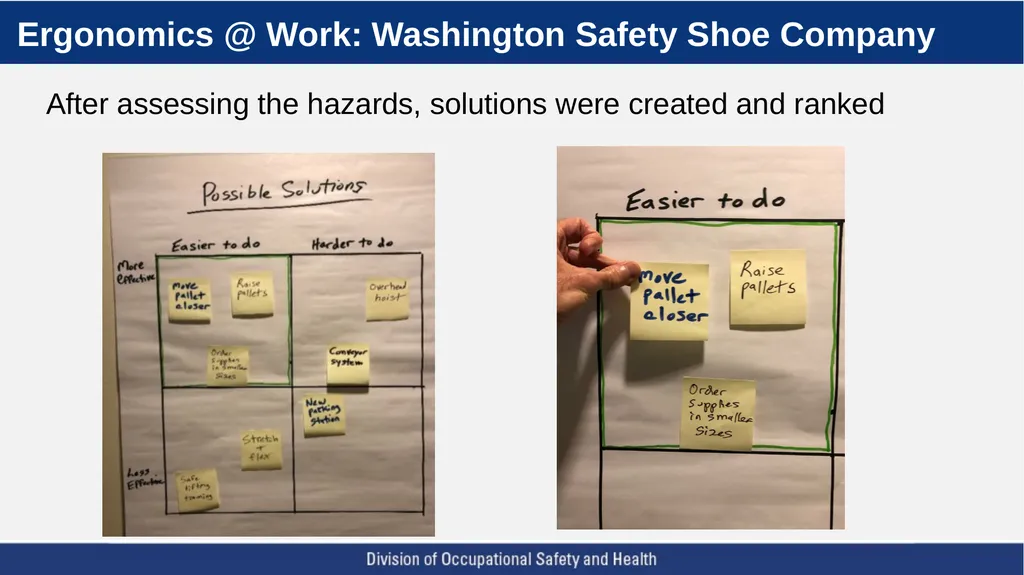
slide29. Ergonomics @ Work: Washington Safety Shoe Company After assessing the hazards, solutions were created and ranked<br>
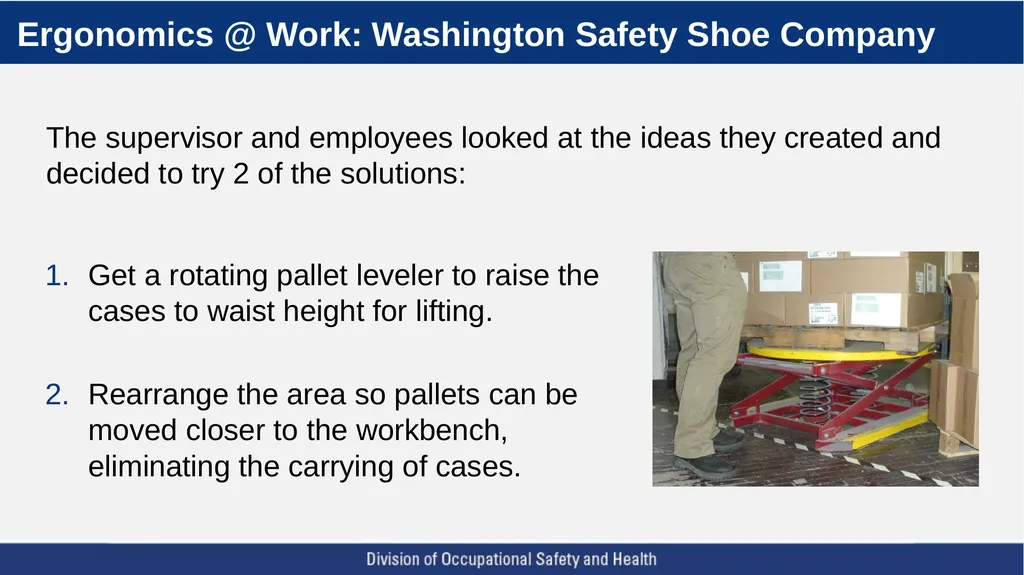
slide30. Ergonomics @ Work: Washington Safety Shoe Company The supervisor and employees looked at the ideas they created and decided to try 2 of the solutions: Get a rotating pallet leveler to raise the cases to waist height for lifting.
Rearrange the area so pallets can be moved closer to the workbench, eliminating the carrying of cases.<br>
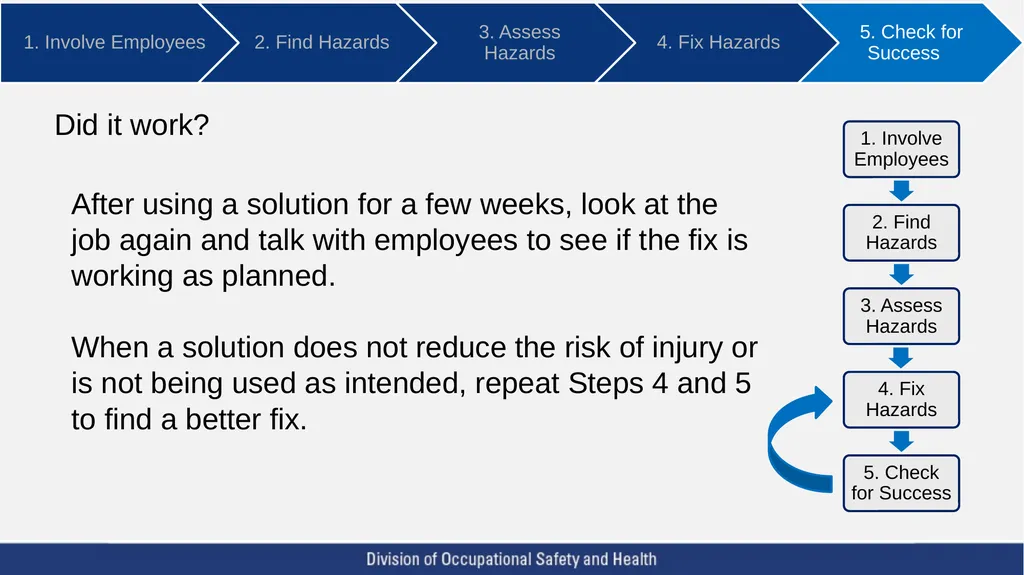
slide31. Did it work? After using a solution for a few weeks, look at the job again and talk with employees to see if the fix is working as planned.
When a solution does not reduce the risk of injury or is not being used as intended, repeat Steps 4 and 5 to find a better fix.<br>
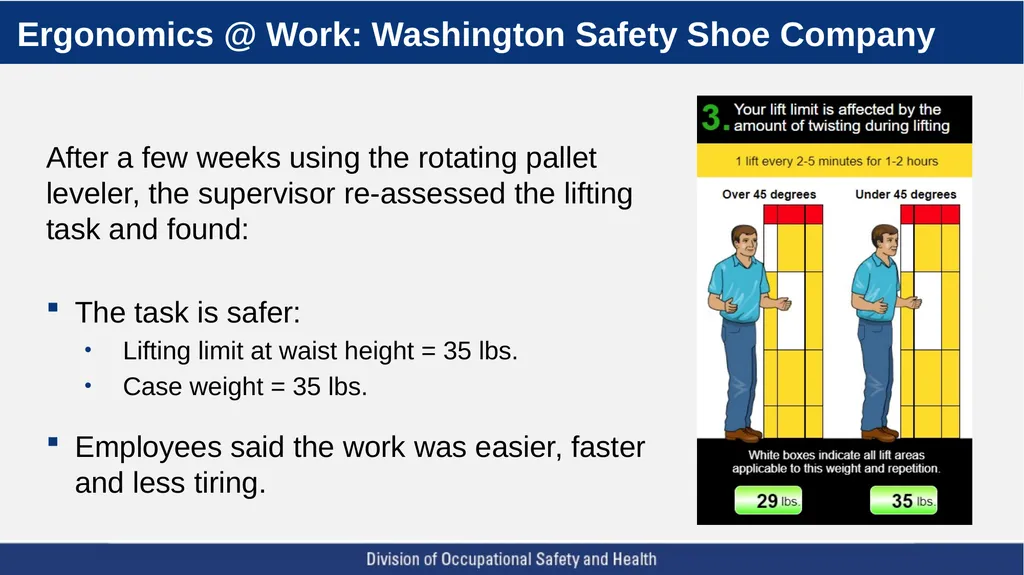
slide32. Ergonomics @ Work: Washington Safety Shoe Company After a few weeks using the rotating pallet leveler, the supervisor re-assessed the lifting task and found:
The task is safer:
Lifting limit at waist height = 35 lbs.
Case weight = 35 lbs.
Employees said the work was easier, faster and less tiring.<br>
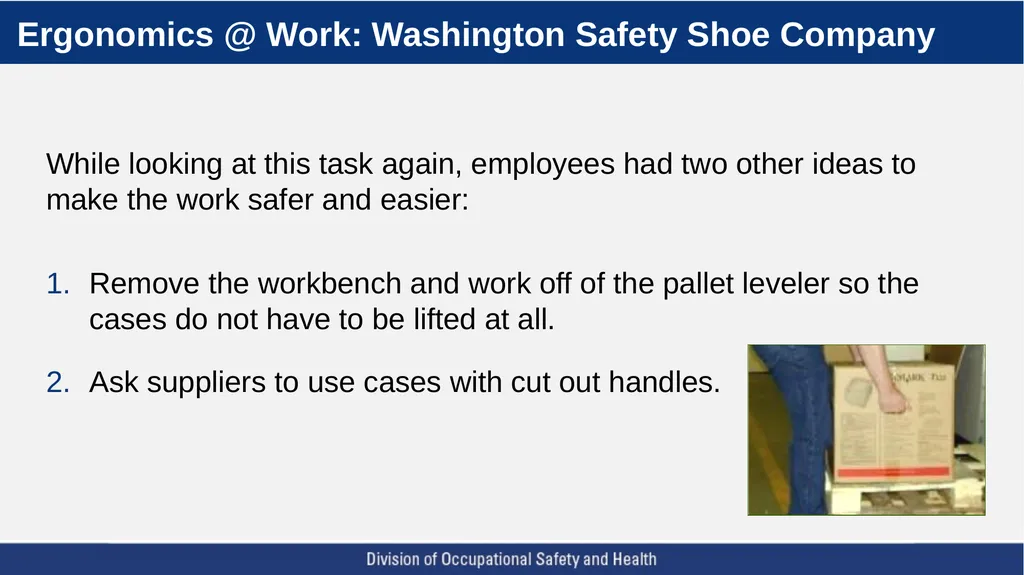
slide33. Ergonomics @ Work: Washington Safety Shoe Company While looking at this task again, employees had two other ideas to make the work safer and easier:
Remove the workbench and work off of the pallet leveler so the cases do not have to be lifted at all.
Ask suppliers to use cases with cut out handles.<br>
slide34. Ready for the next step? The next step is to consider making an ergonomics process part of your overall Accident Prevention Program.
A written ergonomic process makes it easier to continually find and fix hazards before a sprain and strain injury happens. L&I Tip: We have a template you can use to create your own ergonomics process<br>
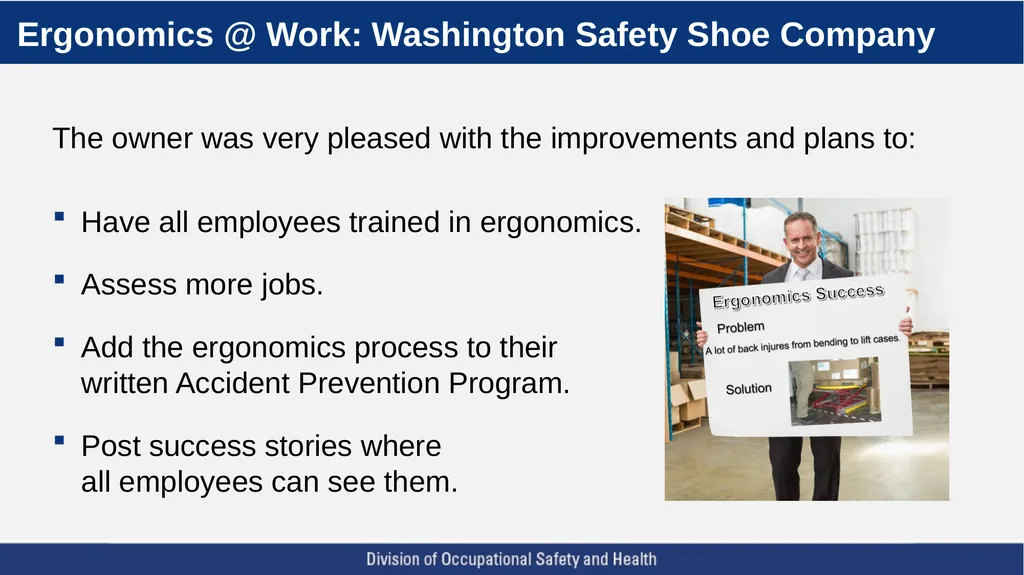
slide35. Ergonomics @ Work: Washington Safety Shoe Company The owner was very pleased with the improvements and plans to:
Have all employees trained in ergonomics.
Assess more jobs.
Add the ergonomics process to their written Accident Prevention Program.
Post success stories where all employees can see them.<br>
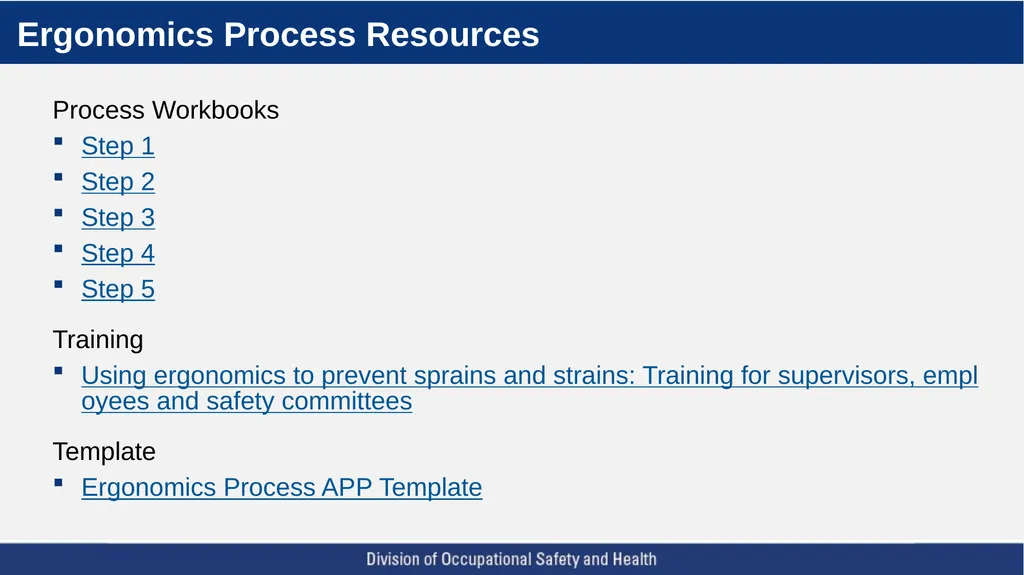
slide36. Ergonomics Process Resources Process Workbooks
Step 1
Step 2
Step 3
Step 4
Step 5
Training
Using ergonomics to prevent sprains and strains: Training for supervisors, employees and safety committees
Template
Ergonomics Process APP Template<br>
slide37. Help from L&I at no cost to you We offer free, confidential consultations to help you prevent sprains and strains in your workplace.
To learn more:
Email: Ergonomics@Lni.wa.gov
Call: (360) 902-5450
Click: Get Help with Ergonomics<br>
slide2. Preventing Sprain and Strain Injuries This presentation takes you through a 5 step ergonomics process that can help you find and fix sprain and strain hazards in your workplace.
As you go through this presentation you will follow the Washington Safety Shoe Company as they use this process to make their workplace safer.<br>
slide3. By the end of this presentation you will be able to: Describe the 5 steps of an ergonomics process.
Decide how your employees can help you find and fix hazards.
Use this process to find and fix hazards.<br>
slide4. Sprain and Strain Injuries Soft tissue injuries - “sprains and strains” - are the most common type of work-related injury in Washington State.
It is important to remember that:
There is a lot you can do to prevent them using this 5 step process.
These prevention efforts are often simple and cost-effective.<br>
slide5. Preventing sprains and strains: A five step process You can find more helpful tools and tips for preventing sprains and strains on L&I’s website.<br>
slide6. In Step 1 you will train and involve your supervisors and employees.
Training will help them:
Quickly find problem jobs.
Offer more meaningful ideas on how to make their jobs safer.
Feel they are part of the solution. L&I Tip: We offer free on-line training for supervisors, employees and safety committees<br>
slide7. Ergonomics @ Work: Washington Safety Shoe Company The Washington Safety Shoe Company sells safety toe shoes and boots.
Recently, there have been a few back injuries in the unloading and unpacking area.
The owner is concerned about employees in this area and wants to make the work safer using this ergonomics process.<br>
slide8. Ergonomics @ Work: Washington Safety Shoe Company To get started, the supervisor and employees in the unloading and unpacking area completed L&I’s online course:
Using an ergonomics process to prevent sprains and strains: Training for supervisors, employees and safety committees
Next, the company moved to Step 2, Find Hazards.<br>
slide9. The quickest way to find hazards is to look for: Lifting, carrying, pushing, pulling, or other physically hard tasks.
Work done in awkward postures, like bending or reaching.
Hand intensive work, such as using tools, assembling parts, or packing boxes.<br>
slide10. Another way to look for potential hazards is to ask supervisors and employees about:
Work processes with bottlenecks.
Quality problems or tasks that need a lot of rework.
Unnecessary steps.
Jobs no one likes to do.<br>
slide11. Other ways to find hazards are:
Look at your sprain and strain injuries.
Do a Job Hazard Analysis (JHA).
Review safety committee minutes.
Include ergonomics when changing processes, equipment and tools. L&I Tip: We have resources to help you do a Job Hazard Analysis<br>
slide12. Ergonomics @ Work: Washington Safety Shoe Company After being trained, the supervisor and employees walked through the unloading and unpacking area and saw:
Employees bending over to lift 35 lbs. cases off of pallets.
Cases being carried 30 feet to the workbench for unpacking.
When asked, employees said the work was hard to do and tiring. Also, carrying the cases slowed the work down.<br>
slide13. Ergonomics @ Work: Washington Safety Shoe Company The supervisor and employees wanted to know, could the lifting and carrying of the cases cause injuries?
The next step was to assess the injury risk using some basic assessment tools.<br>
slide14. After you find a job with a potential hazard, avoid "analysis paralysis."
Sometimes the risk of injury is obvious and there are simple solutions that you can put in place quickly, without a lot of evaluation.
However, there are times a more careful analysis is needed to understand the risk and the best approach to fixing it. L&I Tip: We have resources to help you quickly find hazards with simple solutions<br>
slide15. Analysis tools can help you:
Assess a job or task in more detail.
Decide when a risk is an injury hazard.
Prioritize your injury prevention efforts.
Determine if a solution fixed a hazard.<br>
slide16. Basic tools L&I Caution Zone Checklist
L&I Hazard Zone Checklist
Lifting Calculator App
Push/Pull/Carry Calculator
Push/Pull Guidelines L&I Tip: These basic evaluation tools can be found on our website<br>
slide17. Advanced tools L&I Industry-Specific Job Evaluation Checklists
Quick Exposure Check L&I Tip: These advanced evaluation tools and others can be found on our website<br>
slide18. Ergonomics @ Work: Washington Safety Shoe Company After looking at the tools on the L&I web site, the supervisor decided to use the:
Lifting Calculator App for the unloading pallets task.
Carry Calculator for the carrying cases task.<br>
slide19. Ergonomics @ Work: Washington Safety Shoe Company Lifting Calculator App inputs:
When asked, employees said lifting from
the lowest row of cases is the hardest<br>
slide20. Ergonomics @ Work: Washington Safety Shoe Company Lifting Calculator App inputs:
Employees said:
They lift 1 case every 4 to 5 minutes.
It takes 1.5 to 2 hours to unload and unpack cases.<br>
slide21. Ergonomics @ Work: Washington Safety Shoe Company Lifting Calculator App results:
Safe weights to lift are 17 lbs. and 20 lbs. based on the amount of twisting
Lifting the heavier 35 lbs. cases could lead to a back injury<br>
slide22. Ergonomics @ Work: Washington Safety Shoe Company Carry Calculator inputs:
The company used the Female scenario to asses if this task can be safely done by most employees<br>
slide23. Ergonomics @ Work: Washington Safety Shoe Company Carry Calculator inputs:
Employees carry cases 30 feet every 4 to 5 minutes.
Cases are carried at waist height.<br>
slide24. Ergonomics @ Work: Washington Safety Shoe Company Carry Calculator results:
Suggested max weight is a little less than the weight of the cases<br>
slide25. Next, work with your employees and safety committee to find solutions:
Brainstorm with employees on why the hazard exists and the best way to fix it.
Try to come up with at least a couple of solution options for each hazard.<br>
slide26. There many resources to help you find effective solutions:
Contact your industry association
Talk to equipment and tool vendors
Check the L&I Ergonomics Ideas Bank
Get help from an L&I Consultant L&I Tip: Our web site has resources to help you create solutions<br>
slide27. As you create a list of possible solutions for each hazard:
Look for quick fixes to get momentum going.
Focus on the most effective solutions.
Expect results, but be patient.<br>
slide28. Making a plan After you have decided on the fixes to put in place:
Identify a person to be responsible for each solution.
Assign completion dates and track progress.<br>
slide29. Ergonomics @ Work: Washington Safety Shoe Company After assessing the hazards, solutions were created and ranked<br>
slide30. Ergonomics @ Work: Washington Safety Shoe Company The supervisor and employees looked at the ideas they created and decided to try 2 of the solutions: Get a rotating pallet leveler to raise the cases to waist height for lifting.
Rearrange the area so pallets can be moved closer to the workbench, eliminating the carrying of cases.<br>
slide31. Did it work? After using a solution for a few weeks, look at the job again and talk with employees to see if the fix is working as planned.
When a solution does not reduce the risk of injury or is not being used as intended, repeat Steps 4 and 5 to find a better fix.<br>
slide32. Ergonomics @ Work: Washington Safety Shoe Company After a few weeks using the rotating pallet leveler, the supervisor re-assessed the lifting task and found:
The task is safer:
Lifting limit at waist height = 35 lbs.
Case weight = 35 lbs.
Employees said the work was easier, faster and less tiring.<br>
slide33. Ergonomics @ Work: Washington Safety Shoe Company While looking at this task again, employees had two other ideas to make the work safer and easier:
Remove the workbench and work off of the pallet leveler so the cases do not have to be lifted at all.
Ask suppliers to use cases with cut out handles.<br>
slide34. Ready for the next step? The next step is to consider making an ergonomics process part of your overall Accident Prevention Program.
A written ergonomic process makes it easier to continually find and fix hazards before a sprain and strain injury happens. L&I Tip: We have a template you can use to create your own ergonomics process<br>
slide35. Ergonomics @ Work: Washington Safety Shoe Company The owner was very pleased with the improvements and plans to:
Have all employees trained in ergonomics.
Assess more jobs.
Add the ergonomics process to their written Accident Prevention Program.
Post success stories where all employees can see them.<br>
slide36. Ergonomics Process Resources Process Workbooks
Step 1
Step 2
Step 3
Step 4
Step 5
Training
Using ergonomics to prevent sprains and strains: Training for supervisors, employees and safety committees
Template
Ergonomics Process APP Template<br>
slide37. Help from L&I at no cost to you We offer free, confidential consultations to help you prevent sprains and strains in your workplace.
To learn more:
Email: Ergonomics@Lni.wa.gov
Call: (360) 902-5450
Click: Get Help with Ergonomics<br>