Creating a Veterinary Radiographic Technique Chart Amy Crane, DVM Step 1: Get your radiology house in order Have your processor serviced Be sure that you are using screens that are all the same age, speed, and manufacturer Use a dog that
"Creating a Veterinary Radiographic Technique Chart" is the property of its rightful owner. Permission is granted to
download and print the materials on this website for personal, non-commercial use only, and to display it
on your personal computer provided you do not modify the materials and that you retain all copyright
notices contained in the materials. By downloading content from our website, you accept the terms of this
agreement.
Presentation Transcript
01
Creating a Veterinary Radiographic Technique Chart Amy Crane, DVM<br>
02
Step 1: Get your radiology house in order Have your processor serviced
Be sure that you are using screens that are all the same age, speed, and manufacturer
Use a dog that weighs about 40 pounds but is not overweight<br>
03
Step 2: Select your mAs In veterinary medicine, patient motion is a great concern
We like to use a high mAs and low kVp technique<br>
04
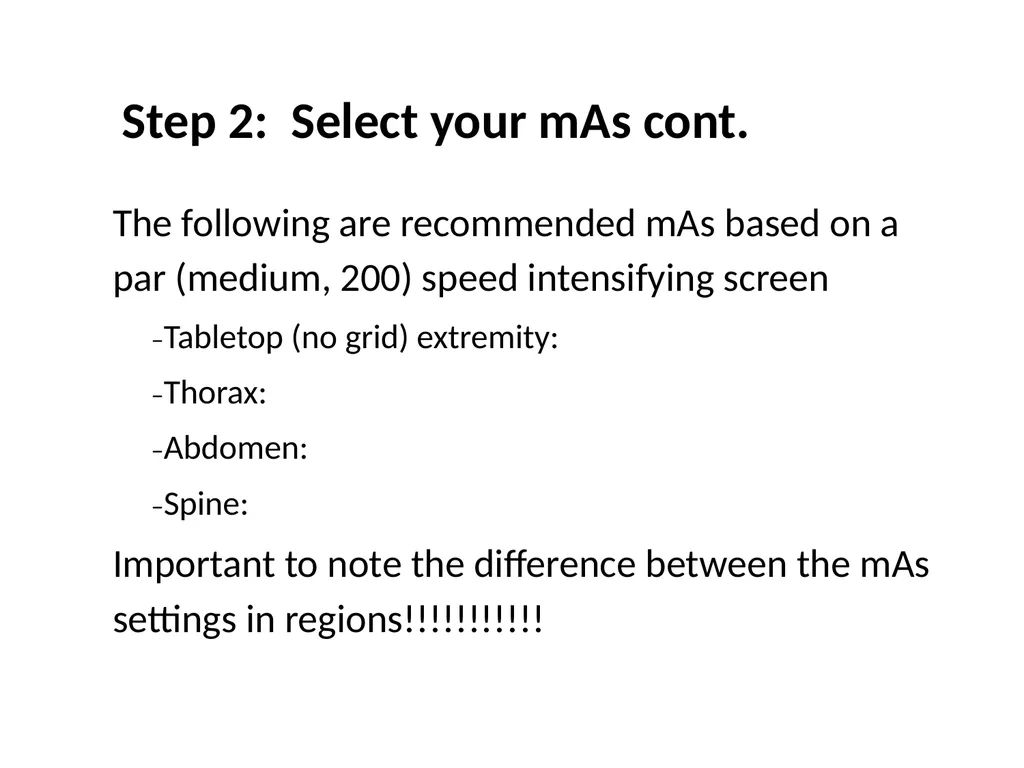
Step 2: Select your mAs cont. The following are recommended mAs based on a par (medium, 200) speed intensifying screen
–Tabletop (no grid) extremity:
–Thorax:
–Abdomen:
–Spine:
Important to note the difference between the mAs settings in regions!!!!!!!!!!!<br>
05
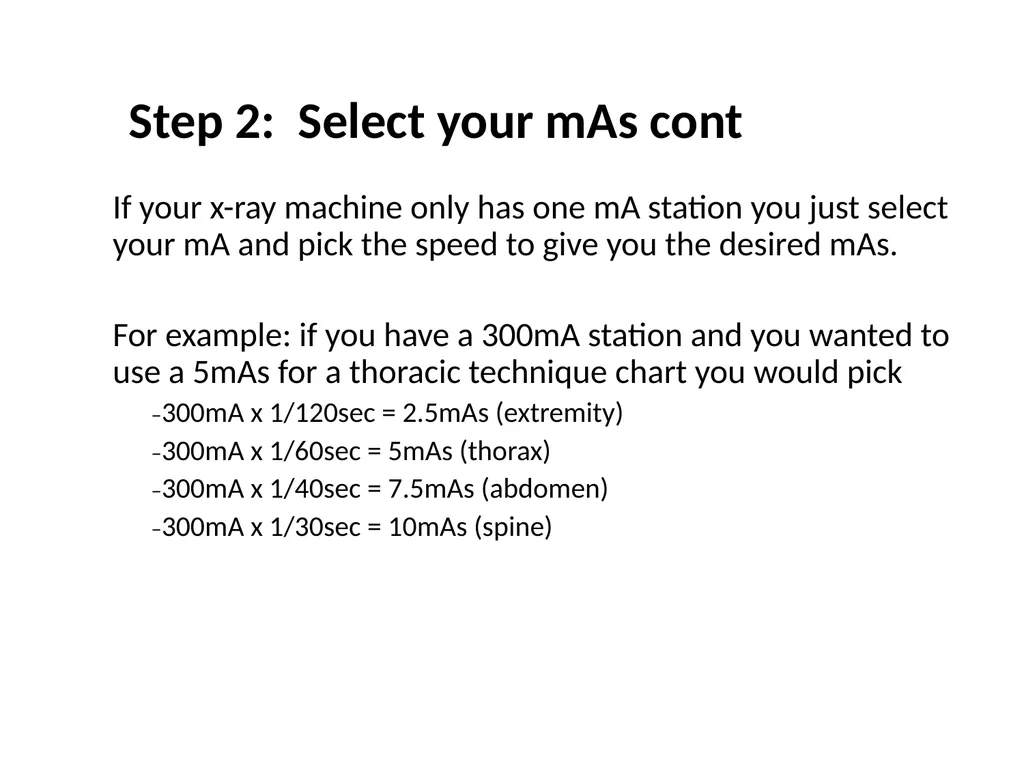
Step 2: Select your mAs cont If your x-ray machine only has one mA station you just select your mA and pick the speed to give you the desired mAs.
For example: if you have a 300mA station and you wanted to use a 5mAs for a thoracic technique chart you would pick
–300mA x 1/120sec = 2.5mAs (extremity)
–300mA x 1/60sec = 5mAs (thorax)
–300mA x 1/40sec = 7.5mAs (abdomen)
–300mA x 1/30sec = 10mAs (spine)<br>
06
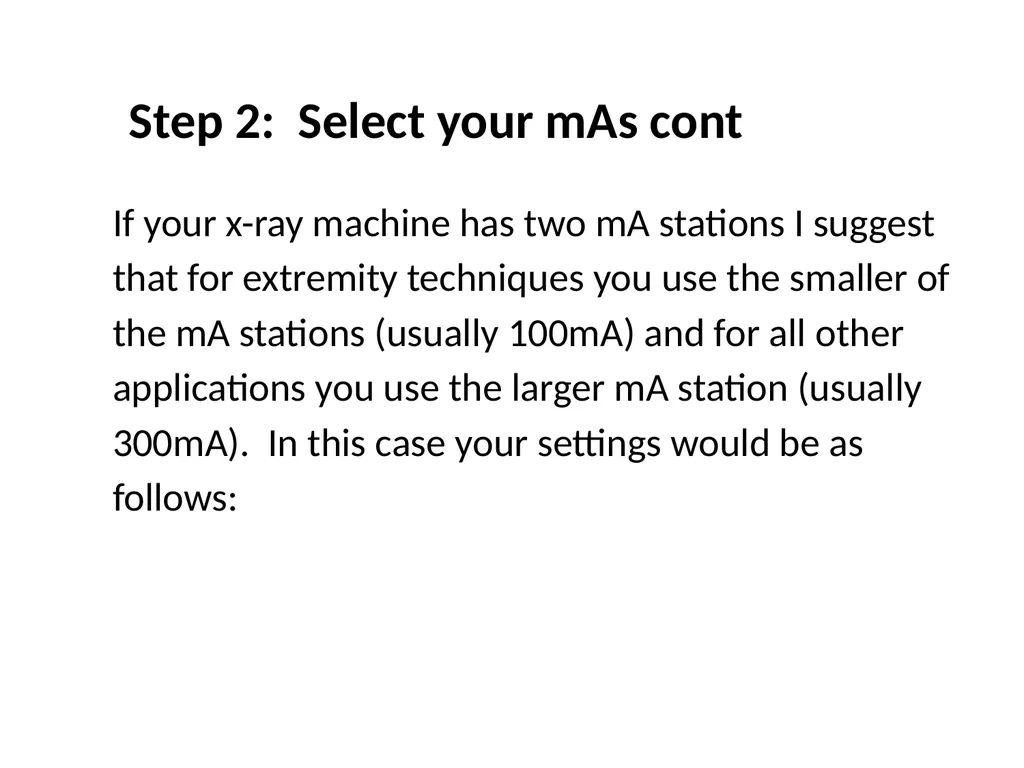
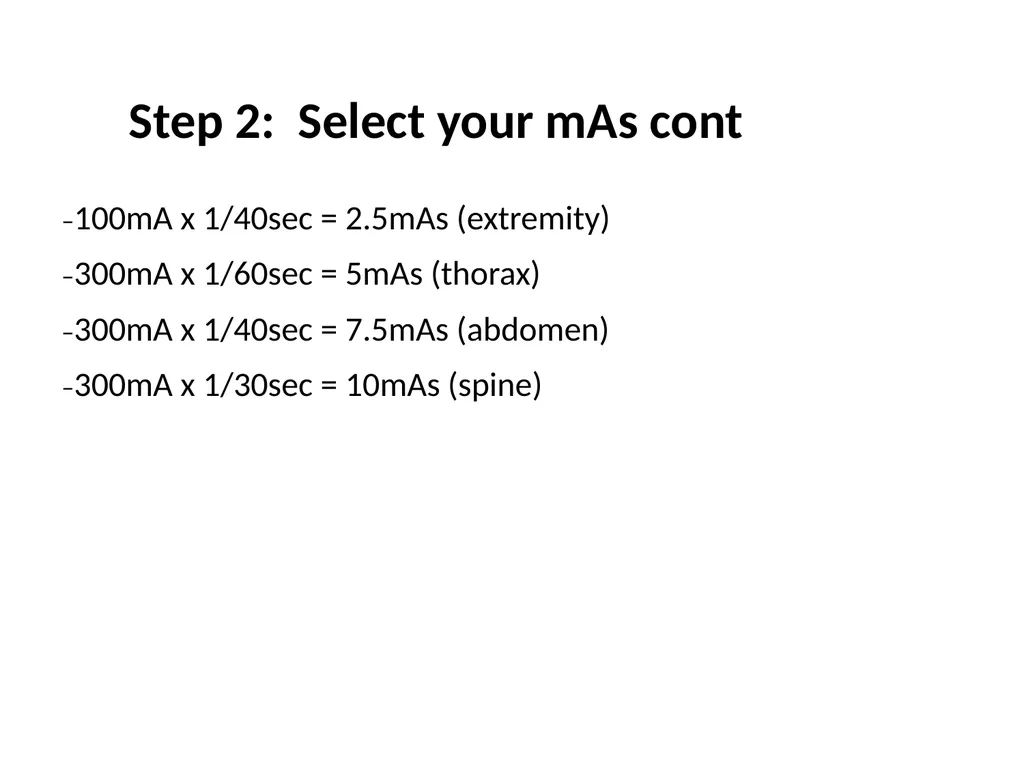
Step 2: Select your mAs cont If your x-ray machine has two mA stations I suggest that for extremity techniques you use the smaller of the mA stations (usually 100mA) and for all other applications you use the larger mA station (usually 300mA). In this case your settings would be as follows:<br>
07
Step 2: Select your mAs cont –100mA x 1/40sec = 2.5mAs (extremity)
–300mA x 1/60sec = 5mAs (thorax)
–300mA x 1/40sec = 7.5mAs (abdomen)
–300mA x 1/30sec = 10mAs (spine)<br>
08
Step 2: Select your mAs cont *****The previous suggestions were for par (medium, 200) speed intensifying screens<br>
09
Step 3: Select your initial kVp This step is to create a “perfect” radiograph
To do that we need to find a kVp to go along with our suggested mAs setting<br>
10
Step 3: Select your initial kVp To pick a starting kVp use Sante’s Rule<br>
11
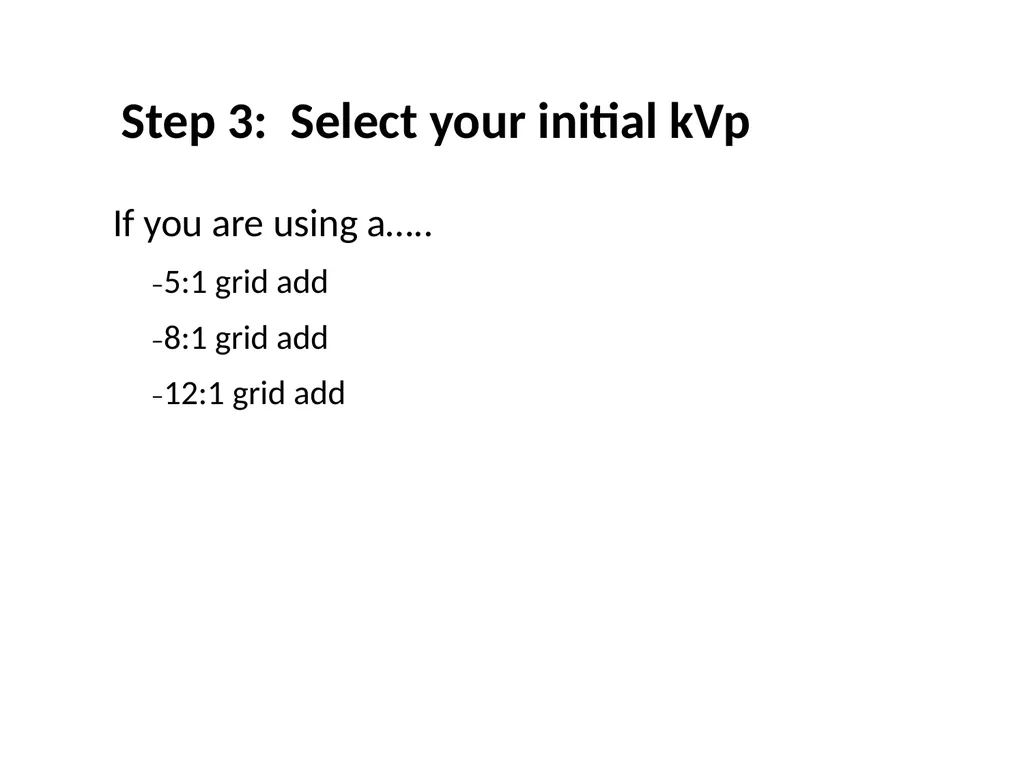
Step 3: Select your initial kVp If you are using a…..
–5:1 grid add
–8:1 grid add
–12:1 grid add<br>
12
Step 3: Select your initial kVp Most veterinary applications use an 8:1 grid
If you know you are using a grid, but don’t know what kind of grid is under your table assume it is an 8:1 grid
Remember, grids are not used in table top techniques
If you are making a technique chart for a table top study use 0 for the grid factor<br>
13
Step 4: Expose the Perfect Film The goal in this step is to obtain a radiograph with a “perfect” exposure
The technique you use to generate this radiograph will be used to create the rest of the technique chart.
Take your time and make this radiograph as good as it can be
It may take 5 or 6 tries to get it right but the time you spend on this step will be worth it in the end<br>
14
Step 4: Expose the Perfect Film To get started, take a radiograph with the mAs I recommended above for each particular study, and set your kVp according to Sante’s Rule
For example: if I were creating an abdominal technique, using a 40 inch SID, an 8:1 grid, and my dog measures 15cm then I would expose a radiograph at 7.5mAs and 80kVp.
Hopefully, that exposure will be in the ballpark and the radiograph will be fairly well exposed<br>
15
Step 4: Expose the Perfect Film Unfortunately, this is not always the case
first look at film density<br>
16
Step 4: Expose the Perfect Film Once density is good now time to perfect contrast by changing the kVp<br>
17
Step 5: Make the Technique Chart Now that you have a properly exposed radiograph, you are over the hump and the rest is easy
To create a technique chart simply start with your “perfect exposure” and extrapolate to find the values of kVp for other measurements according to the following rules<br>
18
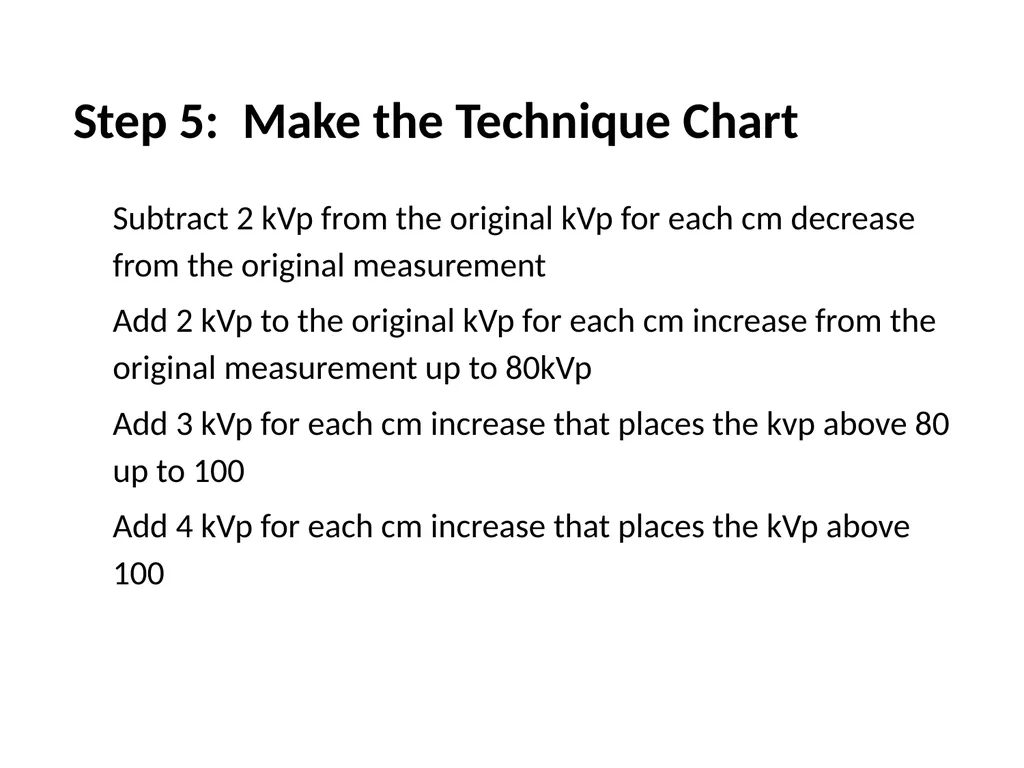
Step 5: Make the Technique Chart Subtract 2 kVp from the original kVp for each cm decrease from the original measurement
Add 2 kVp to the original kVp for each cm increase from the original measurement up to 80kVp
Add 3 kVp for each cm increase that places the kvp above 80 up to 100
Add 4 kVp for each cm increase that places the kVp above 100<br>
19
Step 5: Make the Technique Chart For example…let’s say that we started with a perfect exposure of 7.5mAs at 80kVp and our patient measured 15cm
We would make an abdominal technique chart as follows<br>
20
Step 6: Create a technique chart for each different study as abdomen, thorax, extremity, spine Repeat the above process to create these additional technique charts<br>
21
Also remember every animal is different
fat thin
muscular/dense
puppy/kitten
exotic
so settings (kVp) may need to be changed a little bit need to evaluate every film as it comes out<br>