FIELD MEDICAL ASSISTANT COURSE (FMAC) MODULE 17: FRACTURES TACTICAL FIELD MEDICAL AID (TFMA) ROLE-BASED TRAINING SPECTRUM ROLE 1 CARE NONMEDICAL PERSONNEL Buddy First Aid Field Medical Assistant MEDICAL PERSONNEL Paramedic Nurse Doctor You
"FIELD MEDICAL ASSISTANT COURSE (FMAC) MODULE 17:" is the property of its rightful owner. Permission is granted to
download and print the materials on this website for personal, non-commercial use only, and to display it
on your personal computer provided you do not modify the materials and that you retain all copyright
notices contained in the materials. By downloading content from our website, you accept the terms of this
agreement.
Presentation Transcript
01
FIELD MEDICAL ASSISTANT COURSE (FMAC) MODULE 17:
FRACTURES<br>
02
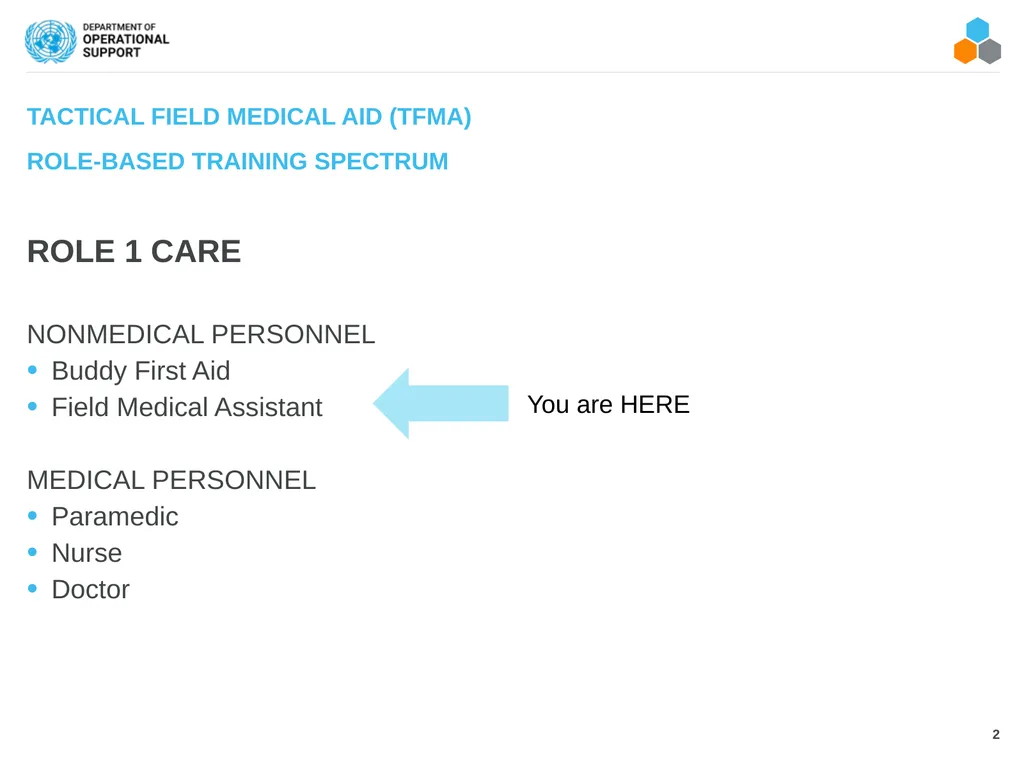
TACTICAL FIELD MEDICAL AID (TFMA) ROLE-BASED TRAINING SPECTRUM ROLE 1 CARE
NONMEDICAL PERSONNEL
Buddy First Aid
Field Medical Assistant
MEDICAL PERSONNEL
Paramedic
Nurse
Doctor You are HERE<br>
03
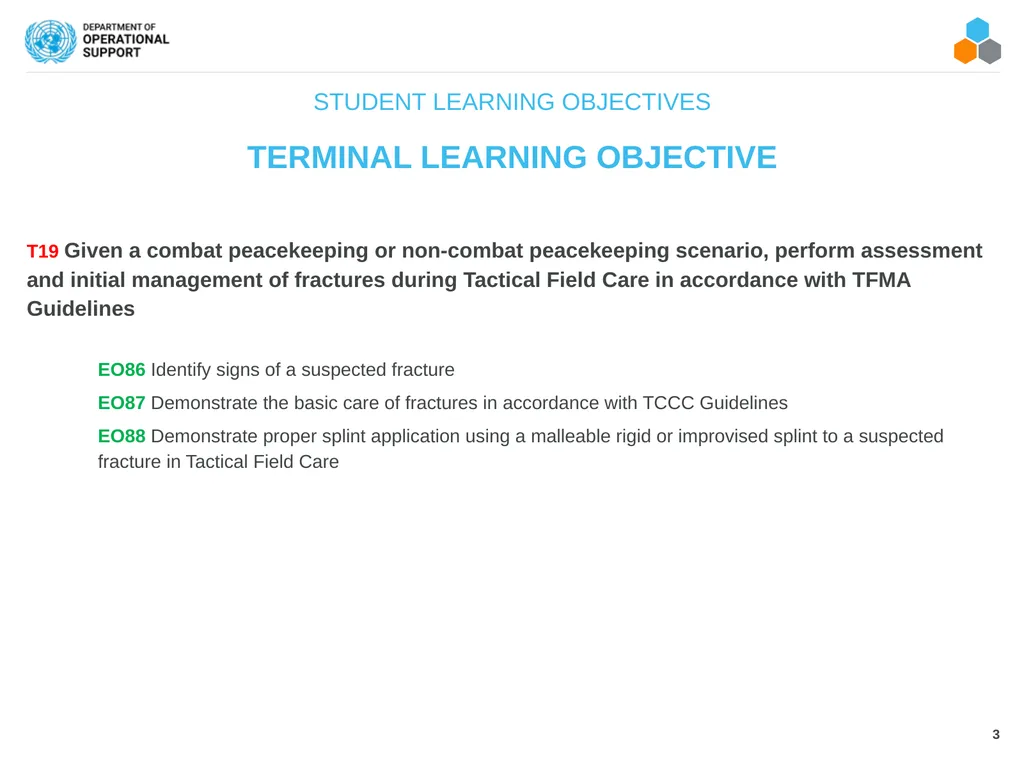
TERMINAL LEARNING OBJECTIVE T19 Given a combat peacekeeping or non-combat peacekeeping scenario, perform assessment and initial management of fractures during Tactical Field Care in accordance with TFMA Guidelines
EO86 Identify signs of a suspected fracture
EO87 Demonstrate the basic care of fractures in accordance with TCCC Guidelines
EO88 Demonstrate proper splint application using a malleable rigid or improvised splint to a suspected fracture in Tactical Field Care STUDENT LEARNING OBJECTIVES<br>
04
1 CARE UNDER FIRE
RETURN FIRE
AND TAKE COVER
Quick decision-making:
Consider scene safety
Identify and control life-threatening bleeding
Move casualty to safety Three PHASES of TFMA 2 TACTICAL FIELD CARE
COVER AND
CONCEALMENT
Basic Management Plan:
Maintain tactical situational awareness
Triage casualties as required
MARCH PAWS assessment 3 TACTICAL EVACUATION CARE
More deliberate assessment and treatment of unrecognized life-threatening injuries:
Pre-evacuation procedures
Continuation of documentation
NOTE: This is covered in more advanced TFMA training! YOU ARE HERE<br>
05
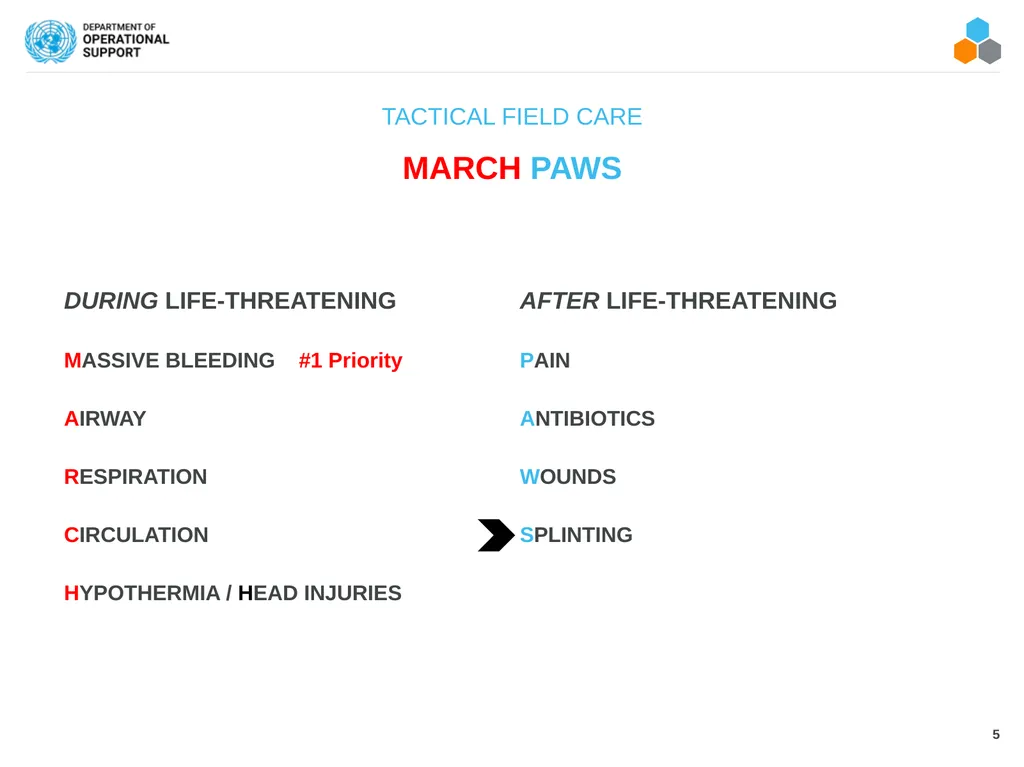
TACTICAL FIELD CARE DURING LIFE-THREATENING
MASSIVE BLEEDING #1 Priority
AIRWAY
RESPIRATION
CIRCULATION
HYPOTHERMIA / HEAD INJURIES MARCH PAWS AFTER LIFE-THREATENING
PAIN
ANTIBIOTICS
WOUNDS
SPLINTING<br>
06
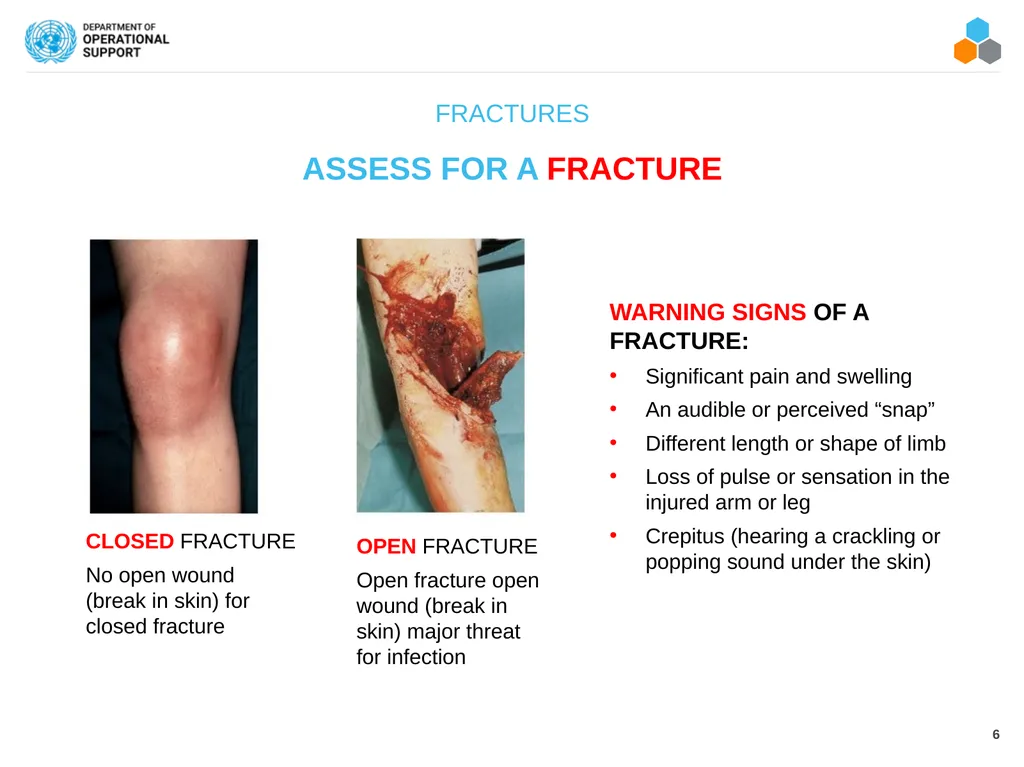
ASSESS FOR A FRACTURE FRACTURES CLOSED FRACTURE
No open wound (break in skin) for closed fracture OPEN FRACTURE
Open fracture open wound (break in skin) major threat for infection WARNING SIGNS OF A FRACTURE:
Significant pain and swelling
An audible or perceived “snap”
Different length or shape of limb
Loss of pulse or sensation in the injured arm or leg
Crepitus (hearing a crackling or popping sound under the skin)<br>
07
OBJECTIVES OF SPLINTING FRACTURES A splint is used to prevent movement and hold an injured arm/leg in place to:
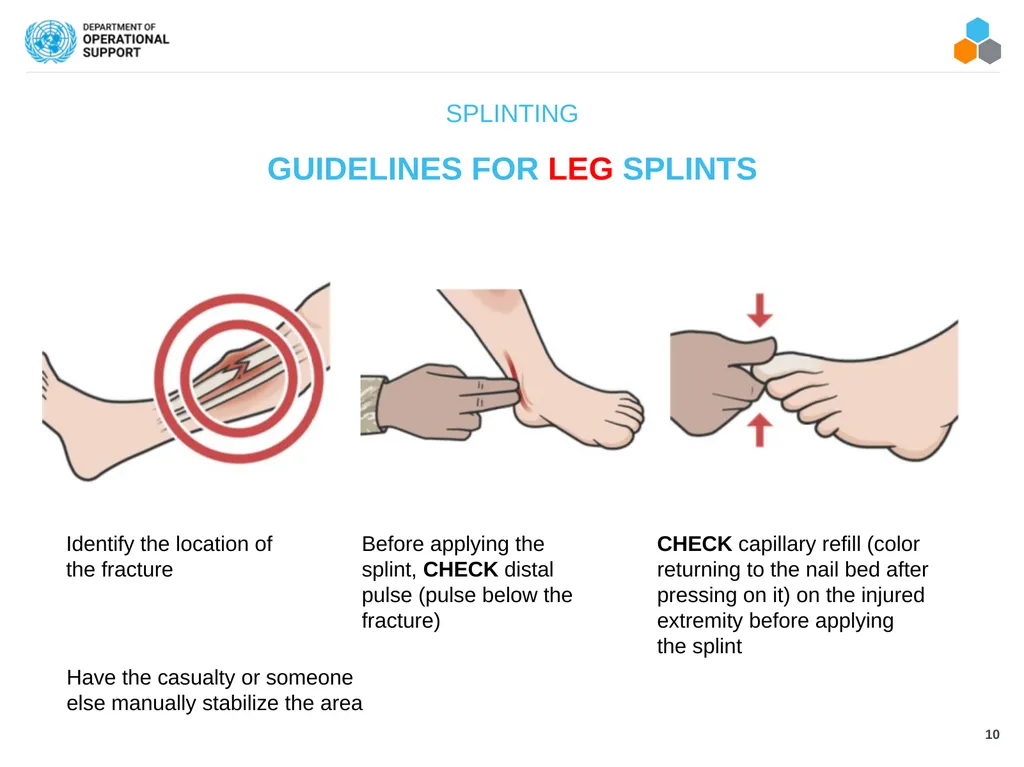
Identify the location of the fracture NOTE: Have the casualty or someone else manually stabilize the area
Check the distal pulse (pulse below the fracture) and capillary refill (color returning to the nail bed after pressing on it) on the injured extremity before applying the splint
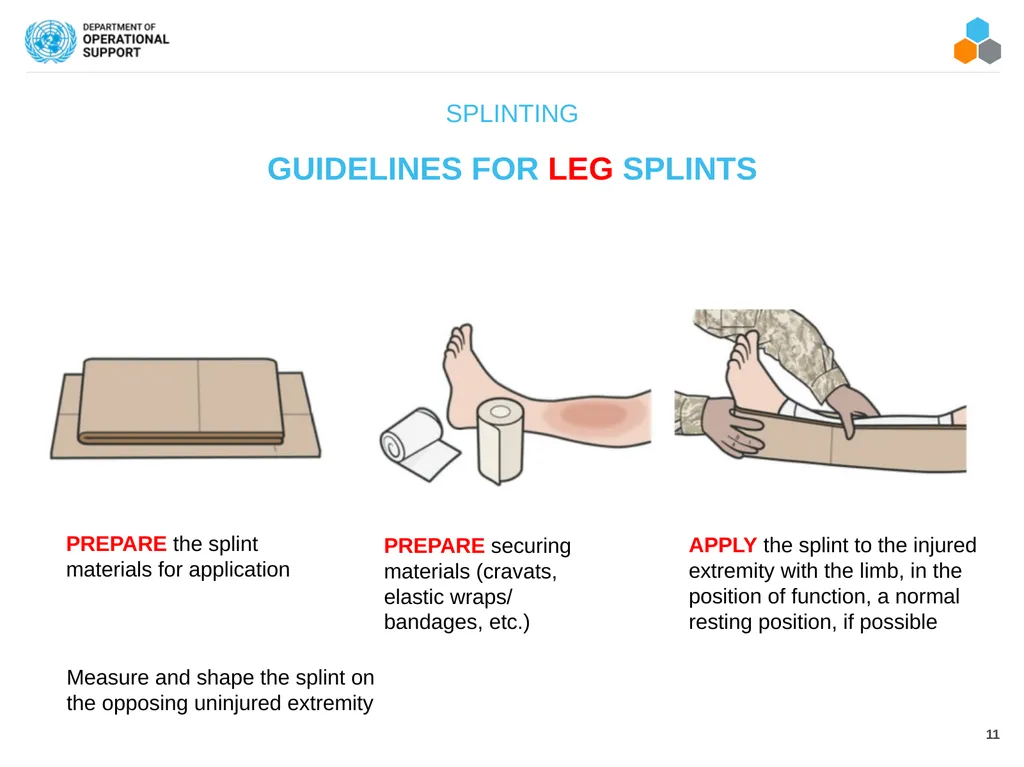
Prepare the splint materials for application NOTE: Measure and shape the splint on the opposing uninjured extremity
Prepare securing materials (cravats, elastic wraps/bandages, etc.)
Apply the splint to the injured extremity with the limb, in the position of function (a normal resting position), if possible NOTE: If possible, lightly pad all voids within the splint to make it more comfortable
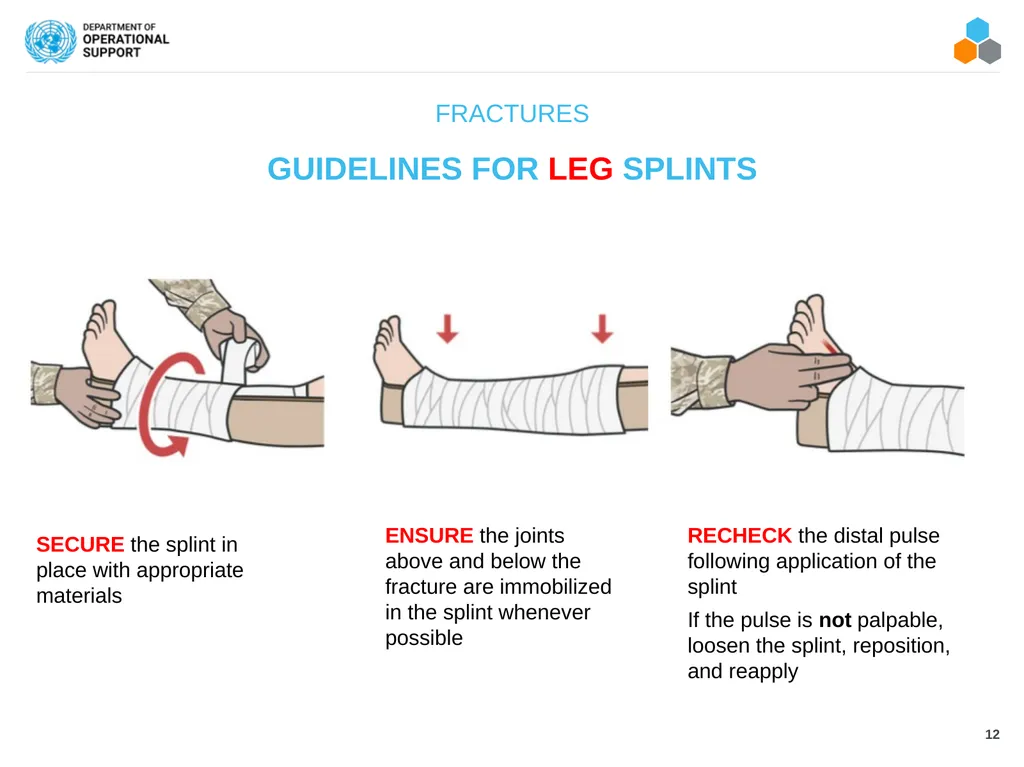
Secure the splint in place with appropriate materials
Ensure the joints above and below the fracture are immobilized in the splint whenever possible
Recheck the distal pulse following application of the splint. If the pulse is not palpable, loosen the splint, reposition, and reapply the splint
Refer to the Medic to administer the pain medications (from the Wound Medication Pack) as needed and the antibiotic for any open fracture(s)
Document all treatment on a Casualty Card and attach it to the casualty<br>
08
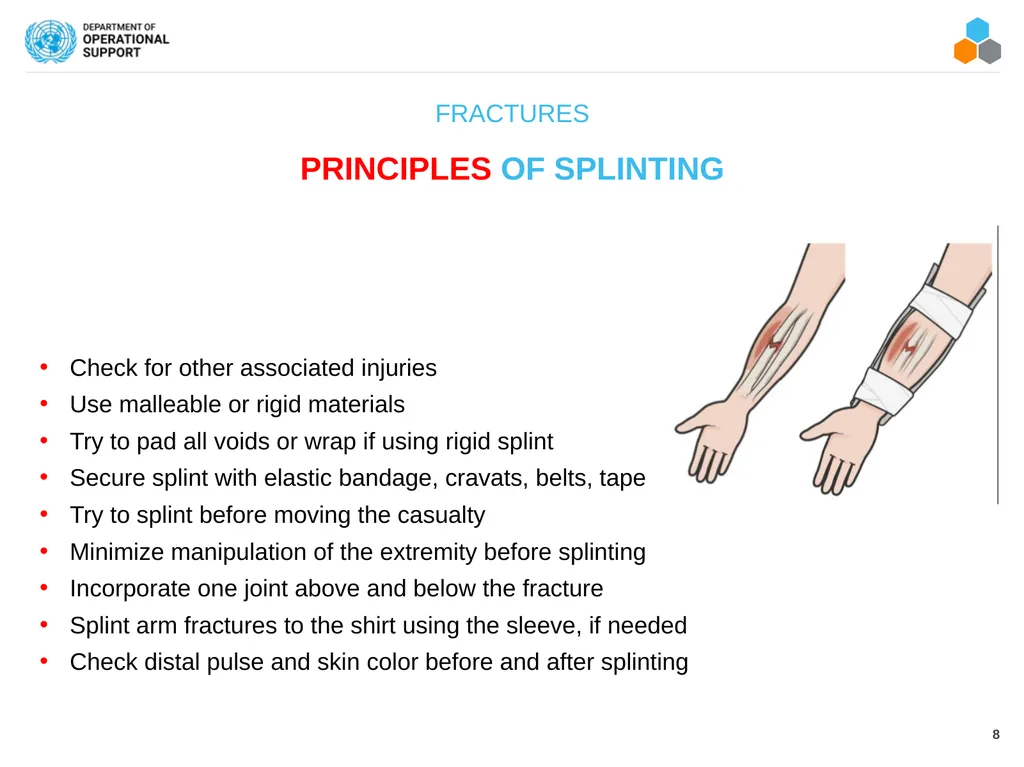
PRINCIPLES OF SPLINTING FRACTURES Check for other associated injuries
Use malleable or rigid materials
Try to pad all voids or wrap if using rigid splint
Secure splint with elastic bandage, cravats, belts, tape
Try to splint before moving the casualty
Minimize manipulation of the extremity before splinting
Incorporate one joint above and below the fracture
Splint arm fractures to the shirt using the sleeve, if needed
Check distal pulse and skin color before and after splinting<br>
09
THINGS TO AVOID WHEN SPLINTING SPLINTING Manipulating the fracture site too much resulting in pain, additional damage to blood vessels and nerves, etc.
Securing too tightly, cutting off blood flow
Failing to immobilize joint above and below fracture when possible
Causing further injury
Making casualty uncomfortable during transport/evacuation
Splinting near or over a wound that has not be properly treated<br>
10
GUIDELINES FOR LEG SPLINTS SPLINTING Identify the location of
the fracture Before applying the splint, CHECK distal pulse (pulse below the fracture) CHECK capillary refill (color
returning to the nail bed after
pressing on it) on the injured
extremity before applying
the splint Have the casualty or someone else manually stabilize the area<br>
11
GUIDELINES FOR LEG SPLINTS SPLINTING Measure and shape the splint on the opposing uninjured extremity PREPARE the splint materials for application PREPARE securing materials (cravats, elastic wraps/
bandages, etc.) APPLY the splint to the injured
extremity with the limb, in the
position of function, a normal
resting position, if possible<br>
12
GUIDELINES FOR LEG SPLINTS FRACTURES SECURE the splint in place with appropriate materials ENSURE the joints above and below the fracture are immobilized in the splint whenever possible RECHECK the distal pulse following application of the splint
If the pulse is not palpable, loosen the splint, reposition, and reapply<br>
13
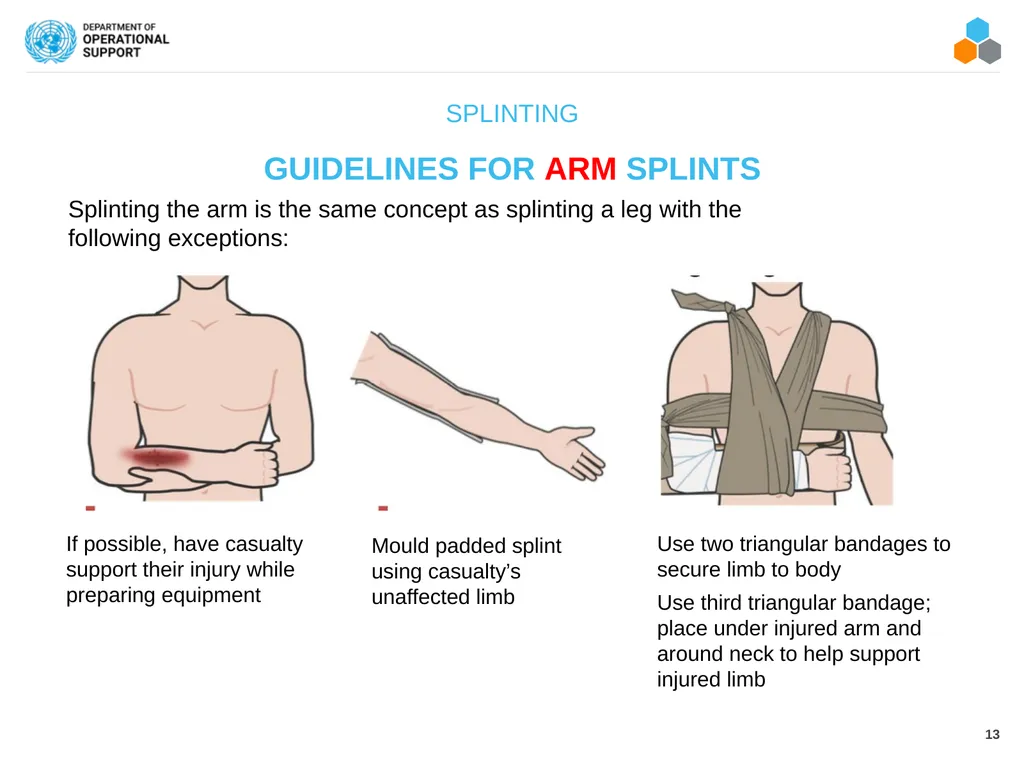
GUIDELINES FOR ARM SPLINTS SPLINTING If possible, have casualty
support their injury while
preparing equipment Mould padded splint
using casualty’s
unaffected limb Use two triangular bandages to secure limb to body
Use third triangular bandage; place under injured arm and around neck to help support injured limb Splinting the arm is the same concept as splinting a leg with the
following exceptions:<br>
14
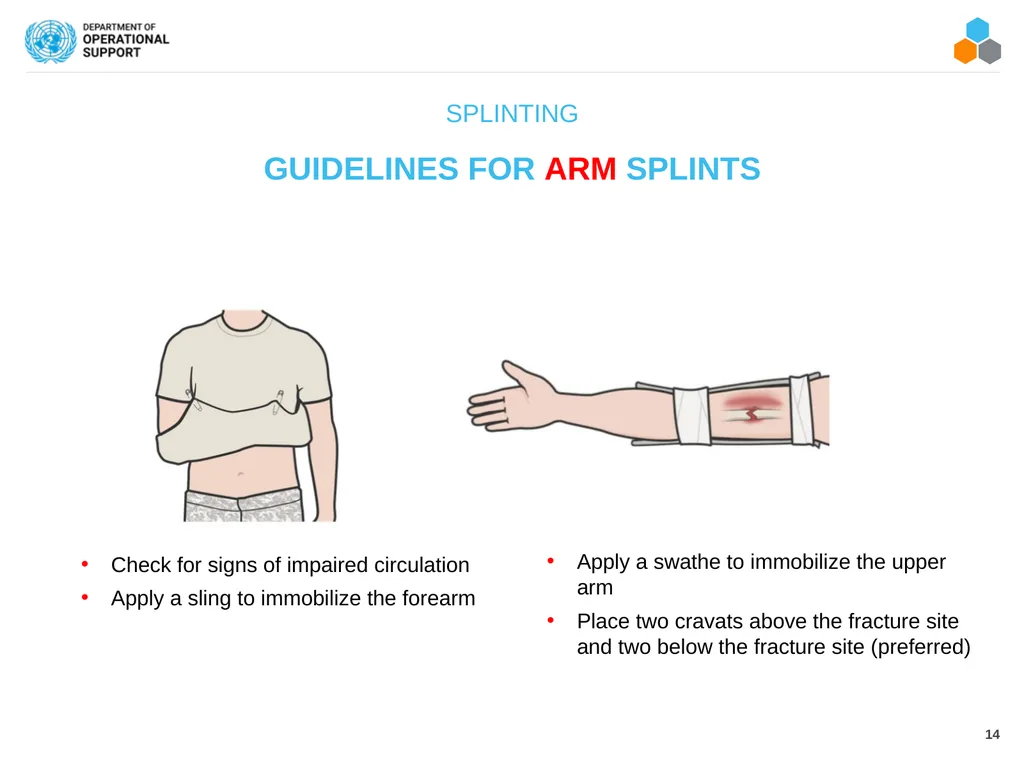
GUIDELINES FOR ARM SPLINTS SPLINTING Check for signs of impaired circulation
Apply a sling to immobilize the forearm Apply a swathe to immobilize the upper arm
Place two cravats above the fracture site and two below the fracture site (preferred)<br>
15
SPLINTING AN ARM SPLINTING
(TACTICAL FIELD CARE)
Video can be found on DeployedMedicine.com<br>
16
SKILL STATION Splinting (Skill)
Splinting<br>
17
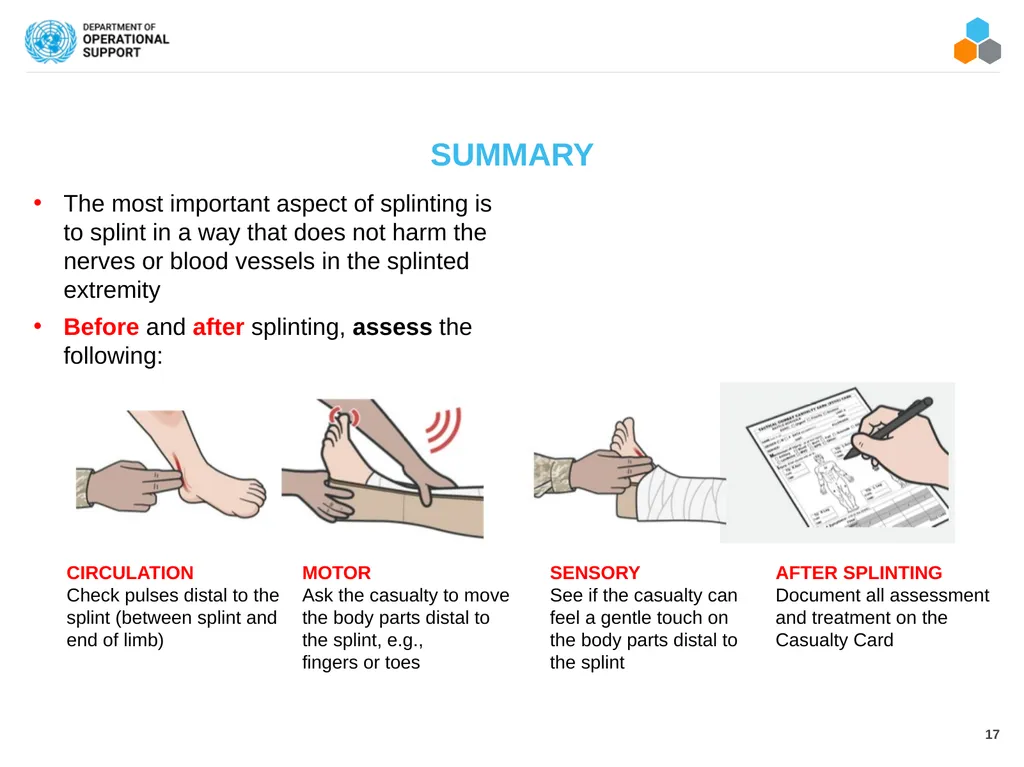
SUMMARY CIRCULATION
Check pulses distal to the
splint (between splint and
end of limb) The most important aspect of splinting is to splint in a way that does not harm the nerves or blood vessels in the splinted extremity
Before and after splinting, assess the following: MOTOR
Ask the casualty to move
the body parts distal to
the splint, e.g.,
fingers or toes SENSORY
See if the casualty can
feel a gentle touch on
the body parts distal to
the splint AFTER SPLINTING
Document all assessment
and treatment on the
Casualty Card<br>
18
CHECK ON LEARNING True or False: When applying a splint, ensure the joints above and below the fracture are immobilized in the splint whenever possible.
What should you assess before and after splinting?<br>