
Personal Hygiene and Contamination Managers must

Description: Personal Hygiene and Contamination Managers must focus on the following: Establishing specific personal hygiene policies Training food handlers on personal hygiene policies and retraining them regularly Modeling correct behavior at all
Related Topics
Download Presentation
"Personal Hygiene and Contamination Managers must" is the property of its rightful owner. Permission is granted to download and print the materials on this website for personal, non-commercial use only, and to display it on your personal computer provided you do not modify the materials and that you retain all copyright notices contained in the materials. By downloading content from our website, you accept the terms of this agreement.
Presentation Transcript
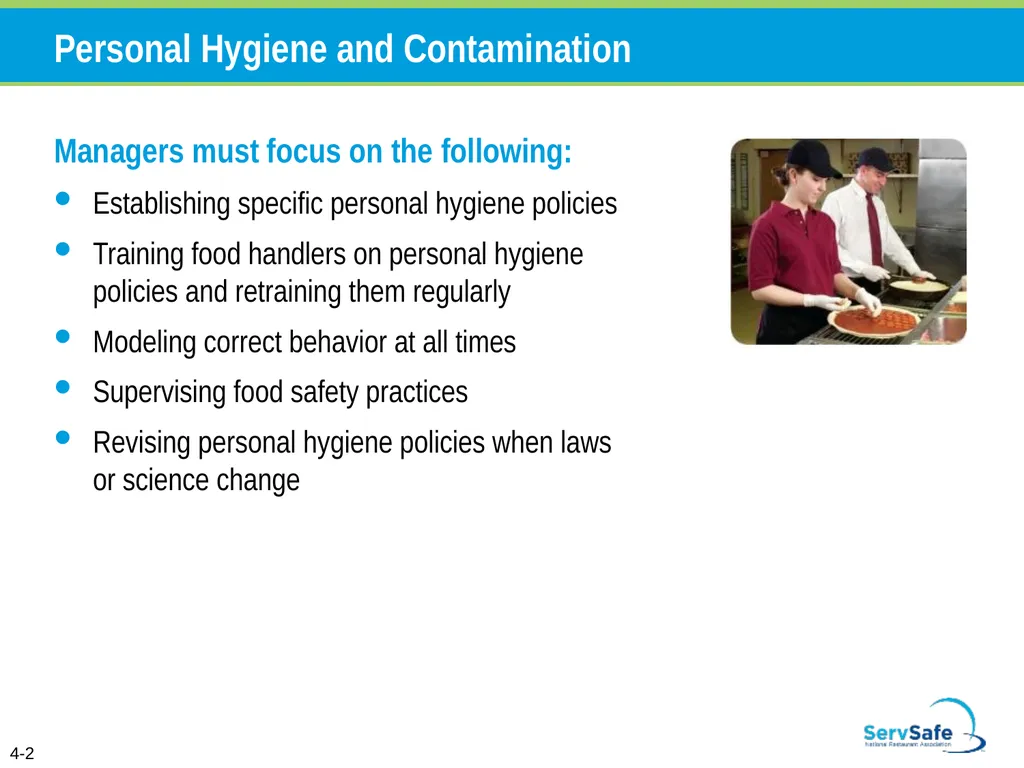
slide2. Personal Hygiene and Contamination Managers must focus on the following:
Establishing specific personal hygiene policies
Training food handlers on personal hygiene policies and retraining them regularly
Modeling correct behavior at all times
Supervising food safety practices
Revising personal hygiene policies when laws or science change 4-2<br>
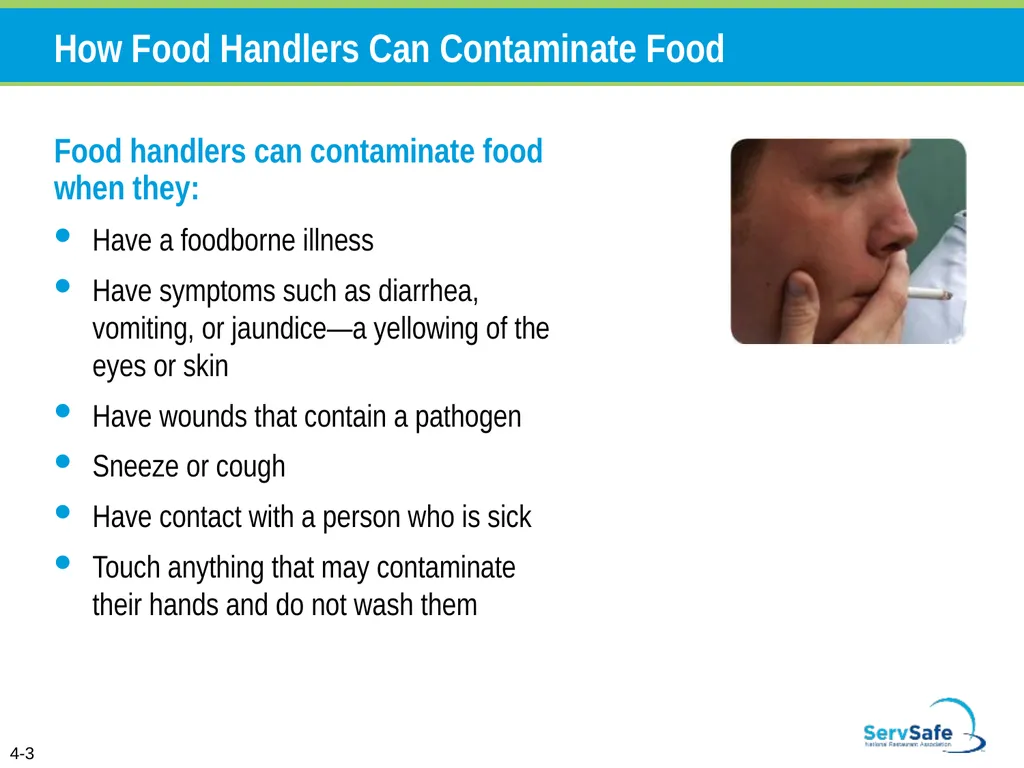
slide3. How Food Handlers Can Contaminate Food Food handlers can contaminate food when they:
Have a foodborne illness
Have symptoms such as diarrhea, vomiting, or jaundice—a yellowing of the eyes or skin
Have wounds that contain a pathogen
Sneeze or cough
Have contact with a person who is sick
Touch anything that may contaminate their hands and do not wash them 4-3<br>
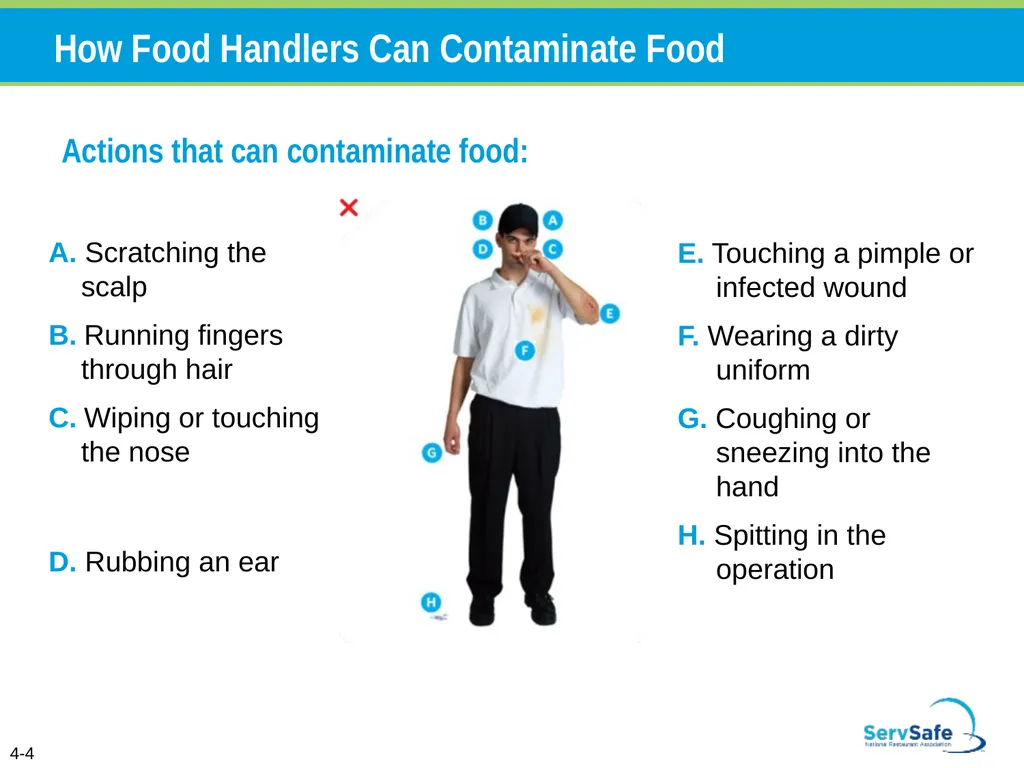
slide4. How Food Handlers Can Contaminate Food Actions that can contaminate food: A. Scratching the scalp
B. Running fingers through hair
C. Wiping or touching the nose
D. Rubbing an ear E. Touching a pimple or infected wound
F. Wearing a dirty uniform
G. Coughing or sneezing into the hand
H. Spitting in the operation 4-4<br>
slide5. A Good Personal Hygiene Program Good personal hygiene includes:
Following hygienic hand practices
Maintaining personal cleanliness
Wearing clean and appropriate clothing, restraining hair, and removing jewelry
Avoiding unsanitary habits and actions
Maintaining good health
Covering wounds
Reporting health issues 4-5<br>
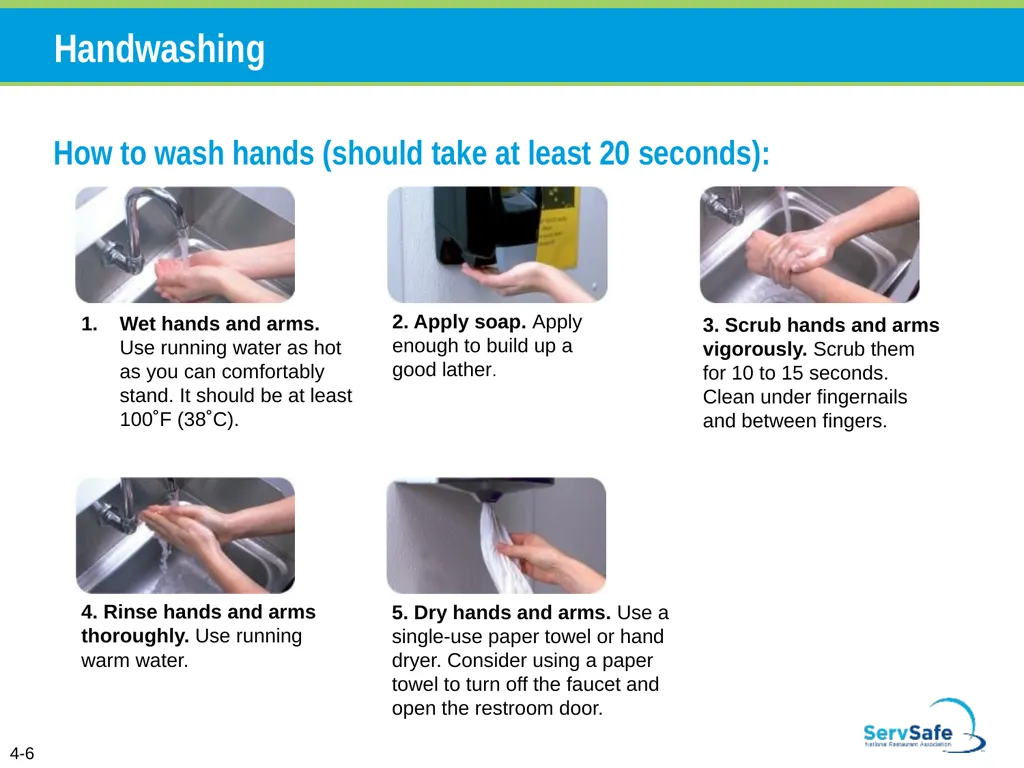
slide6. How to wash hands (should take at least 20 seconds): Wet hands and arms. Use running water as hot as you can comfortably stand. It should be at least 100˚F (38˚C). 3. Scrub hands and arms vigorously. Scrub them for 10 to 15 seconds. Clean under fingernails and between fingers. 4. Rinse hands and arms thoroughly. Use running warm water. 5. Dry hands and arms. Use a single-use paper towel or hand dryer. Consider using a paper towel to turn off the faucet and open the restroom door. Handwashing 2. Apply soap. Apply enough to build up a good lather. 4-6<br>
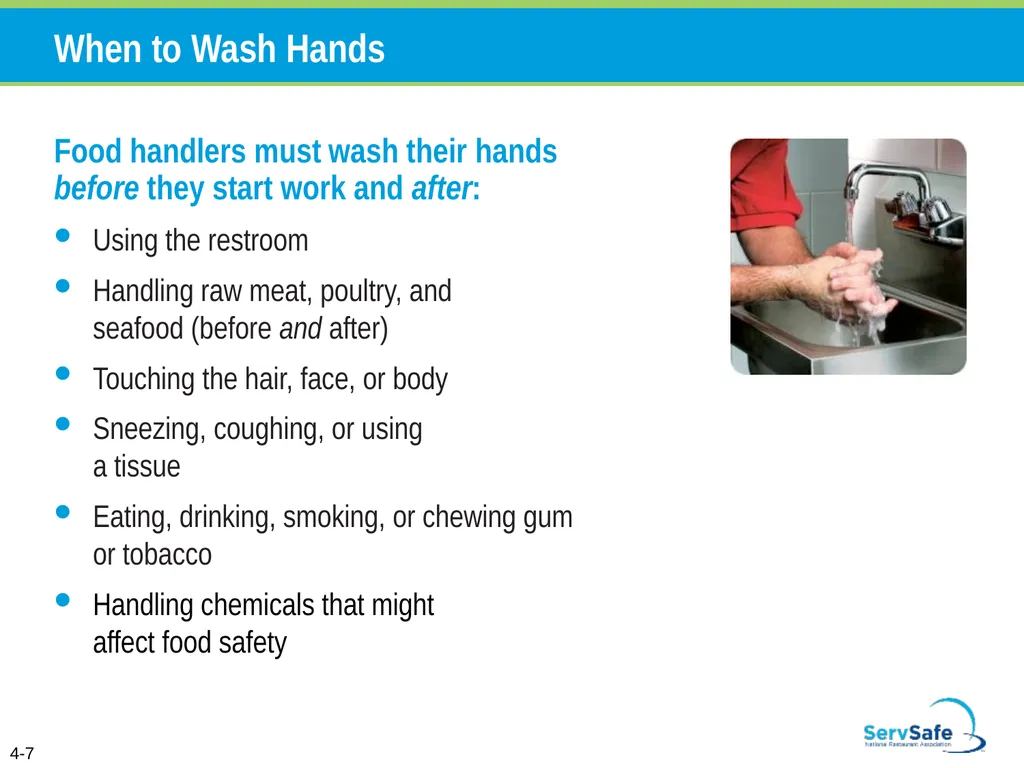
slide7. When to Wash Hands Food handlers must wash their hands before they start work and after:
Using the restroom
Handling raw meat, poultry, and seafood (before and after)
Touching the hair, face, or body
Sneezing, coughing, or using a tissue
Eating, drinking, smoking, or chewing gum or tobacco
Handling chemicals that might affect food safety 4-7<br>
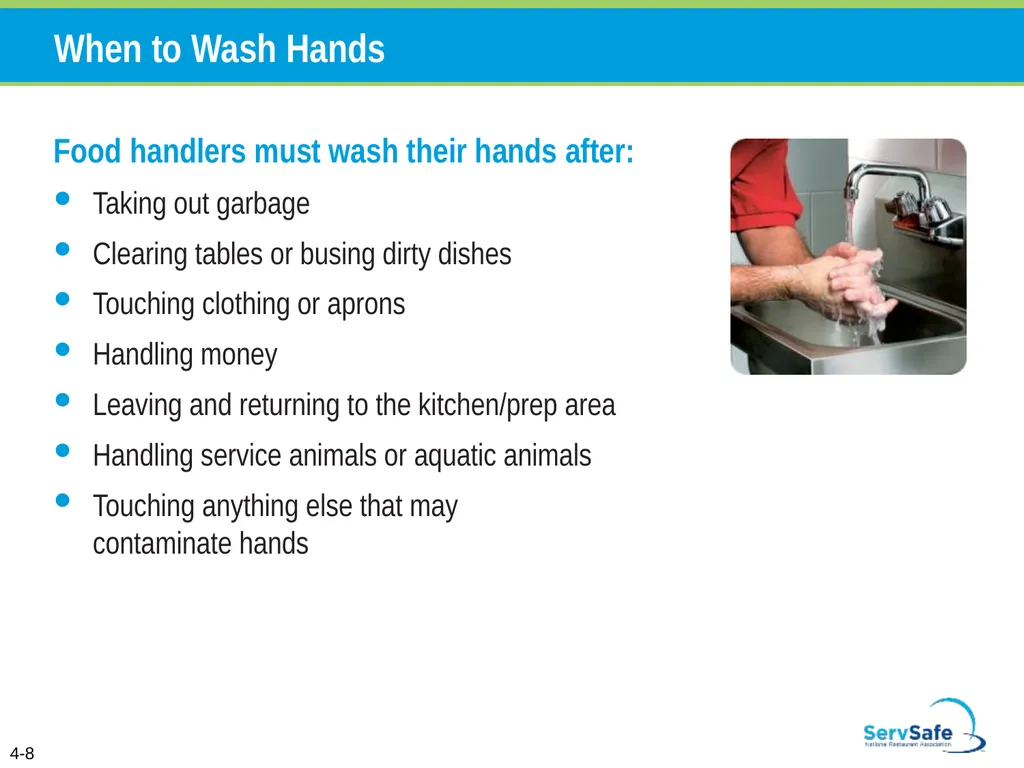
slide8. When to Wash Hands Food handlers must wash their hands after:
Taking out garbage
Clearing tables or busing dirty dishes
Touching clothing or aprons
Handling money
Leaving and returning to the kitchen/prep area
Handling service animals or aquatic animals
Touching anything else that may contaminate hands 4-8<br>
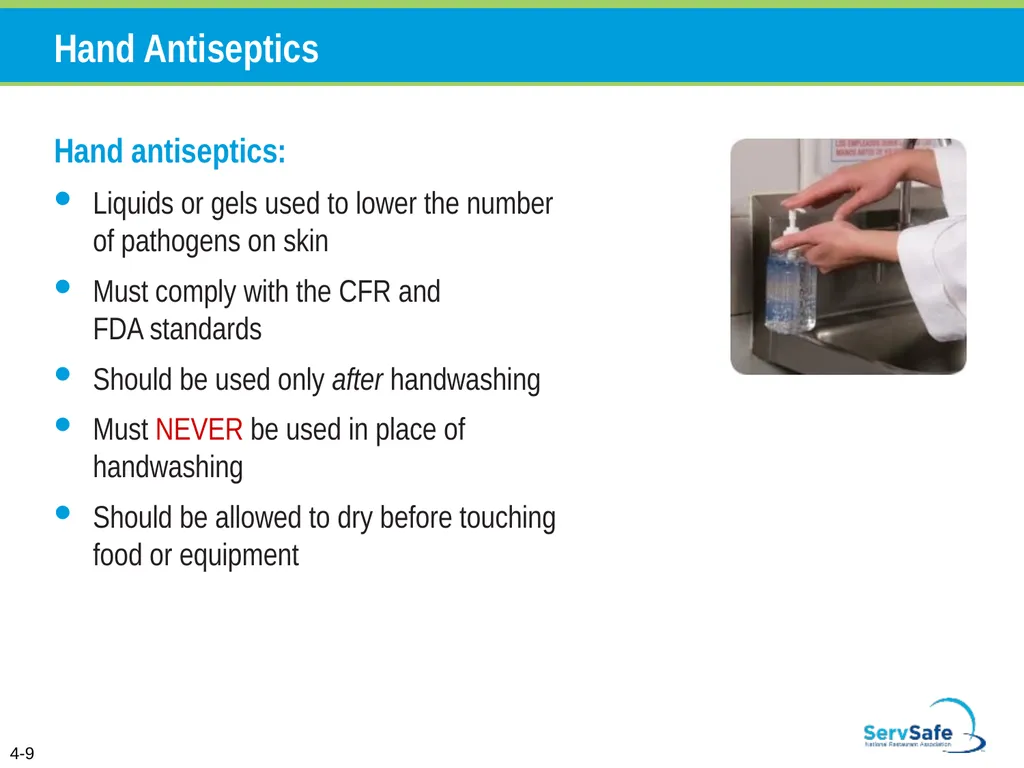
slide9. Hand Antiseptics Hand antiseptics:
Liquids or gels used to lower the number of pathogens on skin
Must comply with the CFR and FDA standards
Should be used only after handwashing
Must NEVER be used in place of handwashing
Should be allowed to dry before touching food or equipment 4-9<br>
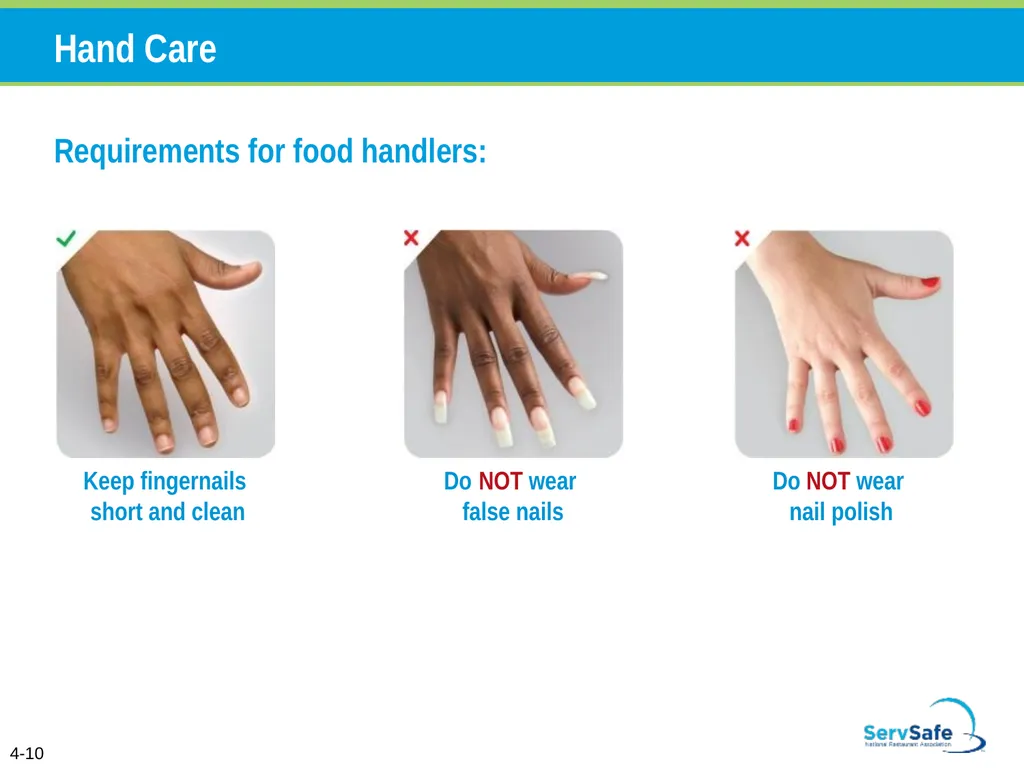
slide10. Hand Care Requirements for food handlers: Keep fingernails short and clean Do NOT wear nail polish Do NOT wear false nails 4-10<br>
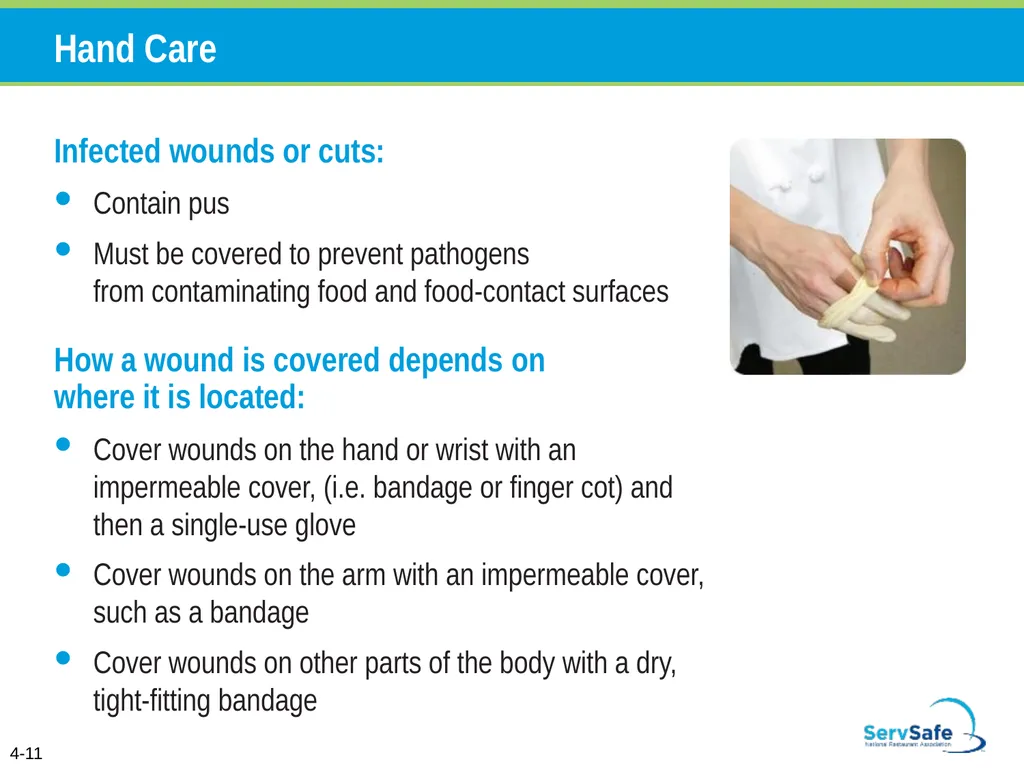
slide11. Hand Care Infected wounds or cuts:
Contain pus
Must be covered to prevent pathogens from contaminating food and food-contact surfaces
How a wound is covered depends on where it is located:
Cover wounds on the hand or wrist with an impermeable cover, (i.e. bandage or finger cot) and then a single-use glove
Cover wounds on the arm with an impermeable cover, such as a bandage
Cover wounds on other parts of the body with a dry, tight-fitting bandage 4-11<br>
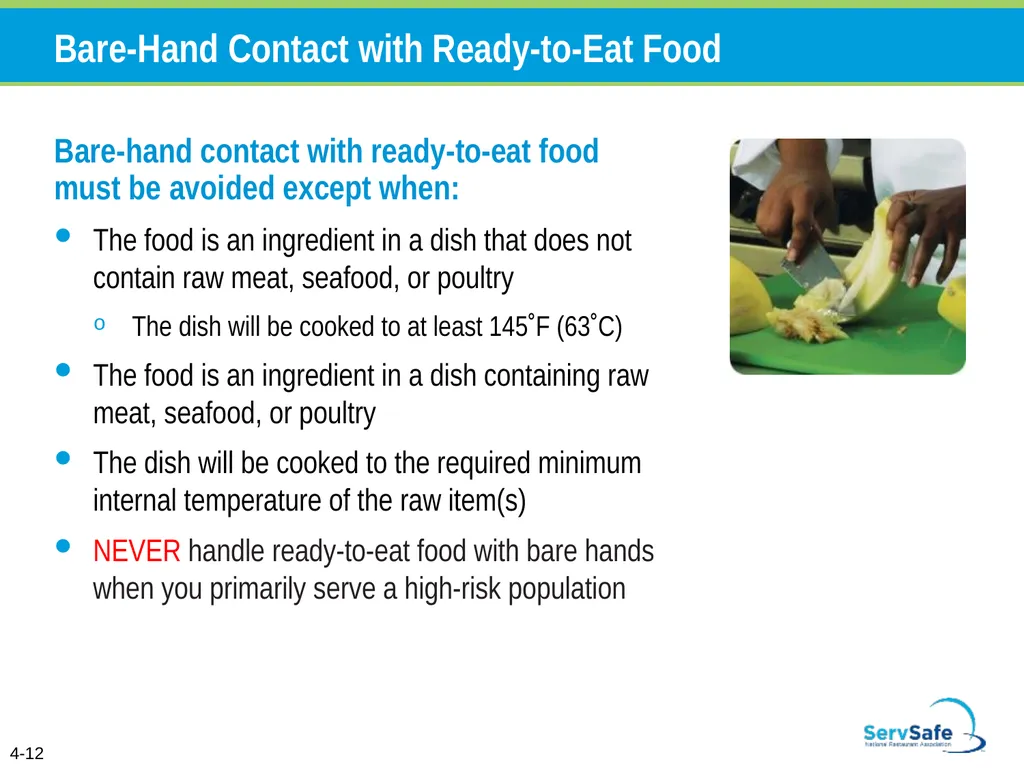
slide12. Bare-Hand Contact with Ready-to-Eat Food Bare-hand contact with ready-to-eat food must be avoided except when:
The food is an ingredient in a dish that does not contain raw meat, seafood, or poultry
The dish will be cooked to at least 145˚F (63˚C)
The food is an ingredient in a dish containing raw meat, seafood, or poultry
The dish will be cooked to the required minimum internal temperature of the raw item(s)
NEVER handle ready-to-eat food with bare hands when you primarily serve a high-risk population 4-12<br>
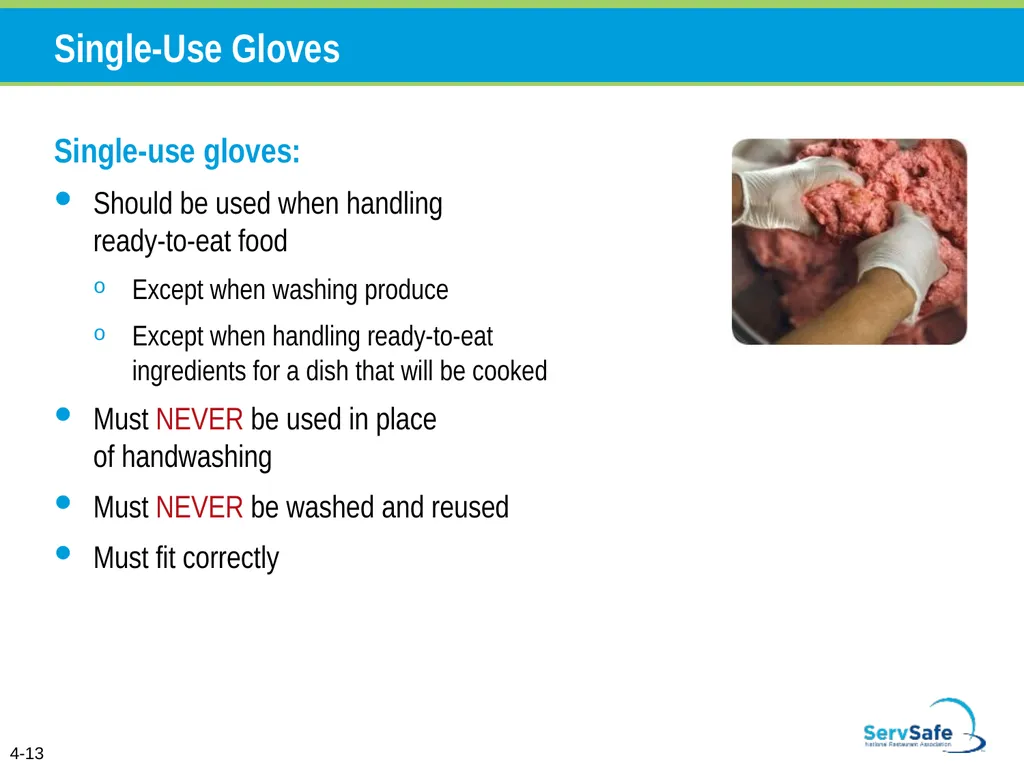
slide13. Single-Use Gloves Single-use gloves:
Should be used when handling ready-to-eat food
Except when washing produce
Except when handling ready-to-eat ingredients for a dish that will be cooked
Must NEVER be used in place of handwashing
Must NEVER be washed and reused
Must fit correctly 4-13<br>
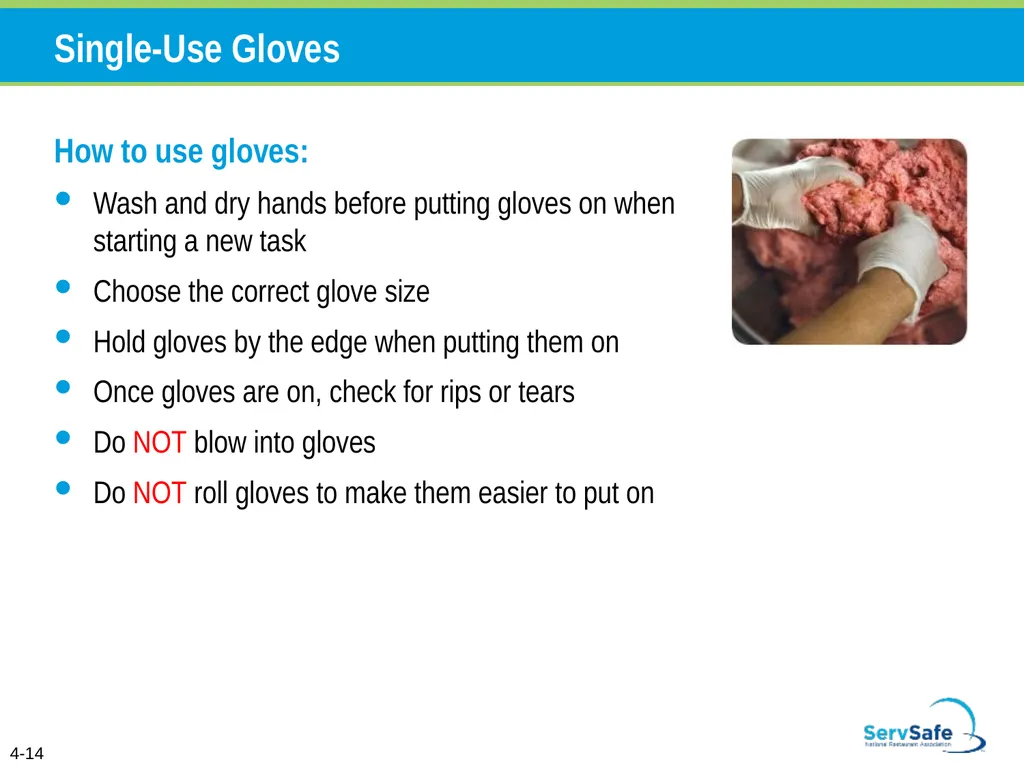
slide14. Single-Use Gloves How to use gloves:
Wash and dry hands before putting gloves on when starting a new task
Choose the correct glove size
Hold gloves by the edge when putting them on
Once gloves are on, check for rips or tears
Do NOT blow into gloves
Do NOT roll gloves to make them easier to put on 4-14<br>
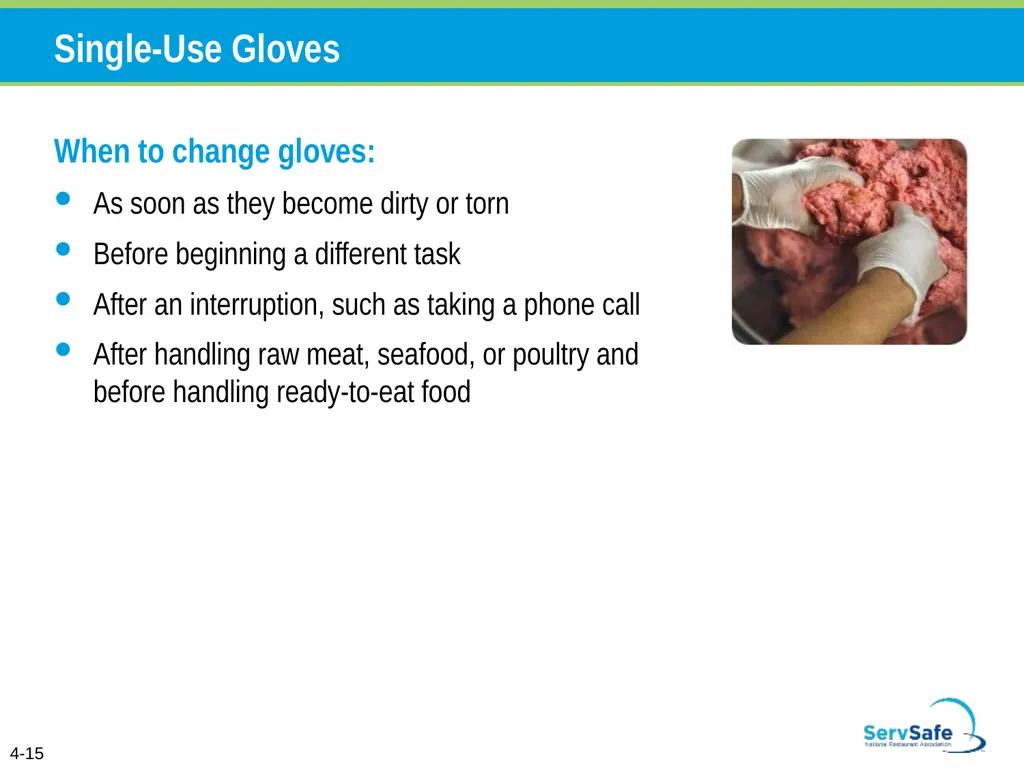
slide15. Single-Use Gloves When to change gloves:
As soon as they become dirty or torn
Before beginning a different task
After an interruption, such as taking a phone call
After handling raw meat, seafood, or poultry and before handling ready-to-eat food 4-15<br>
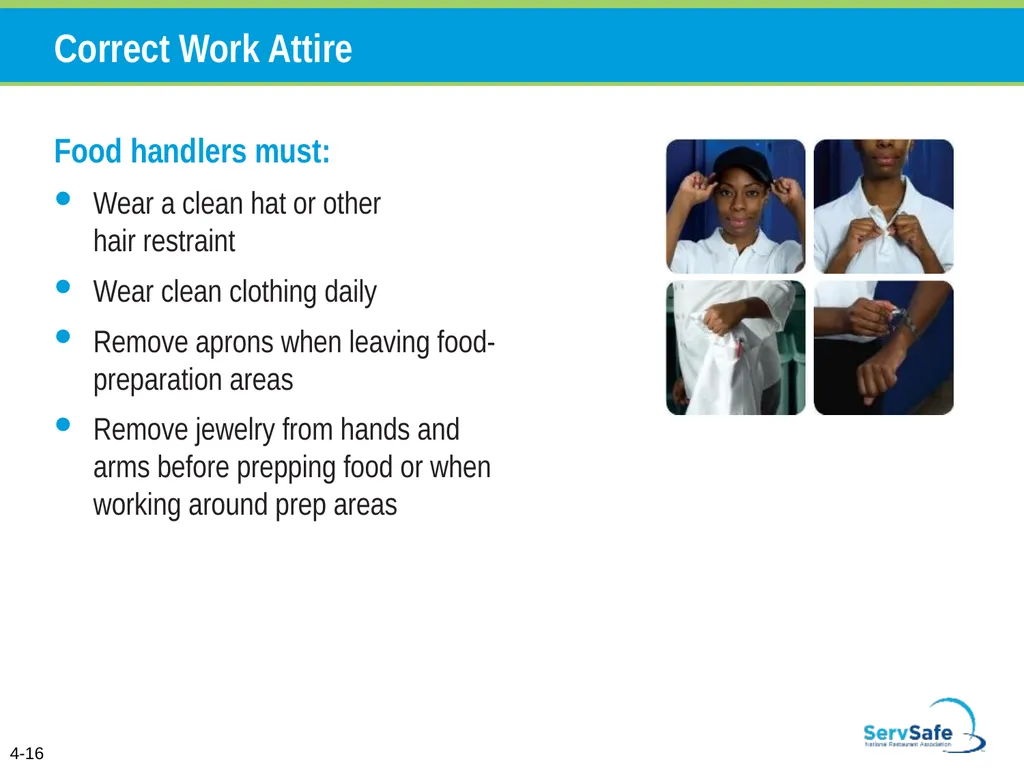
slide16. Correct Work Attire Food handlers must:
Wear a clean hat or other hair restraint
Wear clean clothing daily
Remove aprons when leaving food-preparation areas
Remove jewelry from hands and arms before prepping food or when working around prep areas 4-16<br>
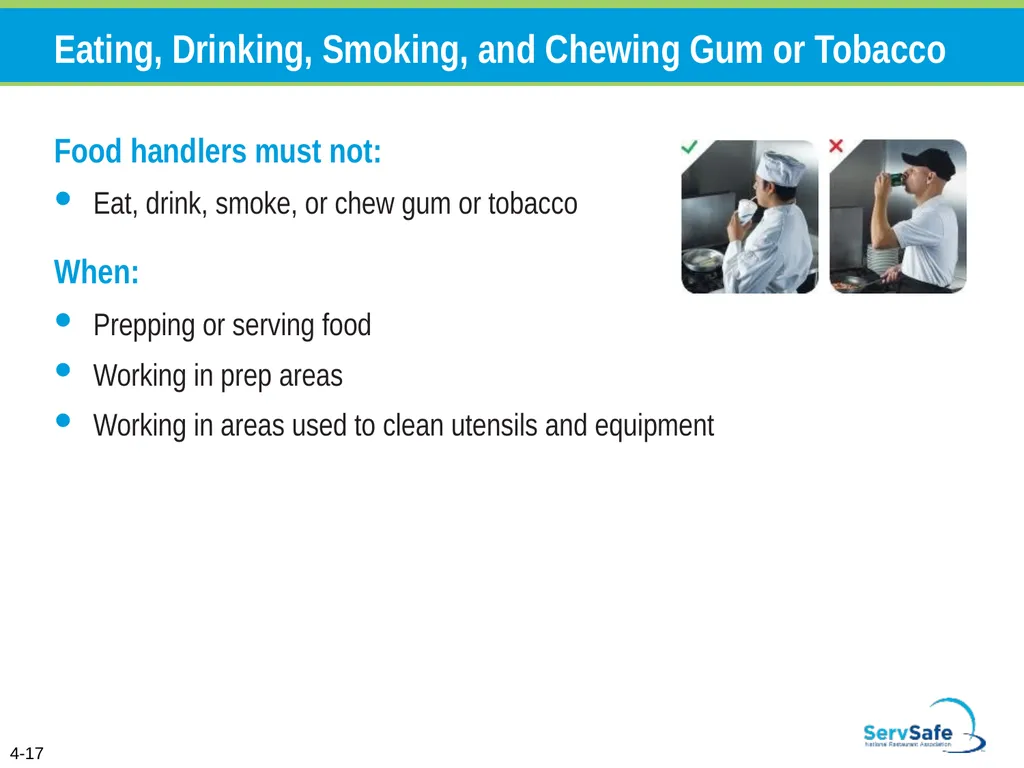
slide17. Eating, Drinking, Smoking, and Chewing Gum or Tobacco Food handlers must not:
Eat, drink, smoke, or chew gum or tobacco
When:
Prepping or serving food
Working in prep areas
Working in areas used to clean utensils and equipment 4-17<br>
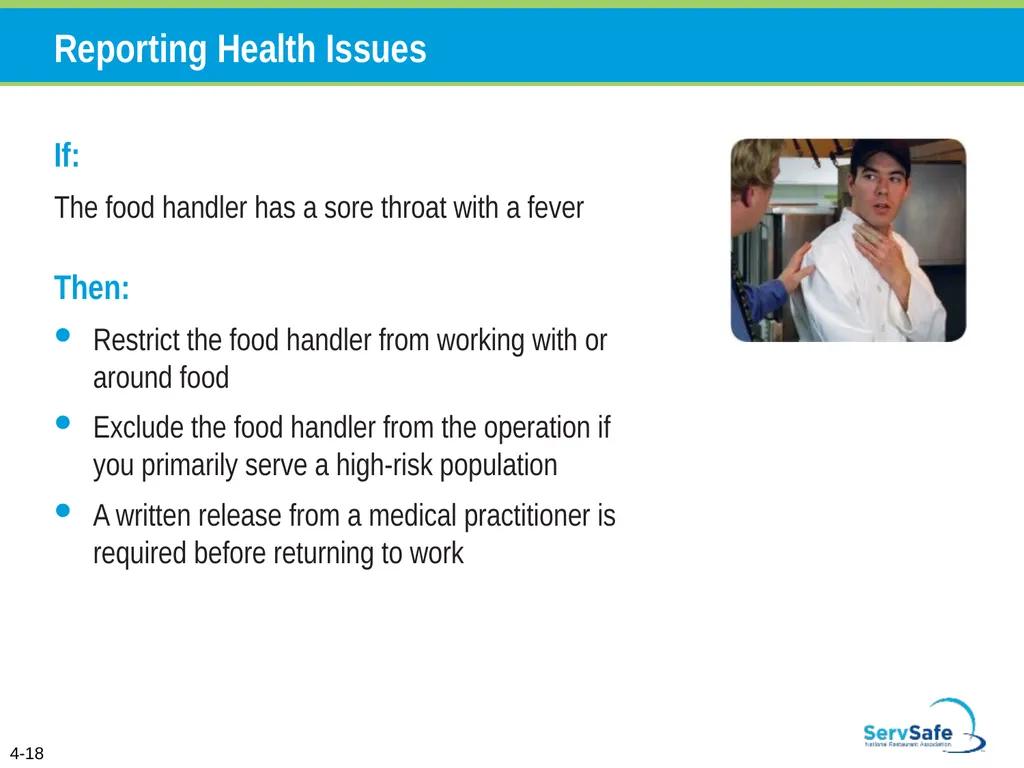
slide18. Reporting Health Issues If:
The food handler has a sore throat with a fever
Then:
Restrict the food handler from working with or around food
Exclude the food handler from the operation if you primarily serve a high-risk population
A written release from a medical practitioner is required before returning to work 4-18<br>
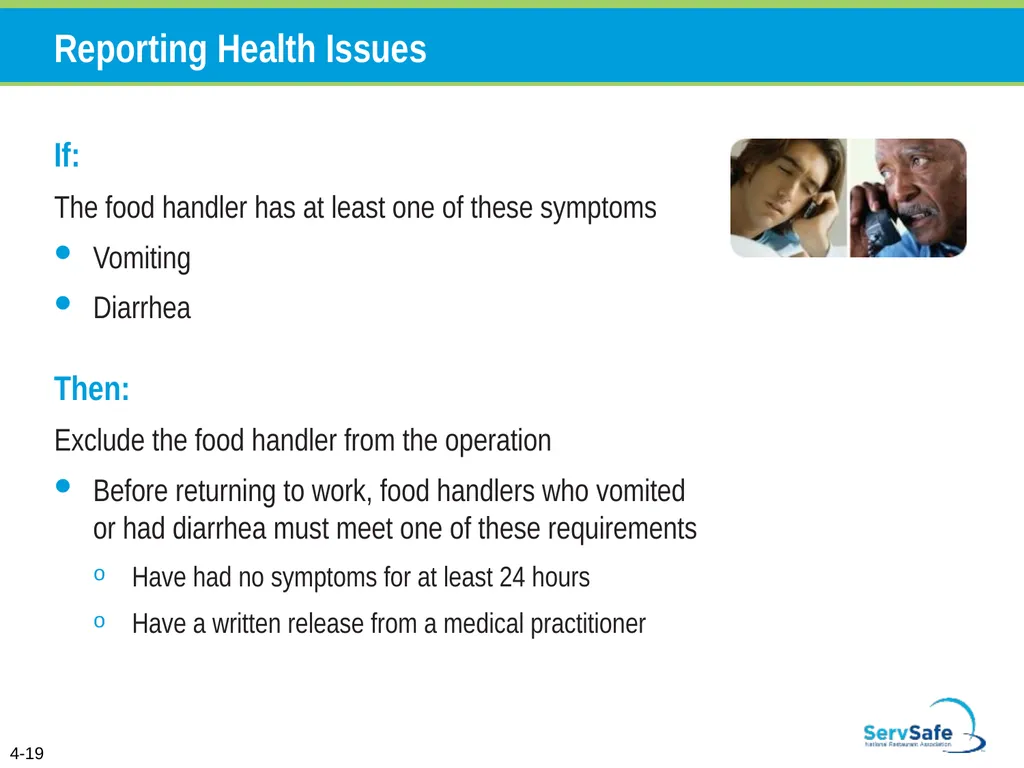
slide19. 4-19 If:
The food handler has at least one of these symptoms
Vomiting
Diarrhea
Then:
Exclude the food handler from the operation
Before returning to work, food handlers who vomited or had diarrhea must meet one of these requirements
Have had no symptoms for at least 24 hours
Have a written release from a medical practitioner Reporting Health Issues<br>
slide20. If:
The food handler has jaundice
Then:
Report the food handler to the regulatory authority
Exclude food handlers from the operation if they have jaundice for seven days or less
Food handlers must have a written release from a medical practitioner and approval from the regulatory authority before returning to work 4-20 Reporting Health Issues<br>
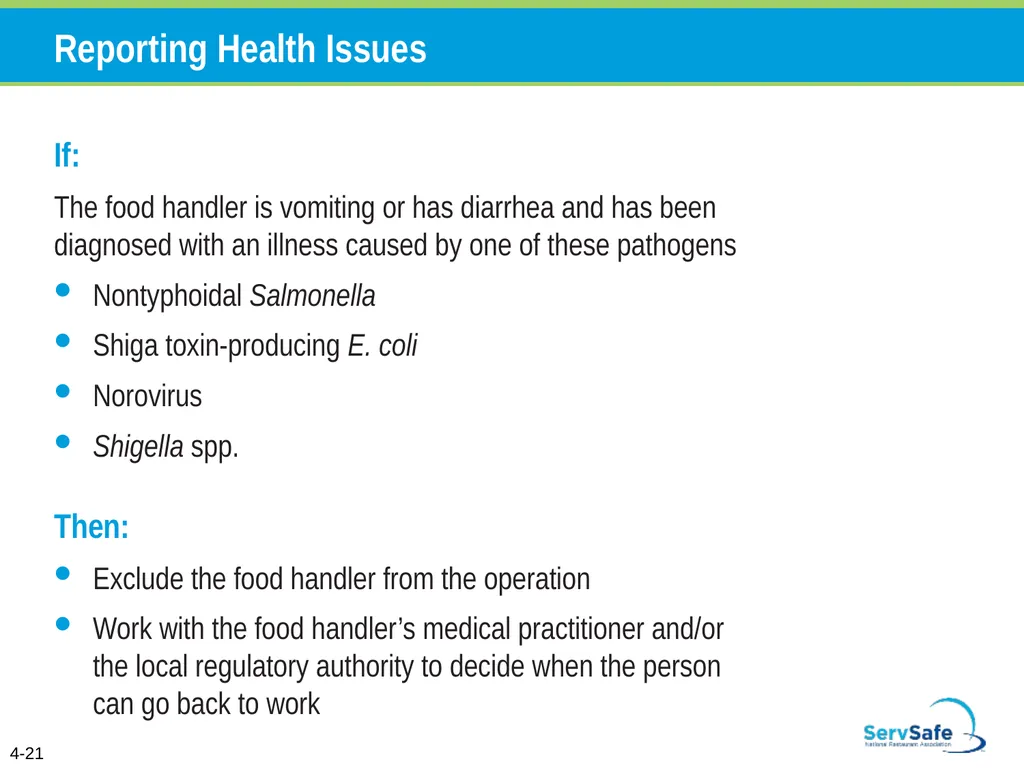
slide21. 4-21 Reporting Health Issues If:
The food handler is vomiting or has diarrhea and has been diagnosed with an illness caused by one of these pathogens
Nontyphoidal Salmonella
Shiga toxin-producing E. coli
Norovirus
Shigella spp.
Then:
Exclude the food handler from the operation
Work with the food handler’s medical practitioner and/or the local regulatory authority to decide when the person can go back to work<br>
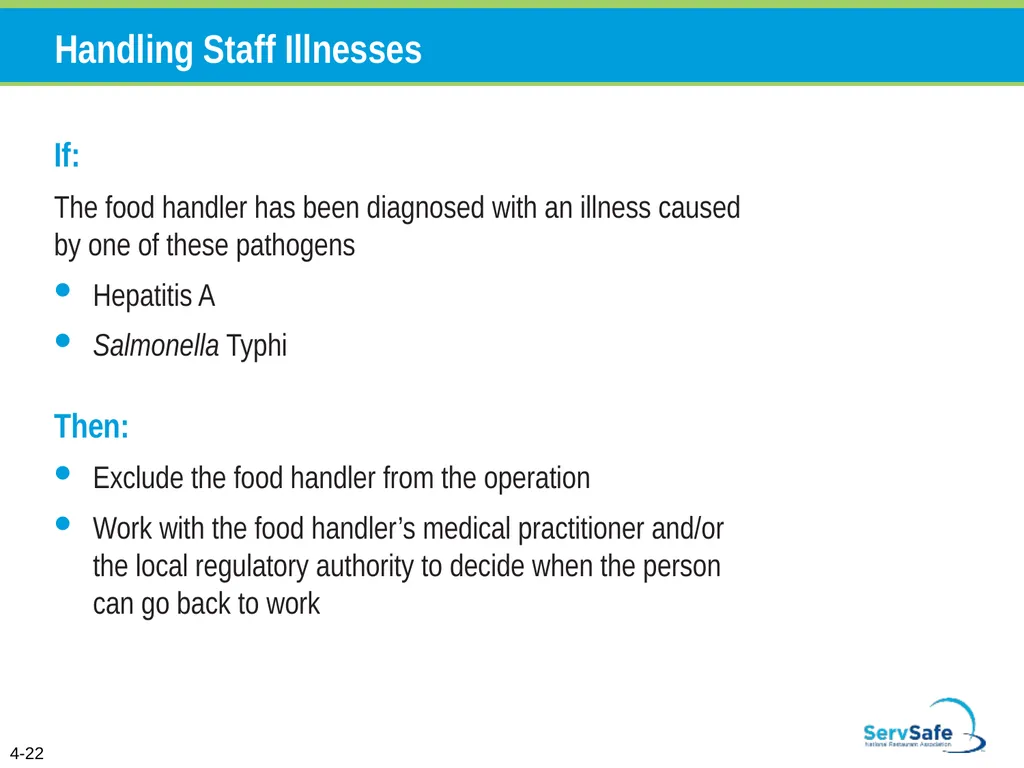
slide22. Handling Staff Illnesses If:
The food handler has been diagnosed with an illness caused by one of these pathogens
Hepatitis A
Salmonella Typhi
Then:
Exclude the food handler from the operation
Work with the food handler’s medical practitioner and/or the local regulatory authority to decide when the person can go back to work 4-22<br>
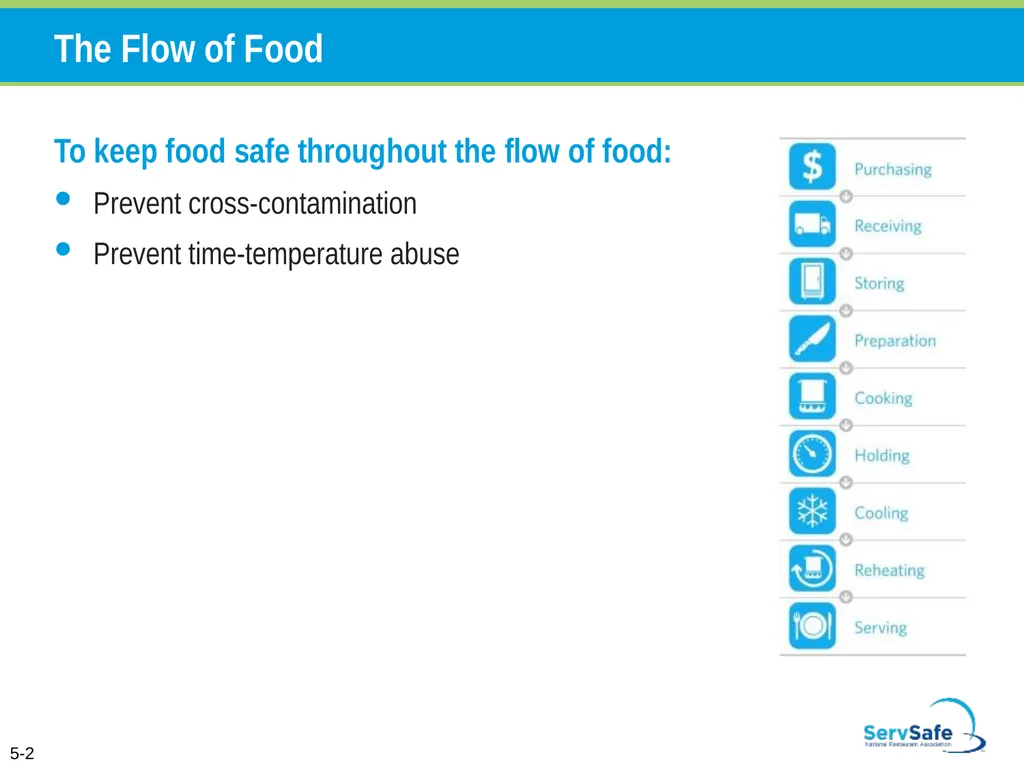
slide24. The Flow of Food To keep food safe throughout the flow of food:
Prevent cross-contamination
Prevent time-temperature abuse 5-2<br>
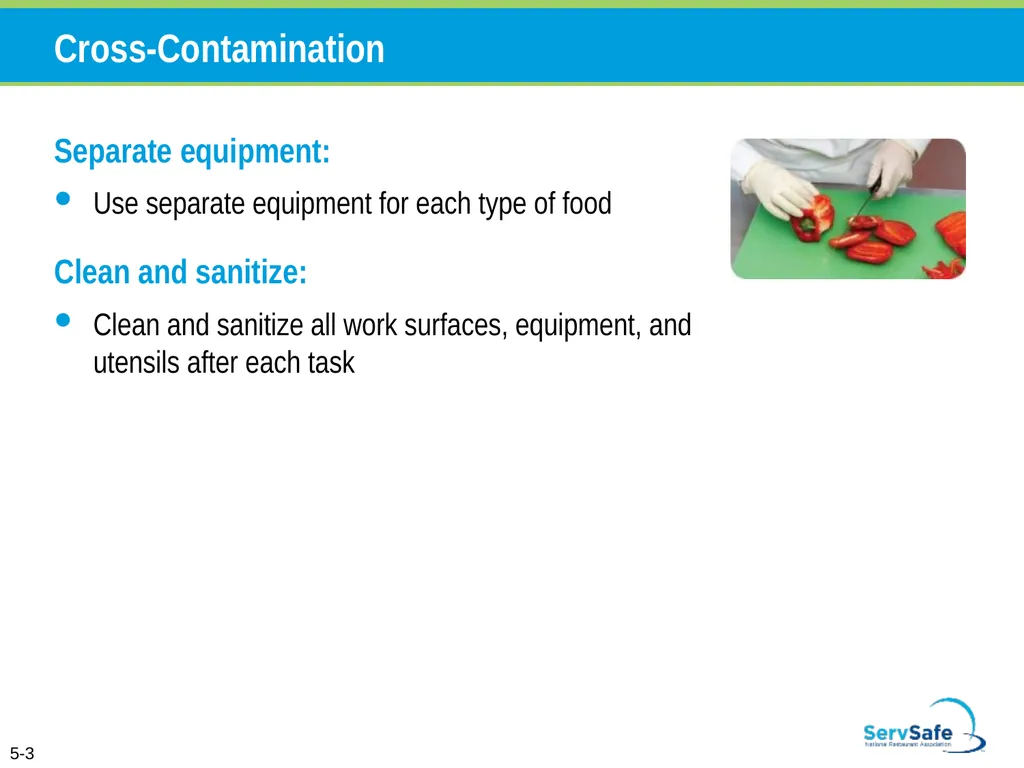
slide25. Cross-Contamination Separate equipment:
Use separate equipment for each type of food
Clean and sanitize:
Clean and sanitize all work surfaces, equipment, and utensils after each task 5-3<br>
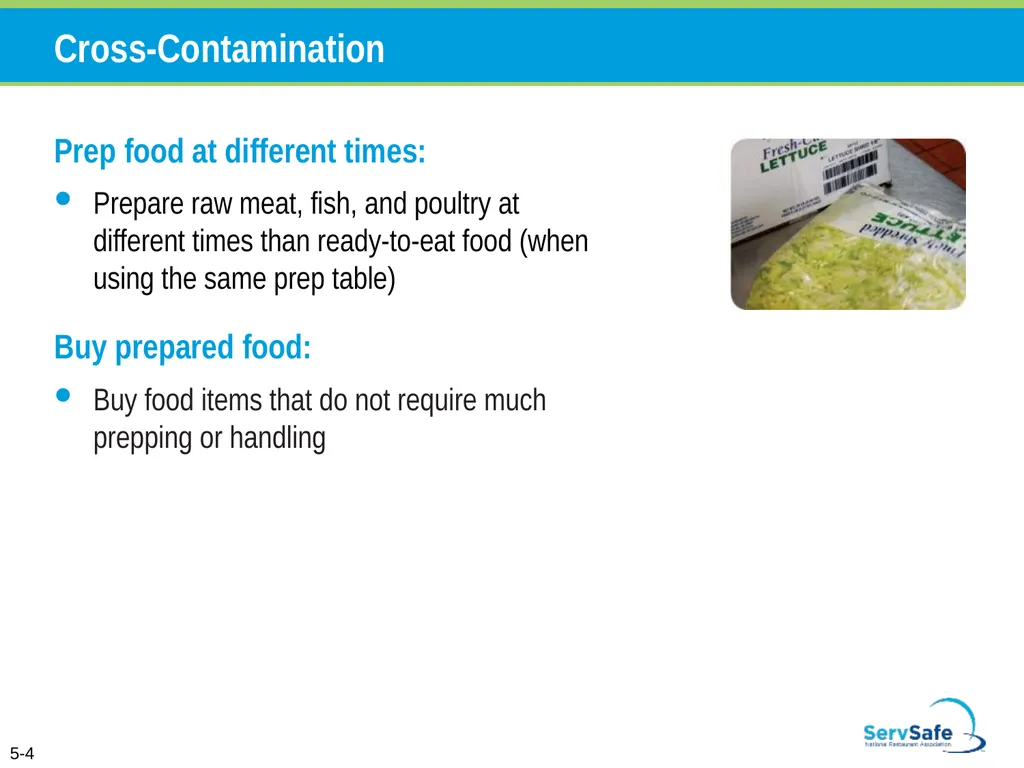
slide26. Cross-Contamination Prep food at different times:
Prepare raw meat, fish, and poultry at different times than ready-to-eat food (when using the same prep table)
Buy prepared food:
Buy food items that do not require much prepping or handling 5-4<br>
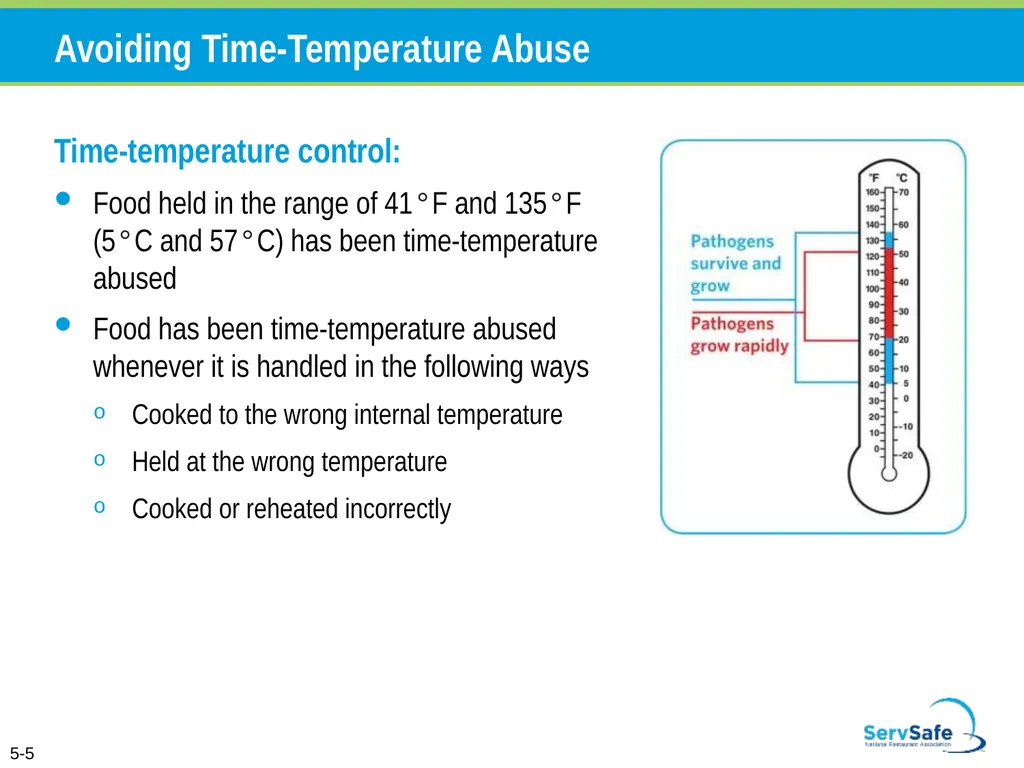
slide27. Avoiding Time-Temperature Abuse Time-temperature control:
Food held in the range of 41°F and 135°F (5°C and 57°C) has been time-temperature abused
Food has been time-temperature abused whenever it is handled in the following ways
Cooked to the wrong internal temperature
Held at the wrong temperature
Cooked or reheated incorrectly 5-5<br>
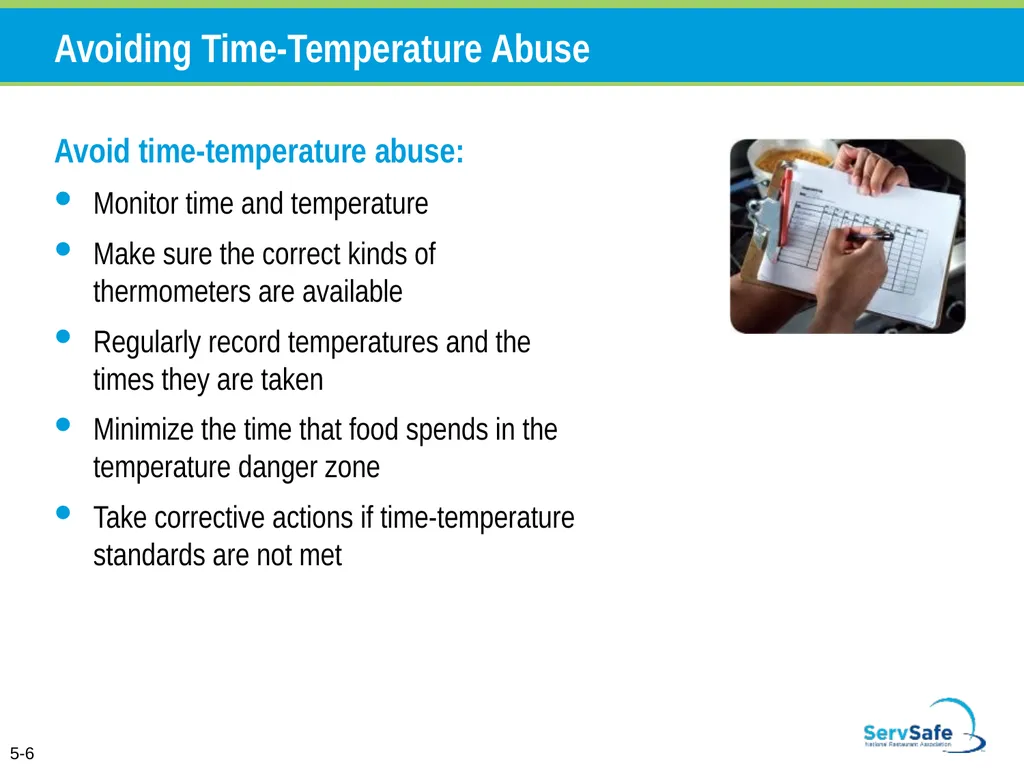
slide28. Avoiding Time-Temperature Abuse Avoid time-temperature abuse:
Monitor time and temperature
Make sure the correct kinds of thermometers are available
Regularly record temperatures and the times they are taken
Minimize the time that food spends in the temperature danger zone
Take corrective actions if time-temperature standards are not met 5-6<br>
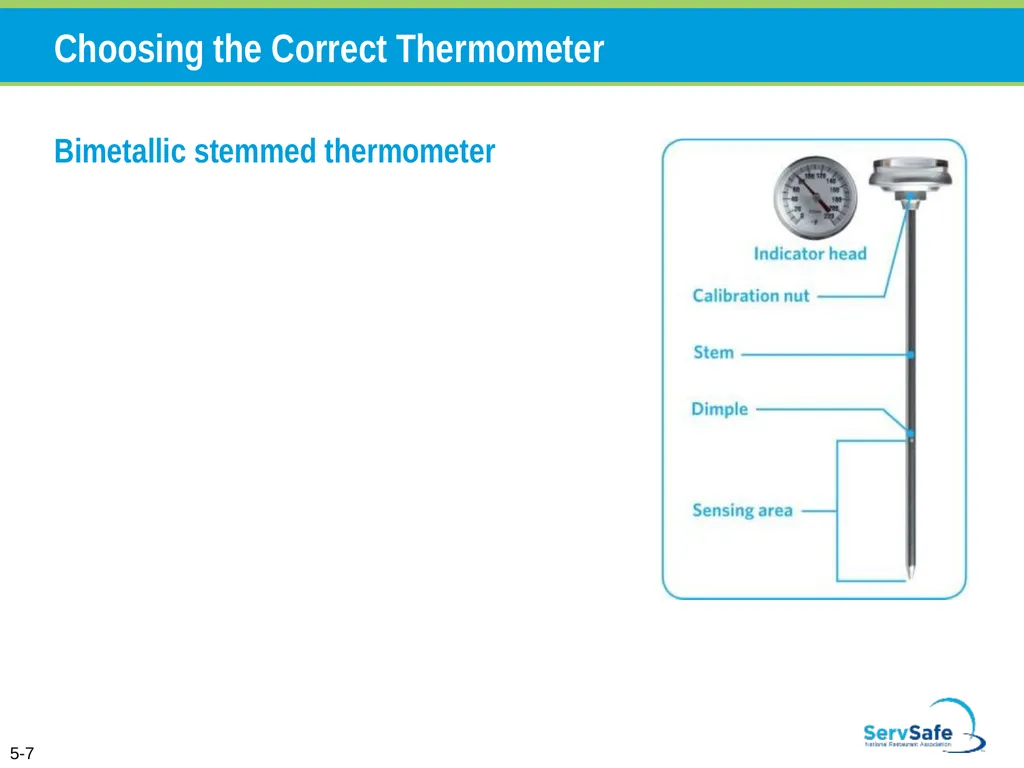
slide29. Choosing the Correct Thermometer Bimetallic stemmed thermometer 5-7<br>
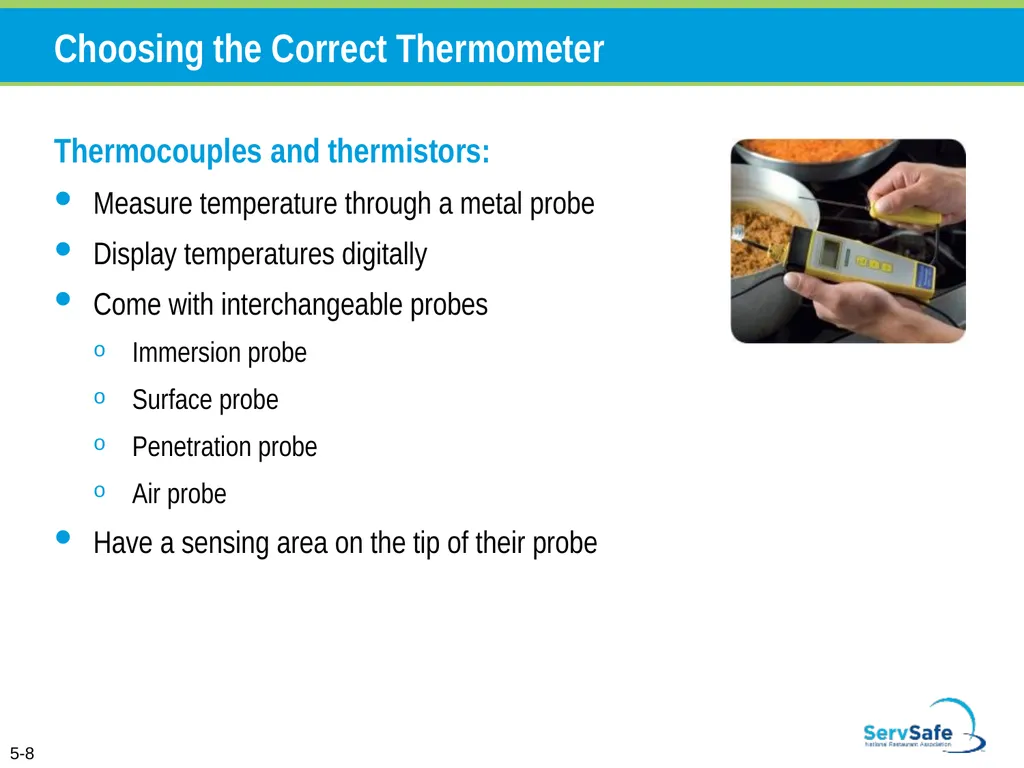
slide30. Choosing the Correct Thermometer Thermocouples and thermistors:
Measure temperature through a metal probe
Display temperatures digitally
Come with interchangeable probes
Immersion probe
Surface probe
Penetration probe
Air probe
Have a sensing area on the tip of their probe 5-8<br>
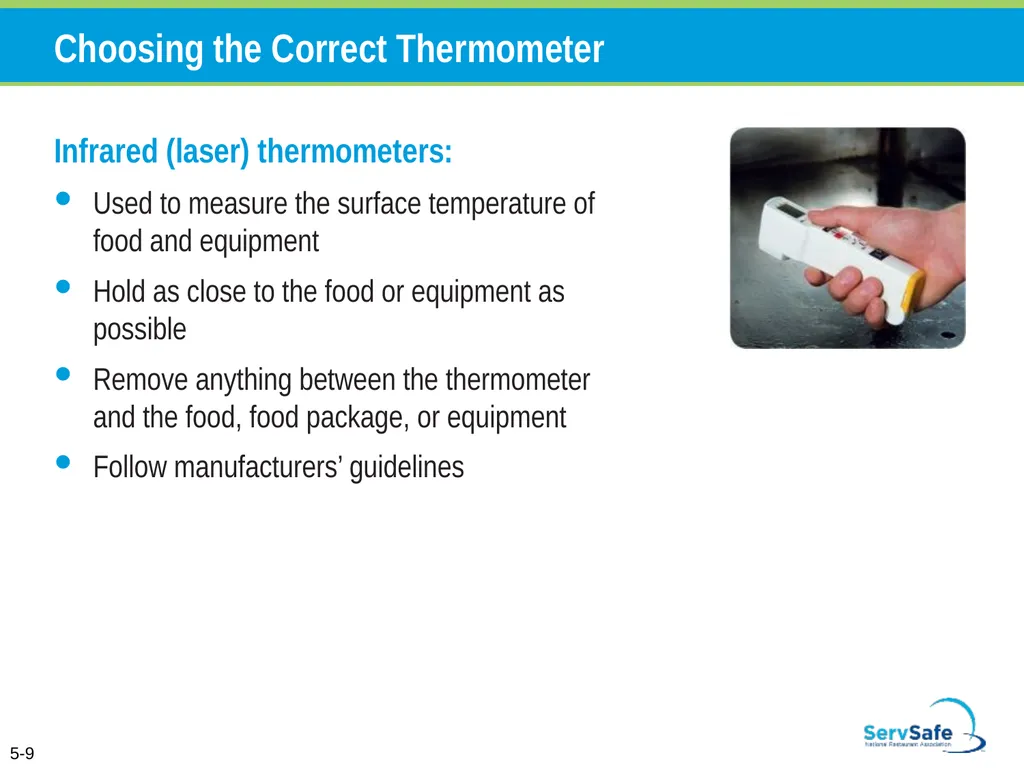
slide31. Choosing the Correct Thermometer Infrared (laser) thermometers:
Used to measure the surface temperature of food and equipment
Hold as close to the food or equipment as possible
Remove anything between the thermometer and the food, food package, or equipment
Follow manufacturers’ guidelines 5-9<br>
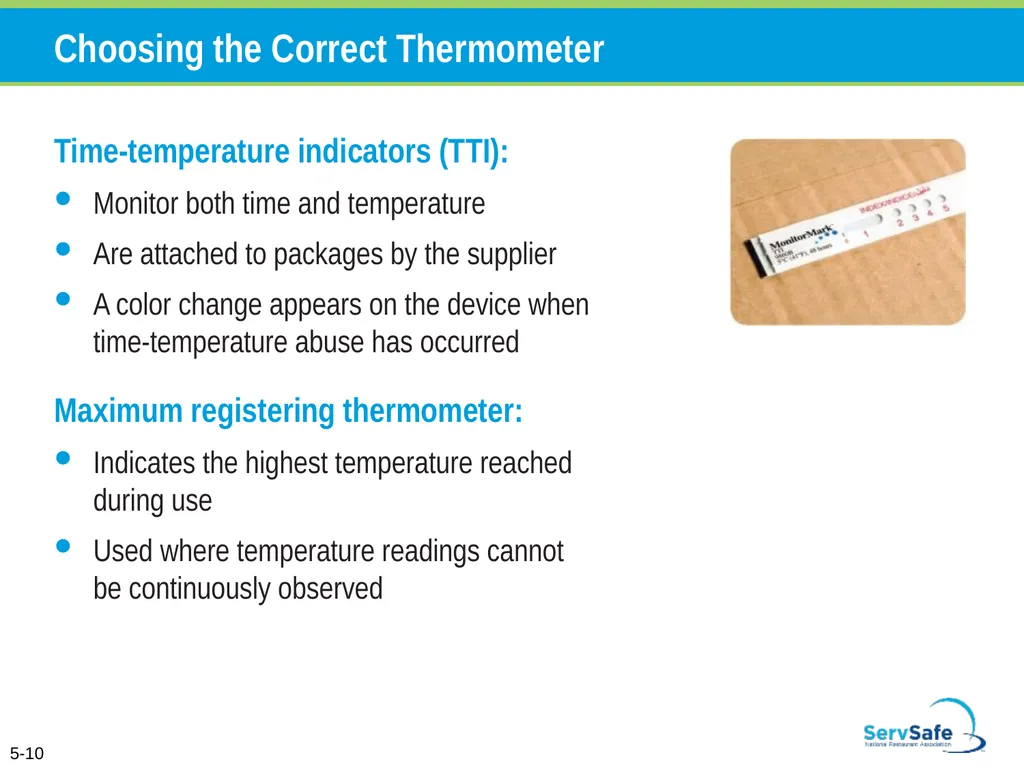
slide32. Choosing the Correct Thermometer Time-temperature indicators (TTI):
Monitor both time and temperature
Are attached to packages by the supplier
A color change appears on the device when time-temperature abuse has occurred
Maximum registering thermometer:
Indicates the highest temperature reached during use
Used where temperature readings cannot be continuously observed 5-10<br>
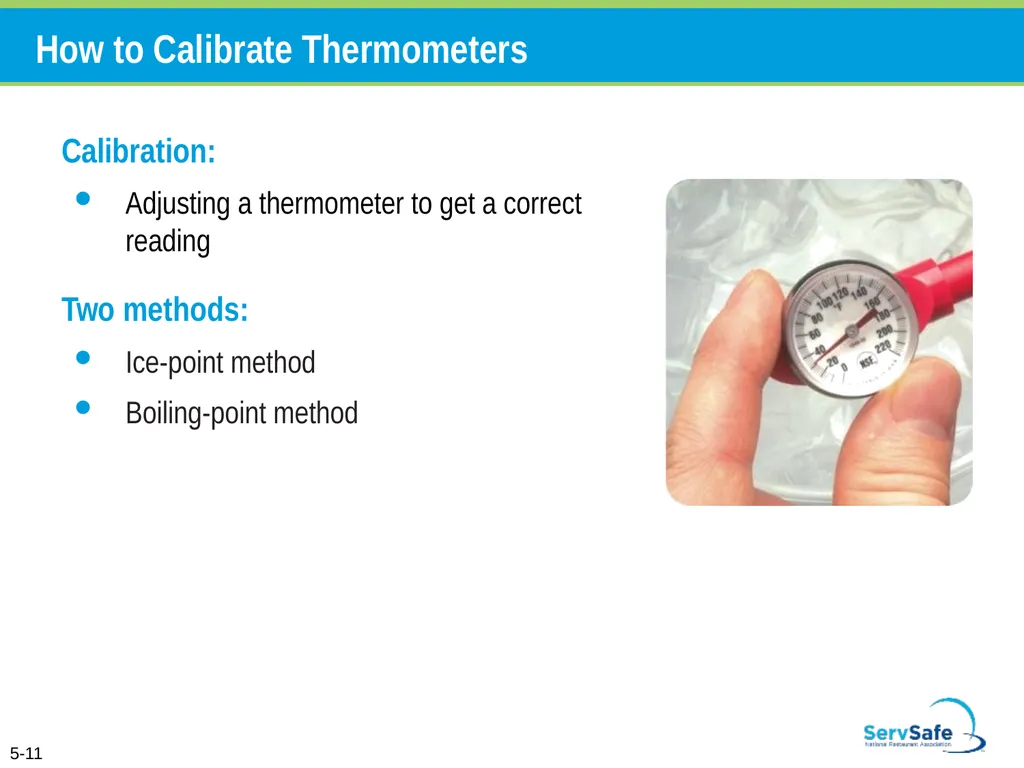
slide33. How to Calibrate Thermometers Calibration:
Adjusting a thermometer to get a correct reading
Two methods:
Ice-point method
Boiling-point method 5-11<br>
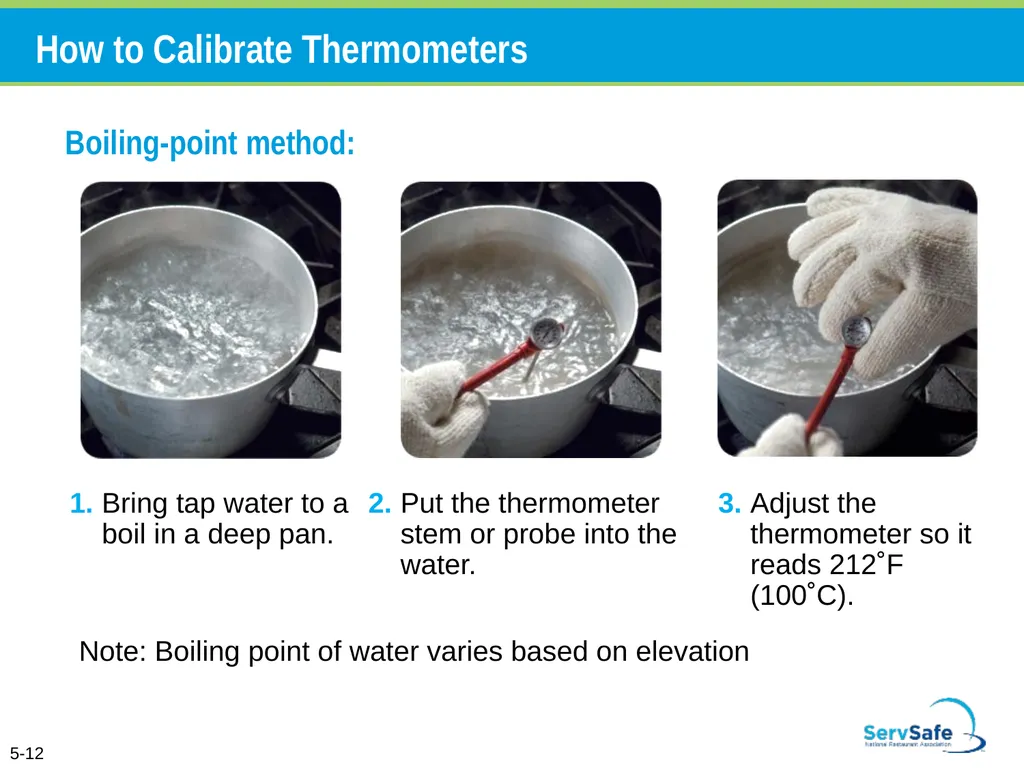
slide34. How to Calibrate Thermometers Boiling-point method: 1. Bring tap water to a boil in a deep pan. 2. Put the thermometer stem or probe into the water. 3. Adjust the thermometer so it reads 212˚F (100˚C). Note: Boiling point of water varies based on elevation 5-12<br>
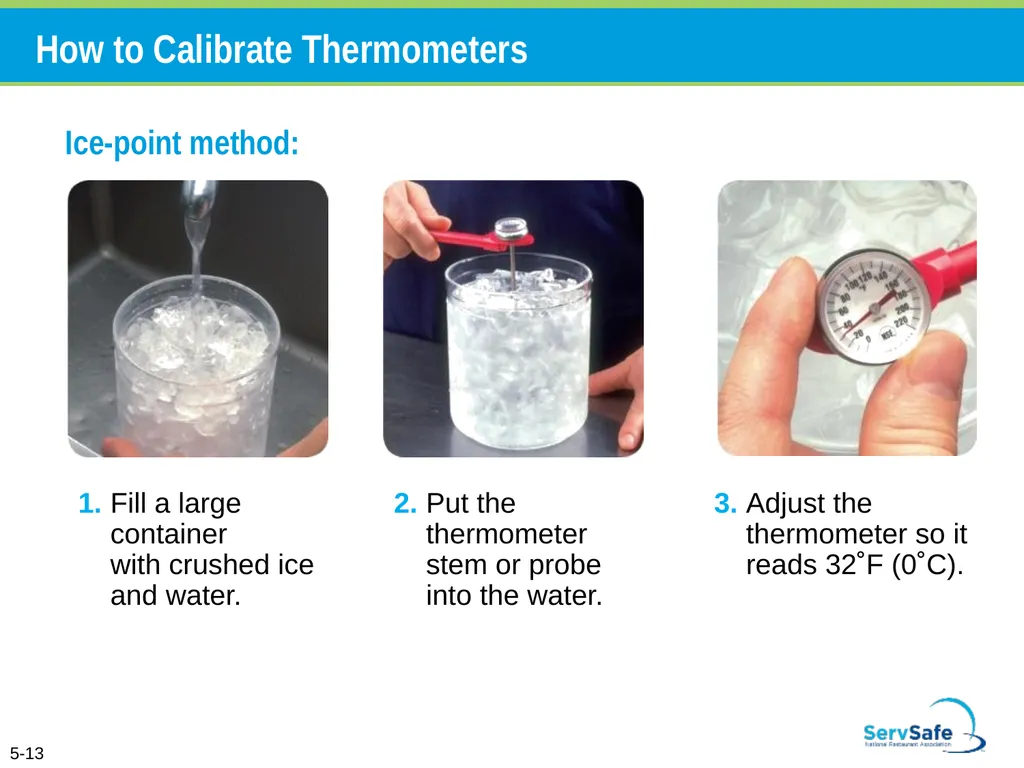
slide35. How to Calibrate Thermometers Ice-point method: 5-13 1. Fill a large container with crushed ice and water. 2. Put the thermometer stem or probe into the water. 3. Adjust the thermometer so it reads 32˚F (0˚C).<br>
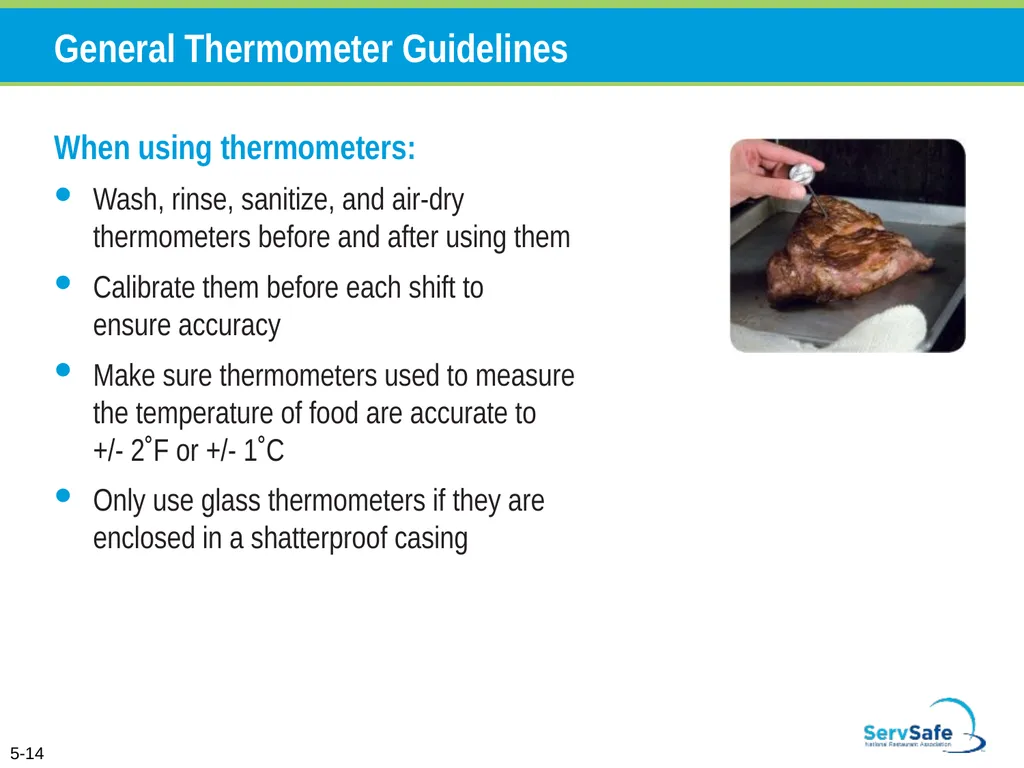
slide36. General Thermometer Guidelines When using thermometers:
Wash, rinse, sanitize, and air-dry thermometers before and after using them
Calibrate them before each shift to ensure accuracy
Make sure thermometers used to measure the temperature of food are accurate to +/- 2˚F or +/- 1˚C
Only use glass thermometers if they are enclosed in a shatterproof casing 5-14<br>
slide37. General Thermometer Guidelines When using thermometers:
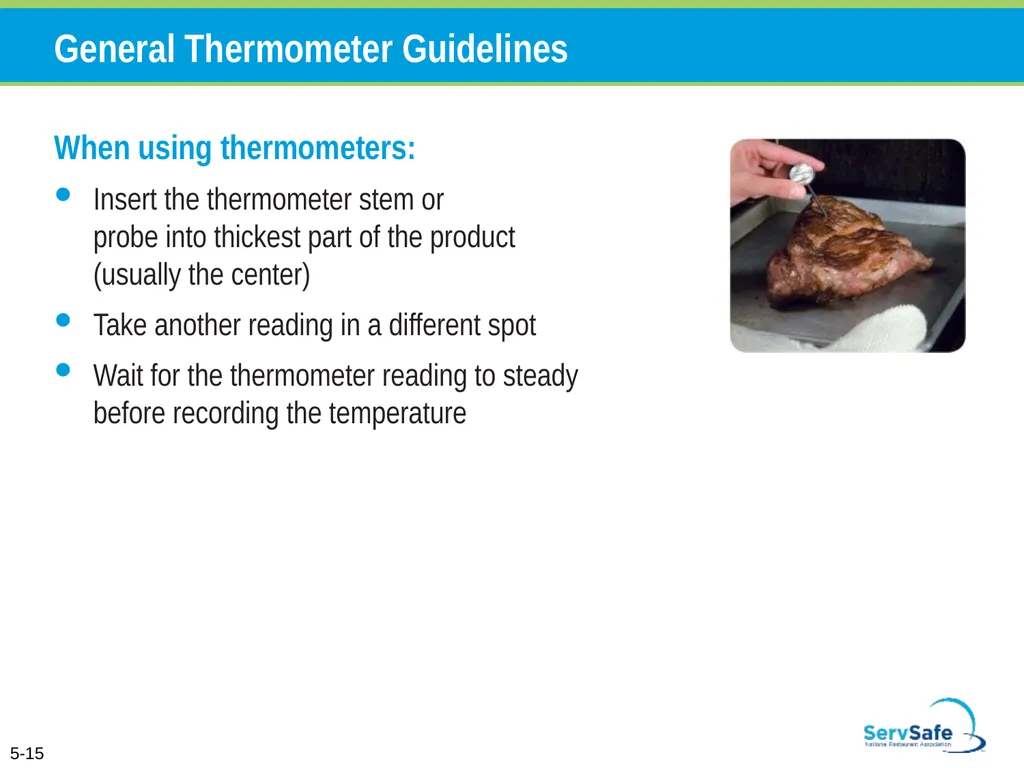
Insert the thermometer stem or probe into thickest part of the product (usually the center)
Take another reading in a different spot
Wait for the thermometer reading to steady before recording the temperature 5-15<br>
slide39. General Purchasing and Receiving Principles Purchase food from approved, reputable suppliers:
Have been inspected and can show an inspection report
Meet applicable local, state, and federal laws
Arrange deliveries so they arrive:
When staff has enough time to do inspections
When they can be correctly received 6-2<br>
slide40. Receiving Considerations Receiving principles:
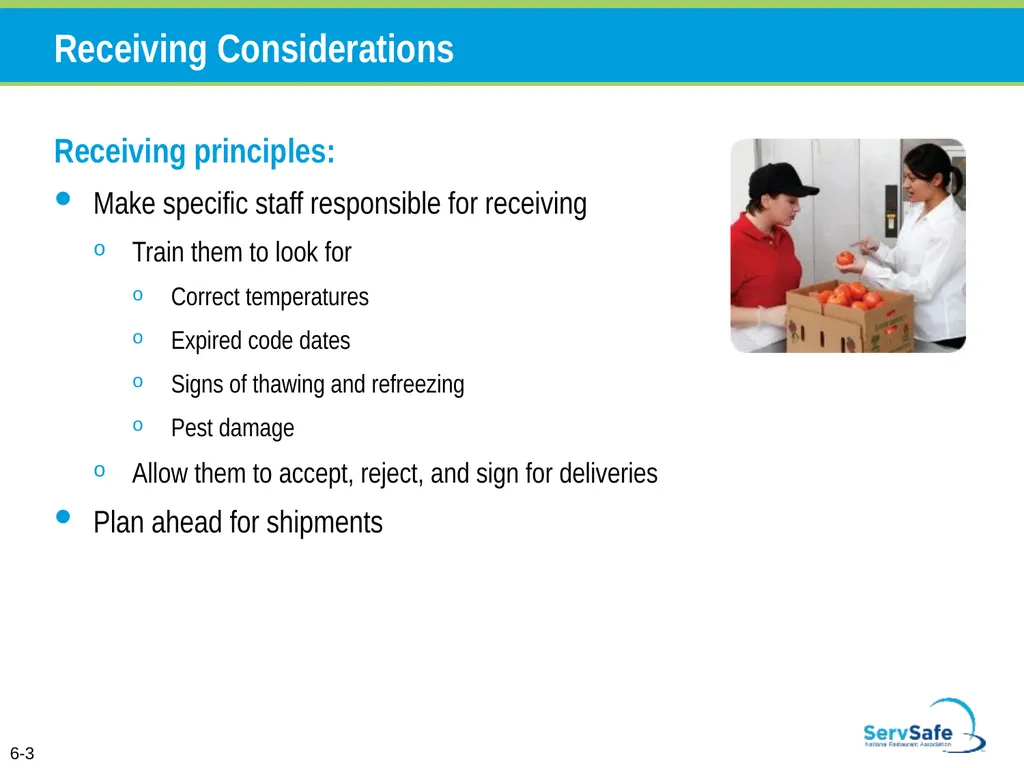
Make specific staff responsible for receiving
Train them to look for
Correct temperatures
Expired code dates
Signs of thawing and refreezing
Pest damage
Allow them to accept, reject, and sign for deliveries
Plan ahead for shipments 6-3<br>
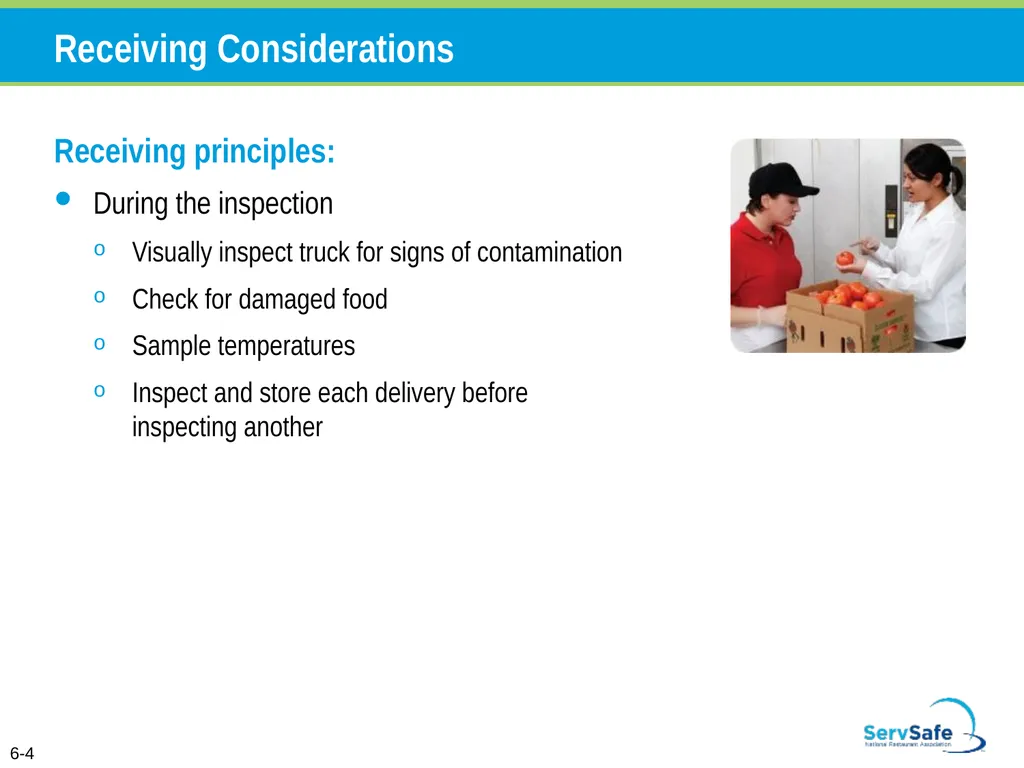
slide41. Receiving Considerations Receiving principles:
During the inspection
Visually inspect truck for signs of contamination
Check for damaged food
Sample temperatures
Inspect and store each delivery before inspecting another 6-4<br>
slide42. Receiving Considerations Key drop deliveries:
Supplier is given after-hours access to the operation to make deliveries
Deliveries must meet the following criteria
Be inspected upon arrival at the operation
Be from an approved source
Have been placed in the correct storage location to maintain the required temperature
Have been protected from contamination in storage
Are NOT contaminated
Be honestly presented 6-5<br>
slide43. Receiving and Inspecting Rejecting deliveries:
Separate rejected items from accepted items
Tell the delivery person what is wrong with the item
Get a signed adjustment or credit slip before giving the rejected item to the delivery person
Log the incident on the invoice or receiving document 6-6<br>
slide44. Receiving and Inspecting Recalls:
Identify the recalled food items
Remove the item from inventory, and place it in a secure and appropriate location
Store the item separately from food, utensils, equipment, linens, and single-use items
Label the item in a way that will prevent it from being placed back in inventory
Inform staff not to use the product
Refer to the vendor’s notification or recall notice to determine what to do with the item 6-7<br>
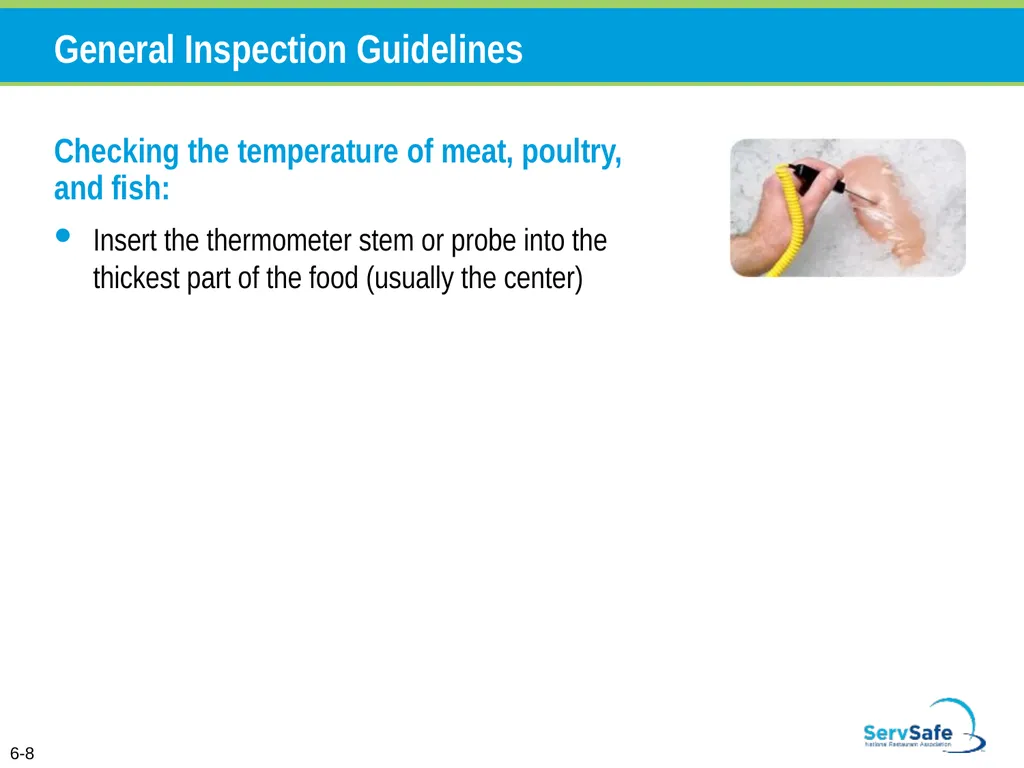
slide45. 6-8 General Inspection Guidelines Checking the temperature of meat, poultry, and fish:
Insert the thermometer stem or probe into the thickest part of the food (usually the center)<br>
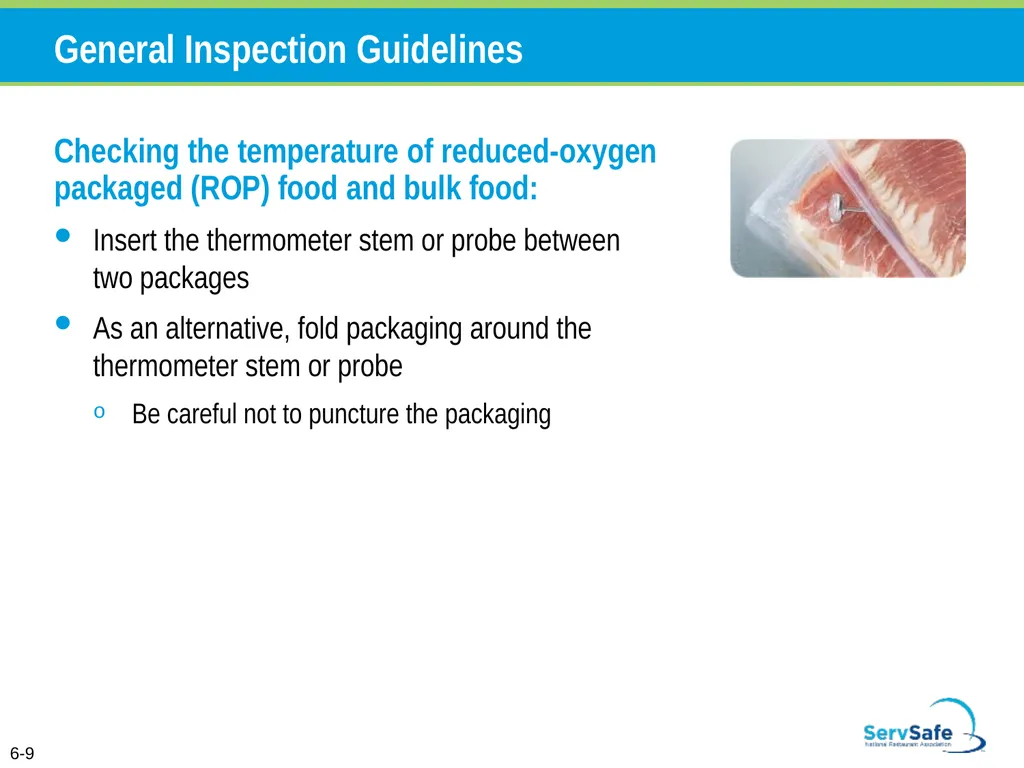
slide46. 6-9 Checking the temperature of reduced-oxygen packaged (ROP) food and bulk food:
Insert the thermometer stem or probe between two packages
As an alternative, fold packaging around the thermometer stem or probe
Be careful not to puncture the packaging General Inspection Guidelines<br>
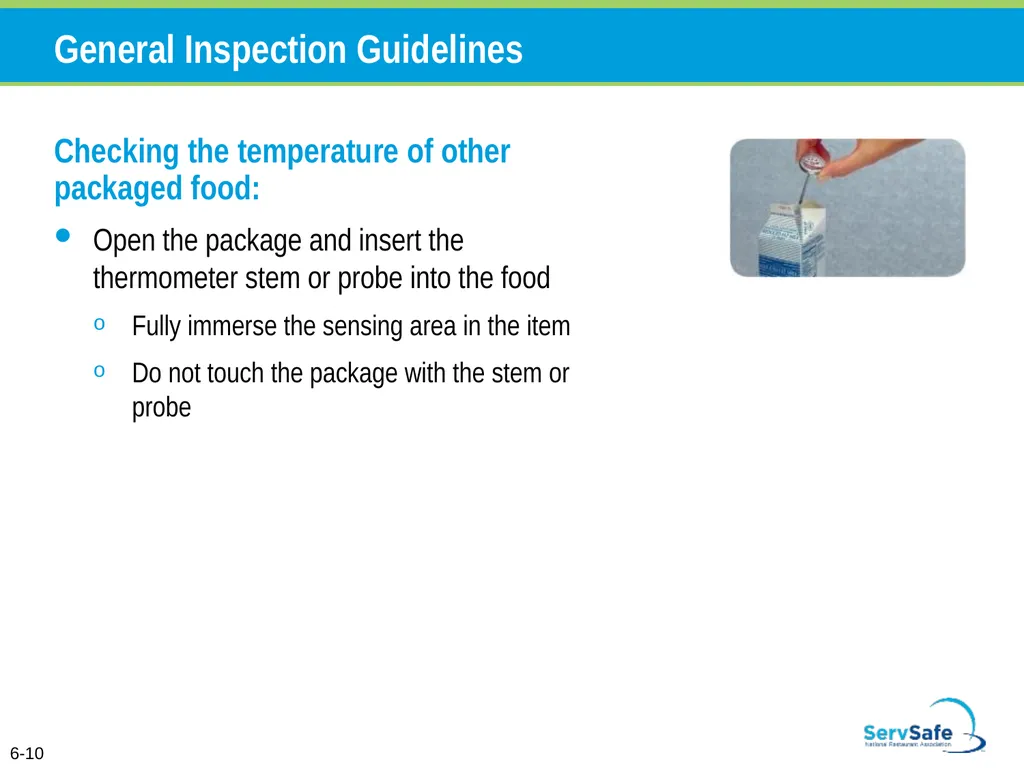
slide47. 6-10 Checking the temperature of other packaged food:
Open the package and insert the thermometer stem or probe into the food
Fully immerse the sensing area in the item
Do not touch the package with the stem or probe General Inspection Guidelines<br>
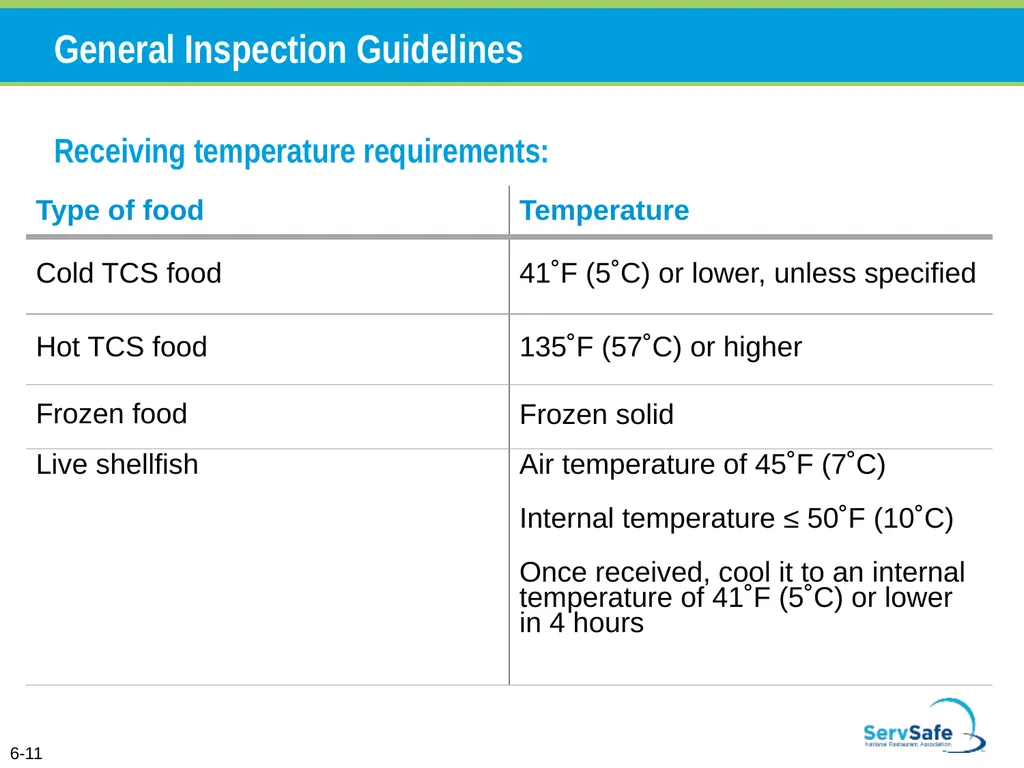
slide48. Receiving temperature requirements: General Inspection Guidelines 6-11<br>
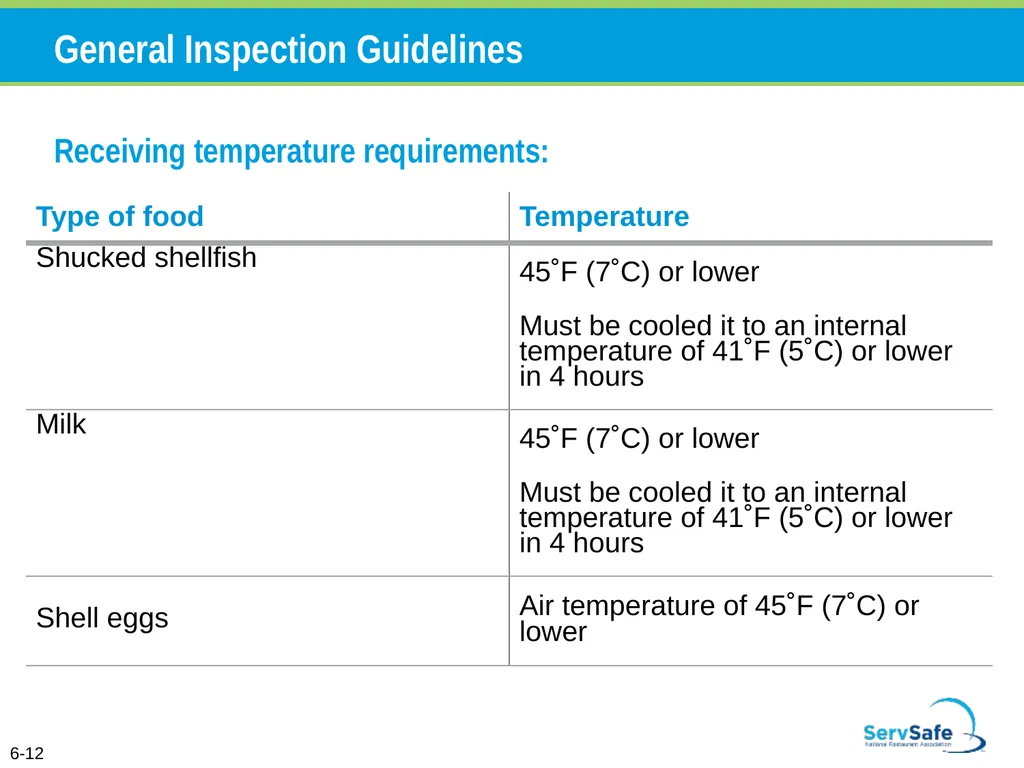
slide49. Receiving temperature requirements: General Inspection Guidelines 6-12<br>
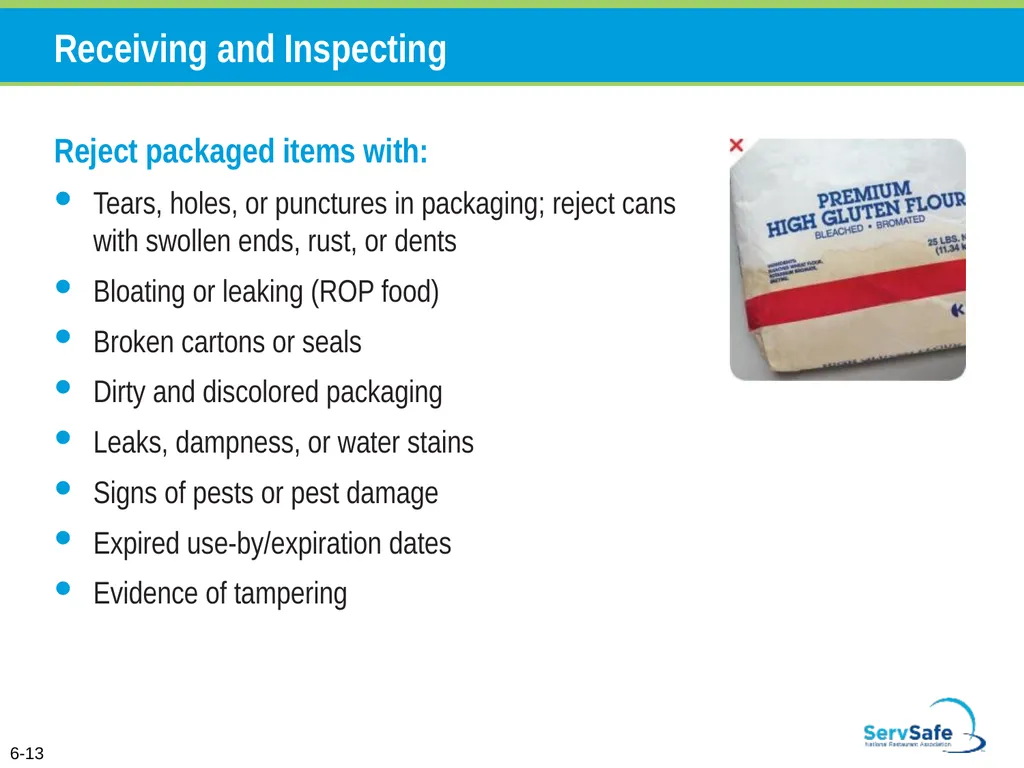
slide50. Receiving and Inspecting Reject packaged items with:
Tears, holes, or punctures in packaging; reject cans with swollen ends, rust, or dents
Bloating or leaking (ROP food)
Broken cartons or seals
Dirty and discolored packaging
Leaks, dampness, or water stains
Signs of pests or pest damage
Expired use-by/expiration dates
Evidence of tampering 6-13<br>
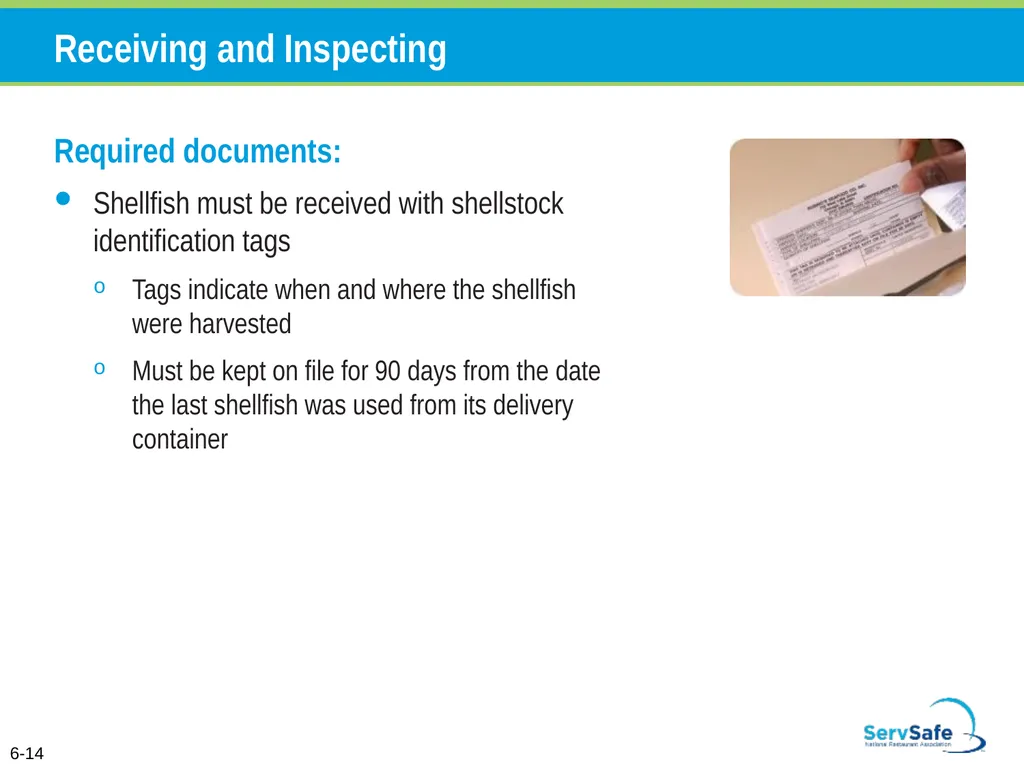
slide51. Receiving and Inspecting Required documents:
Shellfish must be received with shellstock identification tags
Tags indicate when and where the shellfish were harvested
Must be kept on file for 90 days from the date the last shellfish was used from its delivery container 6-14<br>
slide52. Receiving and Inspecting Required documents:
Fish that will be eaten raw or partially cooked
Documentation must show the fish was correctly frozen before being received
Keep documents for 90 days from the sale of the fish
Farm raised fish
Must have documentation stating the fish was raised to FDA standards
Keep documents for 90 days from the sale of the fish 6-15<br>
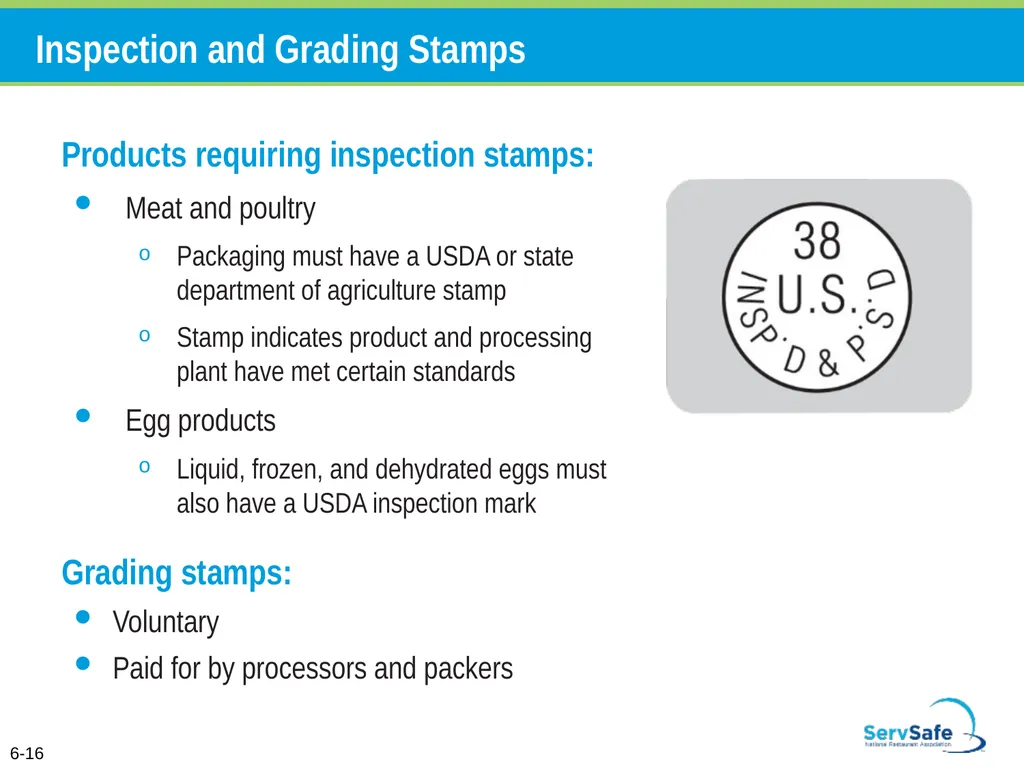
slide53. Inspection and Grading Stamps Products requiring inspection stamps:
Meat and poultry
Packaging must have a USDA or state department of agriculture stamp
Stamp indicates product and processing plant have met certain standards
Egg products
Liquid, frozen, and dehydrated eggs must also have a USDA inspection mark
Grading stamps:
Voluntary
Paid for by processors and packers 6-16<br>
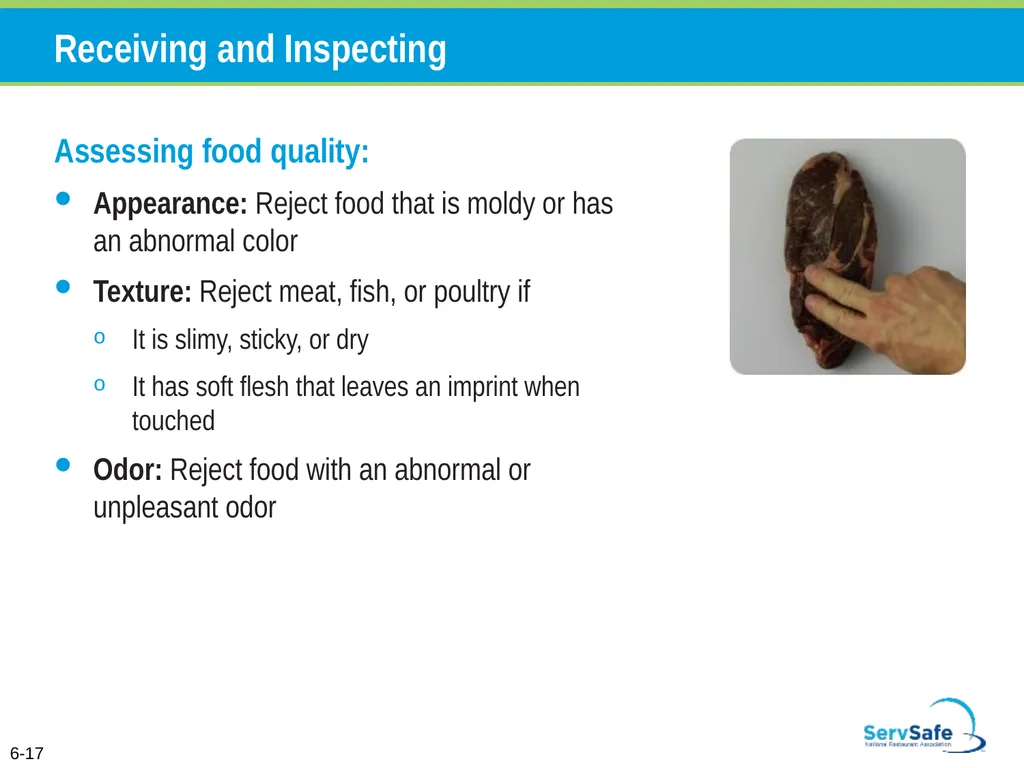
slide54. Receiving and Inspecting Assessing food quality:
Appearance: Reject food that is moldy or has an abnormal color
Texture: Reject meat, fish, or poultry if
It is slimy, sticky, or dry
It has soft flesh that leaves an imprint when touched
Odor: Reject food with an abnormal or unpleasant odor 6-17<br>
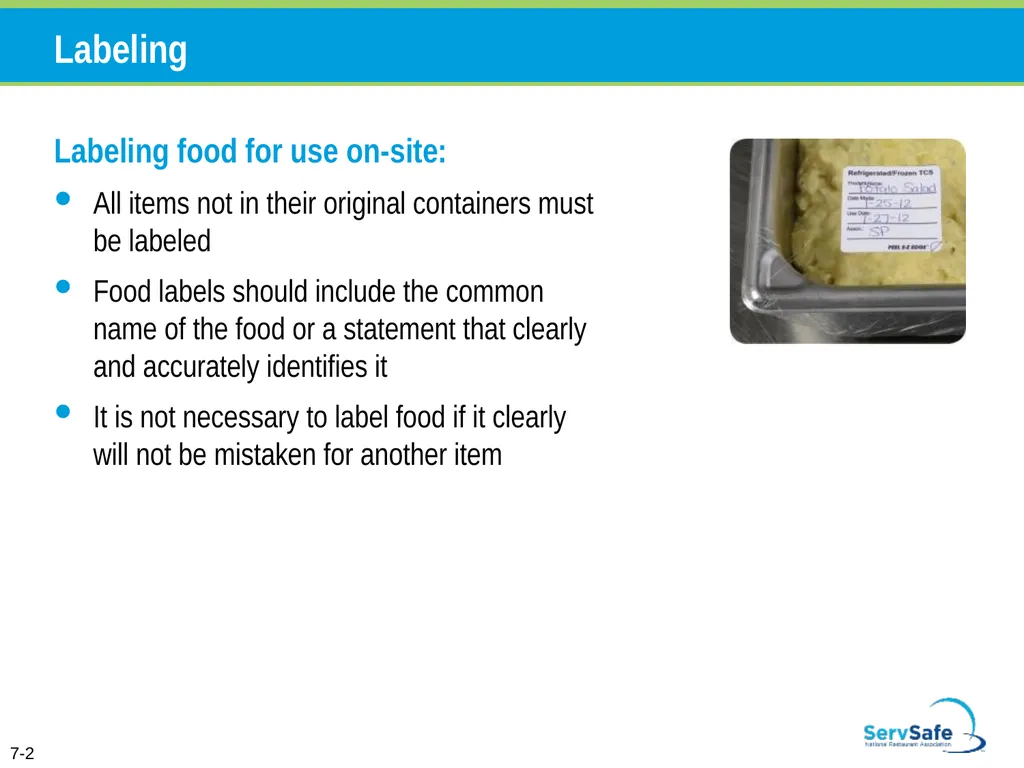
slide56. Labeling Labeling food for use on-site:
All items not in their original containers must be labeled
Food labels should include the common name of the food or a statement that clearly and accurately identifies it
It is not necessary to label food if it clearly will not be mistaken for another item 7-2<br>
slide57. Labeling Labeling food packaged on-site for retail sale:
Common name of the food or a statement clearly identifying it
Quantity of the food
If the item contains two or more ingredients, list the ingredients and sub-ingredients in descending order by weight
List of artificial colors and flavors in the food including chemical preservatives
Name and place of business of the manufacturer, packer, or distributor
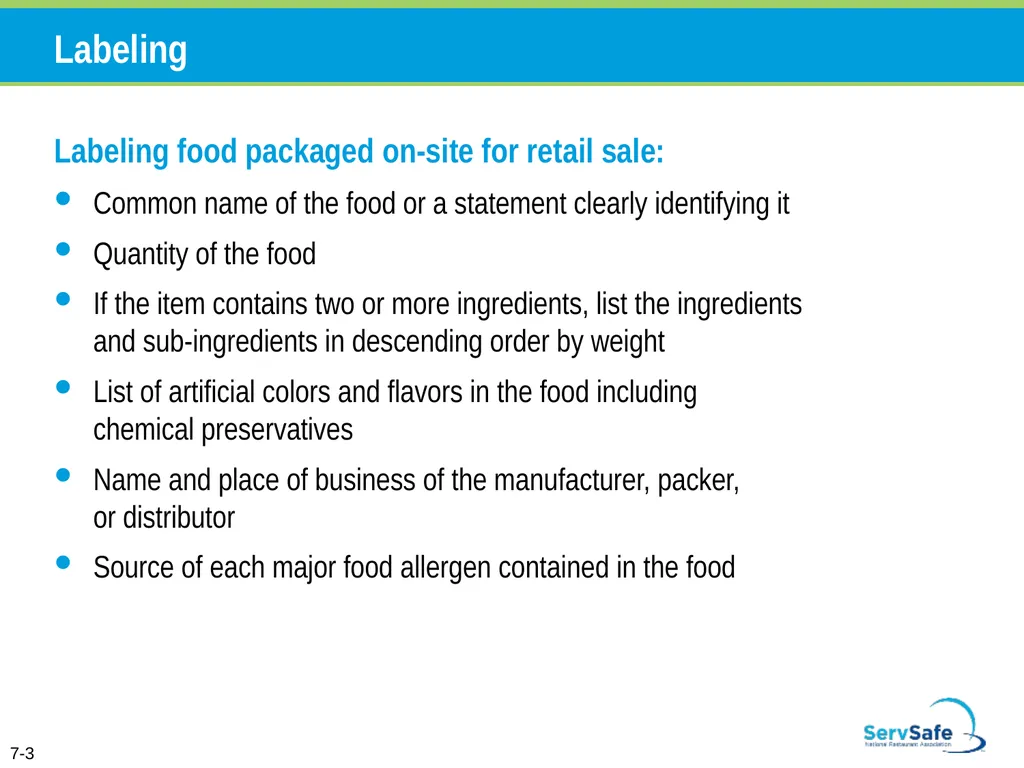
Source of each major food allergen contained in the food 7-3<br>
slide58. Date Marking Date marking:
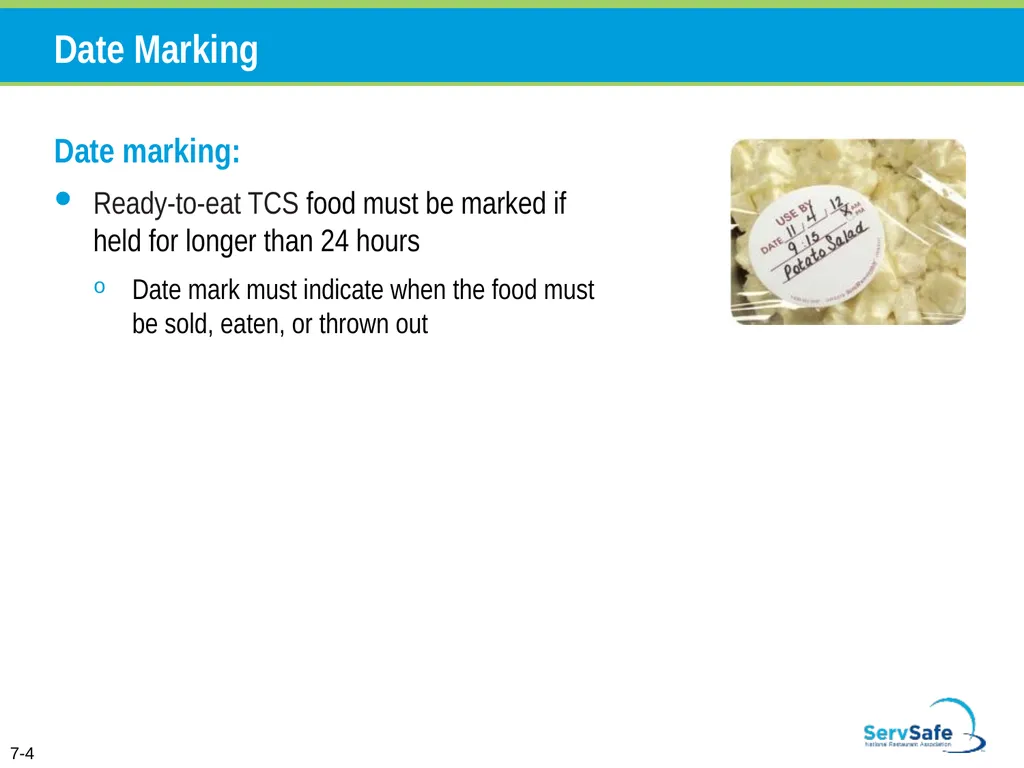
Ready-to-eat TCS food must be marked if held for longer than 24 hours
Date mark must indicate when the food must be sold, eaten, or thrown out 7-4<br>
slide59. Date Marking Date marking:
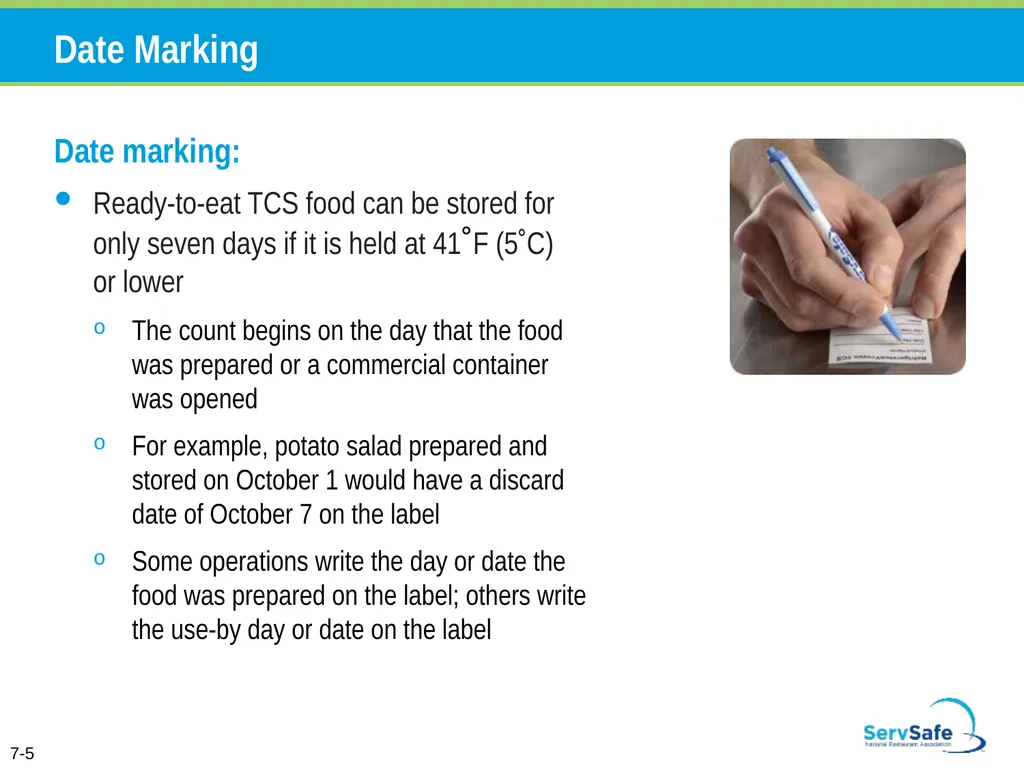
Ready-to-eat TCS food can be stored for only seven days if it is held at 41˚F (5˚C) or lower
The count begins on the day that the food was prepared or a commercial container was opened
For example, potato salad prepared and stored on October 1 would have a discard date of October 7 on the label
Some operations write the day or date the food was prepared on the label; others write the use-by day or date on the label 7-5<br>
slide60. Date Marking Commercially processed food:
If
A commercially processed food has a use-by date that is less than seven days from the date the container was opened
Then
The container should be marked with this use-by date as long as the date is based on food safety 7-6<br>
slide61. Date Marking Combining food:
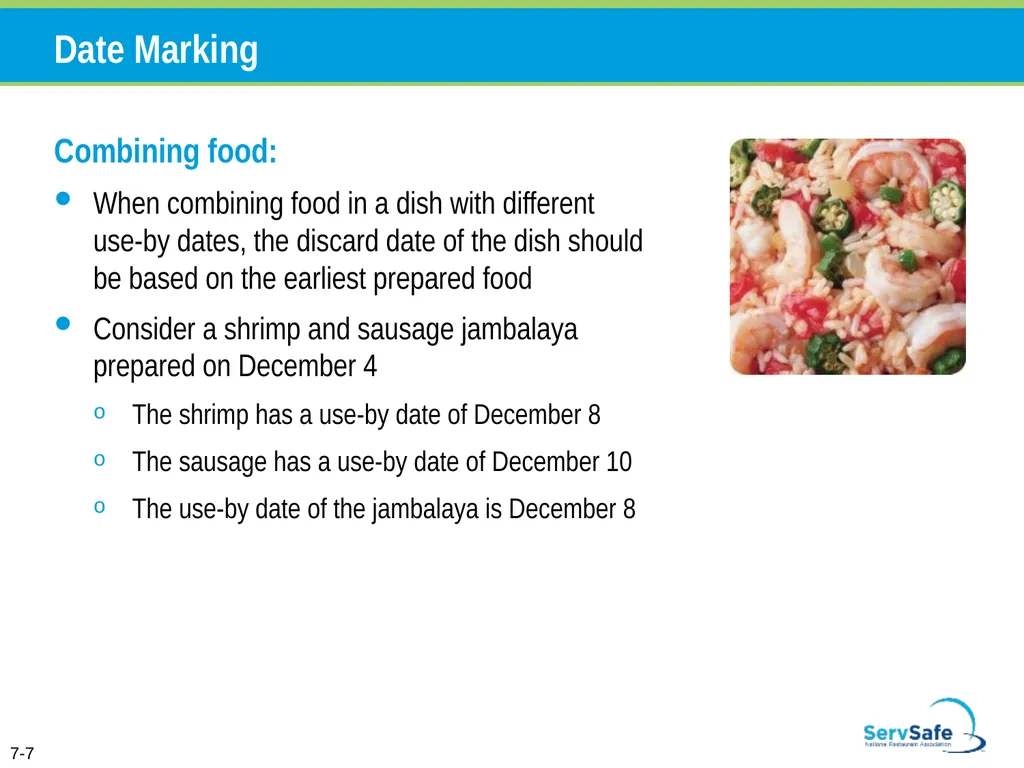
When combining food in a dish with different use-by dates, the discard date of the dish should be based on the earliest prepared food
Consider a shrimp and sausage jambalaya prepared on December 4
The shrimp has a use-by date of December 8
The sausage has a use-by date of December 10
The use-by date of the jambalaya is December 8 7-7<br>
slide62. Rotation Rotate food to use the oldest inventory first:
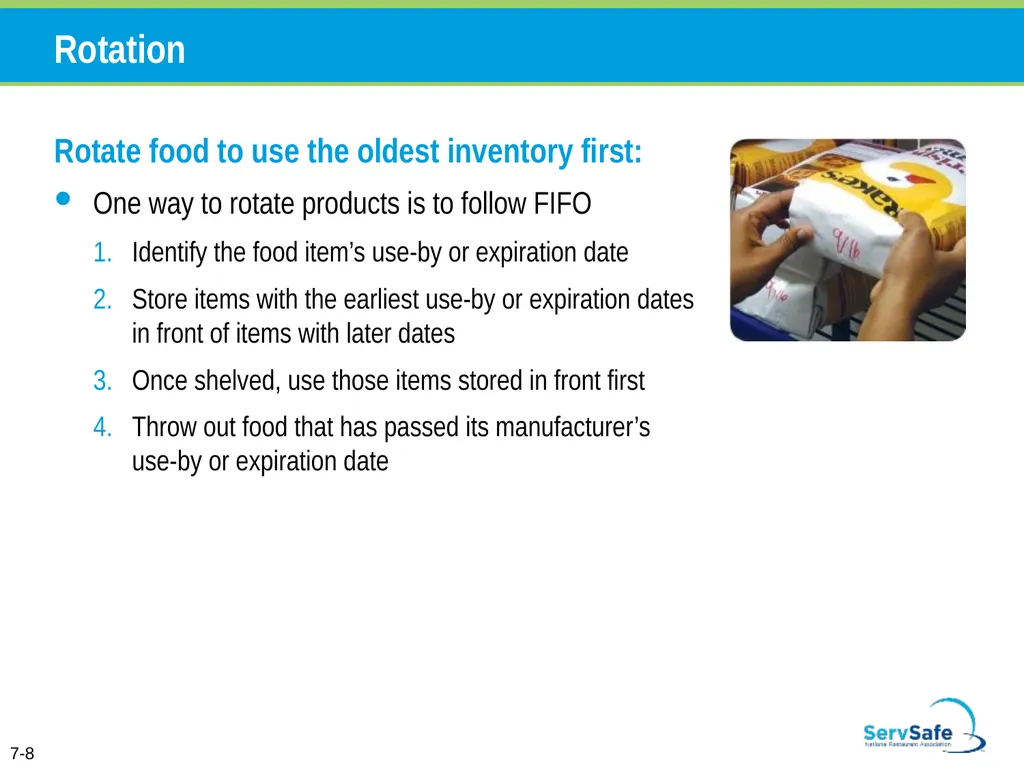
One way to rotate products is to follow FIFO
Identify the food item’s use-by or expiration date
Store items with the earliest use-by or expiration dates in front of items with later dates
Once shelved, use those items stored in front first
Throw out food that has passed its manufacturer’s use-by or expiration date 7-8<br>
slide63. Temperatures Temperature guidelines:
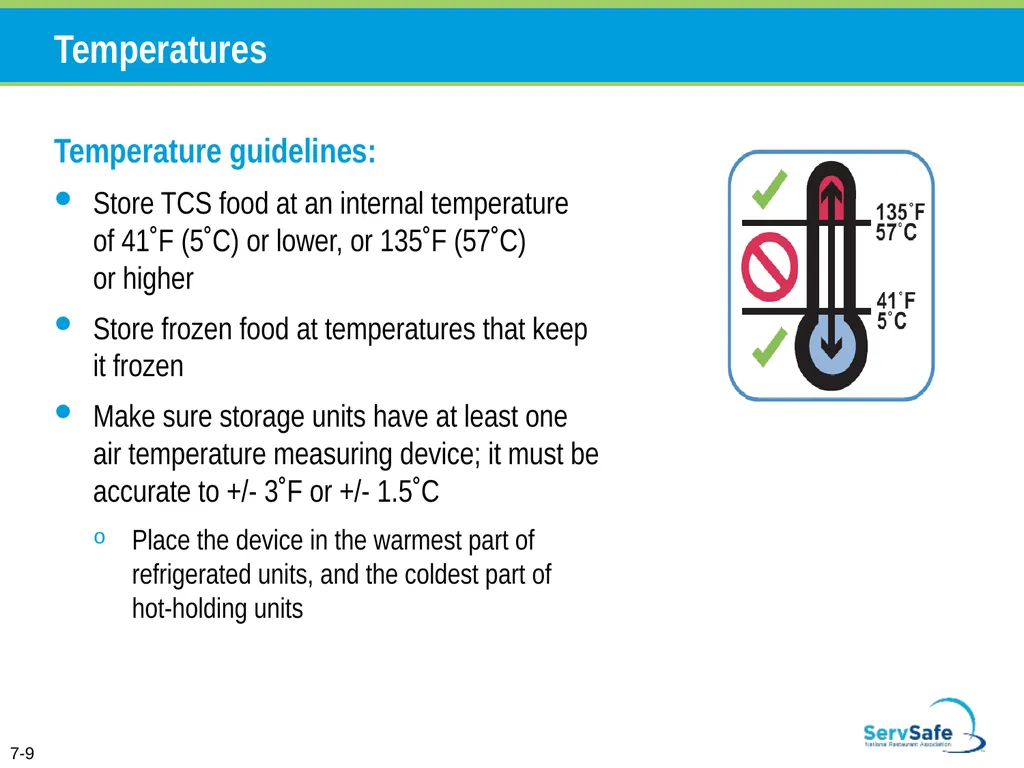
Store TCS food at an internal temperature of 41˚F (5˚C) or lower, or 135˚F (57˚C) or higher
Store frozen food at temperatures that keep it frozen
Make sure storage units have at least one air temperature measuring device; it must be accurate to +/- 3˚F or +/- 1.5˚C
Place the device in the warmest part of refrigerated units, and the coldest part of hot-holding units 7-9<br>
slide64. Temperatures Temperatures guidelines:
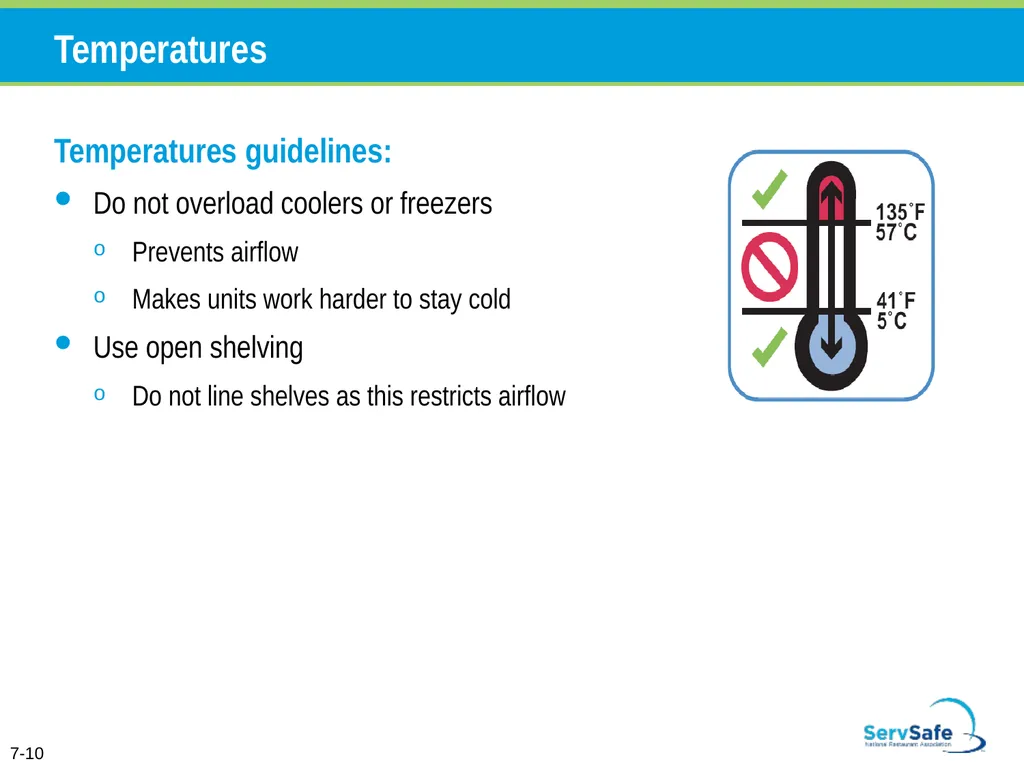
Do not overload coolers or freezers
Prevents airflow
Makes units work harder to stay cold
Use open shelving
Do not line shelves as this restricts airflow 7-10<br>
slide65. Storage Location Food should be stored in a clean, dry location away from dust and other contaminants:
To prevent contamination, NEVER store food in these areas
Locker rooms or dressing rooms
Restrooms or garbage rooms
Mechanical rooms
Under unshielded sewer lines or leaking water lines
Under stairwells 7-11<br>
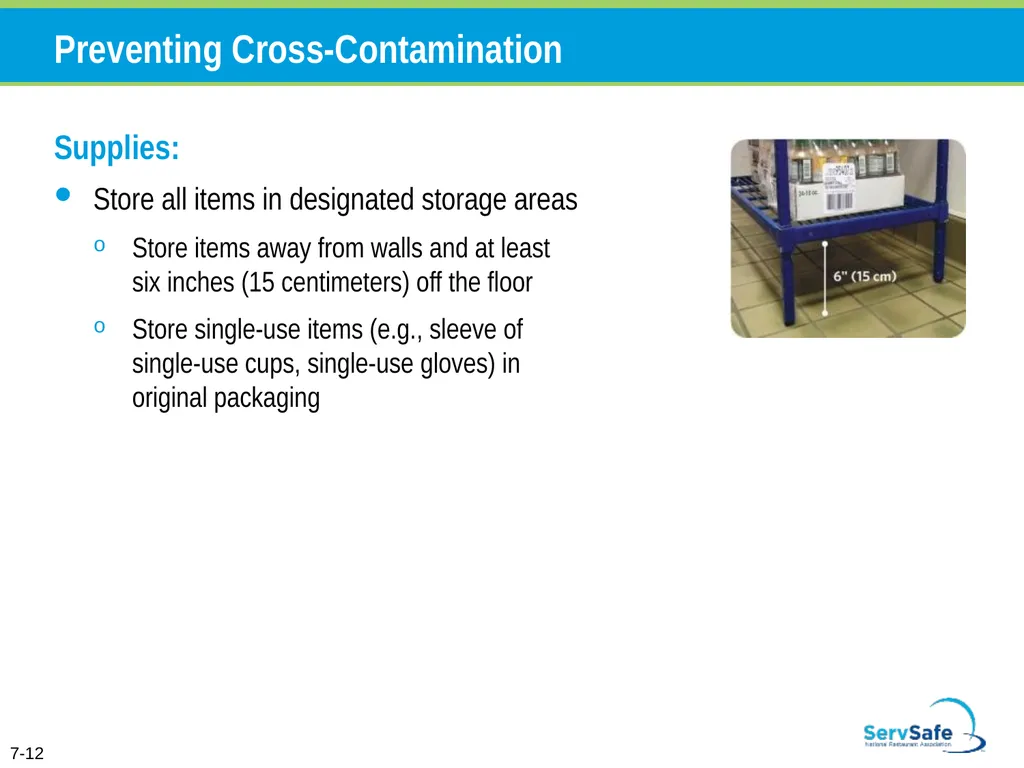
slide66. Preventing Cross-Contamination Supplies:
Store all items in designated storage areas
Store items away from walls and at least six inches (15 centimeters) off the floor
Store single-use items (e.g., sleeve of single-use cups, single-use gloves) in original packaging 7-12<br>
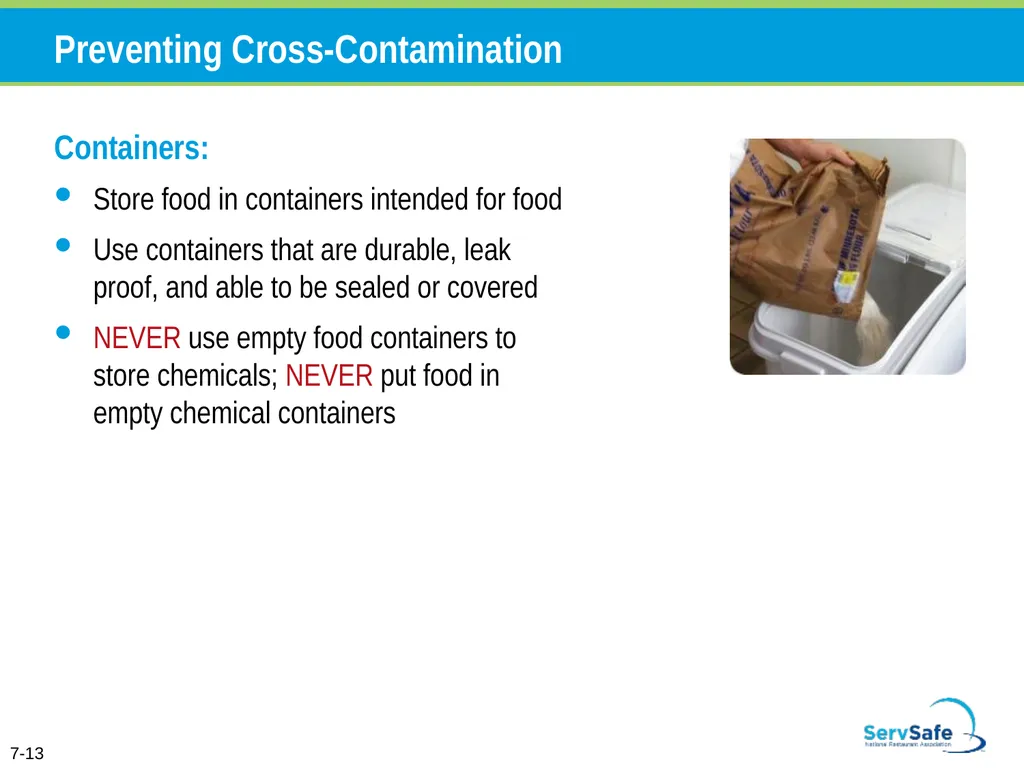
slide67. Preventing Cross-Contamination Containers:
Store food in containers intended for food
Use containers that are durable, leak proof, and able to be sealed or covered
NEVER use empty food containers to store chemicals; NEVER put food in empty chemical containers 7-13<br>
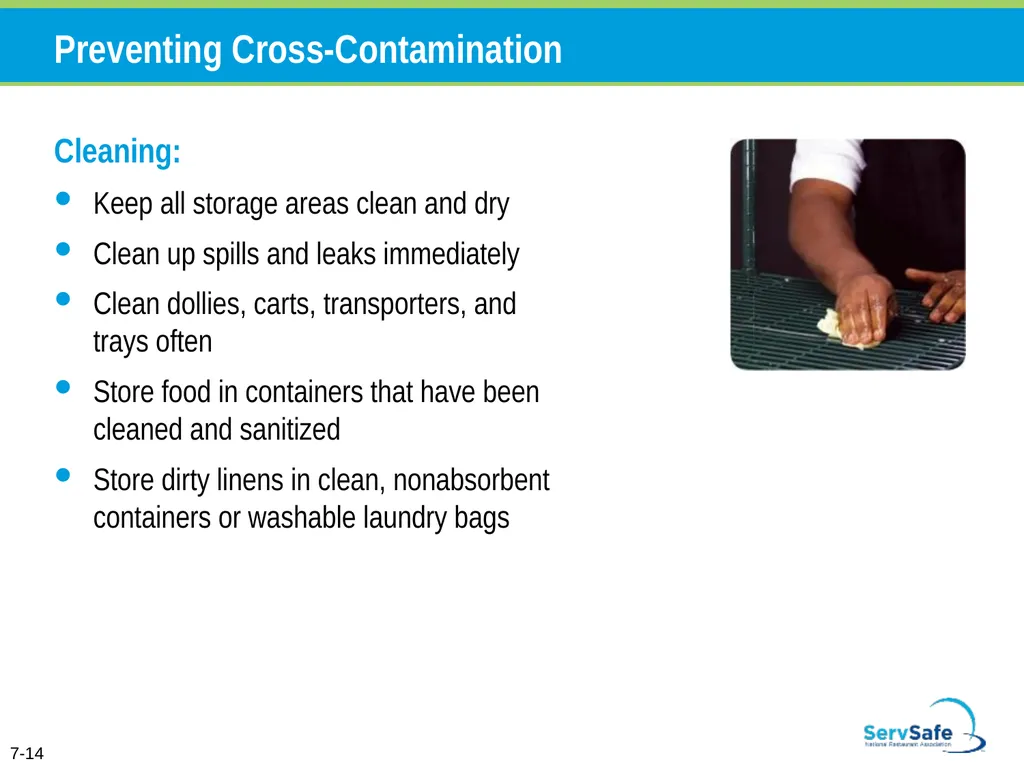
slide68. Preventing Cross-Contamination Cleaning:
Keep all storage areas clean and dry
Clean up spills and leaks immediately
Clean dollies, carts, transporters, and trays often
Store food in containers that have been cleaned and sanitized
Store dirty linens in clean, nonabsorbent containers or washable laundry bags 7-14<br>
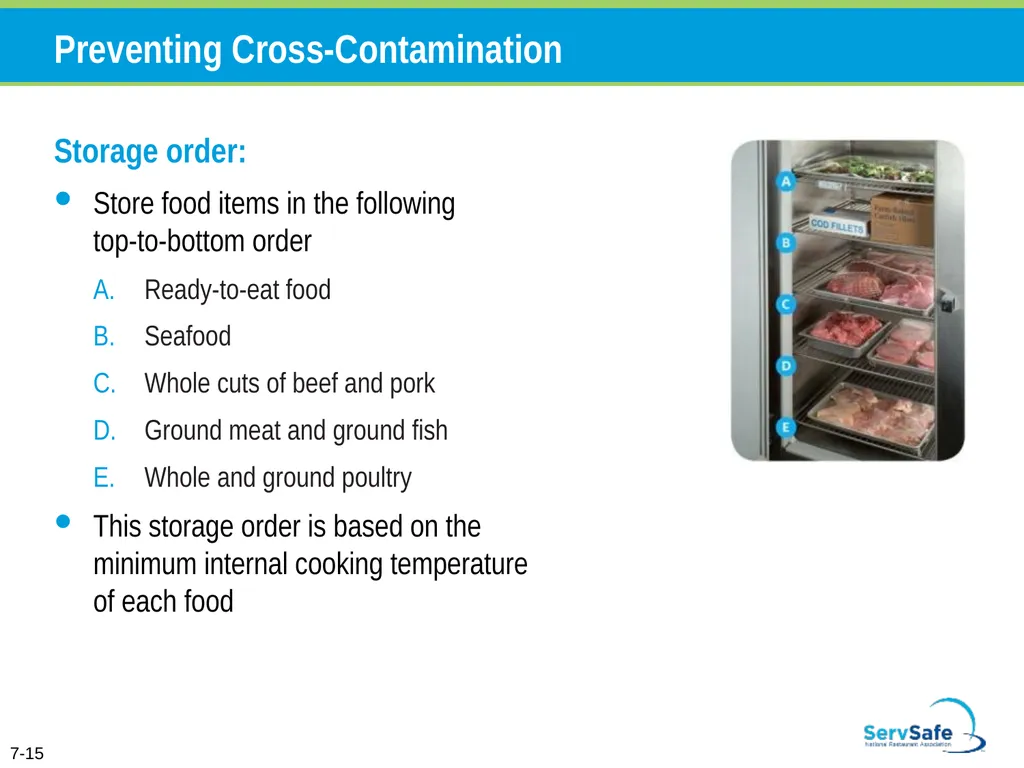
slide69. Preventing Cross-Contamination Storage order:
Store food items in the following top-to-bottom order
Ready-to-eat food
Seafood
Whole cuts of beef and pork
Ground meat and ground fish
Whole and ground poultry
This storage order is based on the minimum internal cooking temperature of each food 7-15<br>
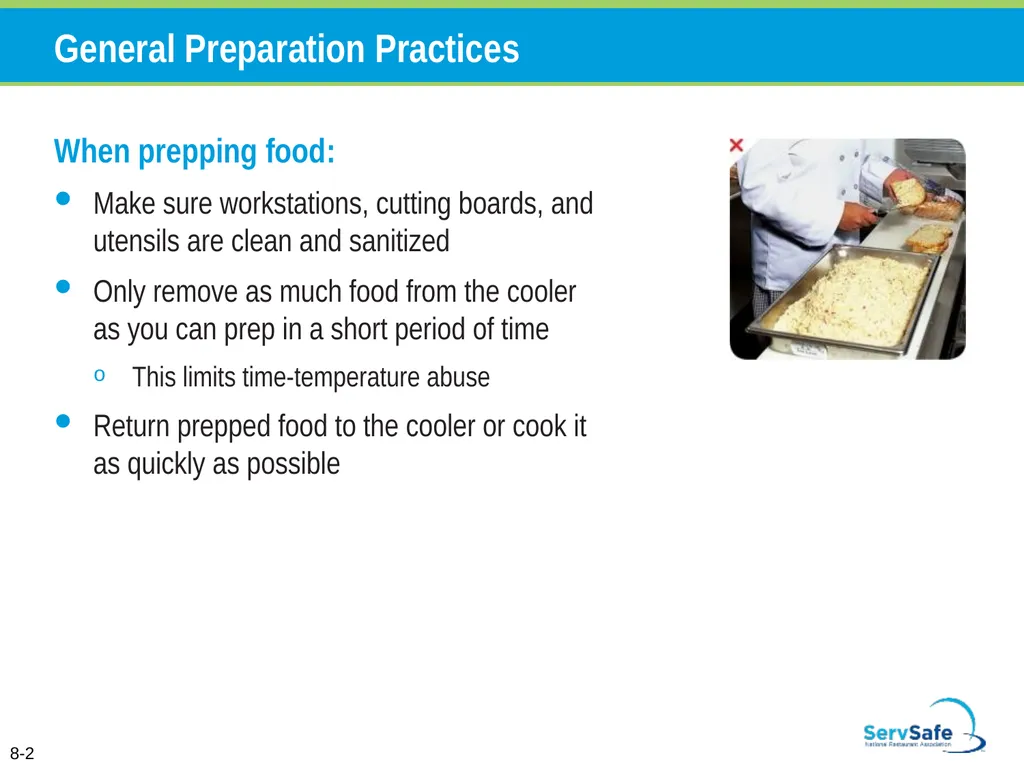
slide71. General Preparation Practices When prepping food:
Make sure workstations, cutting boards, and utensils are clean and sanitized
Only remove as much food from the cooler as you can prep in a short period of time
This limits time-temperature abuse
Return prepped food to the cooler or cook it as quickly as possible 8-2<br>
slide72. General Preparation Practices Food and color additives:
Only use additives approved by your local regulatory authority
NEVER use more additives than are allowed by law
NEVER use additives to alter the appearance of food
Do NOT sell produce treated with sulfites before it was received in the operation
Do NOT add sulfites to produce that will be eaten raw 8-3<br>
slide73. General Preparation Practices Present food honestly:
Do NOT use the following to misrepresent the appearance of food
Food additives or color additives
Colored overwraps
Lights
Food not presented honestly must be thrown out 8-4<br>
slide74. General Preparation Practices Corrective actions:
Food must be thrown out in the following situations
When it is handled by staff who have been restricted or excluded from the operation due to illness
When it is contaminated by hands or bodily fluids from the nose or mouth
When it has exceeded the time and temperature requirements designed to keep food safe 8-5<br>
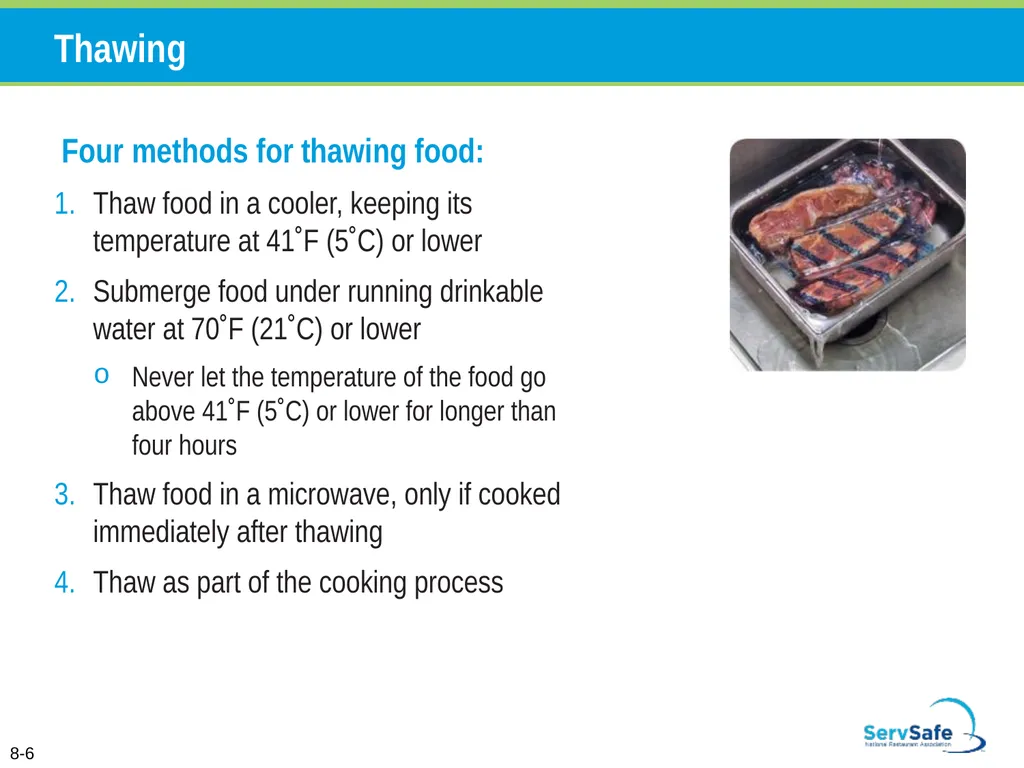
slide75. Thawing Four methods for thawing food:
Thaw food in a cooler, keeping its temperature at 41˚F (5˚C) or lower
Submerge food under running drinkable water at 70˚F (21˚C) or lower
Never let the temperature of the food go above 41˚F (5˚C) or lower for longer than four hours
Thaw food in a microwave, only if cooked immediately after thawing
Thaw as part of the cooking process 8-6<br>
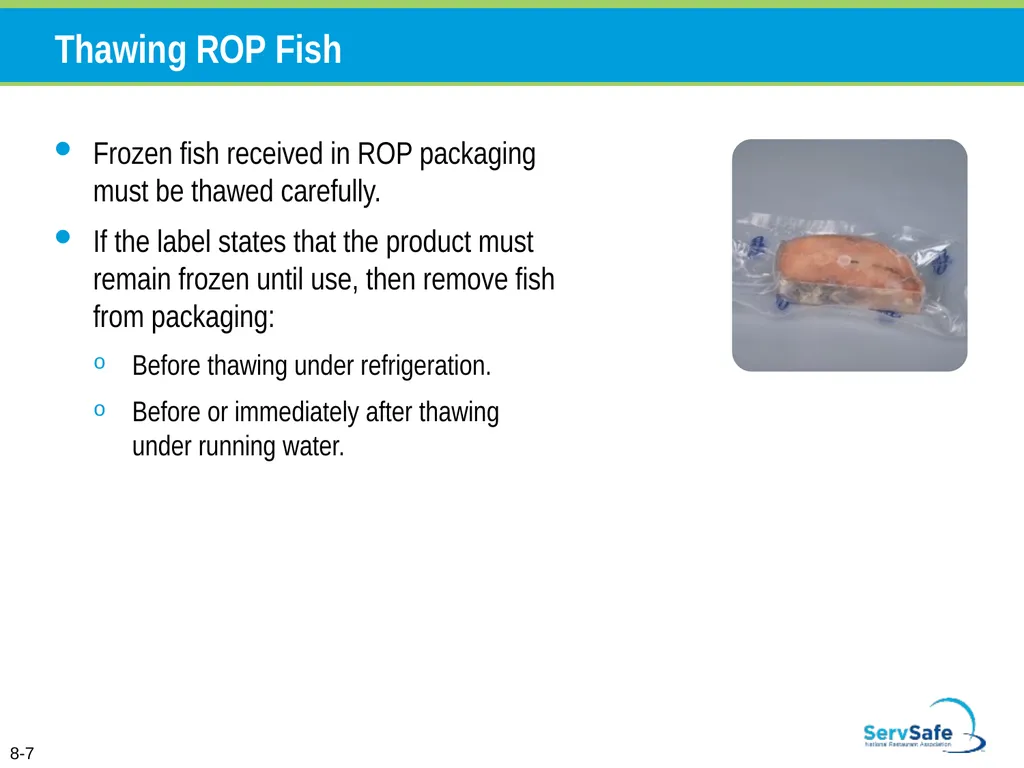
slide76. Thawing ROP Fish Frozen fish received in ROP packaging must be thawed carefully.
If the label states that the product must remain frozen until use, then remove fish from packaging:
Before thawing under refrigeration.
Before or immediately after thawing under running water. 8-7<br>
slide77. Prepping Specific Food When prepping meat, seafood, poultry:
Use clean and sanitized work areas, cutting boards, knives, and utensils
Prep these items separately or at different times from produce
Remove only as much product as can be prepped at one time
Return raw product to the cooler as quickly as possible after prepping it 8-8<br>
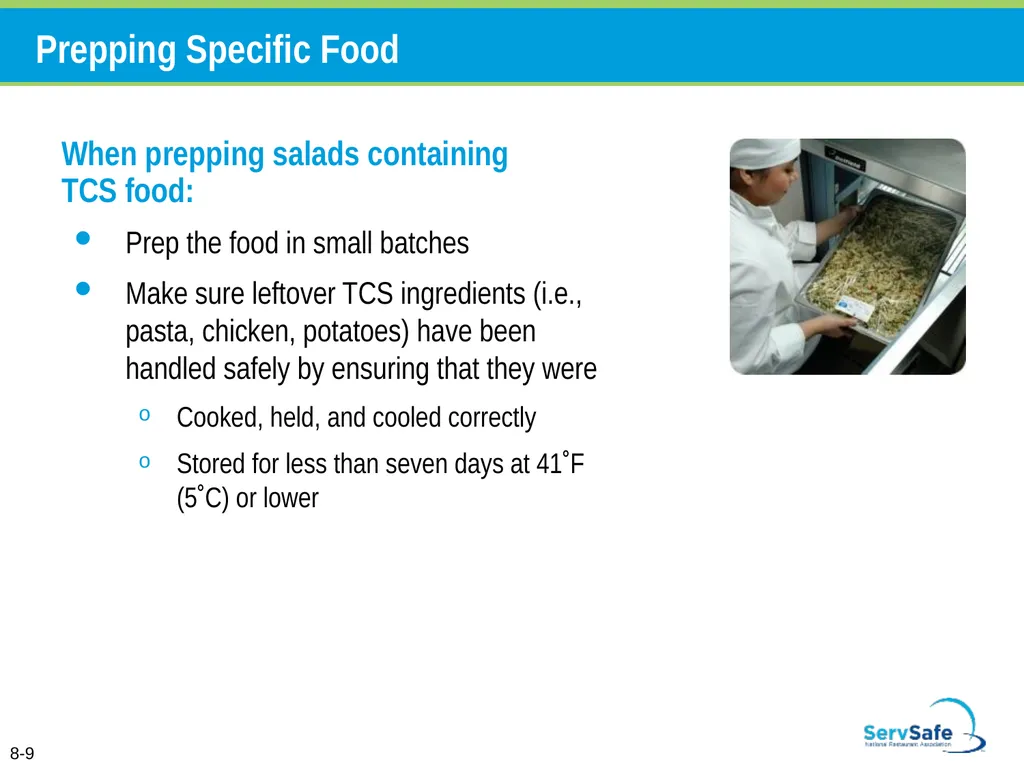
slide78. Prepping Specific Food When prepping salads containing TCS food:
Prep the food in small batches
Make sure leftover TCS ingredients (i.e., pasta, chicken, potatoes) have been handled safely by ensuring that they were
Cooked, held, and cooled correctly
Stored for less than seven days at 41˚F (5˚C) or lower 8-9<br>
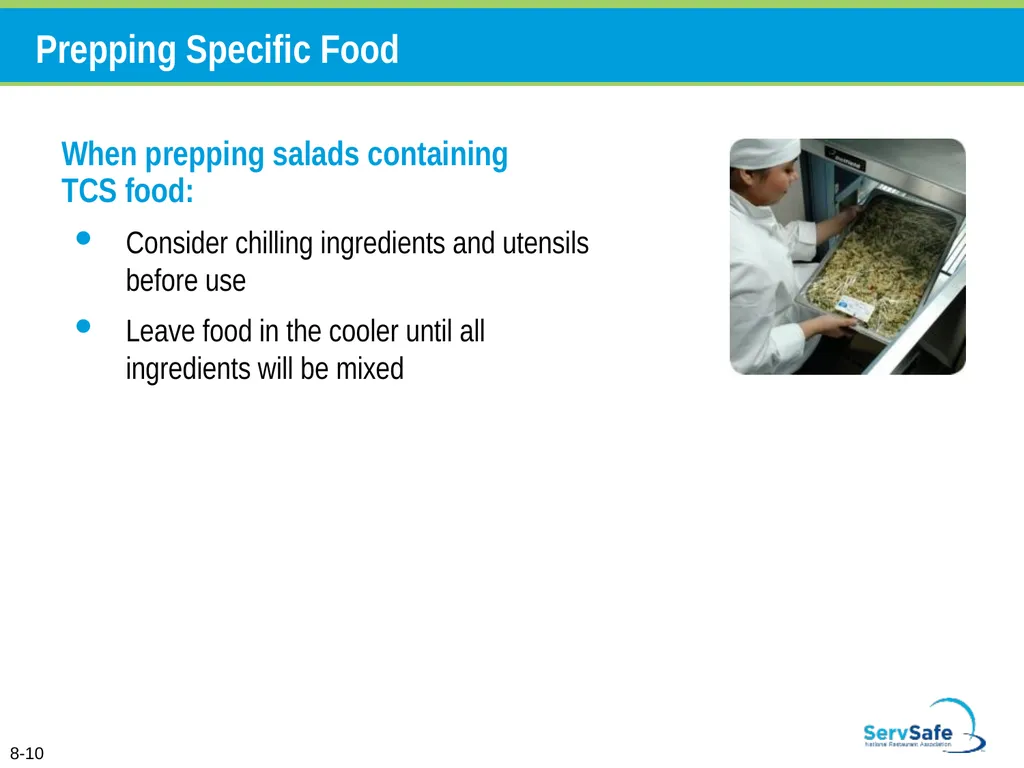
slide79. Prepping Specific Food When prepping salads containing TCS food:
Consider chilling ingredients and utensils before use
Leave food in the cooler until all ingredients will be mixed 8-10<br>
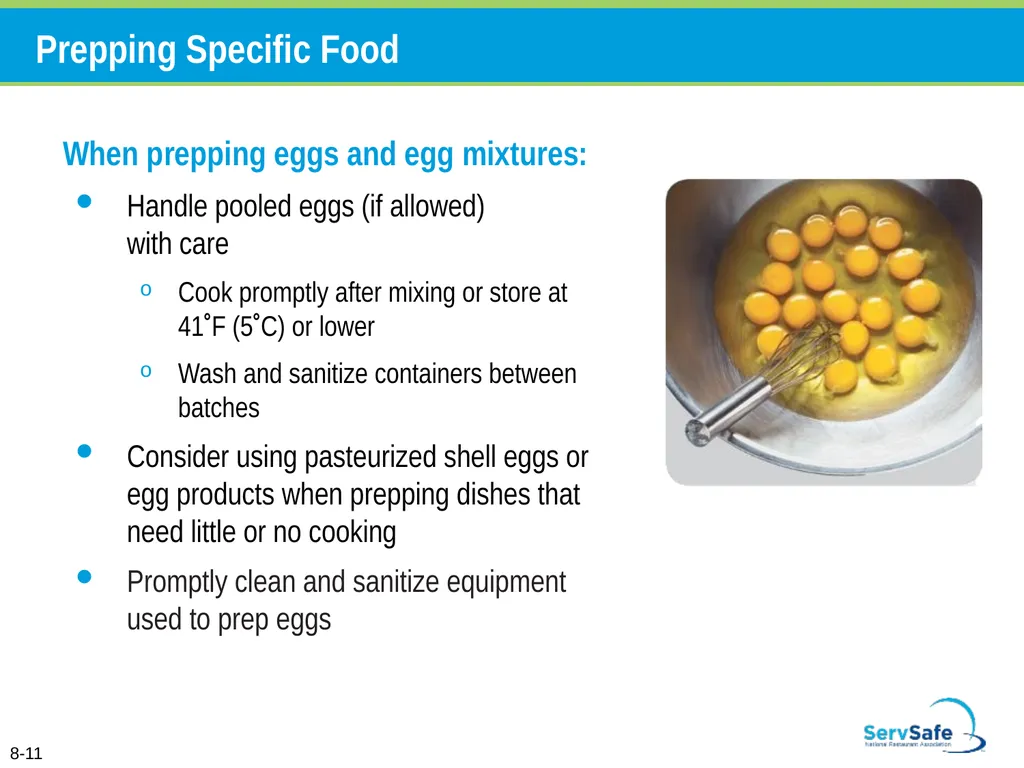
slide80. Prepping Specific Food When prepping eggs and egg mixtures:
Handle pooled eggs (if allowed) with care
Cook promptly after mixing or store at 41˚F (5˚C) or lower
Wash and sanitize containers between batches
Consider using pasteurized shell eggs or egg products when prepping dishes that need little or no cooking
Promptly clean and sanitize equipment used to prep eggs 8-11<br>
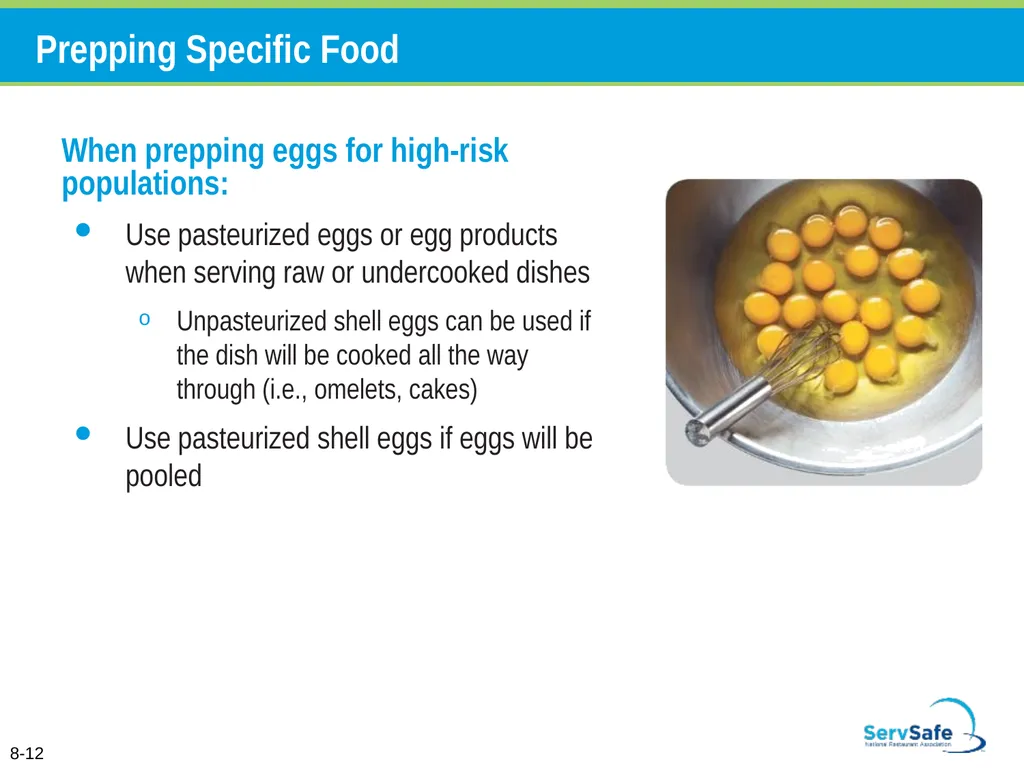
slide81. Prepping Specific Food When prepping eggs for high-risk populations:
Use pasteurized eggs or egg products when serving raw or undercooked dishes
Unpasteurized shell eggs can be used if the dish will be cooked all the way through (i.e., omelets, cakes)
Use pasteurized shell eggs if eggs will be pooled 8-12<br>
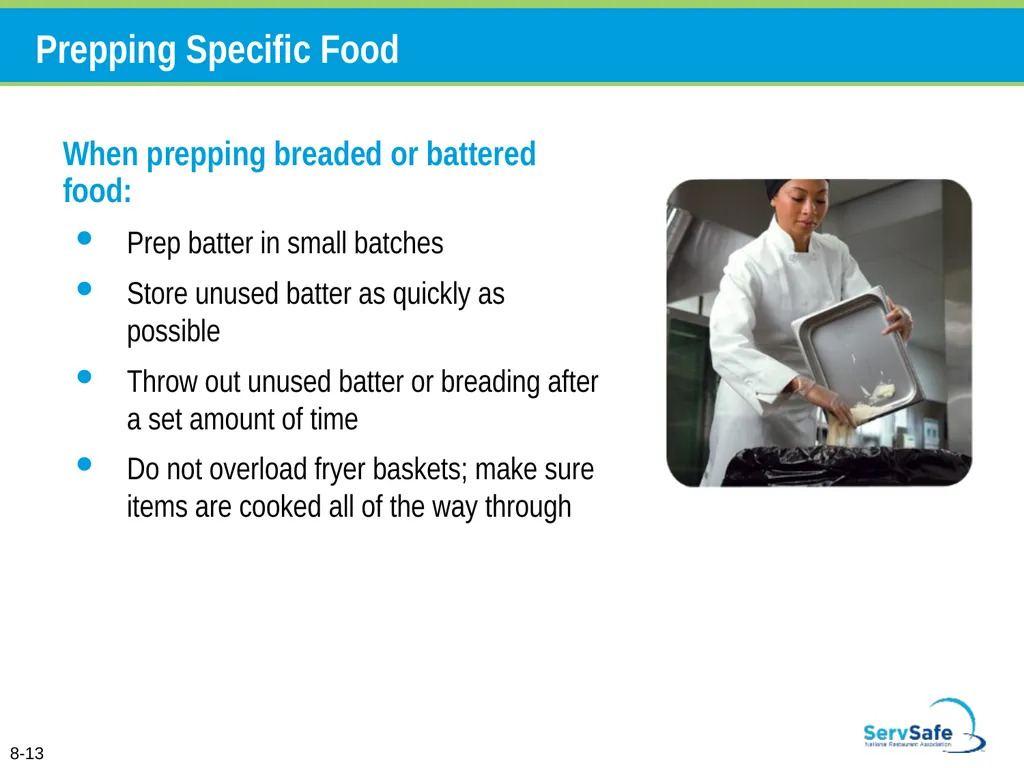
slide82. Prepping Specific Food When prepping breaded or battered food:
Prep batter in small batches
Store unused batter as quickly as possible
Throw out unused batter or breading after a set amount of time
Do not overload fryer baskets; make sure items are cooked all of the way through 8-13<br>
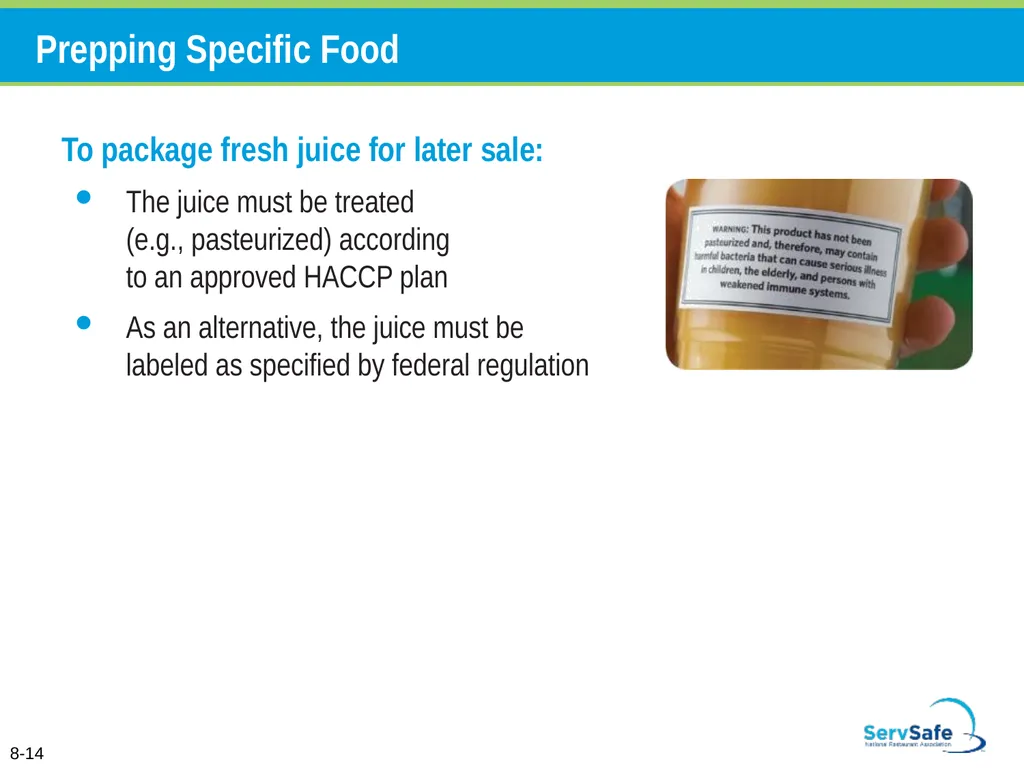
slide83. Prepping Specific Food To package fresh juice for later sale:
The juice must be treated (e.g., pasteurized) according to an approved HACCP plan
As an alternative, the juice must be labeled as specified by federal regulation 8-14<br>
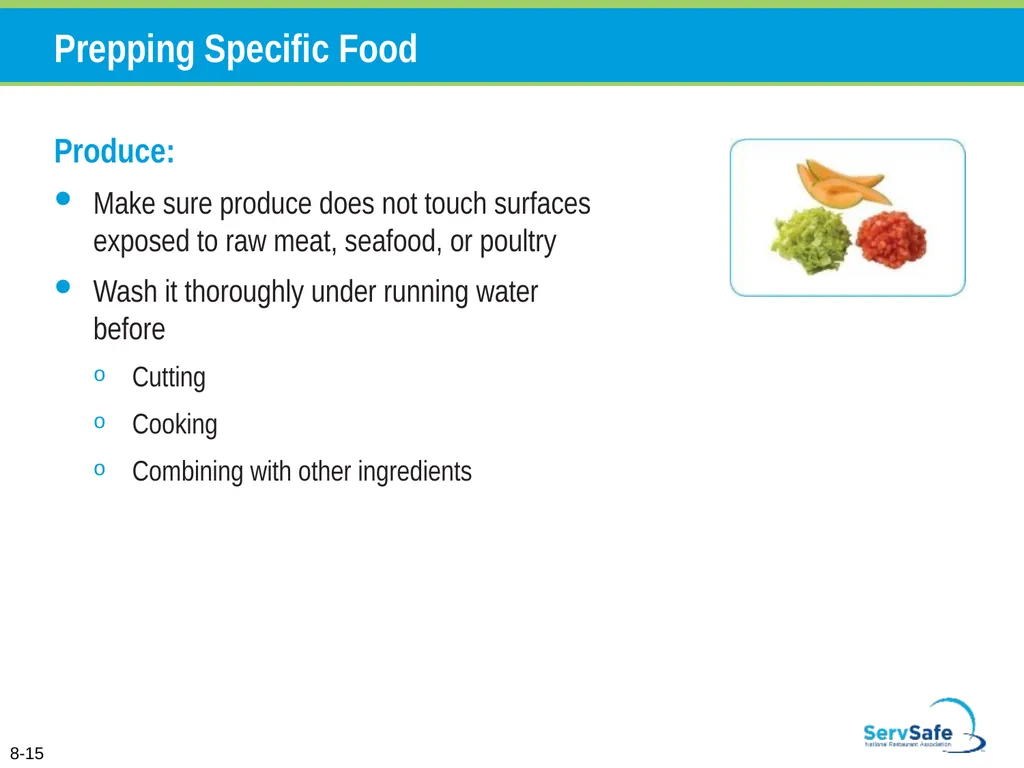
slide84. Prepping Specific Food Produce:
Make sure produce does not touch surfaces exposed to raw meat, seafood, or poultry
Wash it thoroughly under running water before
Cutting
Cooking
Combining with other ingredients 8-15<br>
slide85. Prepping Specific Food Produce:
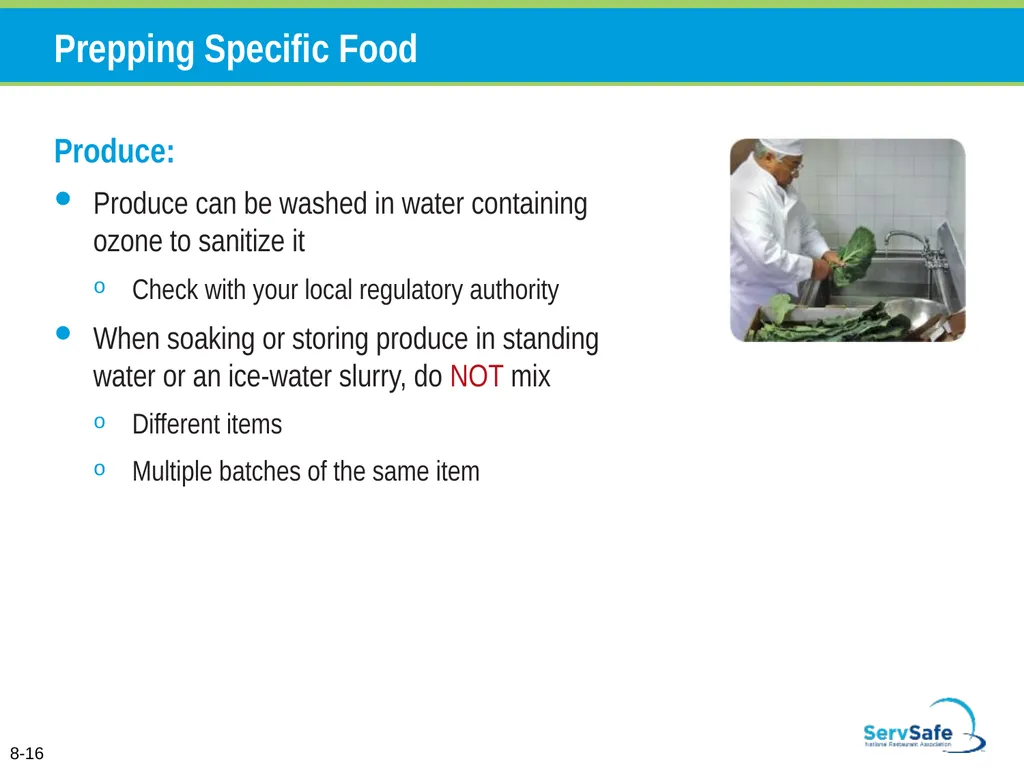
Produce can be washed in water containing ozone to sanitize it
Check with your local regulatory authority
When soaking or storing produce in standing water or an ice-water slurry, do NOT mix
Different items
Multiple batches of the same item 8-16<br>
slide86. Prepping Specific Food Produce:
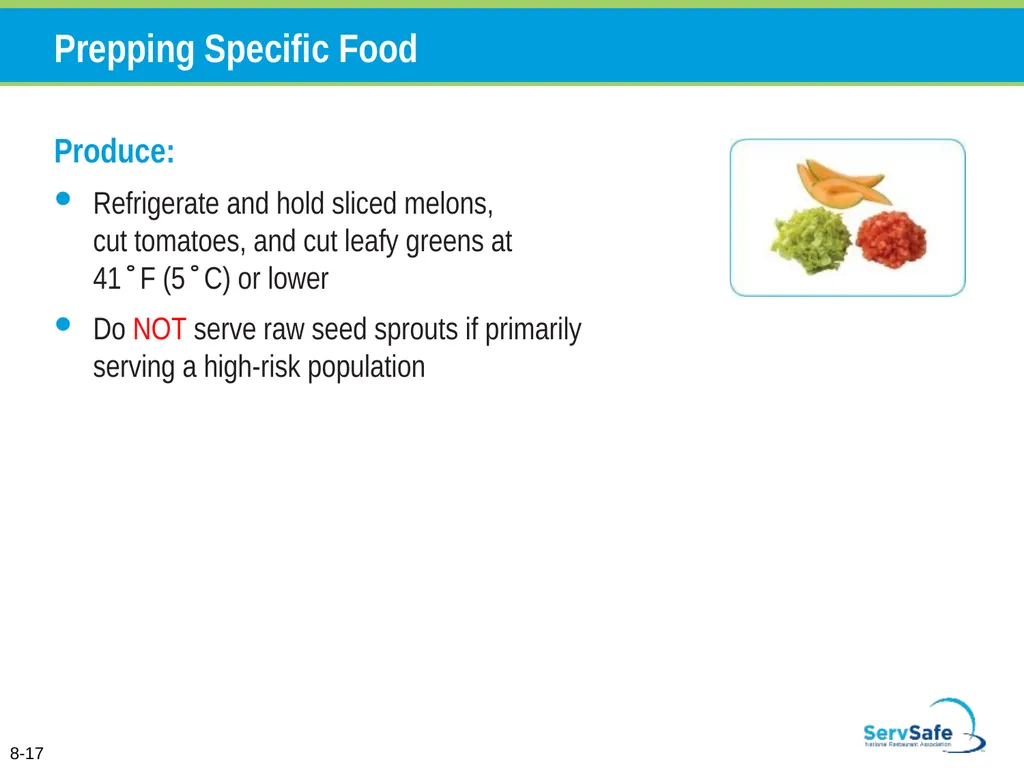
Refrigerate and hold sliced melons, cut tomatoes, and cut leafy greens at 41˚F (5˚C) or lower
Do NOT serve raw seed sprouts if primarily serving a high-risk population 8-17<br>
slide87. Prepping Specific Food Ice:
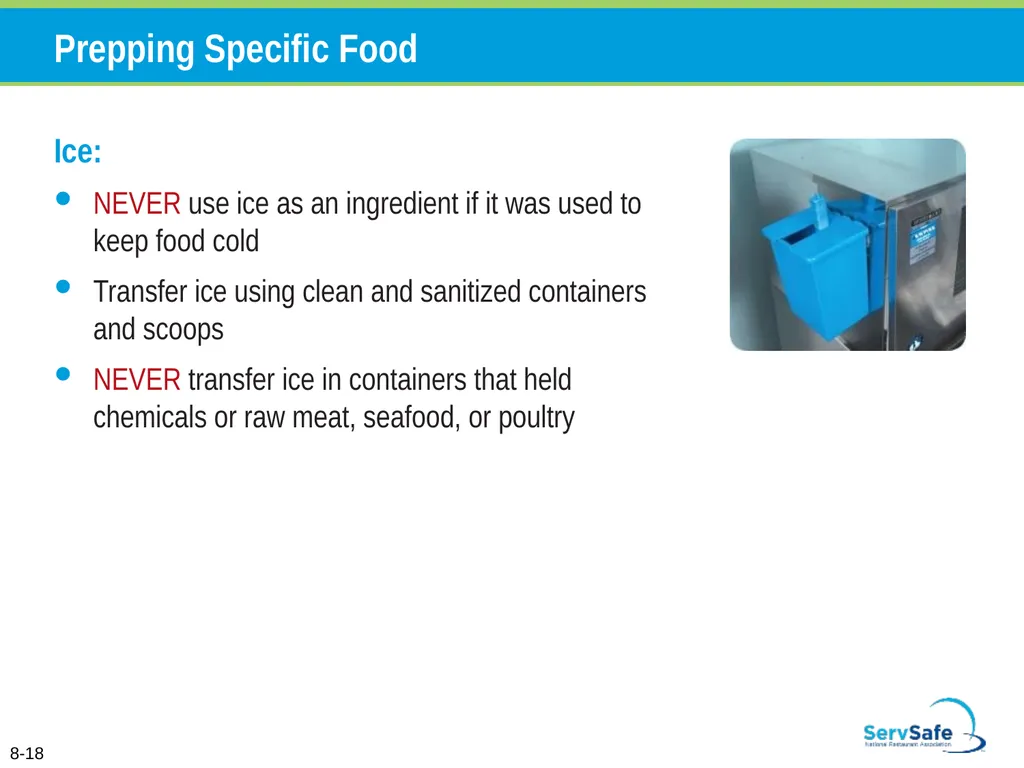
NEVER use ice as an ingredient if it was used to keep food cold
Transfer ice using clean and sanitized containers and scoops
NEVER transfer ice in containers that held chemicals or raw meat, seafood, or poultry 8-18<br>
slide88. Prepping Specific Food Ice:
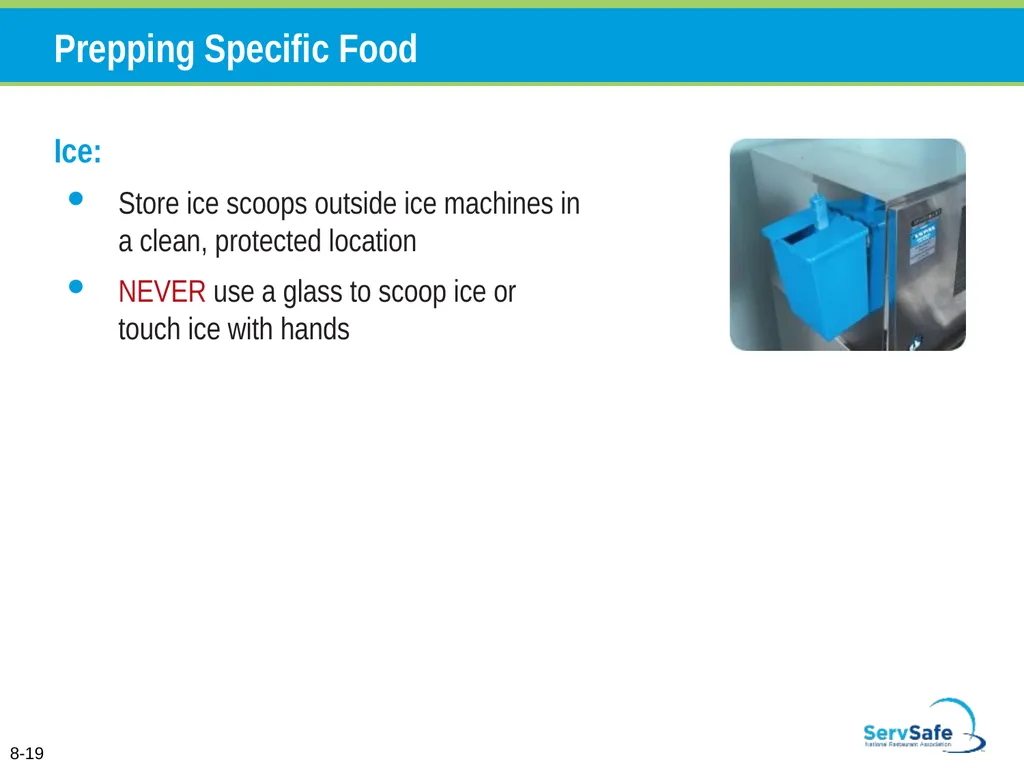
Store ice scoops outside ice machines in a clean, protected location
NEVER use a glass to scoop ice or touch ice with hands 8-19<br>
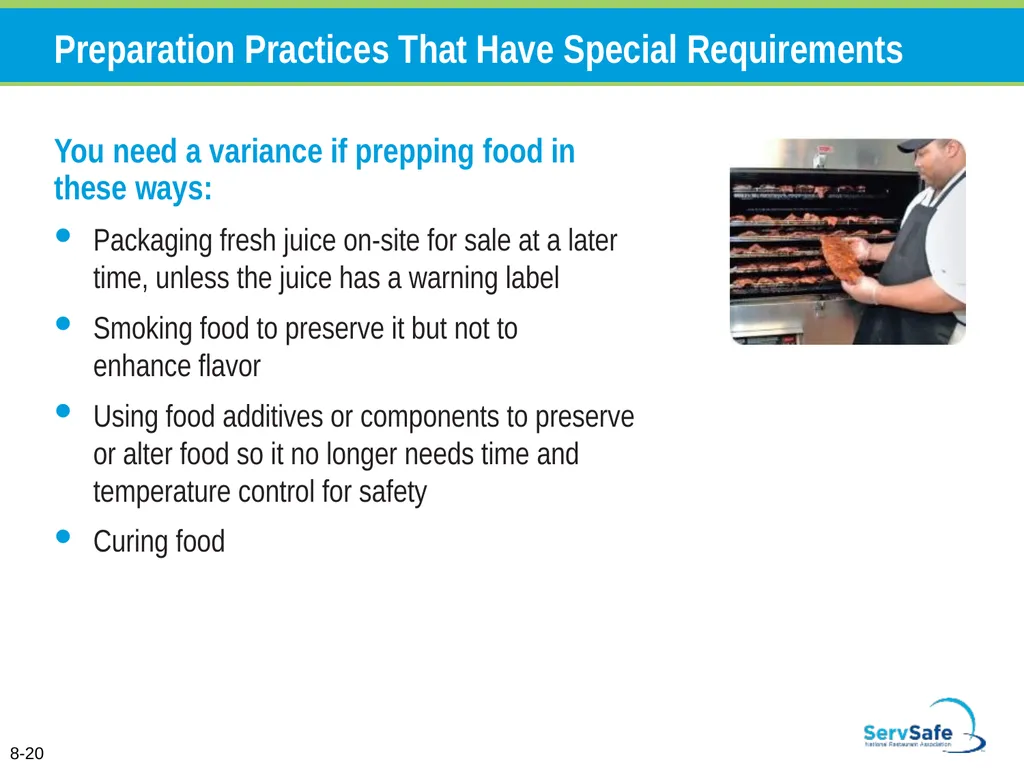
slide89. Preparation Practices That Have Special Requirements You need a variance if prepping food in these ways:
Packaging fresh juice on-site for sale at a later time, unless the juice has a warning label
Smoking food to preserve it but not to enhance flavor
Using food additives or components to preserve or alter food so it no longer needs time and temperature control for safety
Curing food 8-20<br>
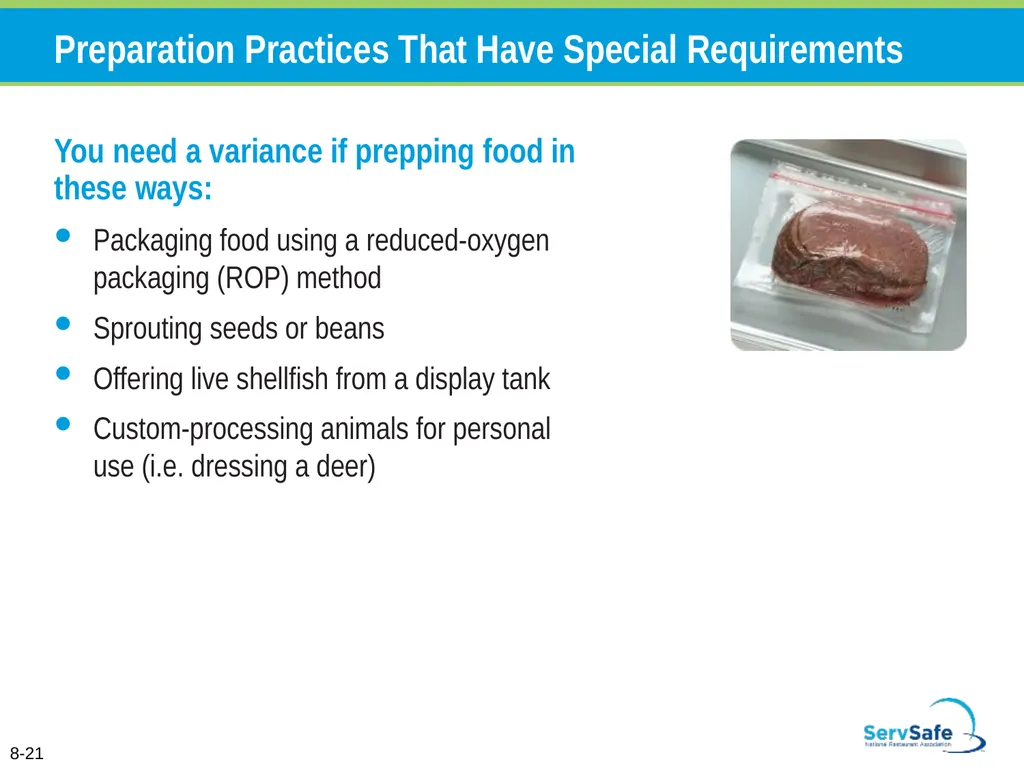
slide90. Preparation Practices That Have Special Requirements You need a variance if prepping food in these ways:
Packaging food using a reduced-oxygen packaging (ROP) method
Sprouting seeds or beans
Offering live shellfish from a display tank
Custom-processing animals for personal use (i.e. dressing a deer) 8-21<br>
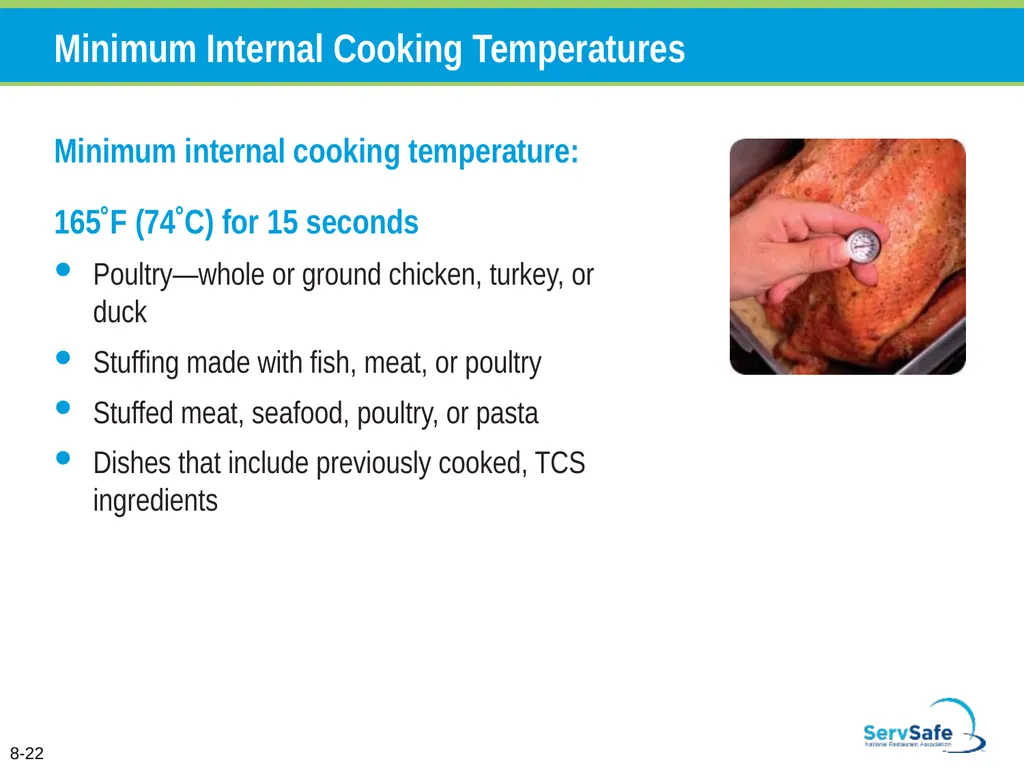
slide91. Minimum Internal Cooking Temperatures Minimum internal cooking temperature:
165˚F (74˚C) for 15 seconds
Poultry—whole or ground chicken, turkey, or duck
Stuffing made with fish, meat, or poultry
Stuffed meat, seafood, poultry, or pasta
Dishes that include previously cooked, TCS ingredients 8-22<br>
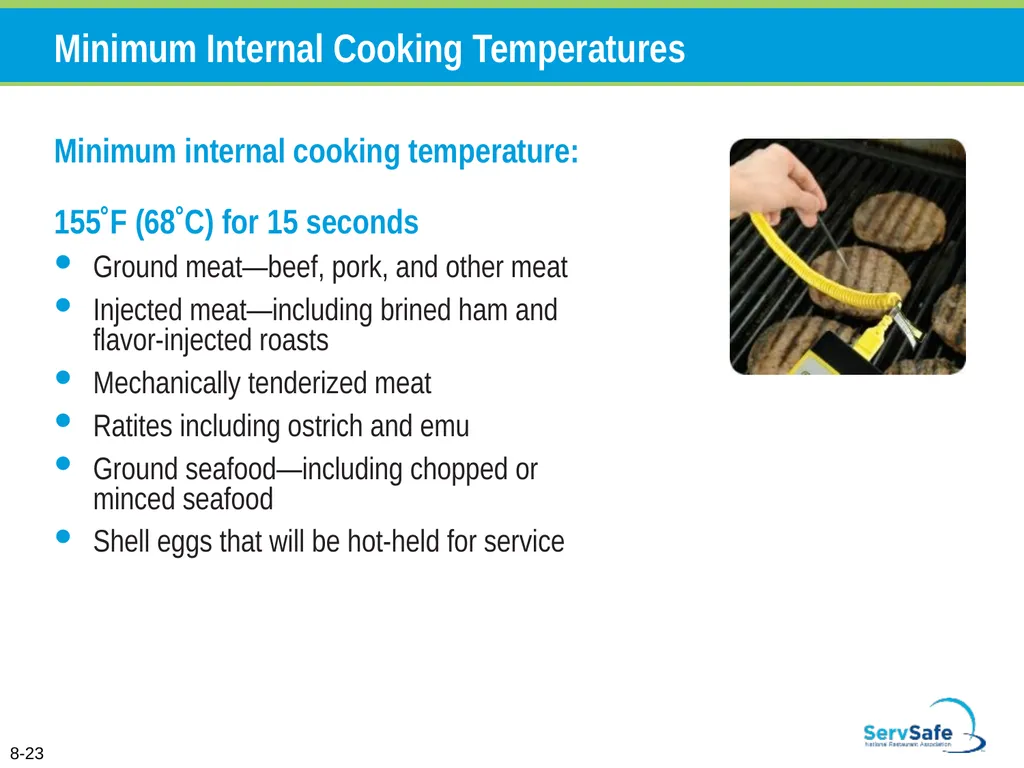
slide92. Minimum Internal Cooking Temperatures Minimum internal cooking temperature:
155˚F (68˚C) for 15 seconds
Ground meat—beef, pork, and other meat
Injected meat—including brined ham and flavor-injected roasts
Mechanically tenderized meat
Ratites including ostrich and emu
Ground seafood—including chopped or minced seafood
Shell eggs that will be hot-held for service 8-23<br>
slide93. Minimum Internal Cooking Temperatures Minimum internal cooking temperature:
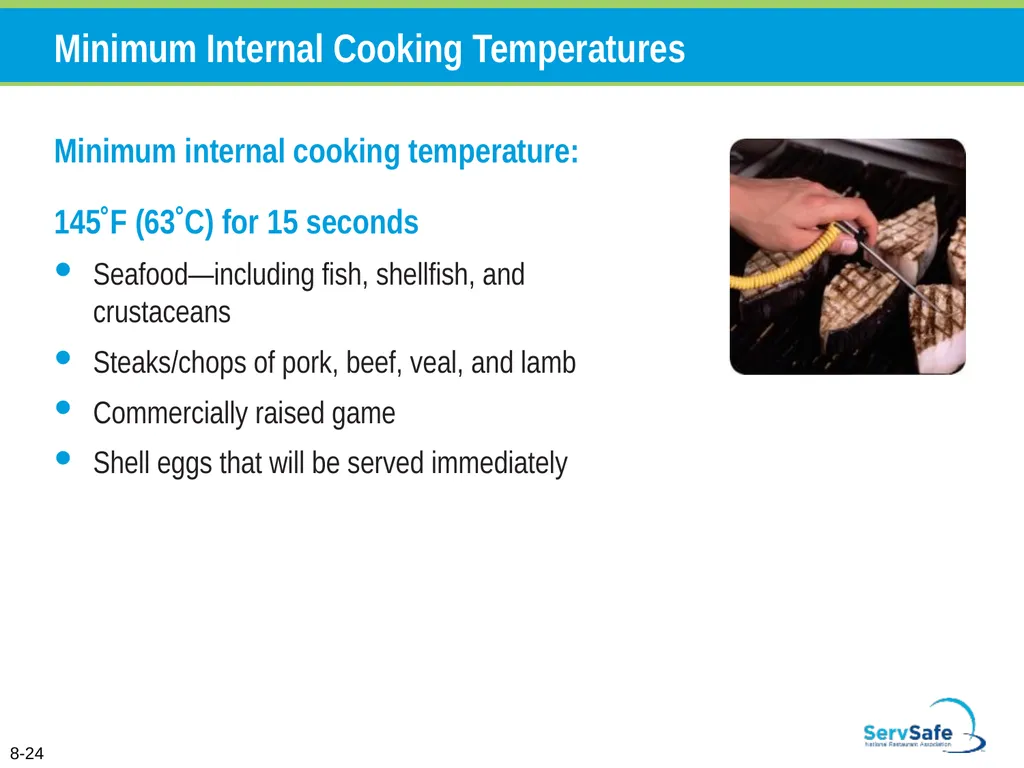
145˚F (63˚C) for 15 seconds
Seafood—including fish, shellfish, and crustaceans
Steaks/chops of pork, beef, veal, and lamb
Commercially raised game
Shell eggs that will be served immediately 8-24<br>
slide94. Minimum Internal Cooking Temperatures Minimum internal cooking temperature:
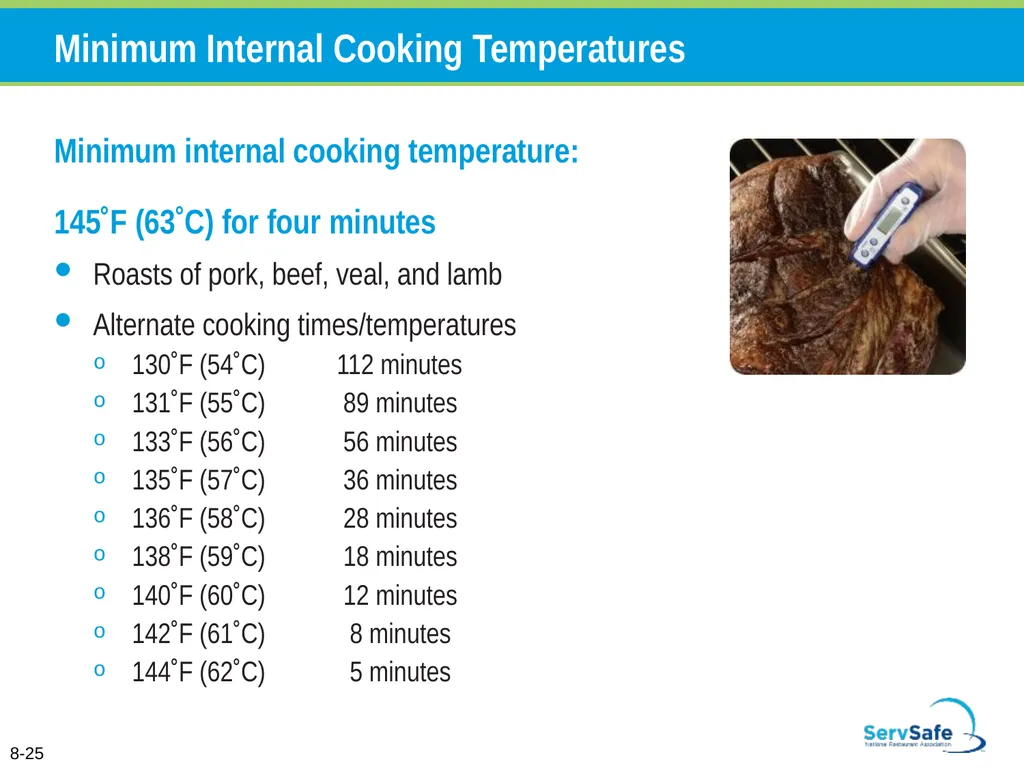
145˚F (63˚C) for four minutes
Roasts of pork, beef, veal, and lamb
Alternate cooking times/temperatures
130˚F (54˚C) 112 minutes
131˚F (55˚C) 89 minutes
133˚F (56˚C) 56 minutes
135˚F (57˚C) 36 minutes
136˚F (58˚C) 28 minutes
138˚F (59˚C) 18 minutes
140˚F (60˚C) 12 minutes
142˚F (61˚C) 8 minutes
144˚F (62˚C) 5 minutes 8-25<br>
slide95. Minimum Internal Cooking Temperatures Minimum internal cooking temperature:
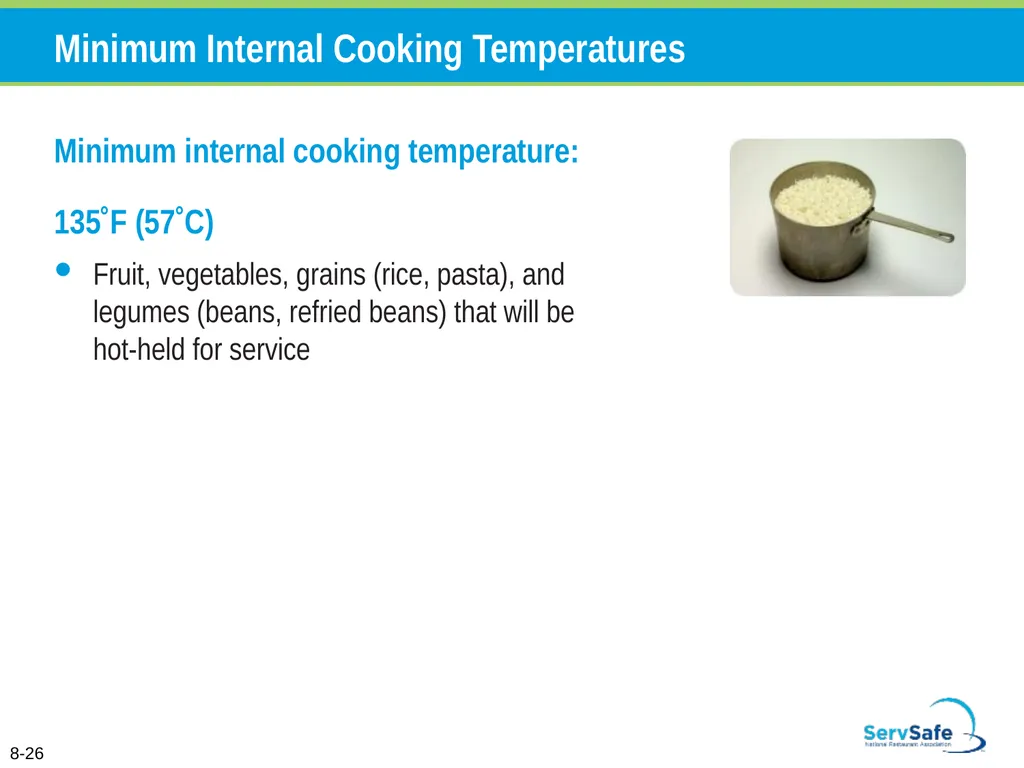
135˚F (57˚C)
Fruit, vegetables, grains (rice, pasta), and legumes (beans, refried beans) that will be hot-held for service 8-26<br>
slide96. Cooking TCS Food in the Microwave Oven Minimum internal cooking temperature:
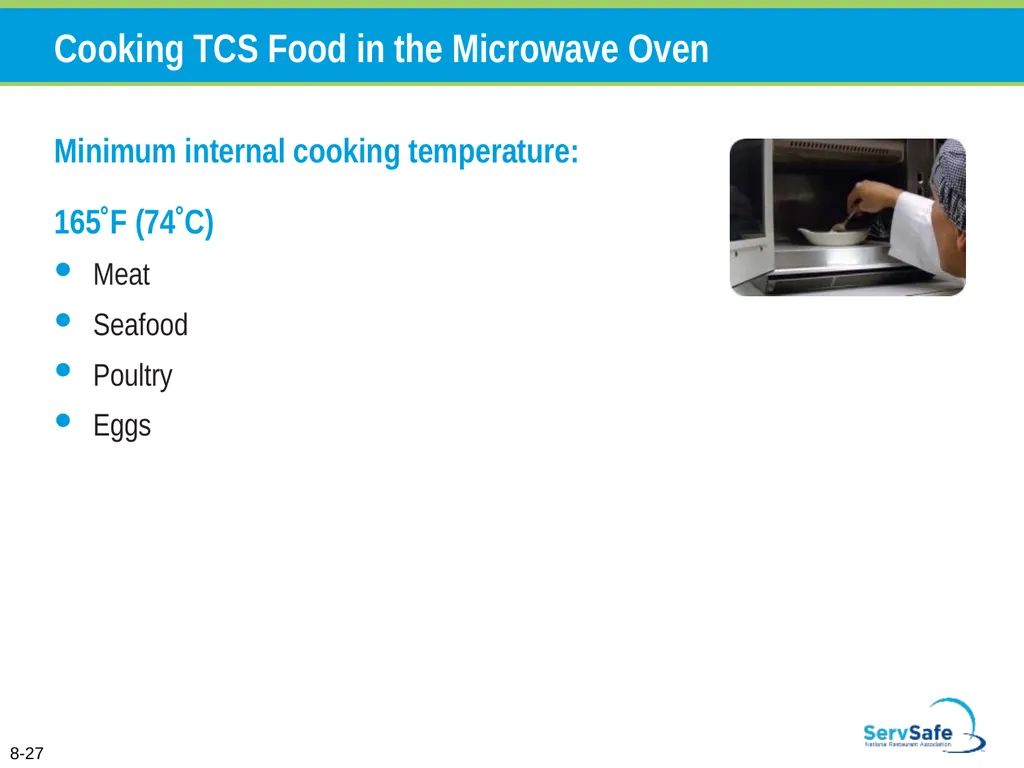
165˚F (74˚C)
Meat
Seafood
Poultry
Eggs 8-27<br>
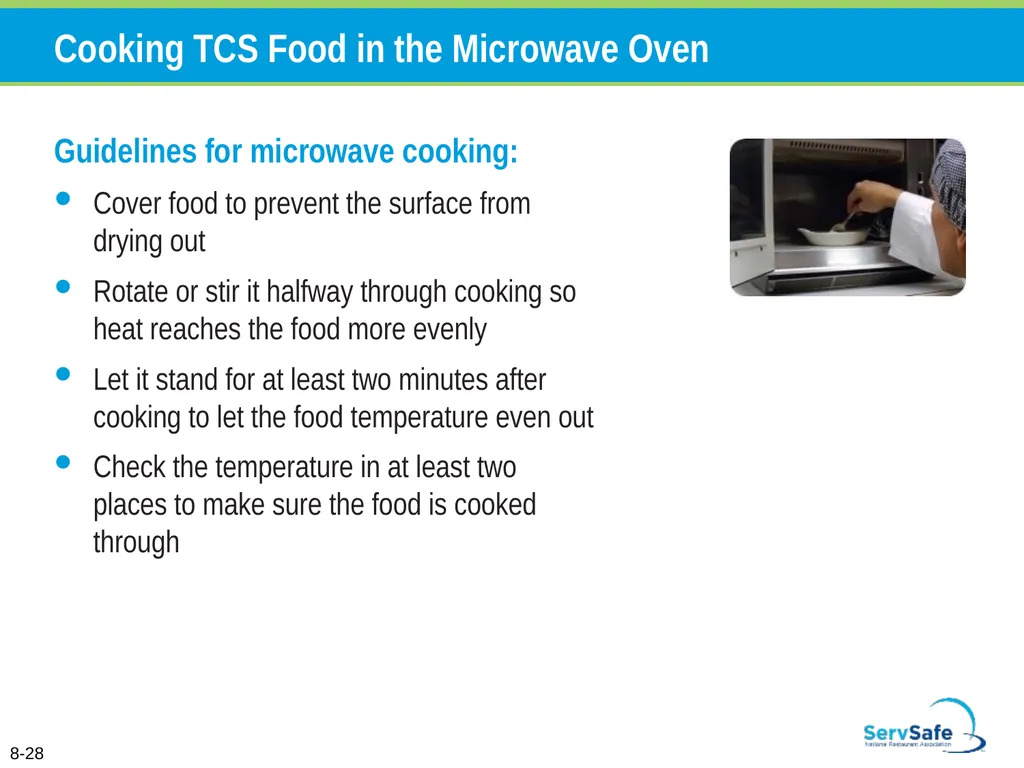
slide97. Cooking TCS Food in the Microwave Oven Guidelines for microwave cooking:
Cover food to prevent the surface from drying out
Rotate or stir it halfway through cooking so heat reaches the food more evenly
Let it stand for at least two minutes after cooking to let the food temperature even out
Check the temperature in at least two places to make sure the food is cooked through 8-28<br>
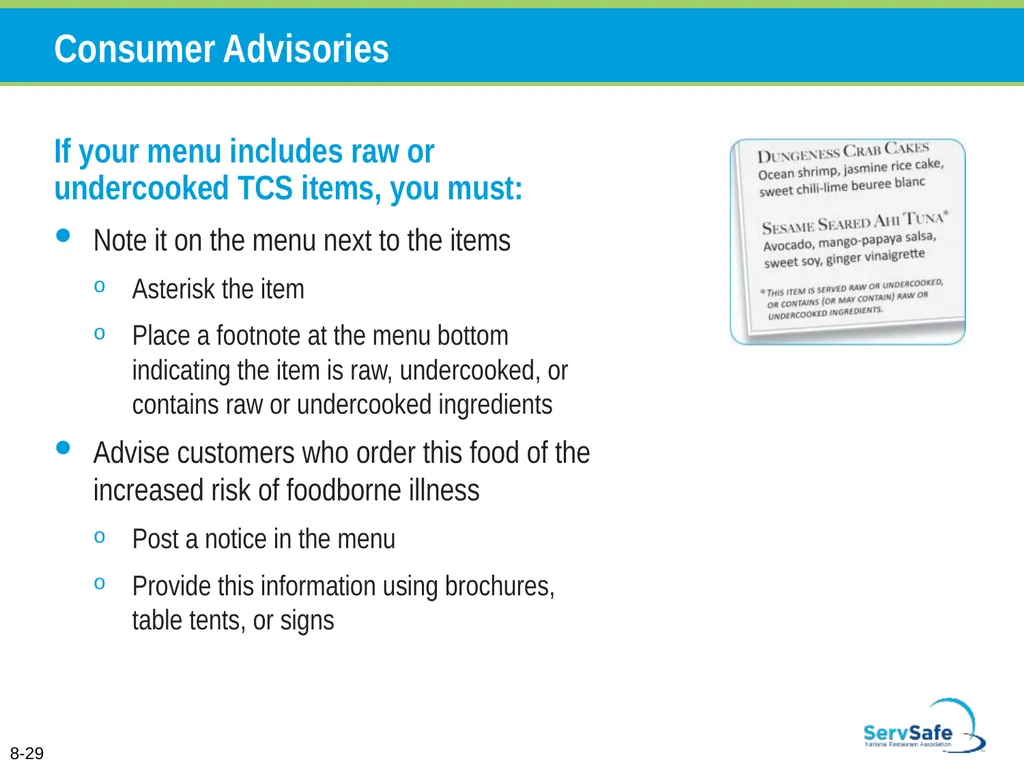
slide98. Consumer Advisories If your menu includes raw or undercooked TCS items, you must:
Note it on the menu next to the items
Asterisk the item
Place a footnote at the menu bottom indicating the item is raw, undercooked, or contains raw or undercooked ingredients
Advise customers who order this food of the increased risk of foodborne illness
Post a notice in the menu
Provide this information using brochures, table tents, or signs 8-29<br>
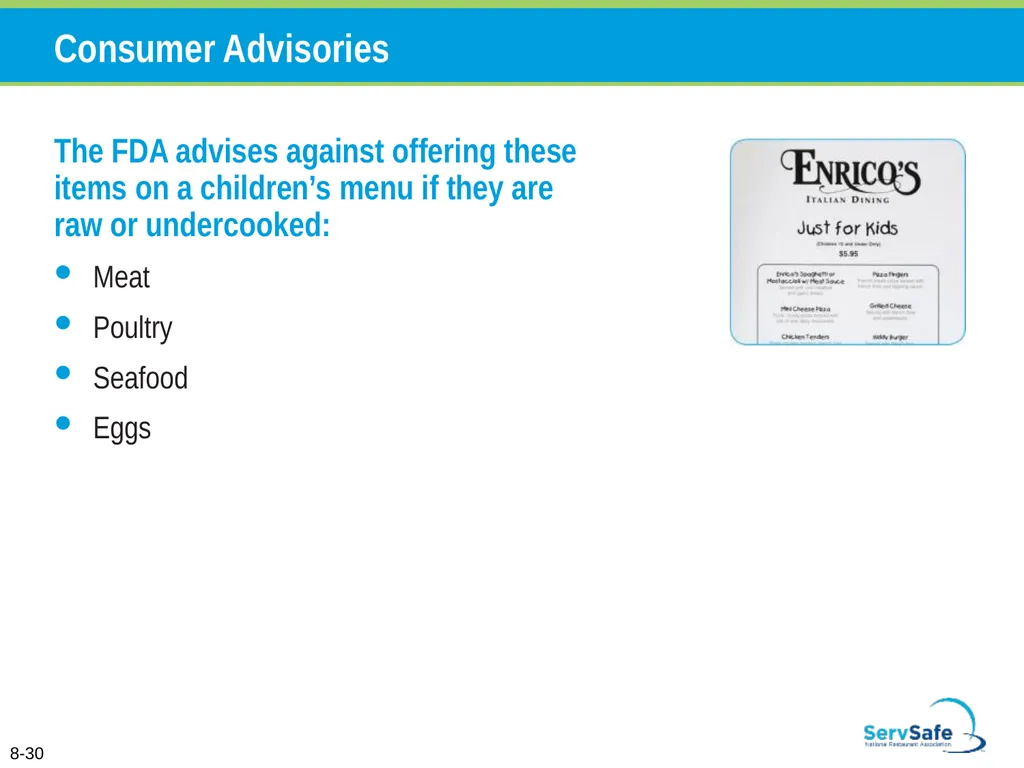
slide99. Consumer Advisories The FDA advises against offering these items on a children’s menu if they are raw or undercooked:
Meat
Poultry
Seafood
Eggs 8-30<br>
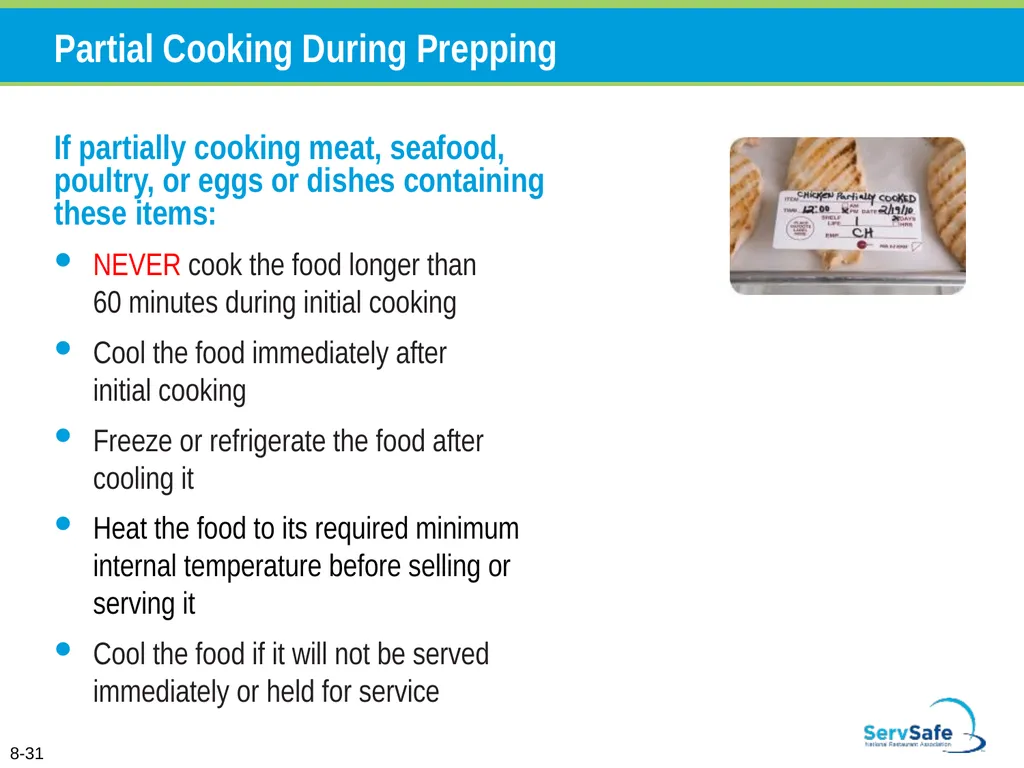
slide100. Partial Cooking During Prepping If partially cooking meat, seafood, poultry, or eggs or dishes containing these items:
NEVER cook the food longer than 60 minutes during initial cooking
Cool the food immediately after initial cooking
Freeze or refrigerate the food after cooling it
Heat the food to its required minimum internal temperature before selling or serving it
Cool the food if it will not be served immediately or held for service 8-31<br>
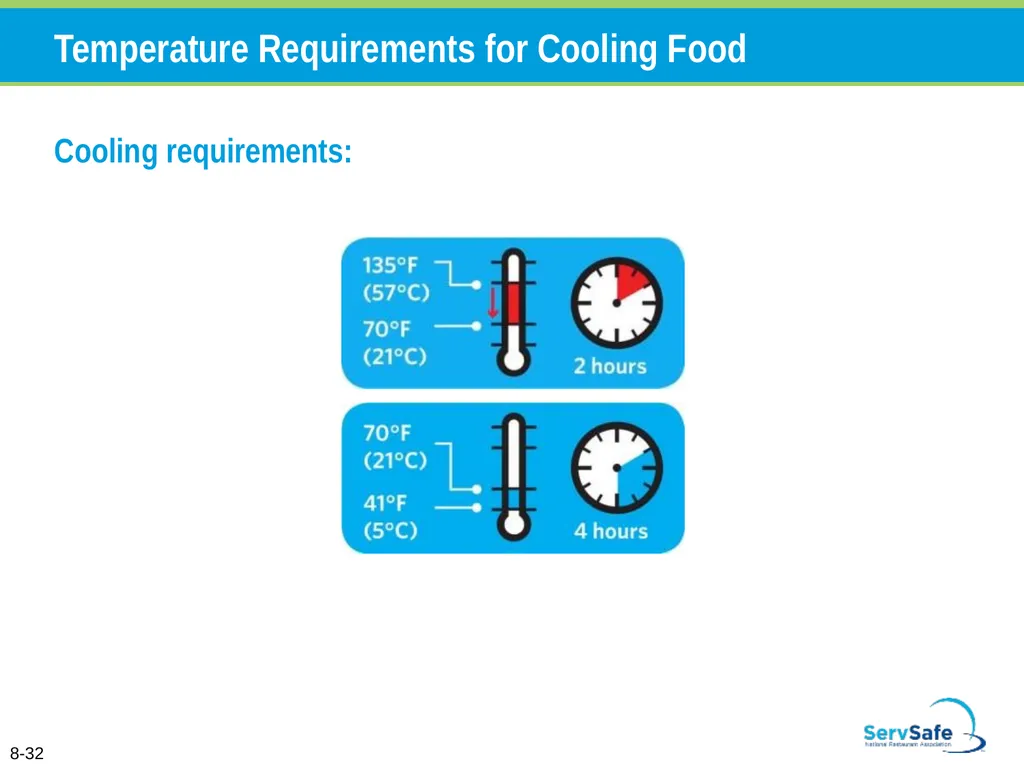
slide101. Temperature Requirements for Cooling Food Cooling requirements: 8-32<br>
slide102. Temperature Requirements for Cooling Food If you cool food from 135˚F to 70˚F (57˚C to 21˚C) in less than two hours:
Use the remaining time to cool it to 41˚F (5˚C) or lower
The total cooling time cannot be longer than six hours
Example:
If you cool food from 135˚F to 70˚F (57˚C to 21˚C) in one hour
Then you have five hours to get the food to 41˚F (5˚C) or lower 8-33<br>
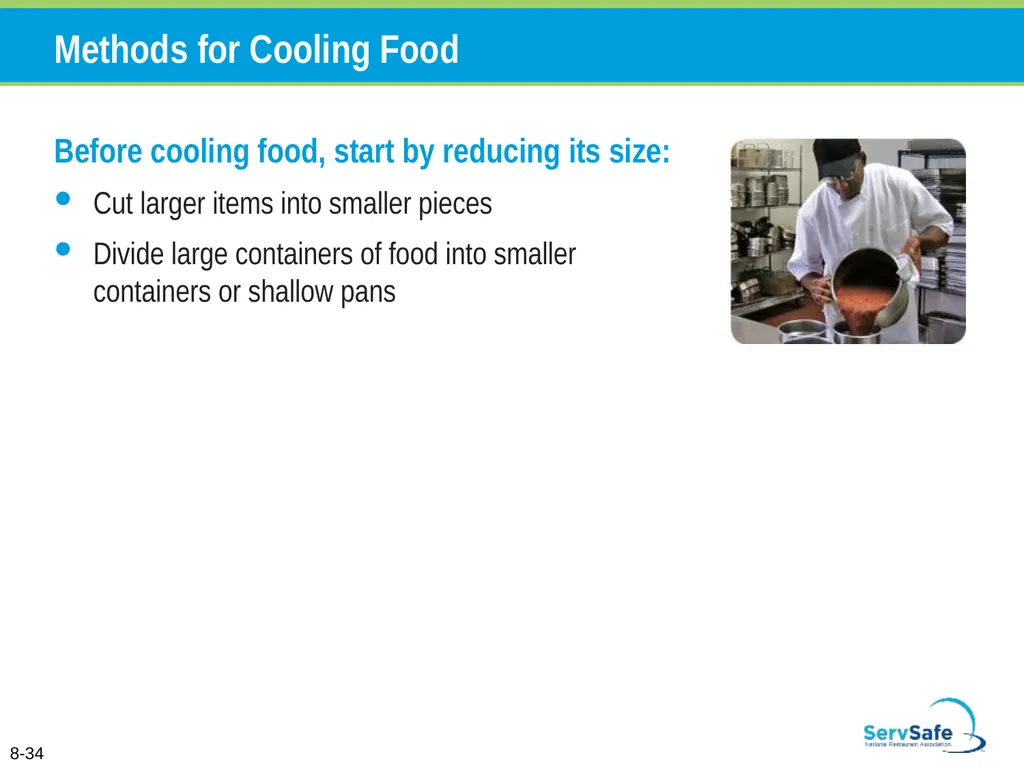
slide103. Methods for Cooling Food Before cooling food, start by reducing its size:
Cut larger items into smaller pieces
Divide large containers of food into smaller containers or shallow pans 8-34<br>
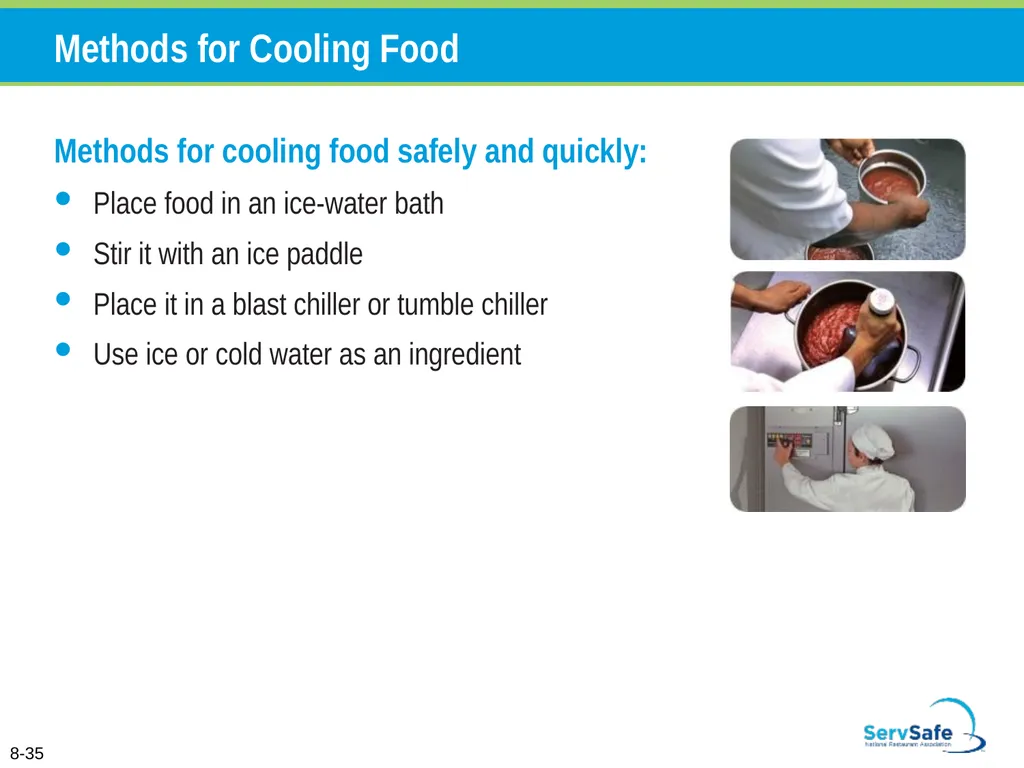
slide104. Methods for Cooling Food Methods for cooling food safely and quickly:
Place food in an ice-water bath
Stir it with an ice paddle
Place it in a blast chiller or tumble chiller
Use ice or cold water as an ingredient 8-35<br>
slide105. When storing food for further cooling:
Loosely cover food containers before storing them
Food can be left uncovered if protected from contamination
Storing uncovered containers above other food, especially raw seafood, meat, and poultry, will help prevent cross-contamination 8-36 Storing Food for Further Cooling<br>
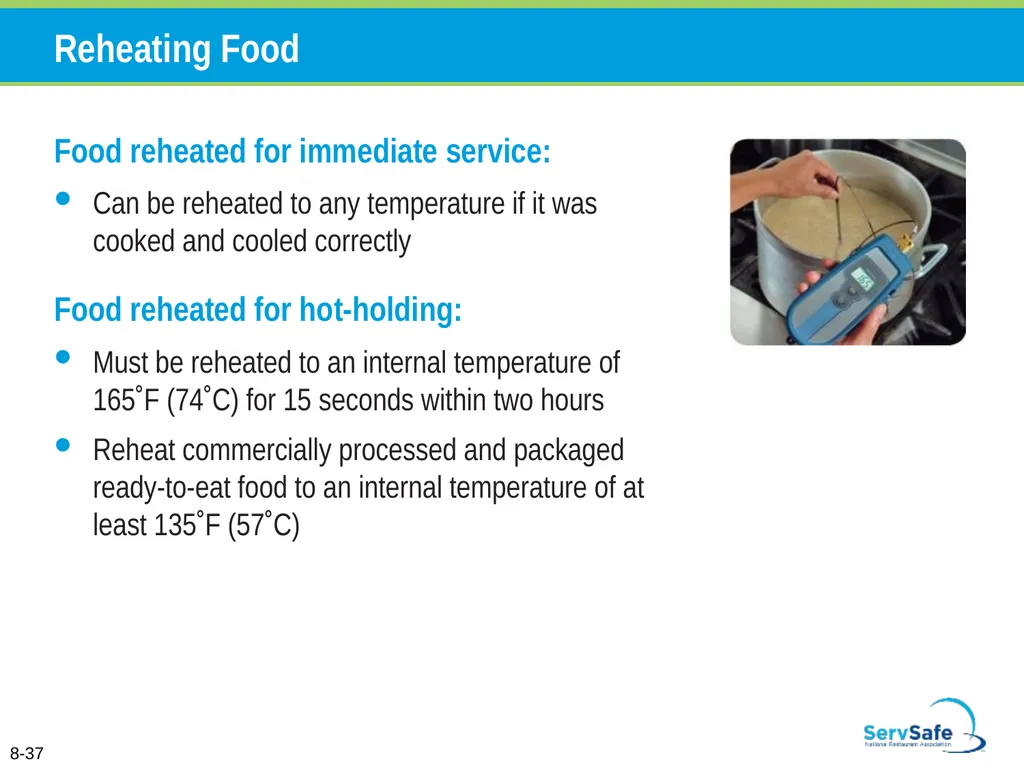
slide106. Food reheated for immediate service:
Can be reheated to any temperature if it was cooked and cooled correctly
Food reheated for hot-holding:
Must be reheated to an internal temperature of 165˚F (74˚C) for 15 seconds within two hours
Reheat commercially processed and packaged ready-to-eat food to an internal temperature of at least 135˚F (57˚C) 8-37 Reheating Food<br>
Establishing specific personal hygiene policies
Training food handlers on personal hygiene policies and retraining them regularly
Modeling correct behavior at all times
Supervising food safety practices
Revising personal hygiene policies when laws or science change 4-2<br>
slide3. How Food Handlers Can Contaminate Food Food handlers can contaminate food when they:
Have a foodborne illness
Have symptoms such as diarrhea, vomiting, or jaundice—a yellowing of the eyes or skin
Have wounds that contain a pathogen
Sneeze or cough
Have contact with a person who is sick
Touch anything that may contaminate their hands and do not wash them 4-3<br>
slide4. How Food Handlers Can Contaminate Food Actions that can contaminate food: A. Scratching the scalp
B. Running fingers through hair
C. Wiping or touching the nose
D. Rubbing an ear E. Touching a pimple or infected wound
F. Wearing a dirty uniform
G. Coughing or sneezing into the hand
H. Spitting in the operation 4-4<br>
slide5. A Good Personal Hygiene Program Good personal hygiene includes:
Following hygienic hand practices
Maintaining personal cleanliness
Wearing clean and appropriate clothing, restraining hair, and removing jewelry
Avoiding unsanitary habits and actions
Maintaining good health
Covering wounds
Reporting health issues 4-5<br>
slide6. How to wash hands (should take at least 20 seconds): Wet hands and arms. Use running water as hot as you can comfortably stand. It should be at least 100˚F (38˚C). 3. Scrub hands and arms vigorously. Scrub them for 10 to 15 seconds. Clean under fingernails and between fingers. 4. Rinse hands and arms thoroughly. Use running warm water. 5. Dry hands and arms. Use a single-use paper towel or hand dryer. Consider using a paper towel to turn off the faucet and open the restroom door. Handwashing 2. Apply soap. Apply enough to build up a good lather. 4-6<br>
slide7. When to Wash Hands Food handlers must wash their hands before they start work and after:
Using the restroom
Handling raw meat, poultry, and seafood (before and after)
Touching the hair, face, or body
Sneezing, coughing, or using a tissue
Eating, drinking, smoking, or chewing gum or tobacco
Handling chemicals that might affect food safety 4-7<br>
slide8. When to Wash Hands Food handlers must wash their hands after:
Taking out garbage
Clearing tables or busing dirty dishes
Touching clothing or aprons
Handling money
Leaving and returning to the kitchen/prep area
Handling service animals or aquatic animals
Touching anything else that may contaminate hands 4-8<br>
slide9. Hand Antiseptics Hand antiseptics:
Liquids or gels used to lower the number of pathogens on skin
Must comply with the CFR and FDA standards
Should be used only after handwashing
Must NEVER be used in place of handwashing
Should be allowed to dry before touching food or equipment 4-9<br>
slide10. Hand Care Requirements for food handlers: Keep fingernails short and clean Do NOT wear nail polish Do NOT wear false nails 4-10<br>
slide11. Hand Care Infected wounds or cuts:
Contain pus
Must be covered to prevent pathogens from contaminating food and food-contact surfaces
How a wound is covered depends on where it is located:
Cover wounds on the hand or wrist with an impermeable cover, (i.e. bandage or finger cot) and then a single-use glove
Cover wounds on the arm with an impermeable cover, such as a bandage
Cover wounds on other parts of the body with a dry, tight-fitting bandage 4-11<br>
slide12. Bare-Hand Contact with Ready-to-Eat Food Bare-hand contact with ready-to-eat food must be avoided except when:
The food is an ingredient in a dish that does not contain raw meat, seafood, or poultry
The dish will be cooked to at least 145˚F (63˚C)
The food is an ingredient in a dish containing raw meat, seafood, or poultry
The dish will be cooked to the required minimum internal temperature of the raw item(s)
NEVER handle ready-to-eat food with bare hands when you primarily serve a high-risk population 4-12<br>
slide13. Single-Use Gloves Single-use gloves:
Should be used when handling ready-to-eat food
Except when washing produce
Except when handling ready-to-eat ingredients for a dish that will be cooked
Must NEVER be used in place of handwashing
Must NEVER be washed and reused
Must fit correctly 4-13<br>
slide14. Single-Use Gloves How to use gloves:
Wash and dry hands before putting gloves on when starting a new task
Choose the correct glove size
Hold gloves by the edge when putting them on
Once gloves are on, check for rips or tears
Do NOT blow into gloves
Do NOT roll gloves to make them easier to put on 4-14<br>
slide15. Single-Use Gloves When to change gloves:
As soon as they become dirty or torn
Before beginning a different task
After an interruption, such as taking a phone call
After handling raw meat, seafood, or poultry and before handling ready-to-eat food 4-15<br>
slide16. Correct Work Attire Food handlers must:
Wear a clean hat or other hair restraint
Wear clean clothing daily
Remove aprons when leaving food-preparation areas
Remove jewelry from hands and arms before prepping food or when working around prep areas 4-16<br>
slide17. Eating, Drinking, Smoking, and Chewing Gum or Tobacco Food handlers must not:
Eat, drink, smoke, or chew gum or tobacco
When:
Prepping or serving food
Working in prep areas
Working in areas used to clean utensils and equipment 4-17<br>
slide18. Reporting Health Issues If:
The food handler has a sore throat with a fever
Then:
Restrict the food handler from working with or around food
Exclude the food handler from the operation if you primarily serve a high-risk population
A written release from a medical practitioner is required before returning to work 4-18<br>
slide19. 4-19 If:
The food handler has at least one of these symptoms
Vomiting
Diarrhea
Then:
Exclude the food handler from the operation
Before returning to work, food handlers who vomited or had diarrhea must meet one of these requirements
Have had no symptoms for at least 24 hours
Have a written release from a medical practitioner Reporting Health Issues<br>
slide20. If:
The food handler has jaundice
Then:
Report the food handler to the regulatory authority
Exclude food handlers from the operation if they have jaundice for seven days or less
Food handlers must have a written release from a medical practitioner and approval from the regulatory authority before returning to work 4-20 Reporting Health Issues<br>
slide21. 4-21 Reporting Health Issues If:
The food handler is vomiting or has diarrhea and has been diagnosed with an illness caused by one of these pathogens
Nontyphoidal Salmonella
Shiga toxin-producing E. coli
Norovirus
Shigella spp.
Then:
Exclude the food handler from the operation
Work with the food handler’s medical practitioner and/or the local regulatory authority to decide when the person can go back to work<br>
slide22. Handling Staff Illnesses If:
The food handler has been diagnosed with an illness caused by one of these pathogens
Hepatitis A
Salmonella Typhi
Then:
Exclude the food handler from the operation
Work with the food handler’s medical practitioner and/or the local regulatory authority to decide when the person can go back to work 4-22<br>
slide24. The Flow of Food To keep food safe throughout the flow of food:
Prevent cross-contamination
Prevent time-temperature abuse 5-2<br>
slide25. Cross-Contamination Separate equipment:
Use separate equipment for each type of food
Clean and sanitize:
Clean and sanitize all work surfaces, equipment, and utensils after each task 5-3<br>
slide26. Cross-Contamination Prep food at different times:
Prepare raw meat, fish, and poultry at different times than ready-to-eat food (when using the same prep table)
Buy prepared food:
Buy food items that do not require much prepping or handling 5-4<br>
slide27. Avoiding Time-Temperature Abuse Time-temperature control:
Food held in the range of 41°F and 135°F (5°C and 57°C) has been time-temperature abused
Food has been time-temperature abused whenever it is handled in the following ways
Cooked to the wrong internal temperature
Held at the wrong temperature
Cooked or reheated incorrectly 5-5<br>
slide28. Avoiding Time-Temperature Abuse Avoid time-temperature abuse:
Monitor time and temperature
Make sure the correct kinds of thermometers are available
Regularly record temperatures and the times they are taken
Minimize the time that food spends in the temperature danger zone
Take corrective actions if time-temperature standards are not met 5-6<br>
slide29. Choosing the Correct Thermometer Bimetallic stemmed thermometer 5-7<br>
slide30. Choosing the Correct Thermometer Thermocouples and thermistors:
Measure temperature through a metal probe
Display temperatures digitally
Come with interchangeable probes
Immersion probe
Surface probe
Penetration probe
Air probe
Have a sensing area on the tip of their probe 5-8<br>
slide31. Choosing the Correct Thermometer Infrared (laser) thermometers:
Used to measure the surface temperature of food and equipment
Hold as close to the food or equipment as possible
Remove anything between the thermometer and the food, food package, or equipment
Follow manufacturers’ guidelines 5-9<br>
slide32. Choosing the Correct Thermometer Time-temperature indicators (TTI):
Monitor both time and temperature
Are attached to packages by the supplier
A color change appears on the device when time-temperature abuse has occurred
Maximum registering thermometer:
Indicates the highest temperature reached during use
Used where temperature readings cannot be continuously observed 5-10<br>
slide33. How to Calibrate Thermometers Calibration:
Adjusting a thermometer to get a correct reading
Two methods:
Ice-point method
Boiling-point method 5-11<br>
slide34. How to Calibrate Thermometers Boiling-point method: 1. Bring tap water to a boil in a deep pan. 2. Put the thermometer stem or probe into the water. 3. Adjust the thermometer so it reads 212˚F (100˚C). Note: Boiling point of water varies based on elevation 5-12<br>
slide35. How to Calibrate Thermometers Ice-point method: 5-13 1. Fill a large container with crushed ice and water. 2. Put the thermometer stem or probe into the water. 3. Adjust the thermometer so it reads 32˚F (0˚C).<br>
slide36. General Thermometer Guidelines When using thermometers:
Wash, rinse, sanitize, and air-dry thermometers before and after using them
Calibrate them before each shift to ensure accuracy
Make sure thermometers used to measure the temperature of food are accurate to +/- 2˚F or +/- 1˚C
Only use glass thermometers if they are enclosed in a shatterproof casing 5-14<br>
slide37. General Thermometer Guidelines When using thermometers:
Insert the thermometer stem or probe into thickest part of the product (usually the center)
Take another reading in a different spot
Wait for the thermometer reading to steady before recording the temperature 5-15<br>
slide39. General Purchasing and Receiving Principles Purchase food from approved, reputable suppliers:
Have been inspected and can show an inspection report
Meet applicable local, state, and federal laws
Arrange deliveries so they arrive:
When staff has enough time to do inspections
When they can be correctly received 6-2<br>
slide40. Receiving Considerations Receiving principles:
Make specific staff responsible for receiving
Train them to look for
Correct temperatures
Expired code dates
Signs of thawing and refreezing
Pest damage
Allow them to accept, reject, and sign for deliveries
Plan ahead for shipments 6-3<br>
slide41. Receiving Considerations Receiving principles:
During the inspection
Visually inspect truck for signs of contamination
Check for damaged food
Sample temperatures
Inspect and store each delivery before inspecting another 6-4<br>
slide42. Receiving Considerations Key drop deliveries:
Supplier is given after-hours access to the operation to make deliveries
Deliveries must meet the following criteria
Be inspected upon arrival at the operation
Be from an approved source
Have been placed in the correct storage location to maintain the required temperature
Have been protected from contamination in storage
Are NOT contaminated
Be honestly presented 6-5<br>
slide43. Receiving and Inspecting Rejecting deliveries:
Separate rejected items from accepted items
Tell the delivery person what is wrong with the item
Get a signed adjustment or credit slip before giving the rejected item to the delivery person
Log the incident on the invoice or receiving document 6-6<br>
slide44. Receiving and Inspecting Recalls:
Identify the recalled food items
Remove the item from inventory, and place it in a secure and appropriate location
Store the item separately from food, utensils, equipment, linens, and single-use items
Label the item in a way that will prevent it from being placed back in inventory
Inform staff not to use the product
Refer to the vendor’s notification or recall notice to determine what to do with the item 6-7<br>
slide45. 6-8 General Inspection Guidelines Checking the temperature of meat, poultry, and fish:
Insert the thermometer stem or probe into the thickest part of the food (usually the center)<br>
slide46. 6-9 Checking the temperature of reduced-oxygen packaged (ROP) food and bulk food:
Insert the thermometer stem or probe between two packages
As an alternative, fold packaging around the thermometer stem or probe
Be careful not to puncture the packaging General Inspection Guidelines<br>
slide47. 6-10 Checking the temperature of other packaged food:
Open the package and insert the thermometer stem or probe into the food
Fully immerse the sensing area in the item
Do not touch the package with the stem or probe General Inspection Guidelines<br>
slide48. Receiving temperature requirements: General Inspection Guidelines 6-11<br>
slide49. Receiving temperature requirements: General Inspection Guidelines 6-12<br>
slide50. Receiving and Inspecting Reject packaged items with:
Tears, holes, or punctures in packaging; reject cans with swollen ends, rust, or dents
Bloating or leaking (ROP food)
Broken cartons or seals
Dirty and discolored packaging
Leaks, dampness, or water stains
Signs of pests or pest damage
Expired use-by/expiration dates
Evidence of tampering 6-13<br>
slide51. Receiving and Inspecting Required documents:
Shellfish must be received with shellstock identification tags
Tags indicate when and where the shellfish were harvested
Must be kept on file for 90 days from the date the last shellfish was used from its delivery container 6-14<br>
slide52. Receiving and Inspecting Required documents:
Fish that will be eaten raw or partially cooked
Documentation must show the fish was correctly frozen before being received
Keep documents for 90 days from the sale of the fish
Farm raised fish
Must have documentation stating the fish was raised to FDA standards
Keep documents for 90 days from the sale of the fish 6-15<br>
slide53. Inspection and Grading Stamps Products requiring inspection stamps:
Meat and poultry
Packaging must have a USDA or state department of agriculture stamp
Stamp indicates product and processing plant have met certain standards
Egg products
Liquid, frozen, and dehydrated eggs must also have a USDA inspection mark
Grading stamps:
Voluntary
Paid for by processors and packers 6-16<br>
slide54. Receiving and Inspecting Assessing food quality:
Appearance: Reject food that is moldy or has an abnormal color
Texture: Reject meat, fish, or poultry if
It is slimy, sticky, or dry
It has soft flesh that leaves an imprint when touched
Odor: Reject food with an abnormal or unpleasant odor 6-17<br>
slide56. Labeling Labeling food for use on-site:
All items not in their original containers must be labeled
Food labels should include the common name of the food or a statement that clearly and accurately identifies it
It is not necessary to label food if it clearly will not be mistaken for another item 7-2<br>
slide57. Labeling Labeling food packaged on-site for retail sale:
Common name of the food or a statement clearly identifying it
Quantity of the food
If the item contains two or more ingredients, list the ingredients and sub-ingredients in descending order by weight
List of artificial colors and flavors in the food including chemical preservatives
Name and place of business of the manufacturer, packer, or distributor
Source of each major food allergen contained in the food 7-3<br>
slide58. Date Marking Date marking:
Ready-to-eat TCS food must be marked if held for longer than 24 hours
Date mark must indicate when the food must be sold, eaten, or thrown out 7-4<br>
slide59. Date Marking Date marking:
Ready-to-eat TCS food can be stored for only seven days if it is held at 41˚F (5˚C) or lower
The count begins on the day that the food was prepared or a commercial container was opened
For example, potato salad prepared and stored on October 1 would have a discard date of October 7 on the label
Some operations write the day or date the food was prepared on the label; others write the use-by day or date on the label 7-5<br>
slide60. Date Marking Commercially processed food:
If
A commercially processed food has a use-by date that is less than seven days from the date the container was opened
Then
The container should be marked with this use-by date as long as the date is based on food safety 7-6<br>
slide61. Date Marking Combining food:
When combining food in a dish with different use-by dates, the discard date of the dish should be based on the earliest prepared food
Consider a shrimp and sausage jambalaya prepared on December 4
The shrimp has a use-by date of December 8
The sausage has a use-by date of December 10
The use-by date of the jambalaya is December 8 7-7<br>
slide62. Rotation Rotate food to use the oldest inventory first:
One way to rotate products is to follow FIFO
Identify the food item’s use-by or expiration date
Store items with the earliest use-by or expiration dates in front of items with later dates
Once shelved, use those items stored in front first
Throw out food that has passed its manufacturer’s use-by or expiration date 7-8<br>
slide63. Temperatures Temperature guidelines:
Store TCS food at an internal temperature of 41˚F (5˚C) or lower, or 135˚F (57˚C) or higher
Store frozen food at temperatures that keep it frozen
Make sure storage units have at least one air temperature measuring device; it must be accurate to +/- 3˚F or +/- 1.5˚C
Place the device in the warmest part of refrigerated units, and the coldest part of hot-holding units 7-9<br>
slide64. Temperatures Temperatures guidelines:
Do not overload coolers or freezers
Prevents airflow
Makes units work harder to stay cold
Use open shelving
Do not line shelves as this restricts airflow 7-10<br>
slide65. Storage Location Food should be stored in a clean, dry location away from dust and other contaminants:
To prevent contamination, NEVER store food in these areas
Locker rooms or dressing rooms
Restrooms or garbage rooms
Mechanical rooms
Under unshielded sewer lines or leaking water lines
Under stairwells 7-11<br>
slide66. Preventing Cross-Contamination Supplies:
Store all items in designated storage areas
Store items away from walls and at least six inches (15 centimeters) off the floor
Store single-use items (e.g., sleeve of single-use cups, single-use gloves) in original packaging 7-12<br>
slide67. Preventing Cross-Contamination Containers:
Store food in containers intended for food
Use containers that are durable, leak proof, and able to be sealed or covered
NEVER use empty food containers to store chemicals; NEVER put food in empty chemical containers 7-13<br>
slide68. Preventing Cross-Contamination Cleaning:
Keep all storage areas clean and dry
Clean up spills and leaks immediately
Clean dollies, carts, transporters, and trays often
Store food in containers that have been cleaned and sanitized
Store dirty linens in clean, nonabsorbent containers or washable laundry bags 7-14<br>
slide69. Preventing Cross-Contamination Storage order:
Store food items in the following top-to-bottom order
Ready-to-eat food
Seafood
Whole cuts of beef and pork
Ground meat and ground fish
Whole and ground poultry
This storage order is based on the minimum internal cooking temperature of each food 7-15<br>
slide71. General Preparation Practices When prepping food:
Make sure workstations, cutting boards, and utensils are clean and sanitized
Only remove as much food from the cooler as you can prep in a short period of time
This limits time-temperature abuse
Return prepped food to the cooler or cook it as quickly as possible 8-2<br>
slide72. General Preparation Practices Food and color additives:
Only use additives approved by your local regulatory authority
NEVER use more additives than are allowed by law
NEVER use additives to alter the appearance of food
Do NOT sell produce treated with sulfites before it was received in the operation
Do NOT add sulfites to produce that will be eaten raw 8-3<br>
slide73. General Preparation Practices Present food honestly:
Do NOT use the following to misrepresent the appearance of food
Food additives or color additives
Colored overwraps
Lights
Food not presented honestly must be thrown out 8-4<br>
slide74. General Preparation Practices Corrective actions:
Food must be thrown out in the following situations
When it is handled by staff who have been restricted or excluded from the operation due to illness
When it is contaminated by hands or bodily fluids from the nose or mouth
When it has exceeded the time and temperature requirements designed to keep food safe 8-5<br>
slide75. Thawing Four methods for thawing food:
Thaw food in a cooler, keeping its temperature at 41˚F (5˚C) or lower
Submerge food under running drinkable water at 70˚F (21˚C) or lower
Never let the temperature of the food go above 41˚F (5˚C) or lower for longer than four hours
Thaw food in a microwave, only if cooked immediately after thawing
Thaw as part of the cooking process 8-6<br>
slide76. Thawing ROP Fish Frozen fish received in ROP packaging must be thawed carefully.
If the label states that the product must remain frozen until use, then remove fish from packaging:
Before thawing under refrigeration.
Before or immediately after thawing under running water. 8-7<br>
slide77. Prepping Specific Food When prepping meat, seafood, poultry:
Use clean and sanitized work areas, cutting boards, knives, and utensils
Prep these items separately or at different times from produce
Remove only as much product as can be prepped at one time
Return raw product to the cooler as quickly as possible after prepping it 8-8<br>
slide78. Prepping Specific Food When prepping salads containing TCS food:
Prep the food in small batches
Make sure leftover TCS ingredients (i.e., pasta, chicken, potatoes) have been handled safely by ensuring that they were
Cooked, held, and cooled correctly
Stored for less than seven days at 41˚F (5˚C) or lower 8-9<br>
slide79. Prepping Specific Food When prepping salads containing TCS food:
Consider chilling ingredients and utensils before use
Leave food in the cooler until all ingredients will be mixed 8-10<br>
slide80. Prepping Specific Food When prepping eggs and egg mixtures:
Handle pooled eggs (if allowed) with care
Cook promptly after mixing or store at 41˚F (5˚C) or lower
Wash and sanitize containers between batches
Consider using pasteurized shell eggs or egg products when prepping dishes that need little or no cooking
Promptly clean and sanitize equipment used to prep eggs 8-11<br>
slide81. Prepping Specific Food When prepping eggs for high-risk populations:
Use pasteurized eggs or egg products when serving raw or undercooked dishes
Unpasteurized shell eggs can be used if the dish will be cooked all the way through (i.e., omelets, cakes)
Use pasteurized shell eggs if eggs will be pooled 8-12<br>
slide82. Prepping Specific Food When prepping breaded or battered food:
Prep batter in small batches
Store unused batter as quickly as possible
Throw out unused batter or breading after a set amount of time
Do not overload fryer baskets; make sure items are cooked all of the way through 8-13<br>
slide83. Prepping Specific Food To package fresh juice for later sale:
The juice must be treated (e.g., pasteurized) according to an approved HACCP plan
As an alternative, the juice must be labeled as specified by federal regulation 8-14<br>
slide84. Prepping Specific Food Produce:
Make sure produce does not touch surfaces exposed to raw meat, seafood, or poultry
Wash it thoroughly under running water before
Cutting
Cooking
Combining with other ingredients 8-15<br>
slide85. Prepping Specific Food Produce:
Produce can be washed in water containing ozone to sanitize it
Check with your local regulatory authority
When soaking or storing produce in standing water or an ice-water slurry, do NOT mix
Different items
Multiple batches of the same item 8-16<br>
slide86. Prepping Specific Food Produce:
Refrigerate and hold sliced melons, cut tomatoes, and cut leafy greens at 41˚F (5˚C) or lower
Do NOT serve raw seed sprouts if primarily serving a high-risk population 8-17<br>
slide87. Prepping Specific Food Ice:
NEVER use ice as an ingredient if it was used to keep food cold
Transfer ice using clean and sanitized containers and scoops
NEVER transfer ice in containers that held chemicals or raw meat, seafood, or poultry 8-18<br>
slide88. Prepping Specific Food Ice:
Store ice scoops outside ice machines in a clean, protected location
NEVER use a glass to scoop ice or touch ice with hands 8-19<br>
slide89. Preparation Practices That Have Special Requirements You need a variance if prepping food in these ways:
Packaging fresh juice on-site for sale at a later time, unless the juice has a warning label
Smoking food to preserve it but not to enhance flavor
Using food additives or components to preserve or alter food so it no longer needs time and temperature control for safety
Curing food 8-20<br>
slide90. Preparation Practices That Have Special Requirements You need a variance if prepping food in these ways:
Packaging food using a reduced-oxygen packaging (ROP) method
Sprouting seeds or beans
Offering live shellfish from a display tank
Custom-processing animals for personal use (i.e. dressing a deer) 8-21<br>
slide91. Minimum Internal Cooking Temperatures Minimum internal cooking temperature:
165˚F (74˚C) for 15 seconds
Poultry—whole or ground chicken, turkey, or duck
Stuffing made with fish, meat, or poultry
Stuffed meat, seafood, poultry, or pasta
Dishes that include previously cooked, TCS ingredients 8-22<br>
slide92. Minimum Internal Cooking Temperatures Minimum internal cooking temperature:
155˚F (68˚C) for 15 seconds
Ground meat—beef, pork, and other meat
Injected meat—including brined ham and flavor-injected roasts
Mechanically tenderized meat
Ratites including ostrich and emu
Ground seafood—including chopped or minced seafood
Shell eggs that will be hot-held for service 8-23<br>
slide93. Minimum Internal Cooking Temperatures Minimum internal cooking temperature:
145˚F (63˚C) for 15 seconds
Seafood—including fish, shellfish, and crustaceans
Steaks/chops of pork, beef, veal, and lamb
Commercially raised game
Shell eggs that will be served immediately 8-24<br>
slide94. Minimum Internal Cooking Temperatures Minimum internal cooking temperature:
145˚F (63˚C) for four minutes
Roasts of pork, beef, veal, and lamb
Alternate cooking times/temperatures
130˚F (54˚C) 112 minutes
131˚F (55˚C) 89 minutes
133˚F (56˚C) 56 minutes
135˚F (57˚C) 36 minutes
136˚F (58˚C) 28 minutes
138˚F (59˚C) 18 minutes
140˚F (60˚C) 12 minutes
142˚F (61˚C) 8 minutes
144˚F (62˚C) 5 minutes 8-25<br>
slide95. Minimum Internal Cooking Temperatures Minimum internal cooking temperature:
135˚F (57˚C)
Fruit, vegetables, grains (rice, pasta), and legumes (beans, refried beans) that will be hot-held for service 8-26<br>
slide96. Cooking TCS Food in the Microwave Oven Minimum internal cooking temperature:
165˚F (74˚C)
Meat
Seafood
Poultry
Eggs 8-27<br>
slide97. Cooking TCS Food in the Microwave Oven Guidelines for microwave cooking:
Cover food to prevent the surface from drying out
Rotate or stir it halfway through cooking so heat reaches the food more evenly
Let it stand for at least two minutes after cooking to let the food temperature even out
Check the temperature in at least two places to make sure the food is cooked through 8-28<br>
slide98. Consumer Advisories If your menu includes raw or undercooked TCS items, you must:
Note it on the menu next to the items
Asterisk the item
Place a footnote at the menu bottom indicating the item is raw, undercooked, or contains raw or undercooked ingredients
Advise customers who order this food of the increased risk of foodborne illness
Post a notice in the menu
Provide this information using brochures, table tents, or signs 8-29<br>
slide99. Consumer Advisories The FDA advises against offering these items on a children’s menu if they are raw or undercooked:
Meat
Poultry
Seafood
Eggs 8-30<br>
slide100. Partial Cooking During Prepping If partially cooking meat, seafood, poultry, or eggs or dishes containing these items:
NEVER cook the food longer than 60 minutes during initial cooking
Cool the food immediately after initial cooking
Freeze or refrigerate the food after cooling it
Heat the food to its required minimum internal temperature before selling or serving it
Cool the food if it will not be served immediately or held for service 8-31<br>
slide101. Temperature Requirements for Cooling Food Cooling requirements: 8-32<br>
slide102. Temperature Requirements for Cooling Food If you cool food from 135˚F to 70˚F (57˚C to 21˚C) in less than two hours:
Use the remaining time to cool it to 41˚F (5˚C) or lower
The total cooling time cannot be longer than six hours
Example:
If you cool food from 135˚F to 70˚F (57˚C to 21˚C) in one hour
Then you have five hours to get the food to 41˚F (5˚C) or lower 8-33<br>
slide103. Methods for Cooling Food Before cooling food, start by reducing its size:
Cut larger items into smaller pieces
Divide large containers of food into smaller containers or shallow pans 8-34<br>
slide104. Methods for Cooling Food Methods for cooling food safely and quickly:
Place food in an ice-water bath
Stir it with an ice paddle
Place it in a blast chiller or tumble chiller
Use ice or cold water as an ingredient 8-35<br>
slide105. When storing food for further cooling:
Loosely cover food containers before storing them
Food can be left uncovered if protected from contamination
Storing uncovered containers above other food, especially raw seafood, meat, and poultry, will help prevent cross-contamination 8-36 Storing Food for Further Cooling<br>
slide106. Food reheated for immediate service:
Can be reheated to any temperature if it was cooked and cooled correctly
Food reheated for hot-holding:
Must be reheated to an internal temperature of 165˚F (74˚C) for 15 seconds within two hours
Reheat commercially processed and packaged ready-to-eat food to an internal temperature of at least 135˚F (57˚C) 8-37 Reheating Food<br>