04
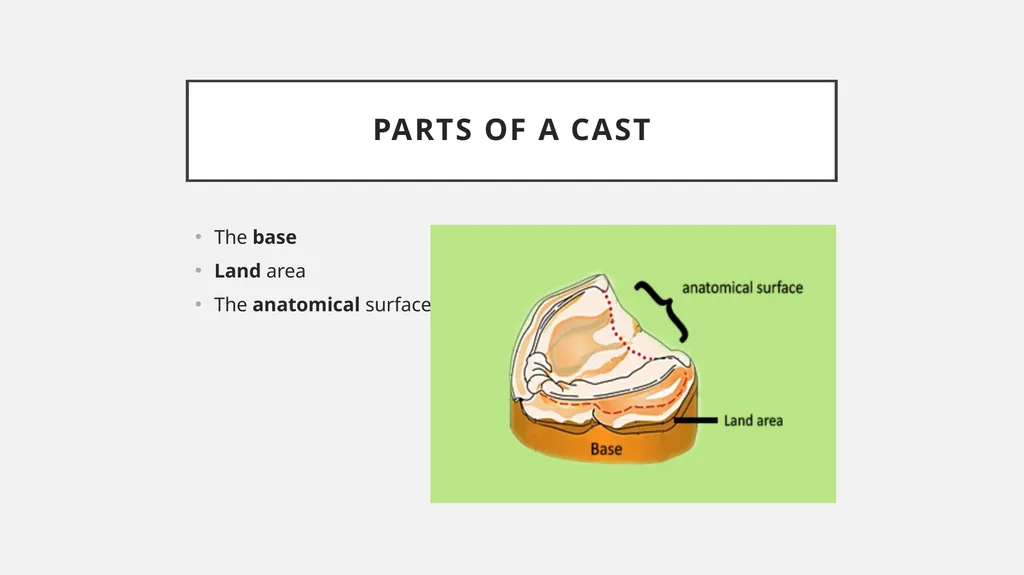
Parts of a Cast The base
Land area
The anatomical surface<br>
05
Making the diagnostic cast Step 1 – Cleaning and Disinfecting the Primary Impression
1. Dental stone should be sprinkled on the impression to identify the saliva present on the impression.
2. The remnants of patients saliva should be removed using a Camel hair brush dipped in water.
3. Impression should not be washed under direct water because it may get distorted.
4. The impression should be disinfected before pouring the cast by immersing the impression in a disinfectant like iodophor for 10 minutes is sufficient for complete disinfection.<br>
06
5. After disinfecting the impression, it should be placed in slurry water to avoid shrinkage. Slurry water improves the wettability of plaster over the impression surface.
6. Excess impression material should be trimmed gently with a B.P. blade. Failure to trim the alginate will lead to distortion when the tray is placed on the table and the impression rests on the excess material.<br>
07
Why pour a model? Pouring a model in dental stone is a vital component of fabricating an accurate, well-fitting dental appliance.
It is the only way to make a cast or ‘positive’ model of the patient’s dentition out of the alginate dental impression or ‘negative’ mould.<br>
08
There are three types of pouring model Double pour method
Beading and boxing method
Inverted pour method<br>
09
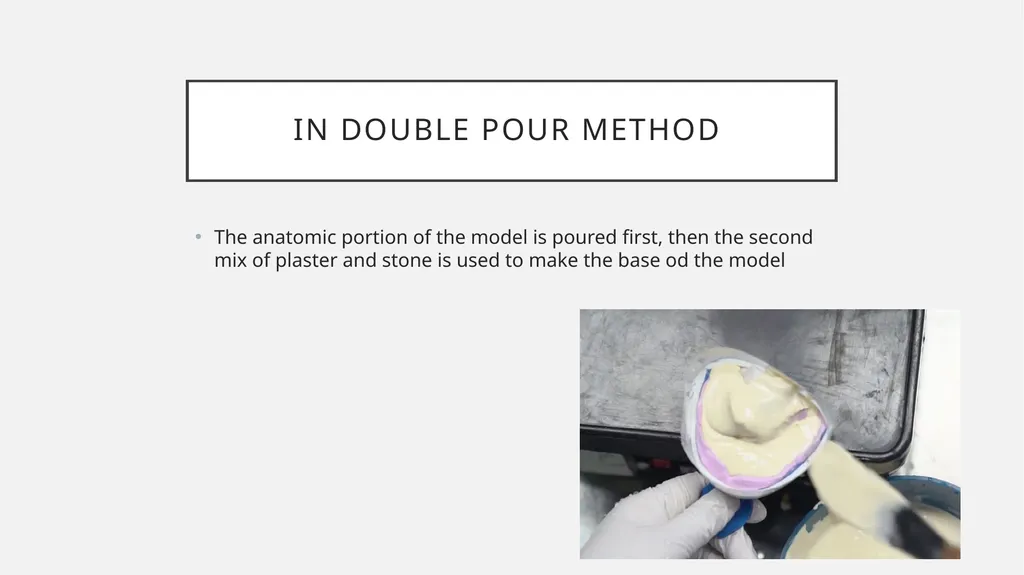
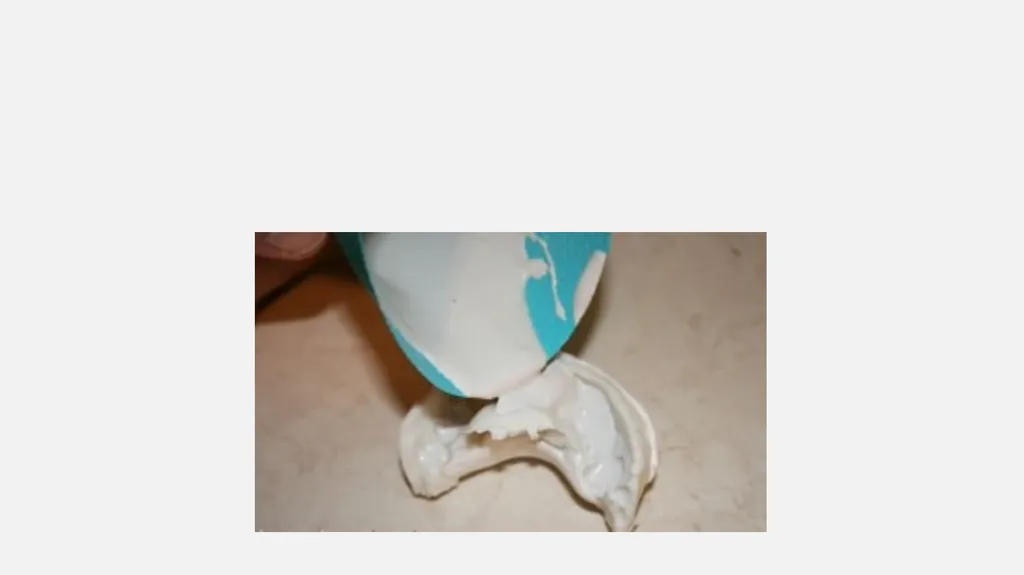
In double pour method The anatomic portion of the model is poured first, then the second mix of plaster and stone is used to make the base od the model<br>
10
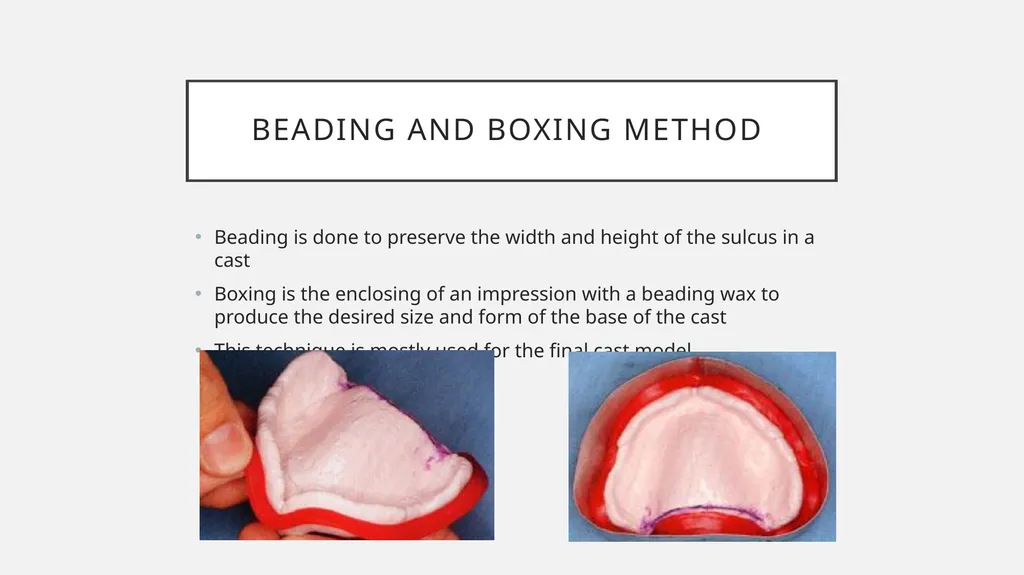
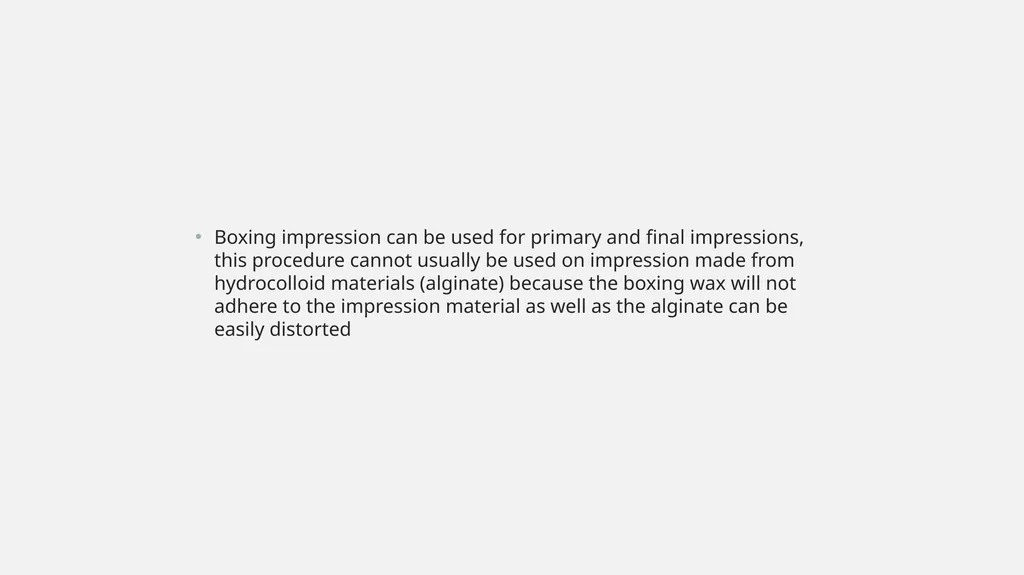
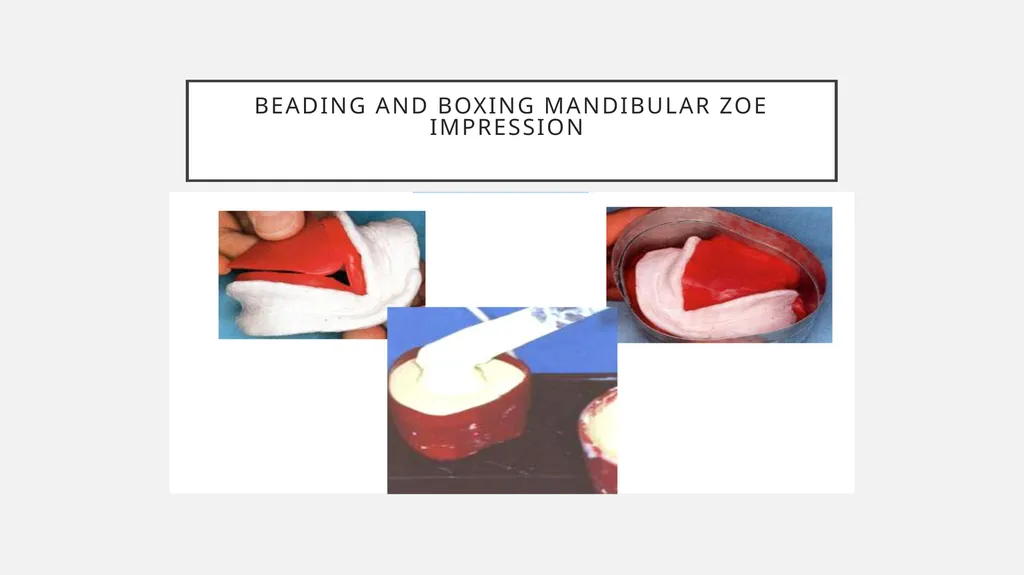
beADING AND BOXING METHOD Beading is done to preserve the width and height of the sulcus in a cast
Boxing is the enclosing of an impression with a beading wax to produce the desired size and form of the base of the cast
This technique is mostly used for the final cast model<br>
11
Boxing impression can be used for primary and final impressions, this procedure cannot usually be used on impression made from hydrocolloid materials (alginate) because the boxing wax will not adhere to the impression material as well as the alginate can be easily distorted<br>
12
Beading and boxing mandibular ZOE impression<br>
13
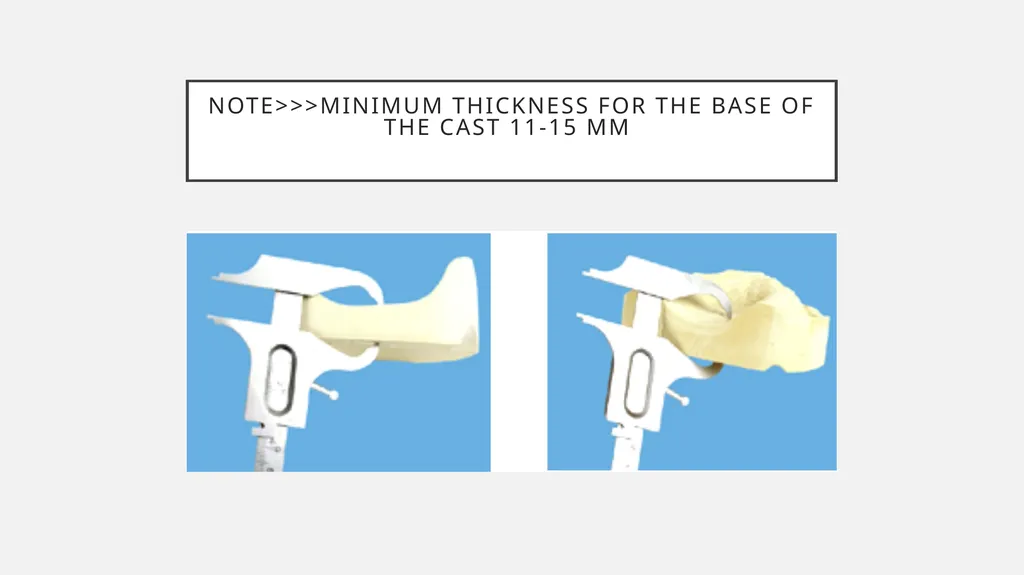
Note>>>Minimum thickness for the base of the cast 11-15 mm<br>
14
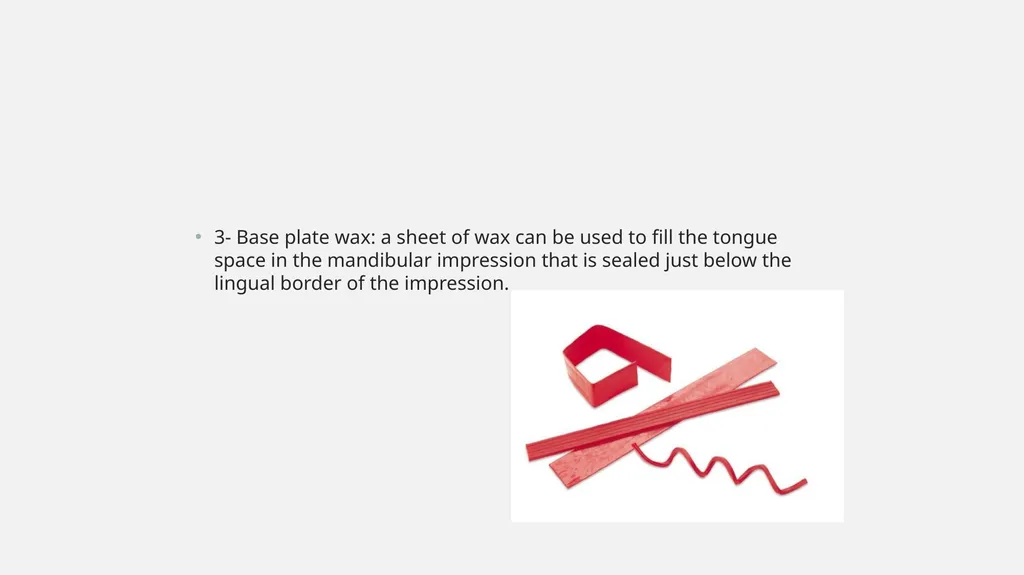
Materials used for boxing impression 1- Beading wax: a strip of wax is attached all the way around the outside of the impression approximately (2-3 mm) below the border and sealed to it with wax knife.<br>
15
2- Boxing wax: a sheet of wax is used to made the vertical walls of the box
and it is attached around the outside of the beading wax strip so that it does not alter the borders of the impression, the width of the boxing wax is about 9-15 mm.<br>
16
3- Base plate wax: a sheet of wax can be used to fill the tongue space in the mandibular impression that is sealed just below the lingual border of the impression.<br>
17
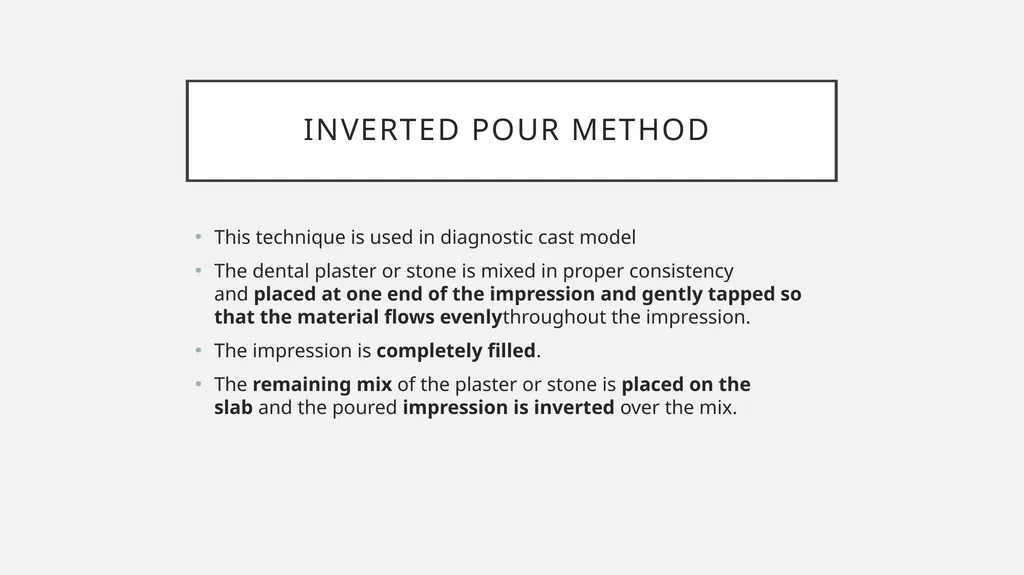
INVERTED pour method This technique is used in diagnostic cast model
The dental plaster or stone is mixed in proper consistency and placed at one end of the impression and gently tapped so that the material flows evenlythroughout the impression.
The impression is completely filled.
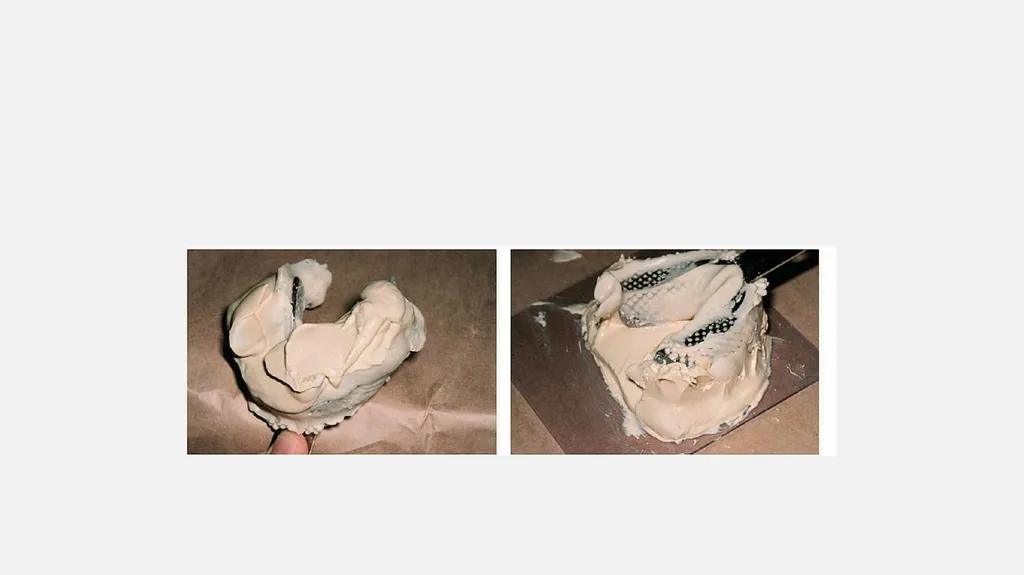
The remaining mix of the plaster or stone is placed on the slab and the poured impression is inverted over the mix.<br>
18
Dental Cast Pouring The cast should be poured within 15 minutes after impression making otherwise dimensional changes will happen.
All excess water is carefully removed from the impression by gently blowing with an air pressure hose.
A mix of Plaster of Paris POP is prepared using the water/powder ratio provided by the manufacturer’s instructions.
Usually a diagnostic cast is poured using dental plaster of paris POP. Dental plaster is preferred because it is economical and reproduction of finer details is not an important requisite.
. A clean mixing bowl and spatula should be used, and the powder is gently added to the water to minimize the trapping of air within the mixture.<br>
19
A mechanical spatula and vacuum mix are generally not necessary when mixing for a diagnostic cast, although a more dense mixture will be formed if this technique is used.
Mix the material thoroughly assuring that all POP is wet, and a smooth mixture with minimal bubbles is achieved.
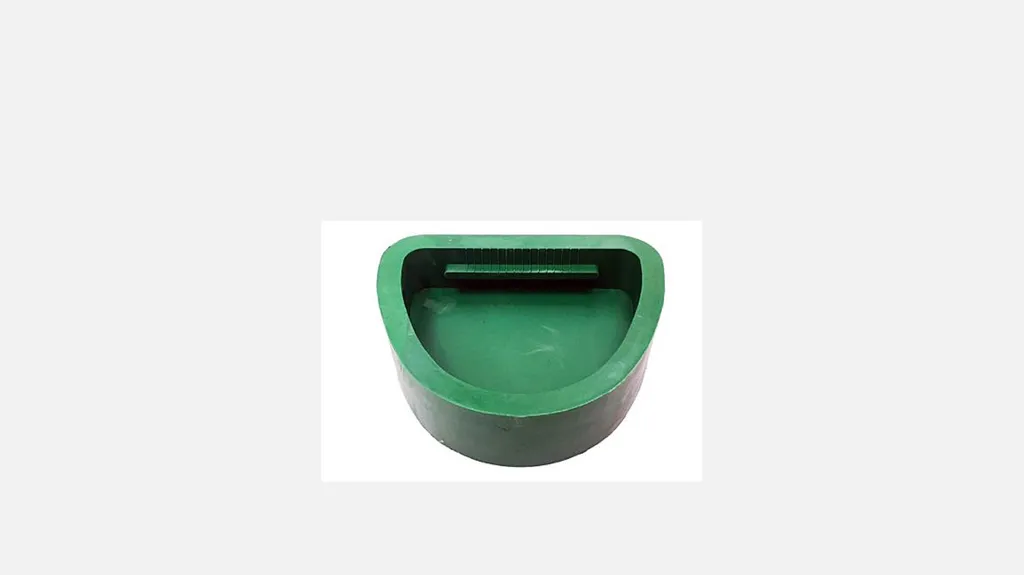
. A base former can be used to make a proper base.
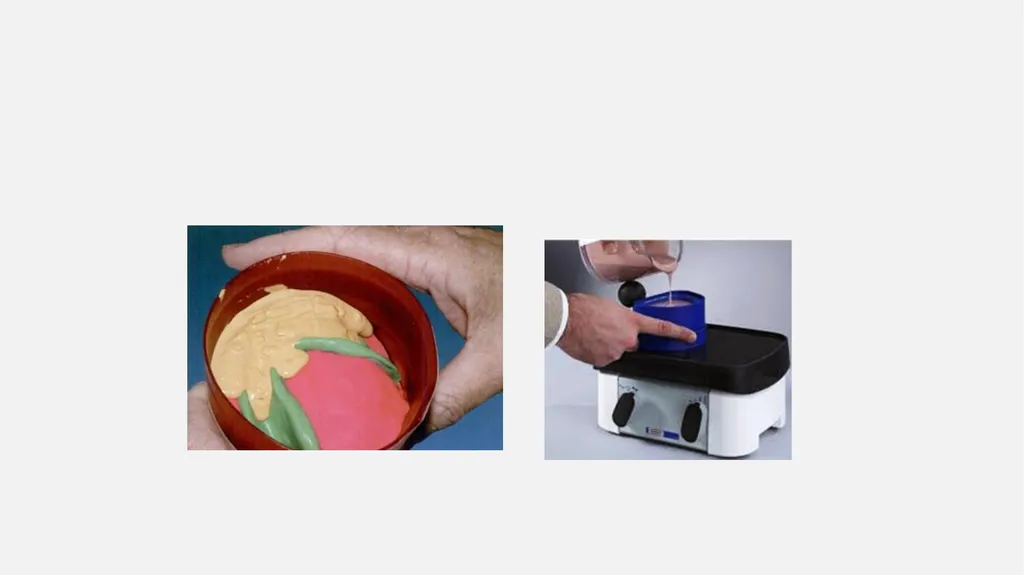
Once the plaster reaches a sufficient consistency, it should be placed on a vibrator to remove air bubbles.
A vibrator set to a medium to low speed should be used when pouring the impression. High speed vibration will often trap air bubbles in the cast in critical areas.<br>
20
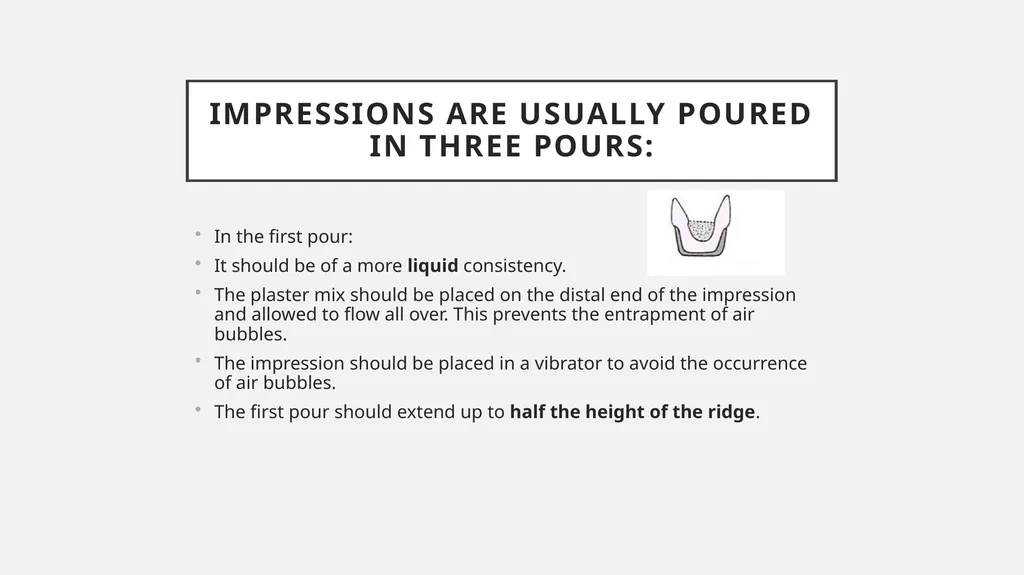
Impressions are usually poured in three pours: In the first pour:
It should be of a more liquid consistency.
The plaster mix should be placed on the distal end of the impression and allowed to flow all over. This prevents the entrapment of air bubbles.
The impression should be placed in a vibrator to avoid the occurrence of air bubbles.
The first pour should extend up to half the height of the ridge.<br>
21
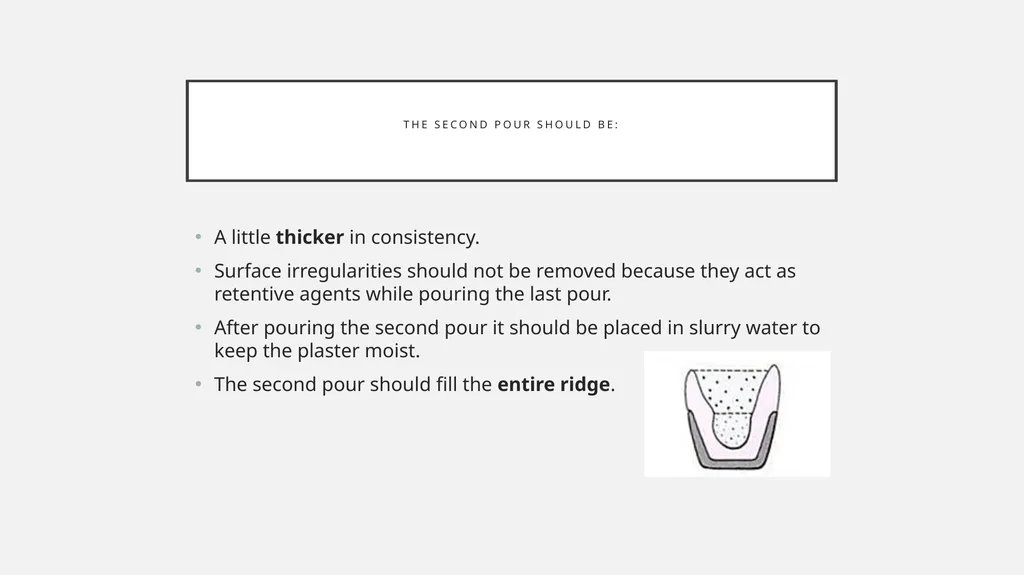
The second pour should be: A little thicker in consistency.
Surface irregularities should not be removed because they act as retentive agents while pouring the last pour.
After pouring the second pour it should be placed in slurry water to keep the plaster moist.
The second pour should fill the entire ridge.<br>
22
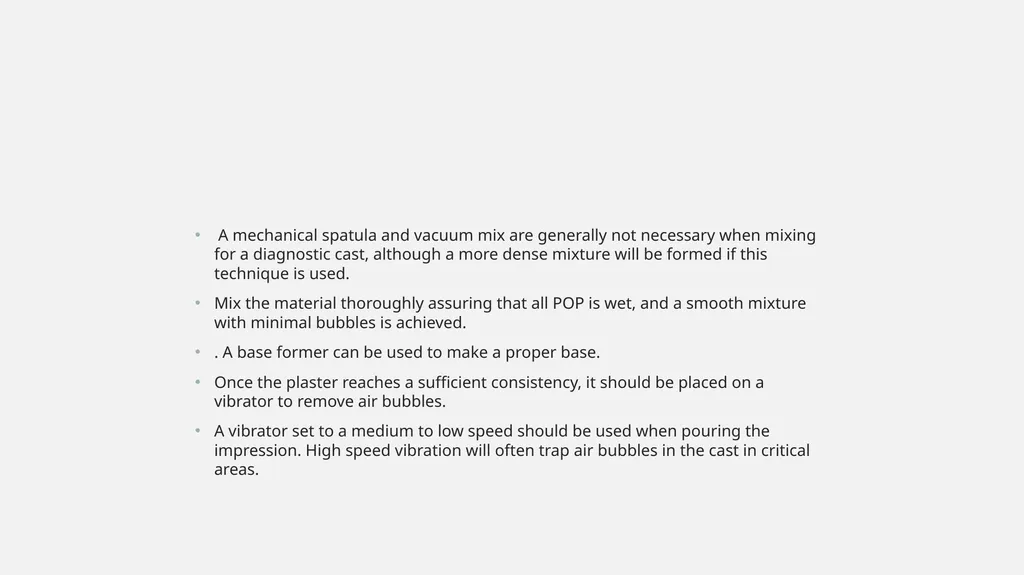
The impression with the second pour is inverted over the base former.
in the absence of a base former a mix of plaster is spread over a glass plate or tile and the impression is inverted over it.
The third pour is contoured on the peripheral areas to remove any demarcation between the second and third pours.<br>
23
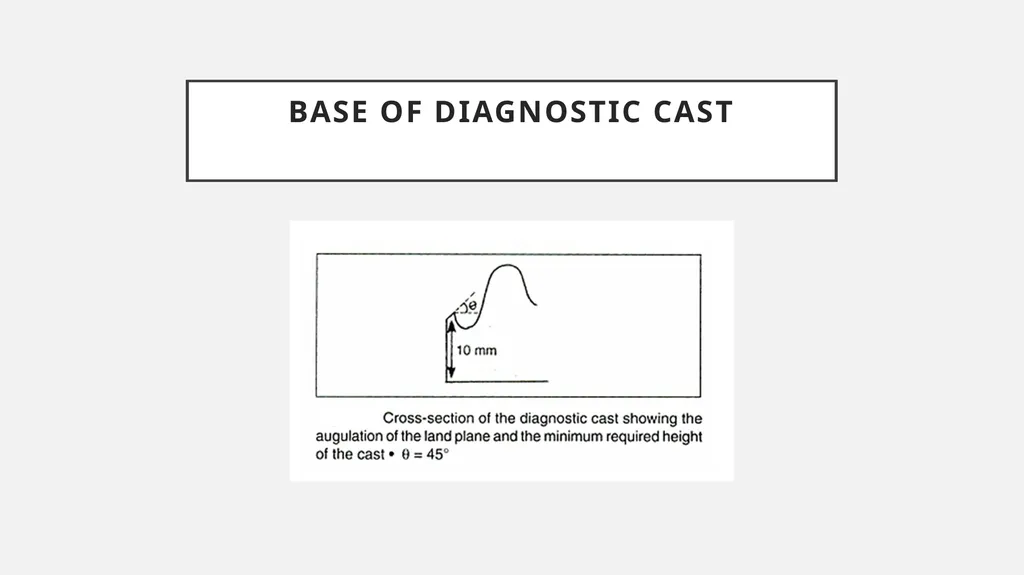
Base of Diagnostic Cast<br>
24
The base should have a minimum thickness of 10 mm at its thinnest portion:
– 10 mm at the centre of hard palate in the maxilla.
– 10 mm at the depth of lingual sulcus in the mandible.
Excess plaster should be trimmed away.
– In case of mandibular impressions, the excess plaster in the tongue space area should be removed and contoured using a plaster knife.
Care should be taken to avoid over trimming the plaster.<br>
25
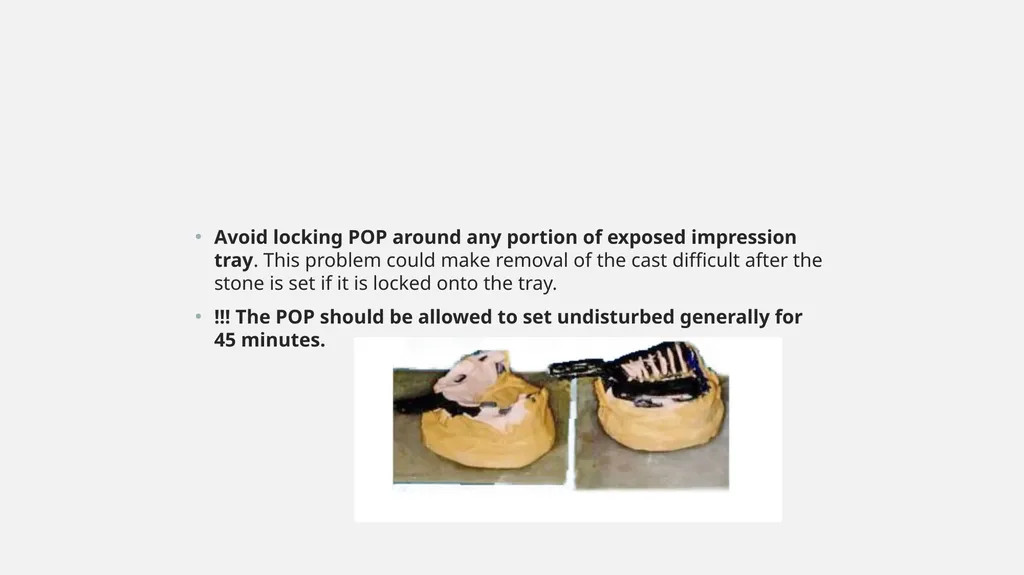
Avoid locking POP around any portion of exposed impression tray. This problem could make removal of the cast difficult after the stone is set if it is locked onto the tray.
!!! The POP should be allowed to set undisturbed generally for 45 minutes.<br>
26
Finishing the Diagnostic Cast The diagnostic cast should be separated from the impression only an hour after its initial set.
Since alginate is elastic, it is easy to remove the impression away from the cast. Care should be taken while removing the impression material from the undercut areas.
The cast should not be washed under direct water because the superficial surface of the plaster will dissolve and get washed away.
If a base former is not used during the third pour, then the base of the cast should be trimmed using a model trimmer.<br>
27
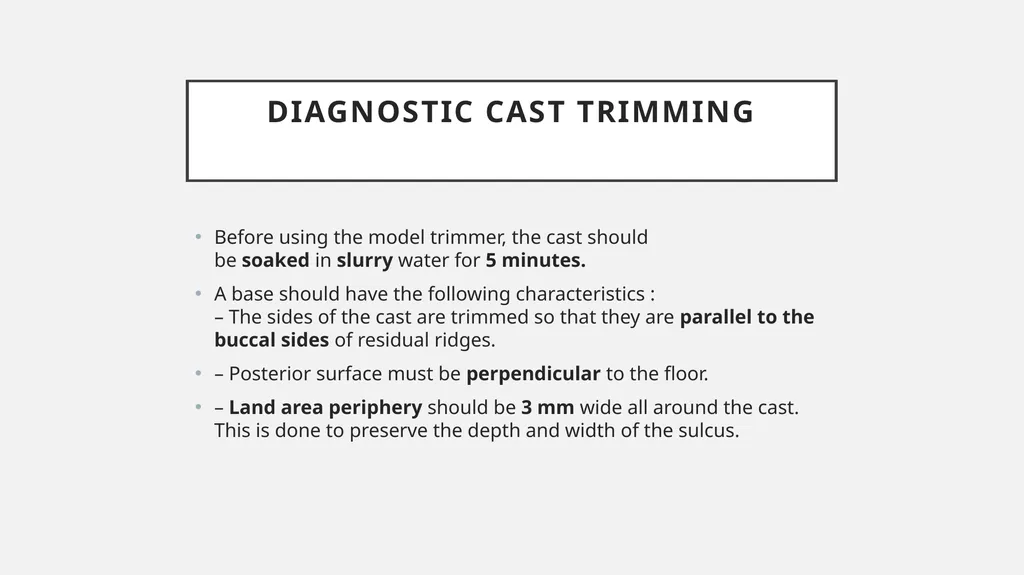
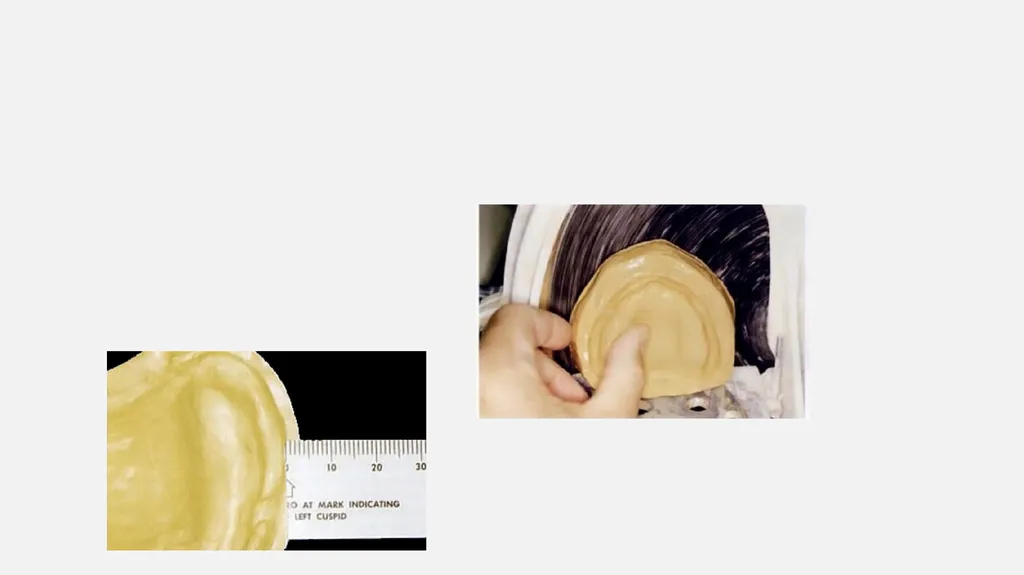
Diagnostic Cast Trimming Before using the model trimmer, the cast should be soaked in slurry water for 5 minutes.
A base should have the following characteristics :�– The sides of the cast are trimmed so that they are parallel to the buccal sides of residual ridges.
– Posterior surface must be perpendicular to the floor.
– Land area periphery should be 3 mm wide all around the cast. This is done to preserve the depth and width of the sulcus.<br>
28
When the cast is trimmed in a model trimmer the trimmed plaster forms a paste, which is called sludge. Sludge should be removed when it is wet. Removing dry sludge is difficult and often results in damage to the cast.
Excess plaster present in the lingual aspect of the mandibular casts should be removed using a bevelled chisel.
The base should be properly smoothened.<br>