
Reverse Engineering Intro What is reverse
Description: Reverse Engineering Intro What is reverse engineering? Reverse engineering is the process of taking apart an object. But why?! To understand it better To see inside to satisfy your curiosity: How does it work? To examine the structure,
Related Topics
Download Presentation
"Reverse Engineering Intro What is reverse" is the property of its rightful owner. Permission is granted to download and print the materials on this website for personal, non-commercial use only, and to display it on your personal computer provided you do not modify the materials and that you retain all copyright notices contained in the materials. By downloading content from our website, you accept the terms of this agreement.
Presentation Transcript
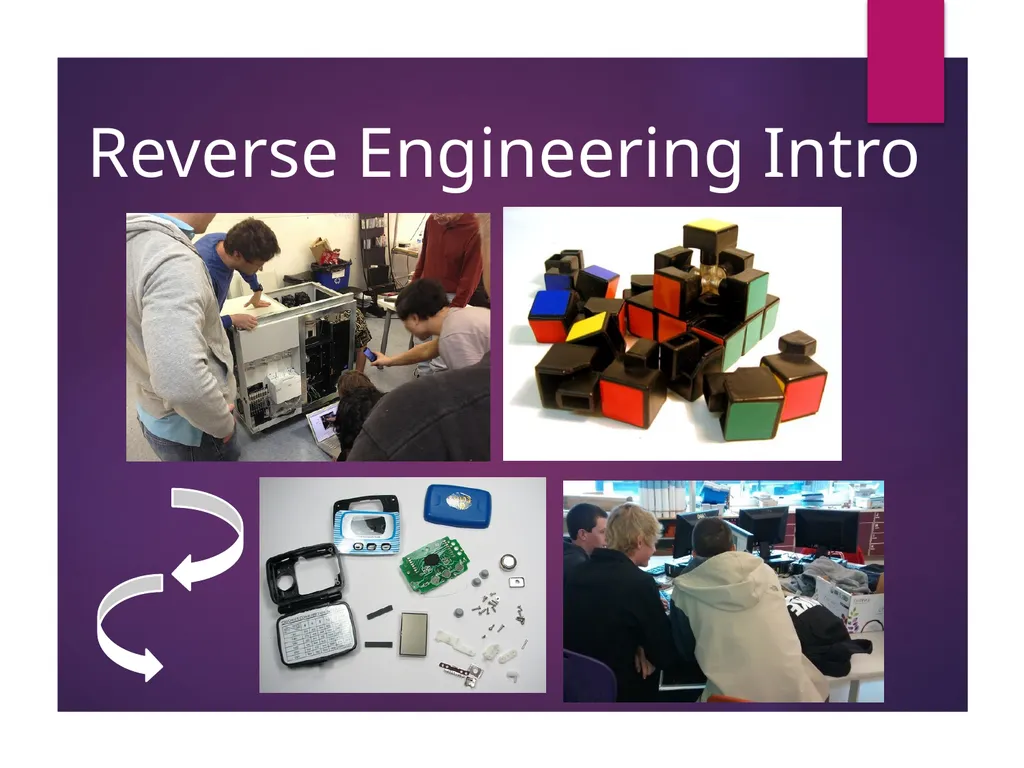
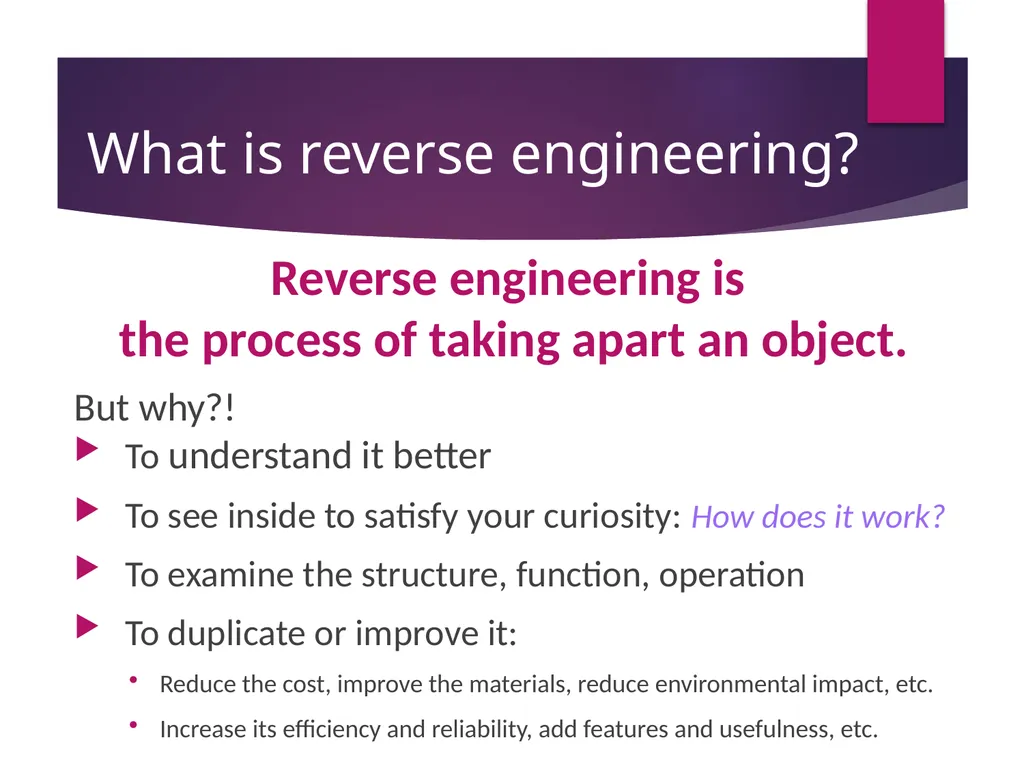
slide1. Reverse Engineering Intro<br>
slide2. What is reverse engineering? Reverse engineering is the process of taking apart an object.
But why?!
To understand it better
To see inside to satisfy your curiosity: How does it work?
To examine the structure, function, operation
To duplicate or improve it:
Reduce the cost, improve the materials, reduce environmental impact, etc.
Increase its efficiency and reliability, add features and usefulness, etc.<br>
slide3. Group Proposal What is your project? (device description, cost and source)
What does the device do?
How are you going to take it apart? What tools do you need?
How many parts do you think it contains? What kinds of parts do you think you will find inside?
Rough sketch of the overall device
DUE BY: [ Day 2 ] D E A D L I N E :<br>
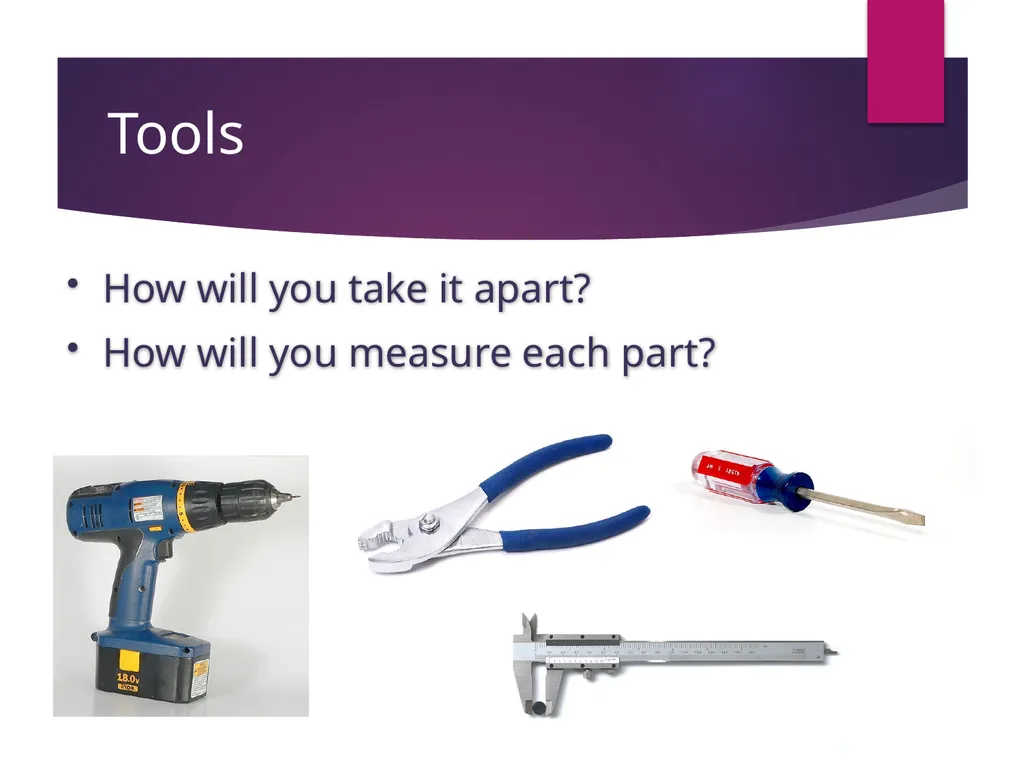
slide4. Tools How will you take it apart?
How will you measure each part?<br>
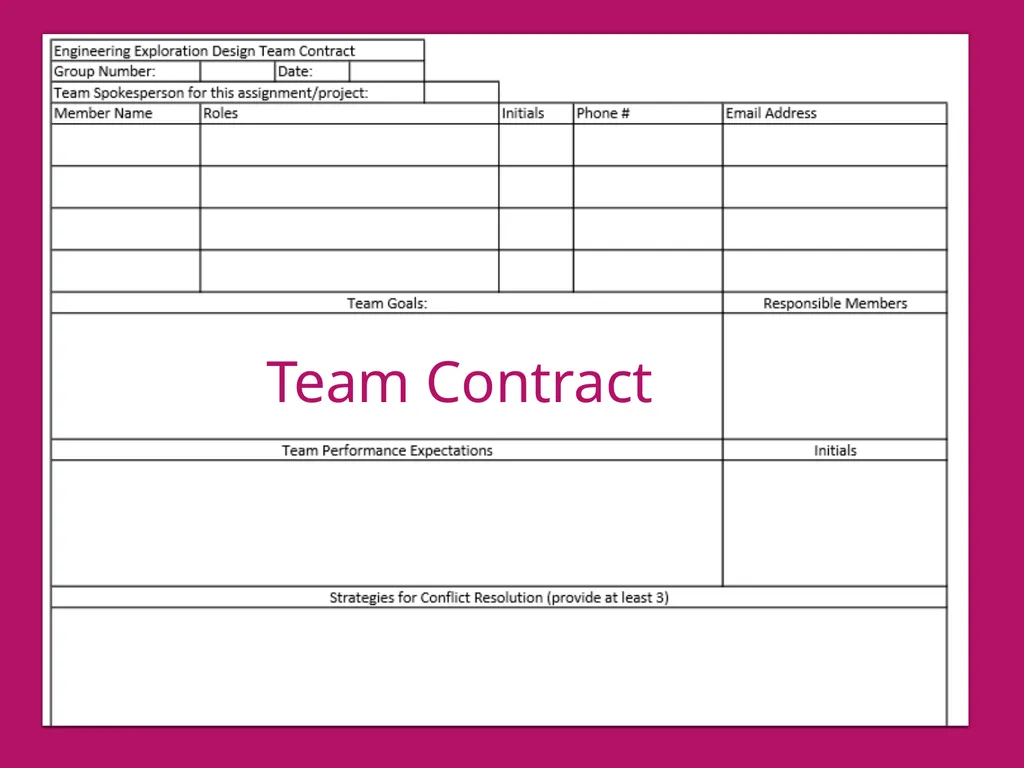
slide5. Team Contract<br>
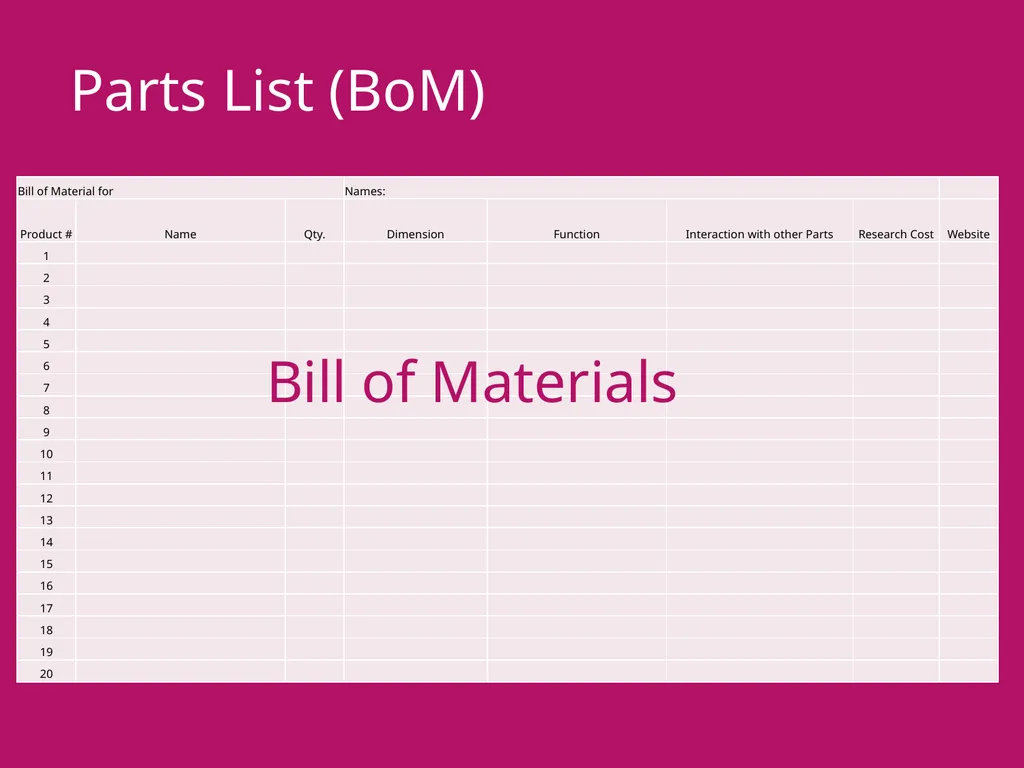
slide6. Parts List (BoM) Bill of Materials<br>
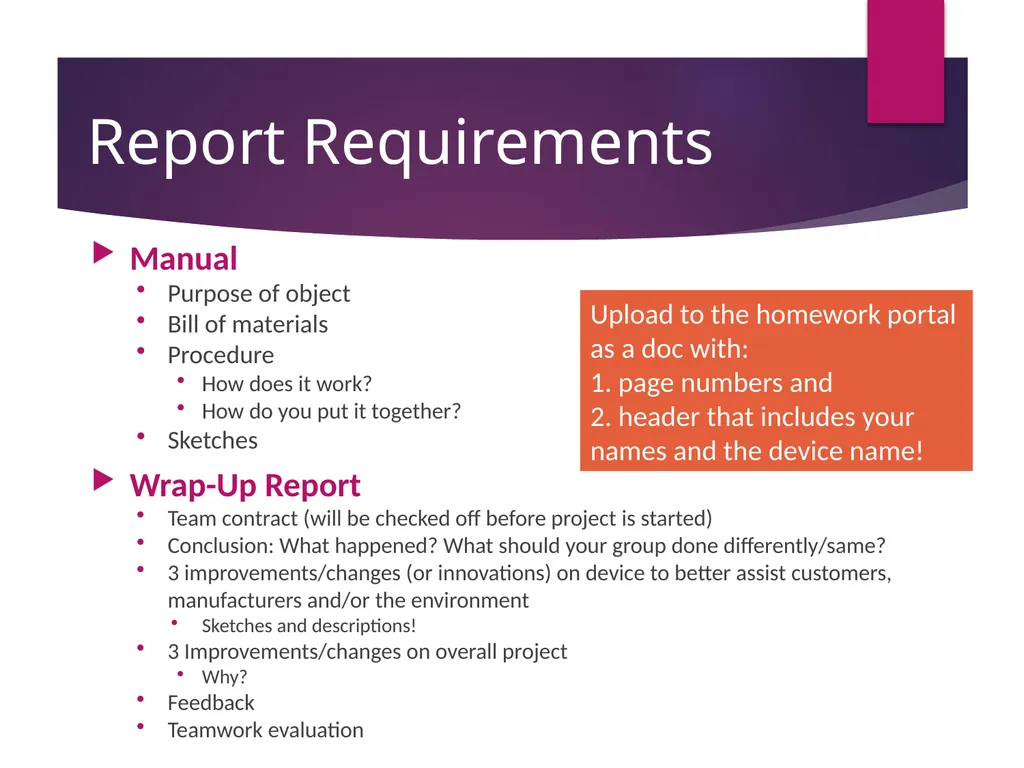
slide7. Report Requirements Manual
Purpose of object
Bill of materials
Procedure
How does it work?
How do you put it together?
Sketches
Wrap-Up Report
Team contract (will be checked off before project is started)
Conclusion: What happened? What should your group done differently/same?
3 improvements/changes (or innovations) on device to better assist customers, manufacturers and/or the environment
Sketches and descriptions!
3 Improvements/changes on overall project
Why?
Feedback
Teamwork evaluation Upload to the homework portal as a doc with:
1. page numbers and
2. header that includes your names and the device name!<br>
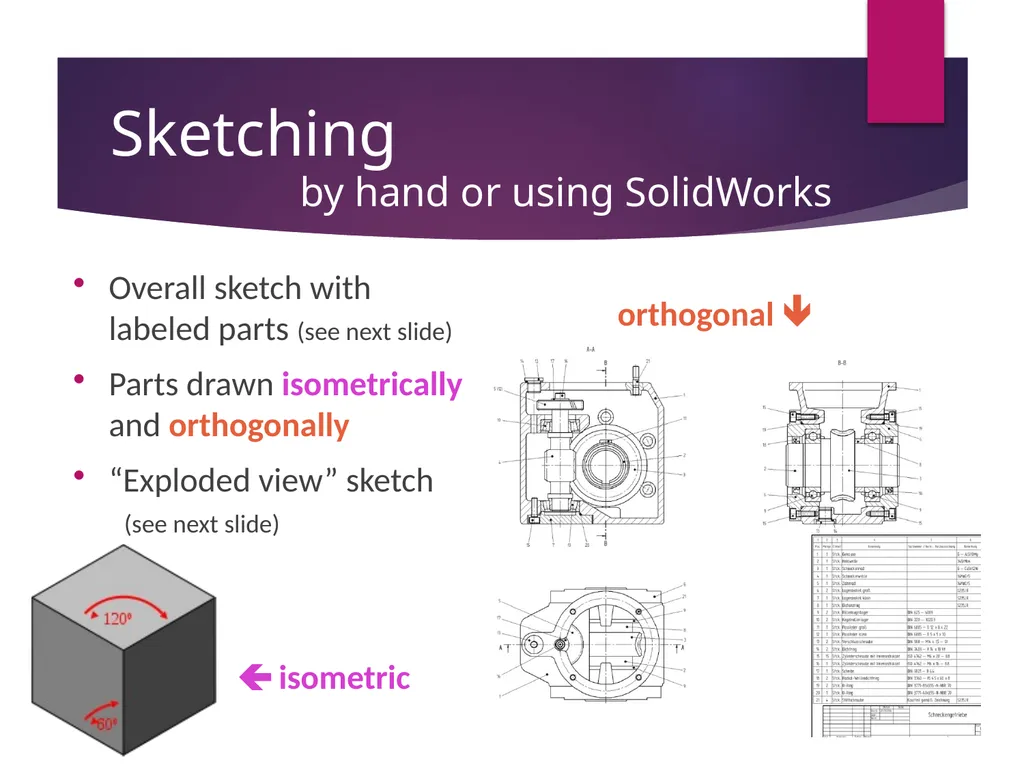
slide8. Sketching Overall sketch with labeled parts (see next slide)
Parts drawn isometrically and orthogonally
“Exploded view” sketch (see next slide) isometric orthogonal by hand or using SolidWorks<br>
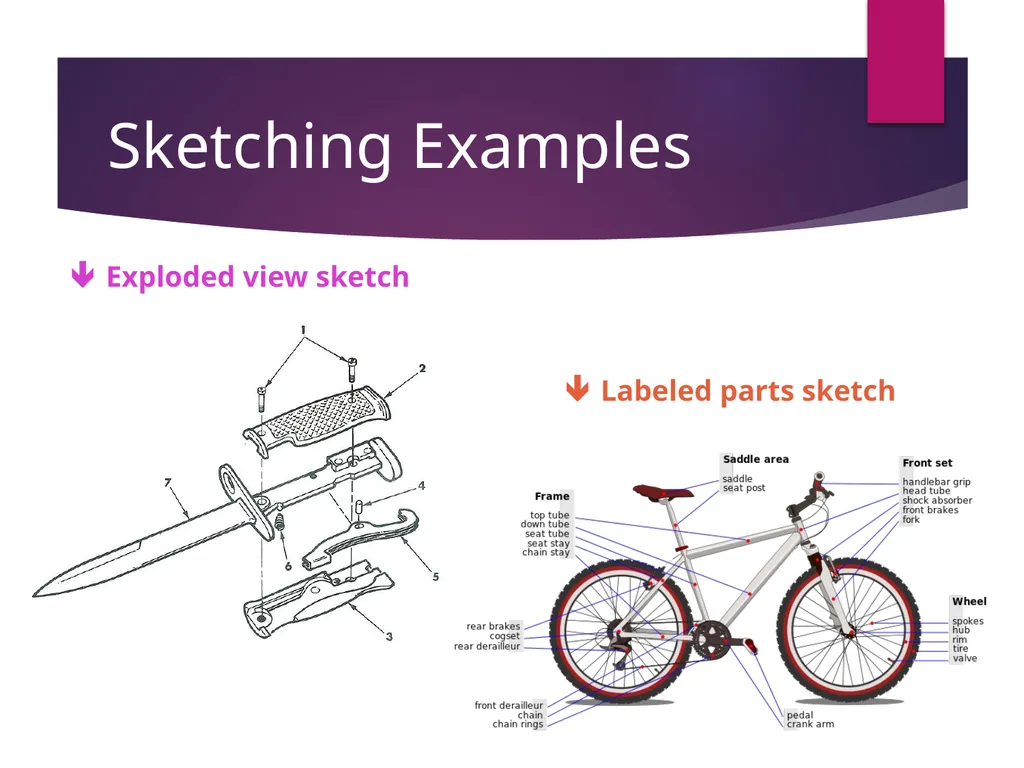
slide9. Sketching Examples Exploded view sketch Labeled parts sketch<br>
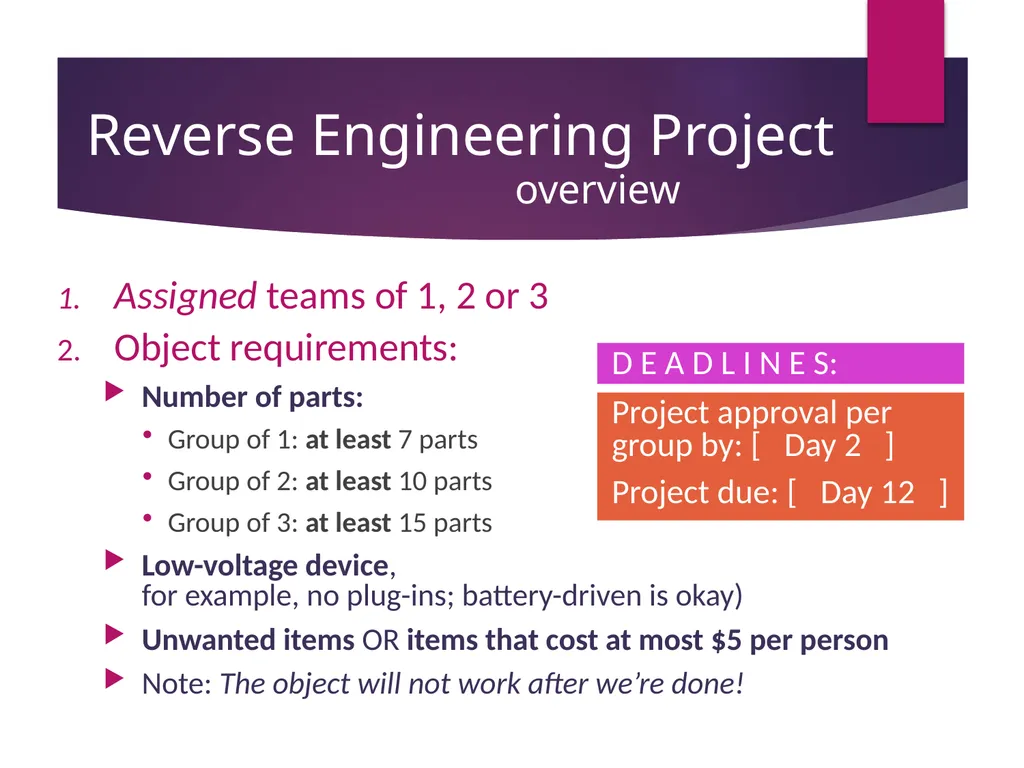
slide10. Reverse Engineering Project Assigned teams of 1, 2 or 3
Object requirements:
Number of parts:
Group of 1: at least 7 parts
Group of 2: at least 10 parts
Group of 3: at least 15 parts
Low-voltage device, for example, no plug-ins; battery-driven is okay)
Unwanted items OR items that cost at most $5 per person
Note: The object will not work after we’re done! Project approval per group by: [ Day 2 ]
Project due: [ Day 12 ] D E A D L I N E S: overview<br>
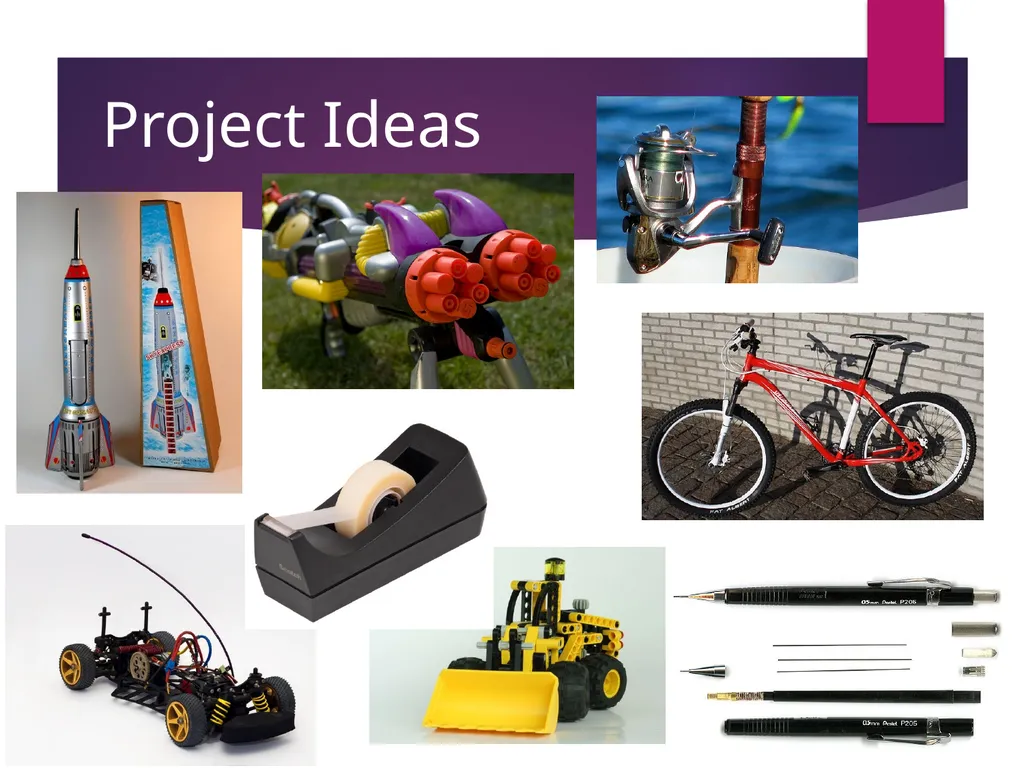
slide11. Project Ideas<br>
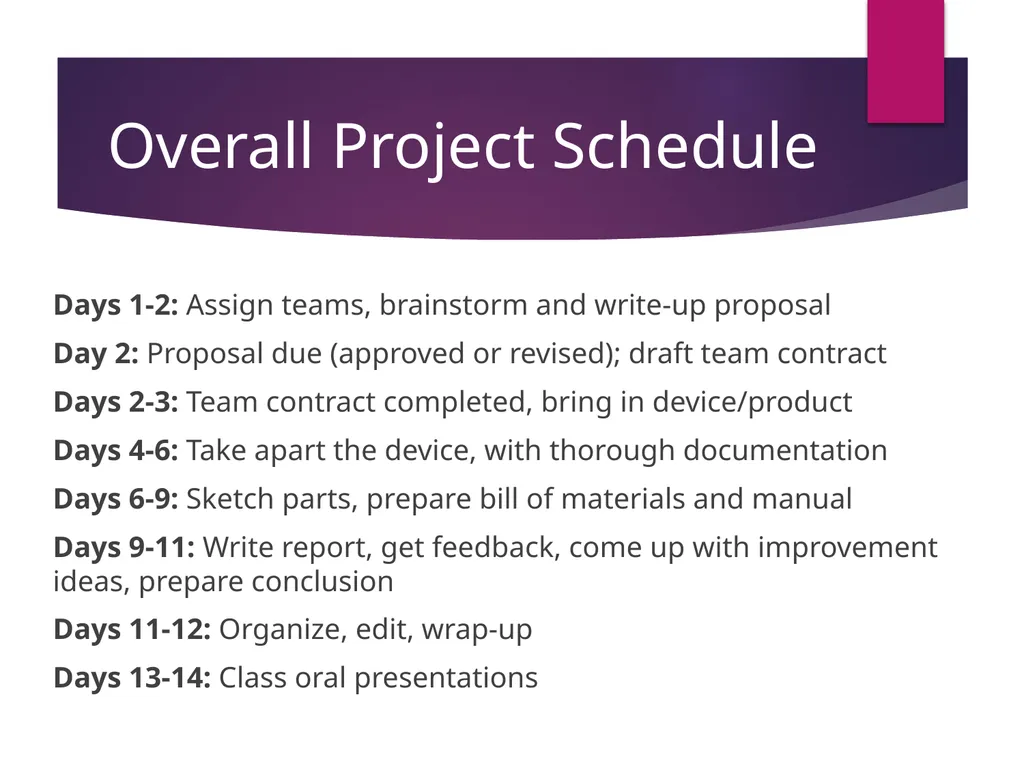
slide12. Overall Project Schedule Days 1-2: Assign teams, brainstorm and write-up proposal
Day 2: Proposal due (approved or revised); draft team contract
Days 2-3: Team contract completed, bring in device/product
Days 4-6: Take apart the device, with thorough documentation
Days 6-9: Sketch parts, prepare bill of materials and manual
Days 9-11: Write report, get feedback, come up with improvement ideas, prepare conclusion
Days 11-12: Organize, edit, wrap-up
Days 13-14: Class oral presentations<br>
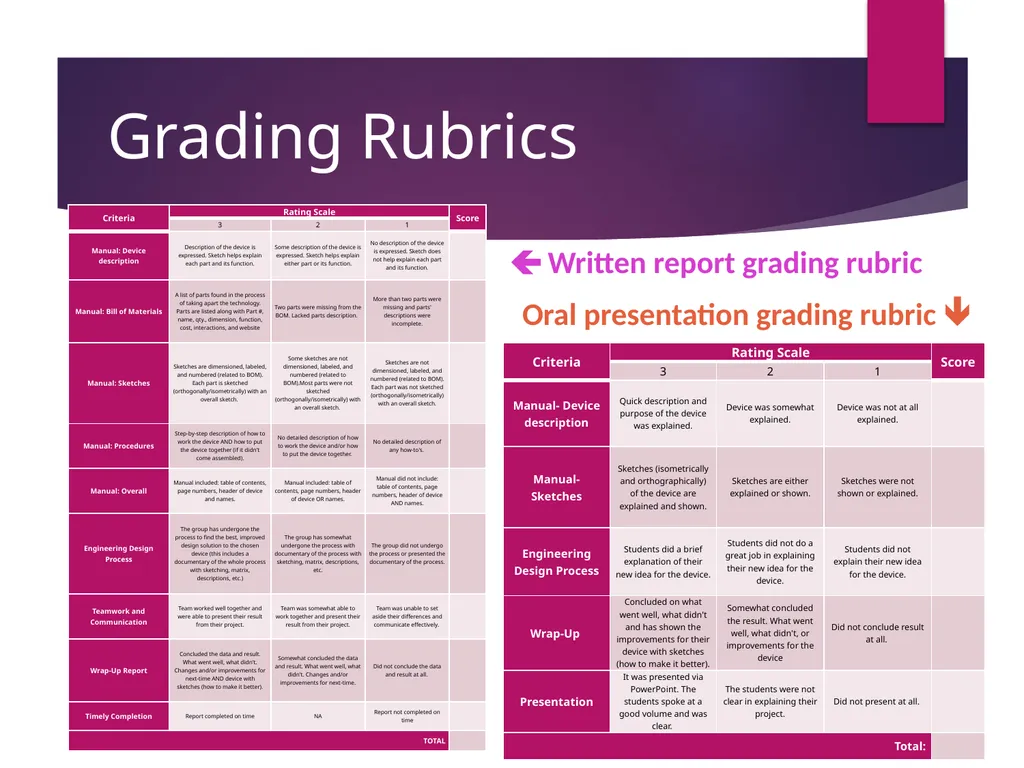
slide13. Grading Rubrics Written report grading rubric Oral presentation grading rubric <br>
slide2. What is reverse engineering? Reverse engineering is the process of taking apart an object.
But why?!
To understand it better
To see inside to satisfy your curiosity: How does it work?
To examine the structure, function, operation
To duplicate or improve it:
Reduce the cost, improve the materials, reduce environmental impact, etc.
Increase its efficiency and reliability, add features and usefulness, etc.<br>
slide3. Group Proposal What is your project? (device description, cost and source)
What does the device do?
How are you going to take it apart? What tools do you need?
How many parts do you think it contains? What kinds of parts do you think you will find inside?
Rough sketch of the overall device
DUE BY: [ Day 2 ] D E A D L I N E :<br>
slide4. Tools How will you take it apart?
How will you measure each part?<br>
slide5. Team Contract<br>
slide6. Parts List (BoM) Bill of Materials<br>
slide7. Report Requirements Manual
Purpose of object
Bill of materials
Procedure
How does it work?
How do you put it together?
Sketches
Wrap-Up Report
Team contract (will be checked off before project is started)
Conclusion: What happened? What should your group done differently/same?
3 improvements/changes (or innovations) on device to better assist customers, manufacturers and/or the environment
Sketches and descriptions!
3 Improvements/changes on overall project
Why?
Feedback
Teamwork evaluation Upload to the homework portal as a doc with:
1. page numbers and
2. header that includes your names and the device name!<br>
slide8. Sketching Overall sketch with labeled parts (see next slide)
Parts drawn isometrically and orthogonally
“Exploded view” sketch (see next slide) isometric orthogonal by hand or using SolidWorks<br>
slide9. Sketching Examples Exploded view sketch Labeled parts sketch<br>
slide10. Reverse Engineering Project Assigned teams of 1, 2 or 3
Object requirements:
Number of parts:
Group of 1: at least 7 parts
Group of 2: at least 10 parts
Group of 3: at least 15 parts
Low-voltage device, for example, no plug-ins; battery-driven is okay)
Unwanted items OR items that cost at most $5 per person
Note: The object will not work after we’re done! Project approval per group by: [ Day 2 ]
Project due: [ Day 12 ] D E A D L I N E S: overview<br>
slide11. Project Ideas<br>
slide12. Overall Project Schedule Days 1-2: Assign teams, brainstorm and write-up proposal
Day 2: Proposal due (approved or revised); draft team contract
Days 2-3: Team contract completed, bring in device/product
Days 4-6: Take apart the device, with thorough documentation
Days 6-9: Sketch parts, prepare bill of materials and manual
Days 9-11: Write report, get feedback, come up with improvement ideas, prepare conclusion
Days 11-12: Organize, edit, wrap-up
Days 13-14: Class oral presentations<br>
slide13. Grading Rubrics Written report grading rubric Oral presentation grading rubric <br>