
Safe, Simple, Easy to Learn Pressure Canning
AS
Published · 38 slides · 0 views
1 / 1
Description
Safe, Simple, Easy to Learn Pressure Canning Empowerment Through Education Todays Topics How to use a pressure canner Learn to save the bounty of fresh produce all year long Learn what spoils food Use the principles of safe food
Related Topics
Share
Embed code
Download this presentation From Below
"Safe, Simple, Easy to Learn Pressure Canning" is the property of its rightful owner. Permission is granted to download and print the materials on this website for personal, non-commercial use only, and to display it on your personal computer provided you do not modify the materials and that you retain all copyright notices contained in the materials. By downloading content from our website, you accept the terms of this agreement.
Presentation Transcript
01
Safe, Simple, Easy to Learn
Pressure Canning Empowerment Through Education<br>
02
Today’s Topics How to use a pressure canner
Learn to save the bounty of fresh produce all year long
Learn what spoils food
Use the principles of safe food preservation when using a pressure canner<br>
Learn to save the bounty of fresh produce all year long
Learn what spoils food
Use the principles of safe food preservation when using a pressure canner<br>
03
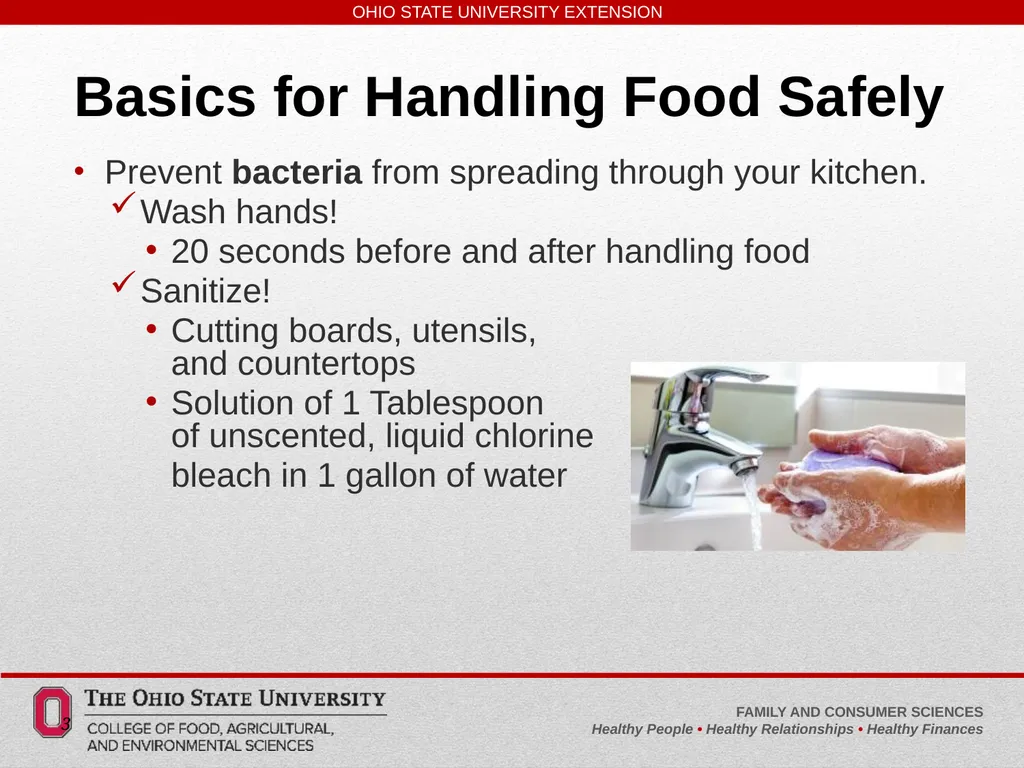
Basics for Handling Food Safely 3 Prevent bacteria from spreading through your kitchen.
Wash hands!
20 seconds before and after handling food
Sanitize!
Cutting boards, utensils, and countertops
Solution of 1 Tablespoon of unscented, liquid chlorine
bleach in 1 gallon of water<br>
Wash hands!
20 seconds before and after handling food
Sanitize!
Cutting boards, utensils, and countertops
Solution of 1 Tablespoon of unscented, liquid chlorine
bleach in 1 gallon of water<br>
04
Before preserving any food
consider the types of foods your
family enjoys and the usefulness of
the preserved product in your
lifestyle.<br>
consider the types of foods your
family enjoys and the usefulness of
the preserved product in your
lifestyle.<br>
05
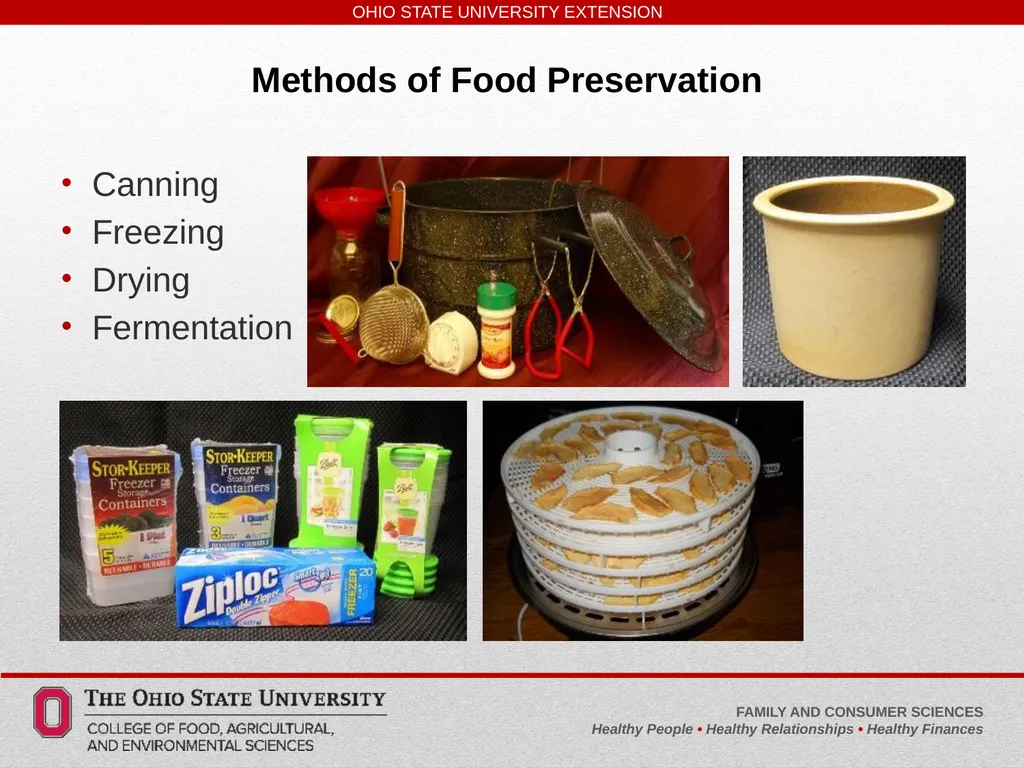
Methods of Food Preservation Canning
Freezing
Drying
Fermentation<br>
Freezing
Drying
Fermentation<br>
06
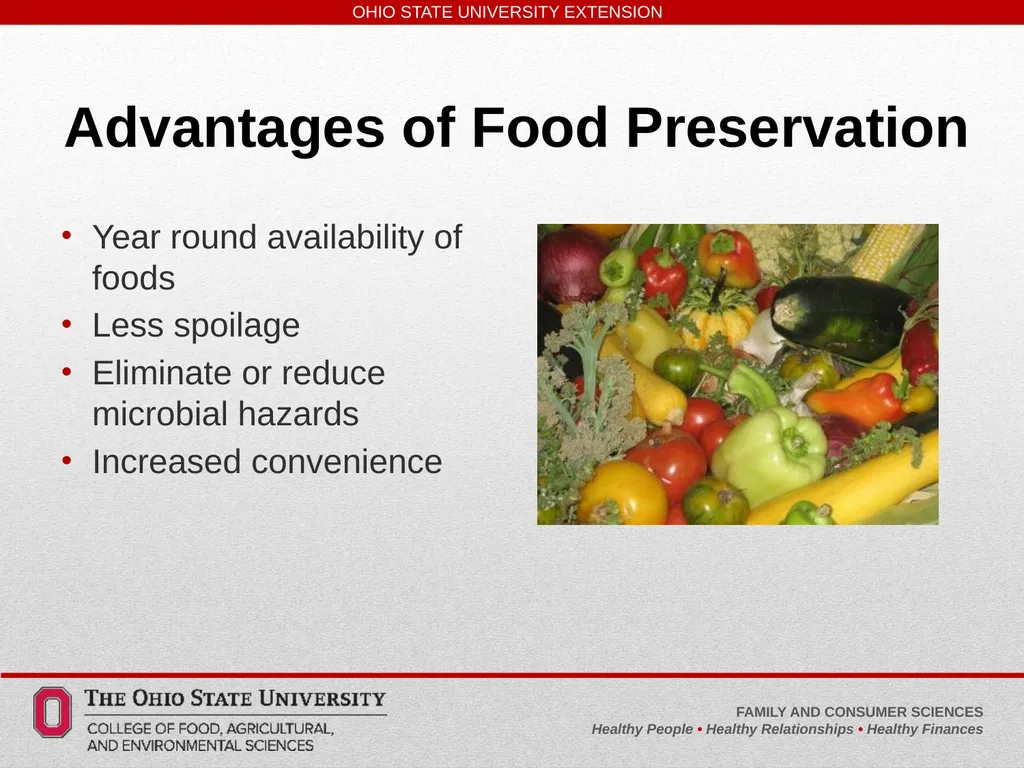
Advantages of Food Preservation Year round availability of foods
Less spoilage
Eliminate or reduce microbial hazards
Increased convenience<br>
Less spoilage
Eliminate or reduce microbial hazards
Increased convenience<br>
07
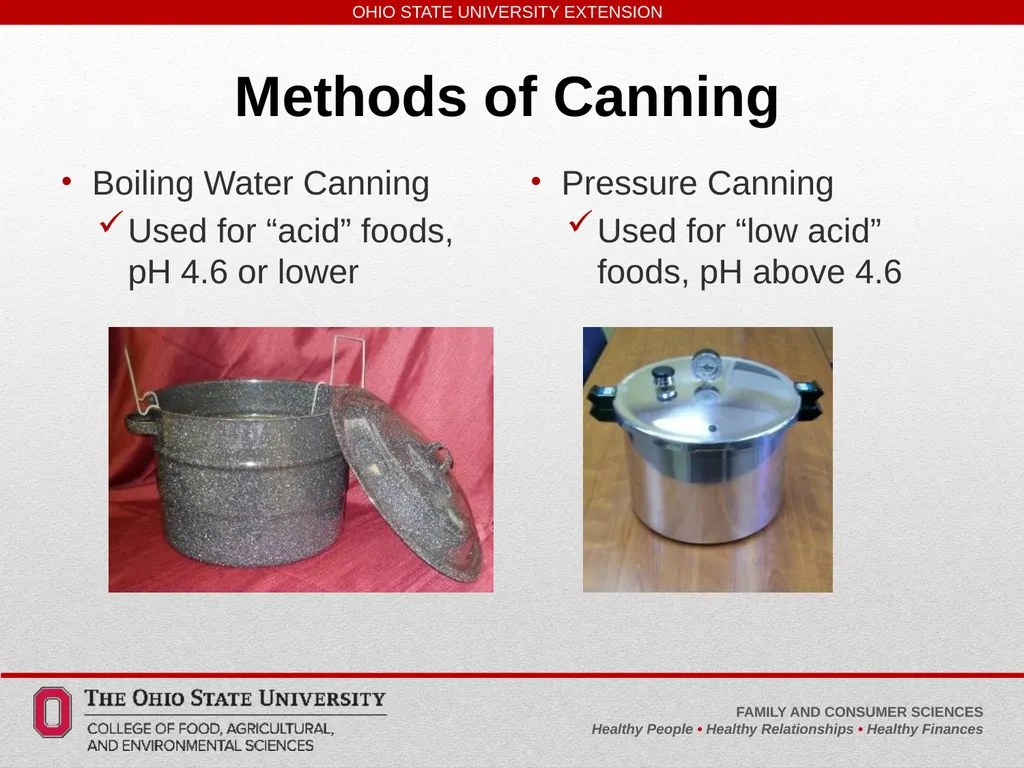
Methods of Canning Boiling Water Canning
Used for “acid” foods, pH 4.6 or lower Pressure Canning
Used for “low acid” foods, pH above 4.6<br>
Used for “acid” foods, pH 4.6 or lower Pressure Canning
Used for “low acid” foods, pH above 4.6<br>
08
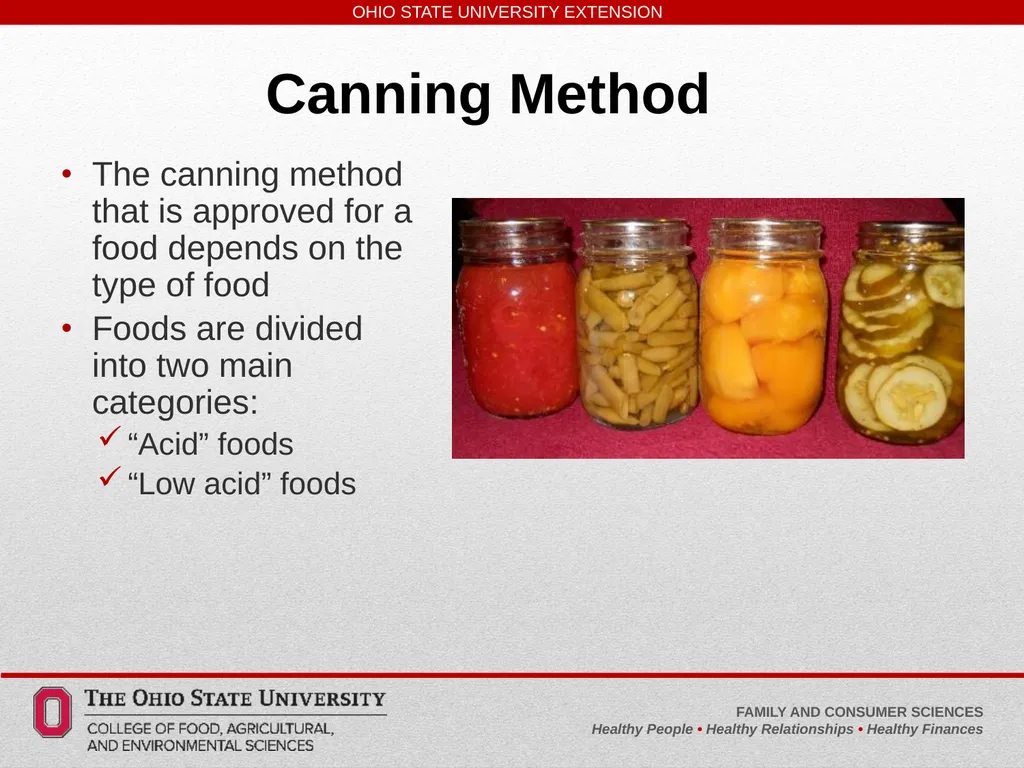
Canning Method The canning method that is approved for a food depends on the type of food
Foods are divided into two main categories:
“Acid” foods
“Low acid” foods<br>
Foods are divided into two main categories:
“Acid” foods
“Low acid” foods<br>
09
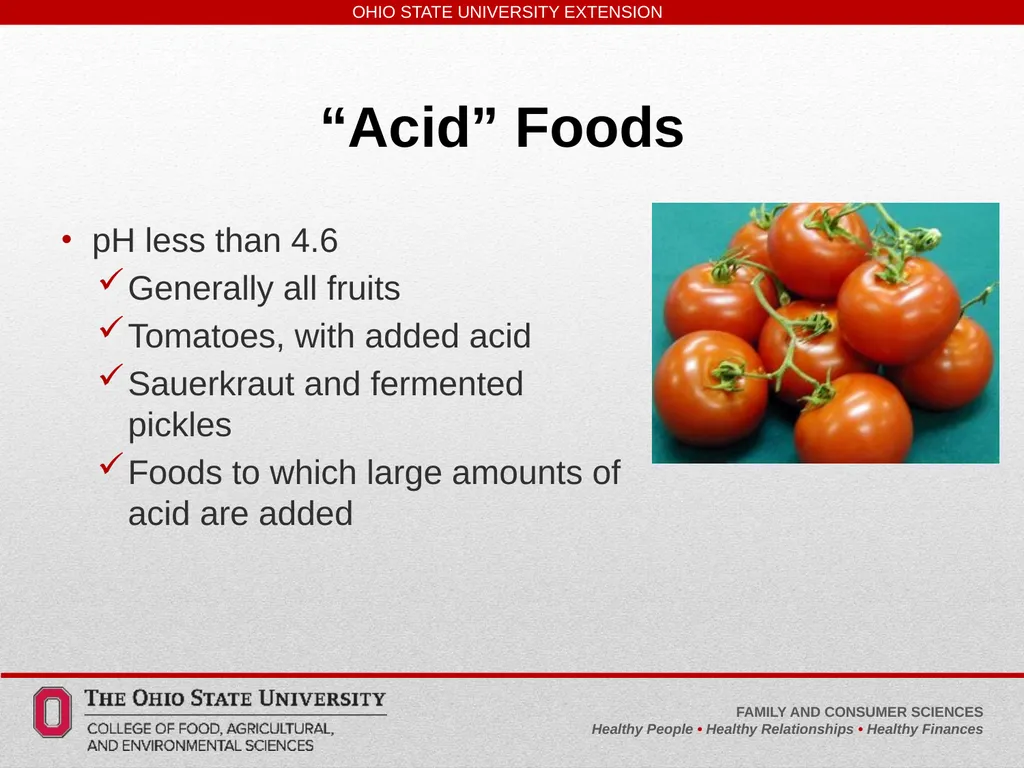
“Acid” Foods pH less than 4.6
Generally all fruits
Tomatoes, with added acid
Sauerkraut and fermented pickles
Foods to which large amounts of acid are added<br>
Generally all fruits
Tomatoes, with added acid
Sauerkraut and fermented pickles
Foods to which large amounts of acid are added<br>
10
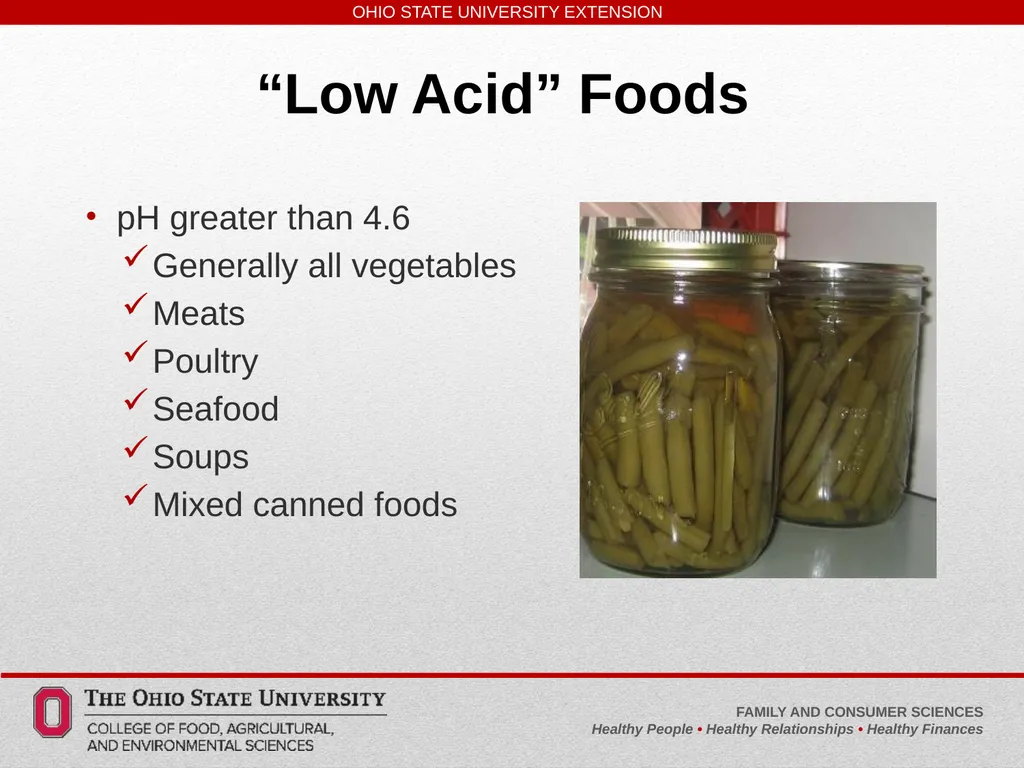
“Low Acid” Foods pH greater than 4.6
Generally all vegetables
Meats
Poultry
Seafood
Soups
Mixed canned foods<br>
Generally all vegetables
Meats
Poultry
Seafood
Soups
Mixed canned foods<br>
11
Why Do Low Acid Foods Have to be Pressure Canned to be Safe? Clostridium botulinum!
C. botulinum forms protective, heat-resistant spores
Spores require higher temperatures for destruction.
Canning low acid foods in boiling water canners is ABSOLUTELY unsafe because 212° Fahrenheit is not high enough to destroy C. botulinum bacteria.<br>
C. botulinum forms protective, heat-resistant spores
Spores require higher temperatures for destruction.
Canning low acid foods in boiling water canners is ABSOLUTELY unsafe because 212° Fahrenheit is not high enough to destroy C. botulinum bacteria.<br>
12
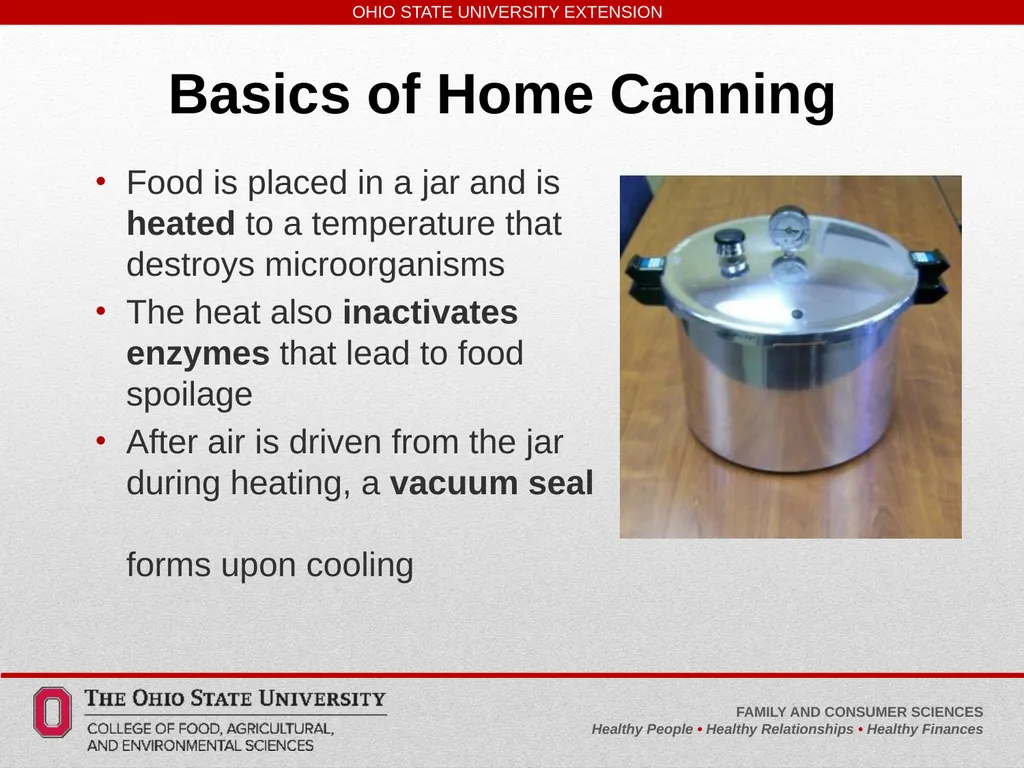
Basics of Home Canning Food is placed in a jar and is heated to a temperature that destroys microorganisms
The heat also inactivates enzymes that lead to food spoilage
After air is driven from the jar during heating, a vacuum seal forms upon cooling<br>
The heat also inactivates enzymes that lead to food spoilage
After air is driven from the jar during heating, a vacuum seal forms upon cooling<br>
13
Reputable Sources USDA, Complete Guide to Home Canning, 2015
So Easy to Preserve, University of Georgia Cooperative Extension, Sixth Edition, 2014
National Center for Home Food Preservation www.homefoodpreservation.com
OSU Extension Ohioline Fact Sheets ohioline.osu.edu<br>
So Easy to Preserve, University of Georgia Cooperative Extension, Sixth Edition, 2014
National Center for Home Food Preservation www.homefoodpreservation.com
OSU Extension Ohioline Fact Sheets ohioline.osu.edu<br>
14
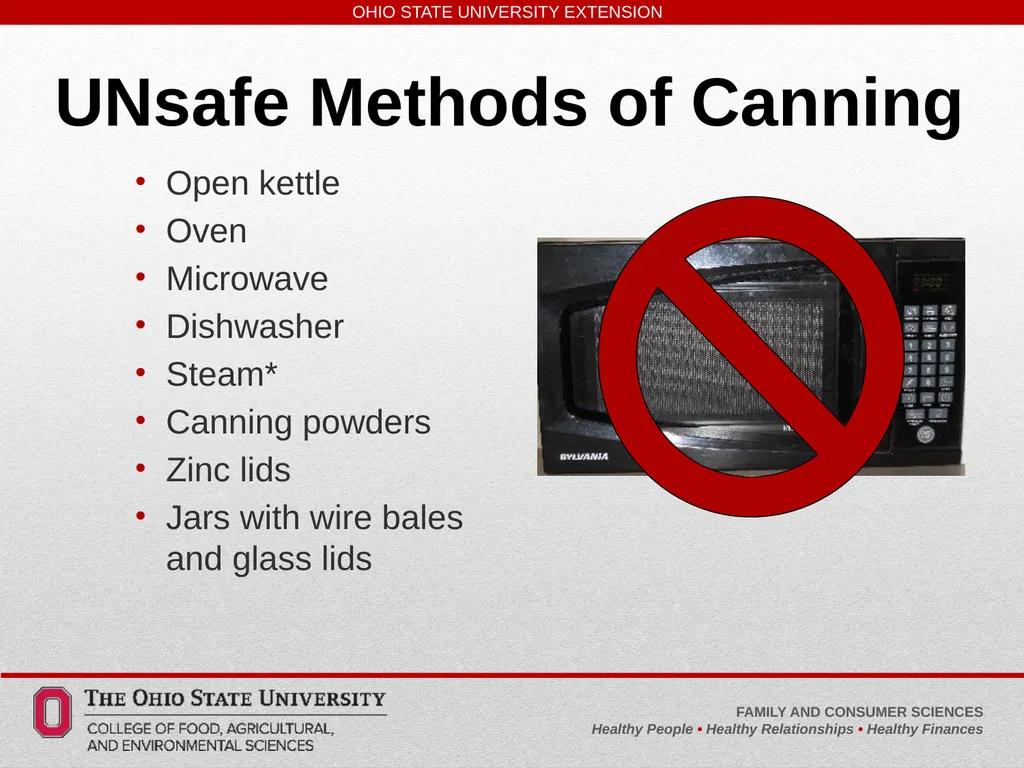
UNsafe Methods of Canning Open kettle
Oven
Microwave
Dishwasher
Steam*
Canning powders
Zinc lids
Jars with wire bales and glass lids<br>
Oven
Microwave
Dishwasher
Steam*
Canning powders
Zinc lids
Jars with wire bales and glass lids<br>
15
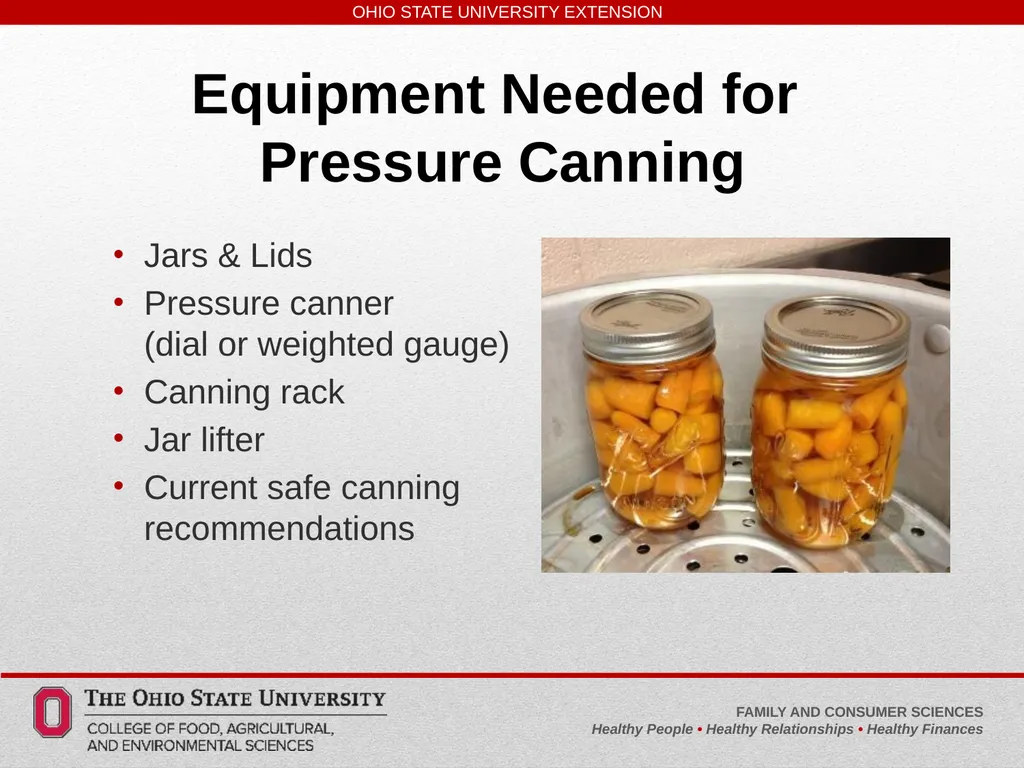
Equipment Needed for
Pressure Canning Jars & Lids
Pressure canner (dial or weighted gauge)
Canning rack
Jar lifter
Current safe canning recommendations<br>
Pressure canner (dial or weighted gauge)
Canning rack
Jar lifter
Current safe canning recommendations<br>
16
Jars and Lids Wash canning jars; don’t use if chipped, nicked or scratched – keep hot until used
Prepare 2-piece canning lids and ring bands by package instructions
Remove air bubbles (plastic knife)
Wipe jar rims with wet, clean cloth
Adjust two-piece lids; tighten fingertip-tight<br>
Prepare 2-piece canning lids and ring bands by package instructions
Remove air bubbles (plastic knife)
Wipe jar rims with wet, clean cloth
Adjust two-piece lids; tighten fingertip-tight<br>
17
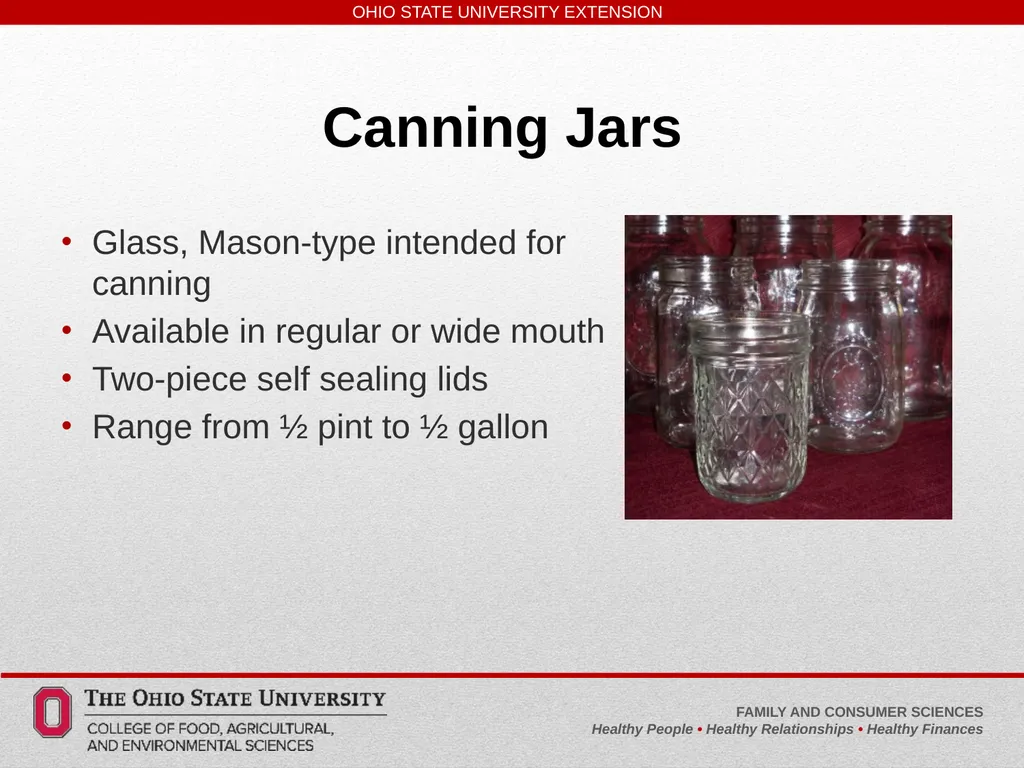
Canning Jars Glass, Mason-type intended for canning
Available in regular or wide mouth
Two-piece self sealing lids
Range from ½ pint to ½ gallon<br>
Available in regular or wide mouth
Two-piece self sealing lids
Range from ½ pint to ½ gallon<br>
18
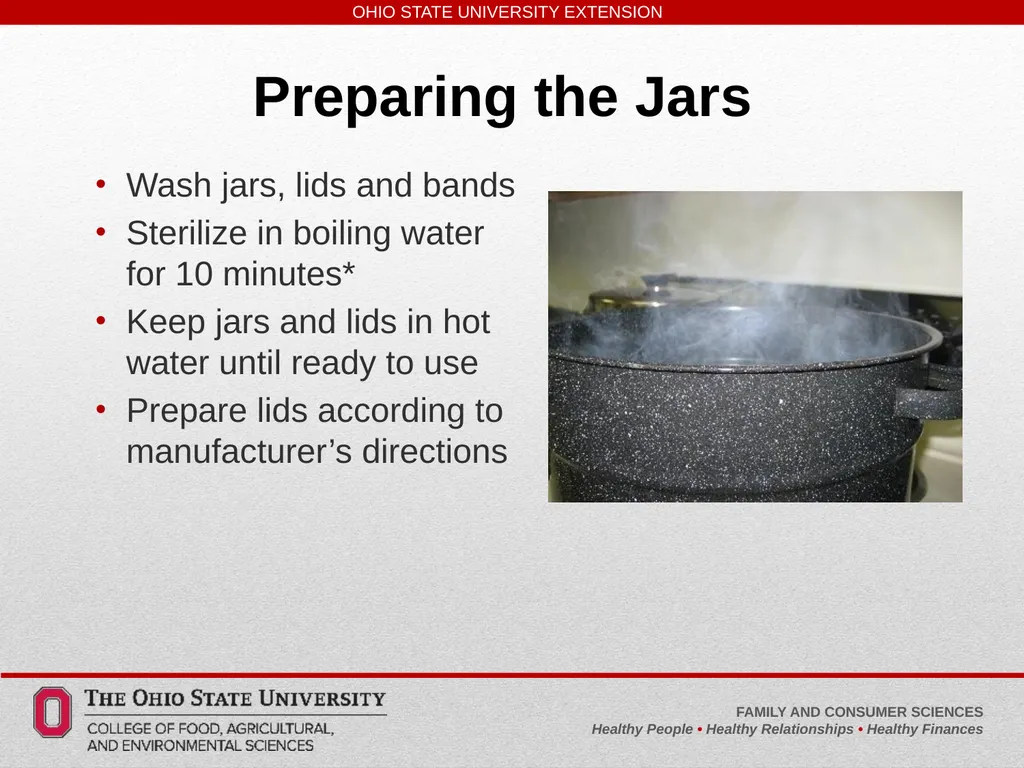
Preparing the Jars Wash jars, lids and bands
Sterilize in boiling water for 10 minutes*
Keep jars and lids in hot water until ready to use
Prepare lids according to manufacturer’s directions<br>
Sterilize in boiling water for 10 minutes*
Keep jars and lids in hot water until ready to use
Prepare lids according to manufacturer’s directions<br>
19
Methods of Packing Raw Packing
Raw food placed directly into jar; boiling hot liquid added to cover the food
Carefully add jars to canner to avoid breakage from heat shock
Hot Packing
Food is cooked in liquid before packing; cooking liquid poured over food
Less floating of foods in the jar
Easier to pack, foods more pliable
Fewer jars needed<br>
Raw food placed directly into jar; boiling hot liquid added to cover the food
Carefully add jars to canner to avoid breakage from heat shock
Hot Packing
Food is cooked in liquid before packing; cooking liquid poured over food
Less floating of foods in the jar
Easier to pack, foods more pliable
Fewer jars needed<br>
20
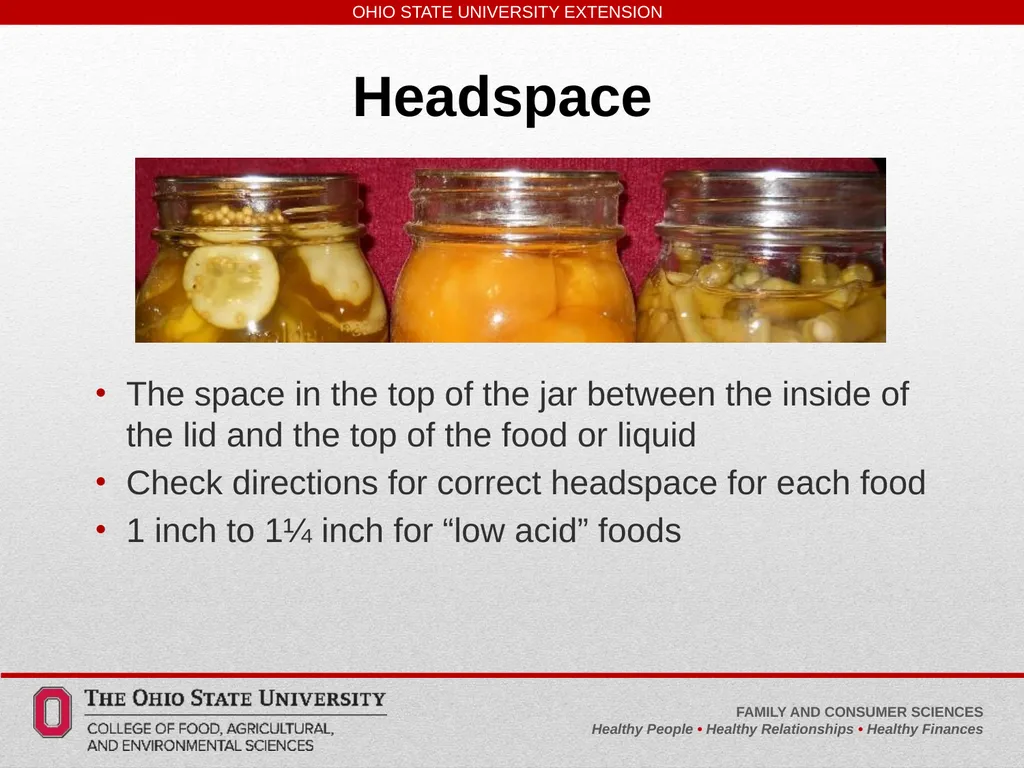
Headspace The space in the top of the jar between the inside of the lid and the top of the food or liquid
Check directions for correct headspace for each food
1 inch to 1¼ inch for “low acid” foods<br>
Check directions for correct headspace for each food
1 inch to 1¼ inch for “low acid” foods<br>
21
Process Times Affected by: Acidity of food
Preparation style of food
Composition of the food
Viscosity, tightness, heat transfer, starches/fats/bones
Temperature of food when jarred
Temperature of processing
Size & shape of jar<br>
Preparation style of food
Composition of the food
Viscosity, tightness, heat transfer, starches/fats/bones
Temperature of food when jarred
Temperature of processing
Size & shape of jar<br>
22
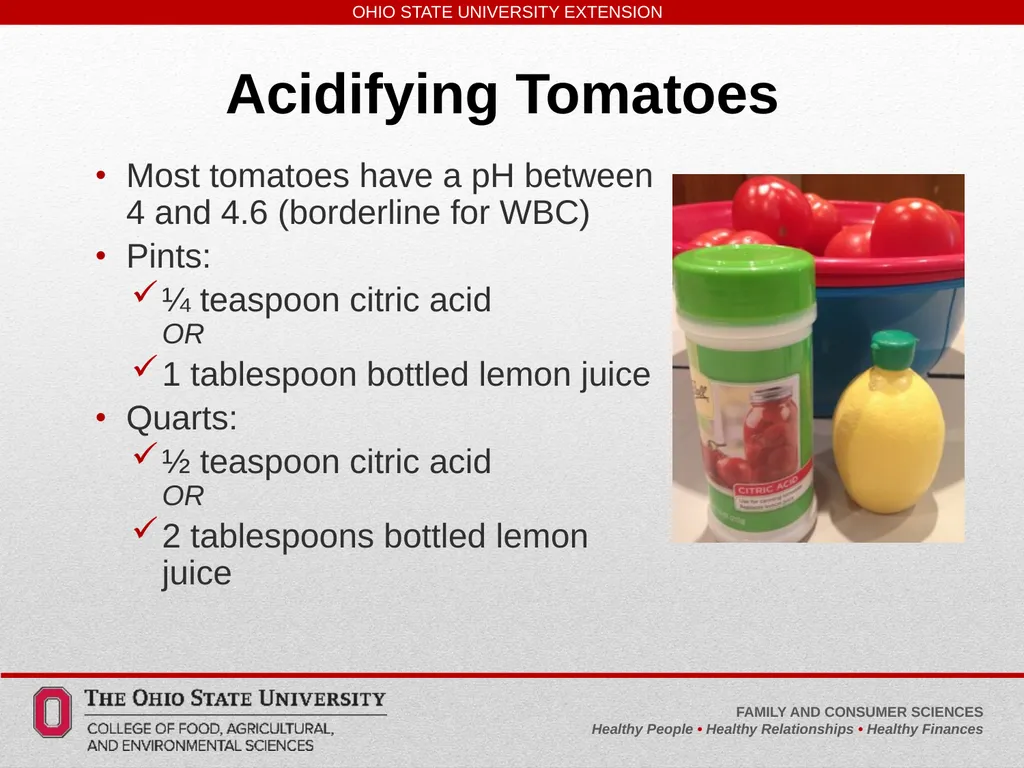
Acidifying Tomatoes Most tomatoes have a pH between 4 and 4.6 (borderline for WBC)
Pints:
¼ teaspoon citric acid OR
1 tablespoon bottled lemon juice
Quarts:
½ teaspoon citric acid OR
2 tablespoons bottled lemon juice<br>
Pints:
¼ teaspoon citric acid OR
1 tablespoon bottled lemon juice
Quarts:
½ teaspoon citric acid OR
2 tablespoons bottled lemon juice<br>
23
Caution! FOLLOW DIRECTIONS EXACTLY!
Altering tested recipes in any way may result in an unsafe product
Examples:
Adding extra sugar or fat
Having food pieces larger than called for in directions
Adding thickeners such as rice or noodles<br>
Altering tested recipes in any way may result in an unsafe product
Examples:
Adding extra sugar or fat
Having food pieces larger than called for in directions
Adding thickeners such as rice or noodles<br>
24
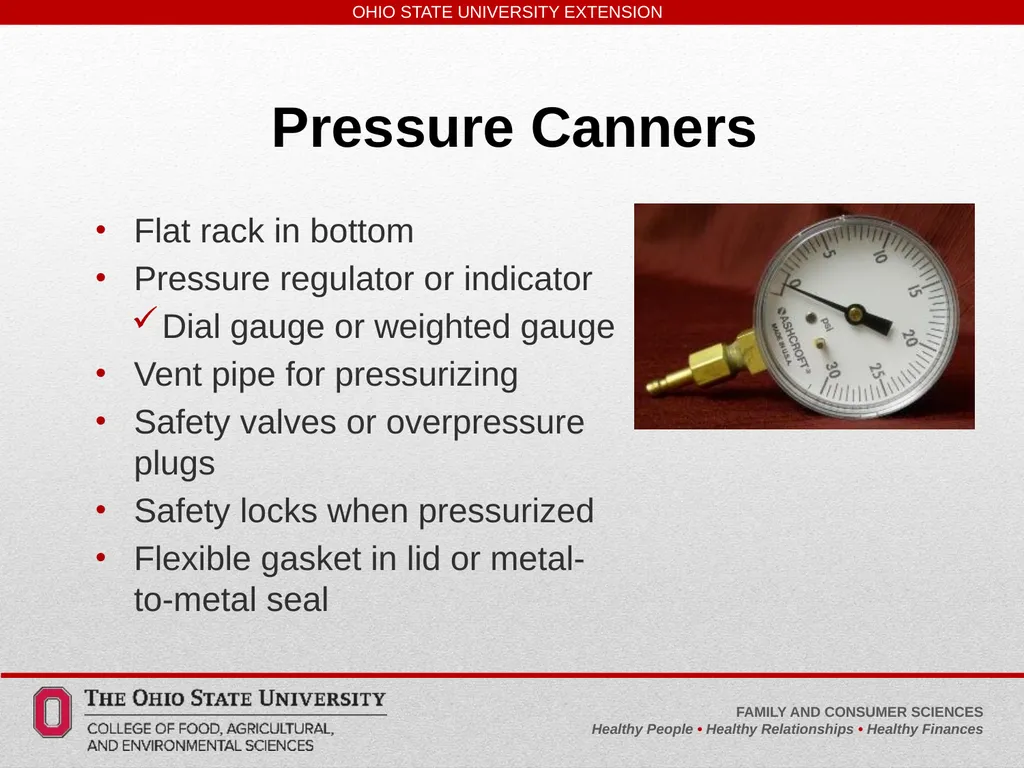
Pressure Canners Flat rack in bottom
Pressure regulator or indicator
Dial gauge or weighted gauge
Vent pipe for pressurizing
Safety valves or overpressure plugs
Safety locks when pressurized
Flexible gasket in lid or metal-to-metal seal<br>
Pressure regulator or indicator
Dial gauge or weighted gauge
Vent pipe for pressurizing
Safety valves or overpressure plugs
Safety locks when pressurized
Flexible gasket in lid or metal-to-metal seal<br>
25
Using Your Pressure Canner
the First Time Some parts may need assembling; see manufacturer’s directions
Become familiar with parts and their functions.
Clean to remove manufacturing oils.
cover, body & gasket
Parts are usually pre-lubricated.
Before EACH use: be sure vent pipes are clear and open<br>
Become familiar with parts and their functions.
Clean to remove manufacturing oils.
cover, body & gasket
Parts are usually pre-lubricated.
Before EACH use: be sure vent pipes are clear and open<br>
26
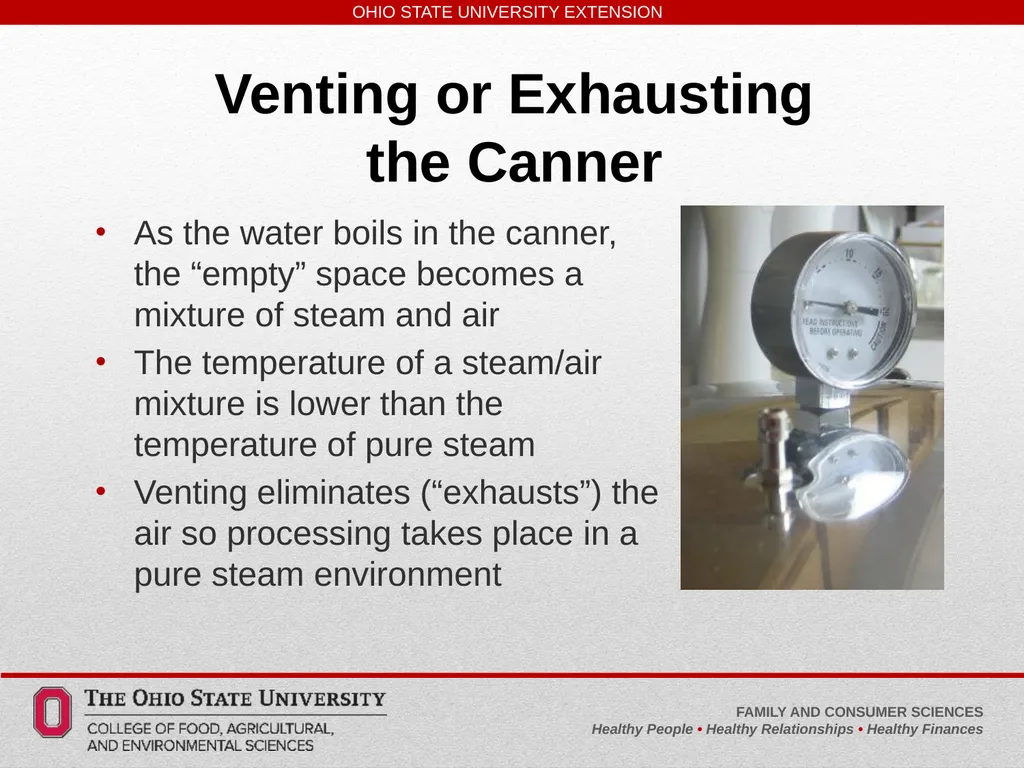
Venting or Exhausting
the Canner As the water boils in the canner, the “empty” space becomes a mixture of steam and air
The temperature of a steam/air mixture is lower than the temperature of pure steam
Venting eliminates (“exhausts”) the air so processing takes place in a pure steam environment<br>
The temperature of a steam/air mixture is lower than the temperature of pure steam
Venting eliminates (“exhausts”) the air so processing takes place in a pure steam environment<br>
27
Venting the Canner Directions Steam must flow freely from the open vent-port in the lid for 10 minutes prior to pressurizing
After putting filled jars in the pressure canner, fasten the lid in place and leave the vent-port open
Turn the heat on high, when water boils, steam will start to come out of open vent
Once there is a constant, strong funnel of steam, then start timing 10 minutes
At the end of the 10 minutes, place weight or close petcock to start pressurizing the canner<br>
After putting filled jars in the pressure canner, fasten the lid in place and leave the vent-port open
Turn the heat on high, when water boils, steam will start to come out of open vent
Once there is a constant, strong funnel of steam, then start timing 10 minutes
At the end of the 10 minutes, place weight or close petcock to start pressurizing the canner<br>
28
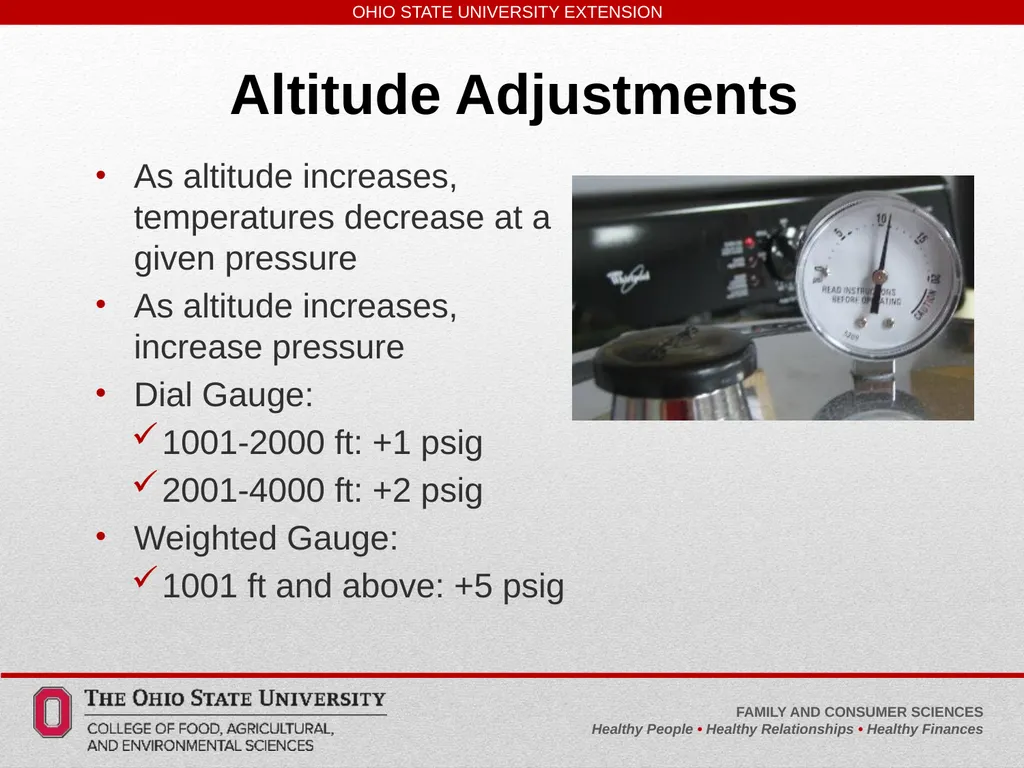
Altitude Adjustments As altitude increases, temperatures decrease at a given pressure
As altitude increases, increase pressure
Dial Gauge:
1001-2000 ft: +1 psig
2001-4000 ft: +2 psig
Weighted Gauge:
1001 ft and above: +5 psig<br>
As altitude increases, increase pressure
Dial Gauge:
1001-2000 ft: +1 psig
2001-4000 ft: +2 psig
Weighted Gauge:
1001 ft and above: +5 psig<br>
29
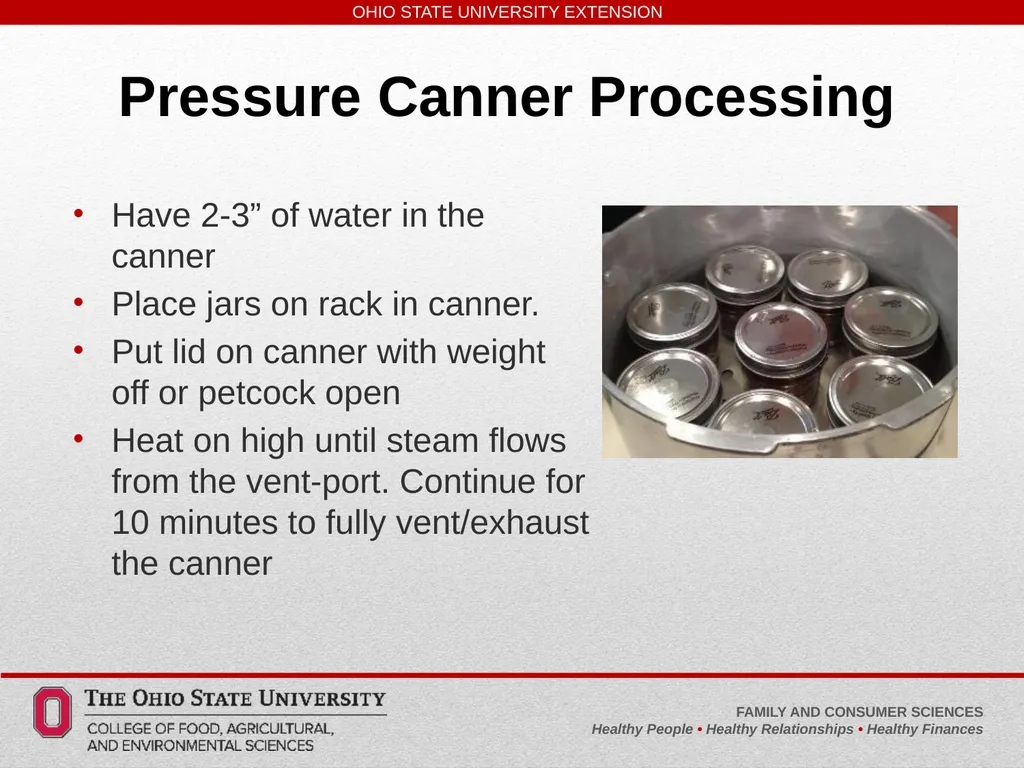
Pressure Canner Processing Have 2-3” of water in the canner
Place jars on rack in canner.
Put lid on canner with weight off or petcock open
Heat on high until steam flows from the vent-port. Continue for 10 minutes to fully vent/exhaust the canner<br>
Place jars on rack in canner.
Put lid on canner with weight off or petcock open
Heat on high until steam flows from the vent-port. Continue for 10 minutes to fully vent/exhaust the canner<br>
30
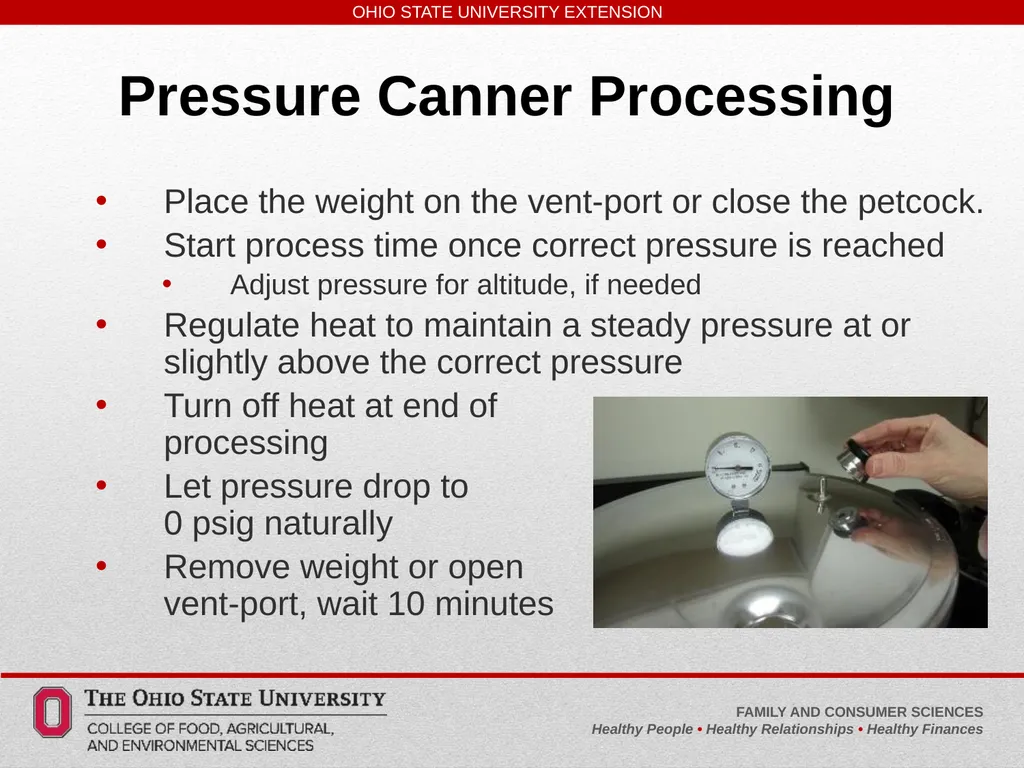
Pressure Canner Processing Place the weight on the vent-port or close the petcock.
Start process time once correct pressure is reached
Adjust pressure for altitude, if needed
Regulate heat to maintain a steady pressure at or slightly above the correct pressure
Turn off heat at end of processing
Let pressure drop to 0 psig naturally
Remove weight or open vent-port, wait 10 minutes<br>
Start process time once correct pressure is reached
Adjust pressure for altitude, if needed
Regulate heat to maintain a steady pressure at or slightly above the correct pressure
Turn off heat at end of processing
Let pressure drop to 0 psig naturally
Remove weight or open vent-port, wait 10 minutes<br>
31
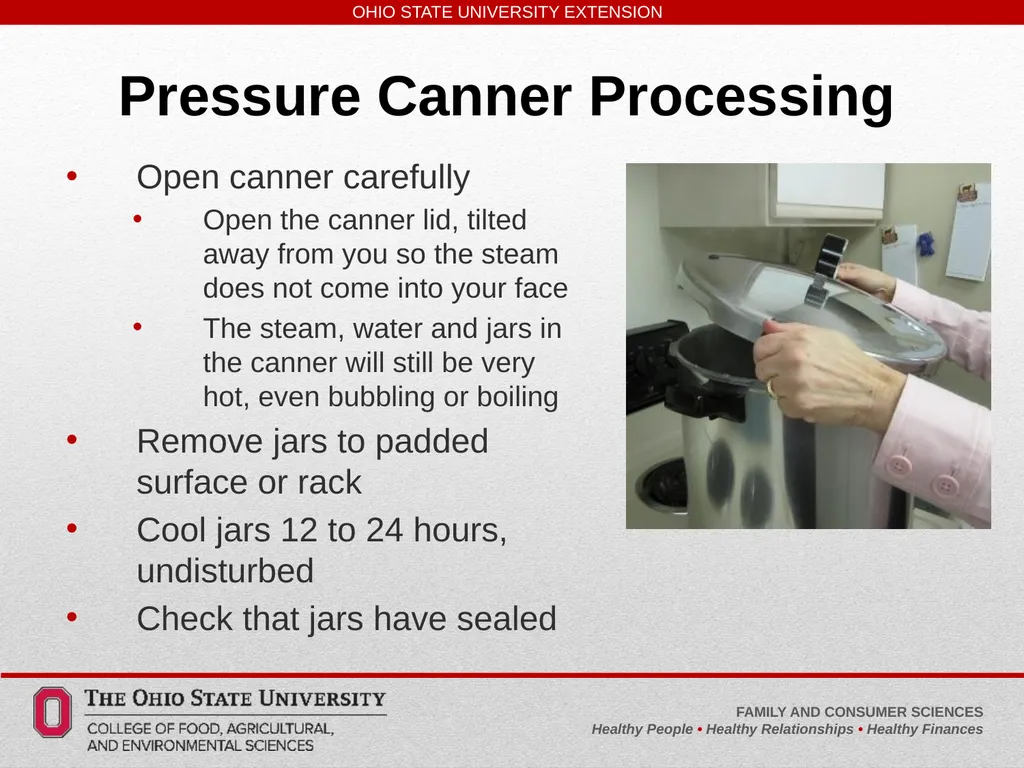
Pressure Canner Processing Open canner carefully
Open the canner lid, tilted away from you so the steam does not come into your face
The steam, water and jars in the canner will still be very hot, even bubbling or boiling
Remove jars to padded surface or rack
Cool jars 12 to 24 hours, undisturbed
Check that jars have sealed<br>
Open the canner lid, tilted away from you so the steam does not come into your face
The steam, water and jars in the canner will still be very hot, even bubbling or boiling
Remove jars to padded surface or rack
Cool jars 12 to 24 hours, undisturbed
Check that jars have sealed<br>
32
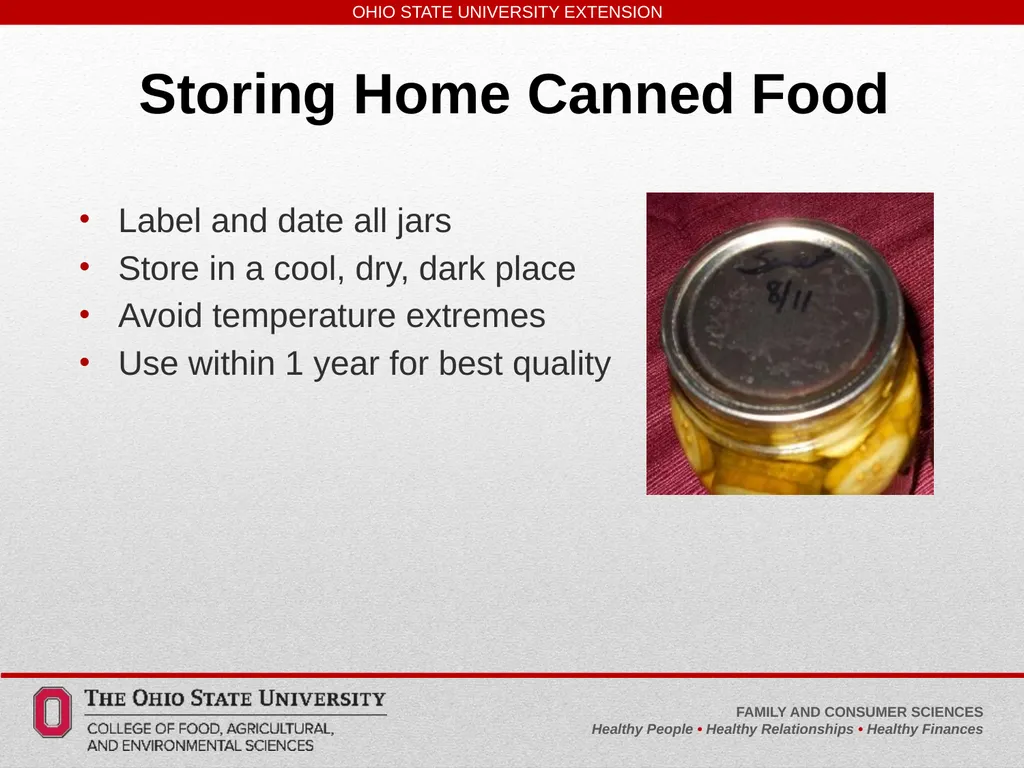
Storing Home Canned Food Label and date all jars
Store in a cool, dry, dark place
Avoid temperature extremes
Use within 1 year for best quality<br>
Store in a cool, dry, dark place
Avoid temperature extremes
Use within 1 year for best quality<br>
33
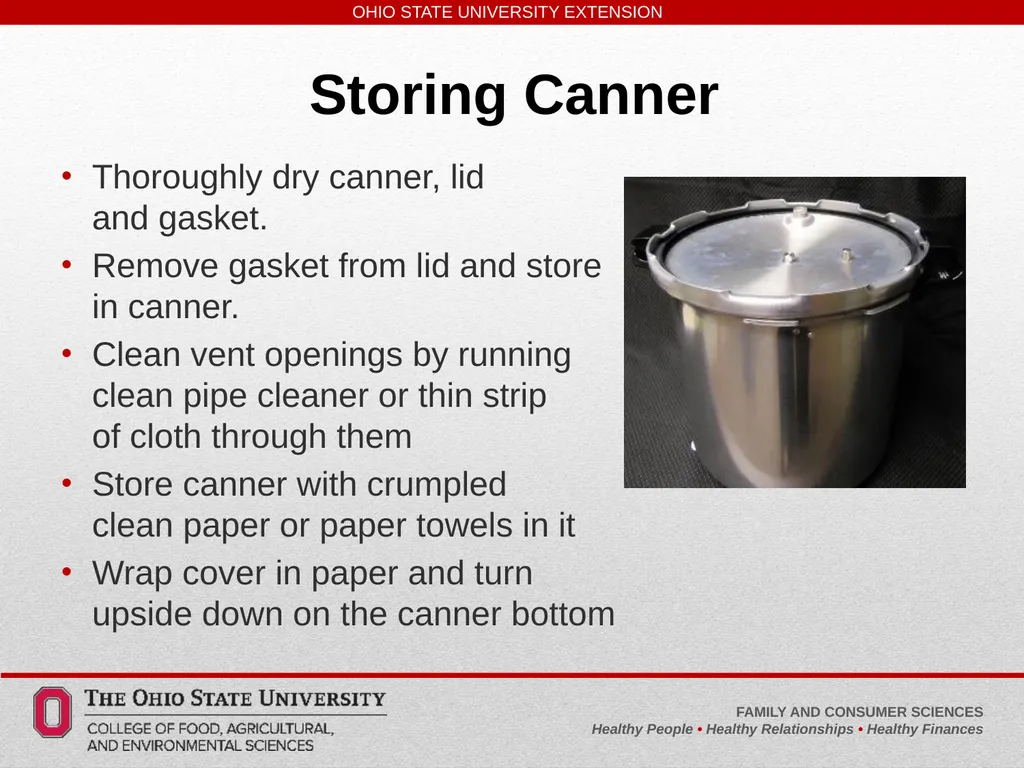
Storing Canner Thoroughly dry canner, lid
and gasket.
Remove gasket from lid and store in canner.
Clean vent openings by running clean pipe cleaner or thin strip of cloth through them
Store canner with crumpled clean paper or paper towels in it
Wrap cover in paper and turn upside down on the canner bottom<br>
Remove gasket from lid and store in canner.
Clean vent openings by running clean pipe cleaner or thin strip of cloth through them
Store canner with crumpled clean paper or paper towels in it
Wrap cover in paper and turn upside down on the canner bottom<br>
34
Summary Canning food is an excellent way to preserve the harvest of summer for months to come
Determine if the food is “acid” or “low acid”
Remember that pressure canning is required for “low acid” foods
Vent or exhaust the pressure canner before starting processing time<br>
Determine if the food is “acid” or “low acid”
Remember that pressure canning is required for “low acid” foods
Vent or exhaust the pressure canner before starting processing time<br>
35
Questions? Contact your local OSU Extension Office
extension.osu.edu
Ohio State University Extension embraces human diversity and is committed to ensuring that all research and related educational programs are available to clientele on a nondiscriminatory basis without regard to age, ancestry, color, disability, gender identity or expression, genetic information, HIV/AIDS status, military status, national origin, race, religion, sex, sexual orientation, or veteran status. This statement is in accordance with United States Civil Rights Laws and the USDA.
Roger Rennekamp, Associate Dean and Director, Ohio State University Extension
For Deaf and Hard of Hearing, please contact Ohio State University Extension using your preferred communication (e-mail, relay services, or video relay services). Phone 1-800-750-0750 between 8 a.m. and 5 p.m. EST Monday through Friday. Inform the operator to dial 614-292-6181.<br>
extension.osu.edu
Ohio State University Extension embraces human diversity and is committed to ensuring that all research and related educational programs are available to clientele on a nondiscriminatory basis without regard to age, ancestry, color, disability, gender identity or expression, genetic information, HIV/AIDS status, military status, national origin, race, religion, sex, sexual orientation, or veteran status. This statement is in accordance with United States Civil Rights Laws and the USDA.
Roger Rennekamp, Associate Dean and Director, Ohio State University Extension
For Deaf and Hard of Hearing, please contact Ohio State University Extension using your preferred communication (e-mail, relay services, or video relay services). Phone 1-800-750-0750 between 8 a.m. and 5 p.m. EST Monday through Friday. Inform the operator to dial 614-292-6181.<br>
36
This material has been peer-reviewed for statewide distribution.
Developed by OSU Extension Food Preservation Team:
Lisa Barlage, Educator, Ross County
Melinda Hill, Educator, Wayne County
Shawna Hite, Healthy People Program Specialist
Sanja Ilic, Food Safety State Specialist
Christine Kendle, Educator, Tuscarawas County
Katharine Shumaker, Educator, Holmes County
Nancy Stehulak, Educator, Henry County
Treva Williams, Educator, Scioto County<br>
Developed by OSU Extension Food Preservation Team:
Lisa Barlage, Educator, Ross County
Melinda Hill, Educator, Wayne County
Shawna Hite, Healthy People Program Specialist
Sanja Ilic, Food Safety State Specialist
Christine Kendle, Educator, Tuscarawas County
Katharine Shumaker, Educator, Holmes County
Nancy Stehulak, Educator, Henry County
Treva Williams, Educator, Scioto County<br>
37
References: United States Department of Agriculture (2015) Complete Guide to Home Canning. Agriculture Information Bulletin No. 539.
National Center for Home Food Preservation. www.uga.edu/nchfp
Ohio State University Extension, Canning Basics, http://ohioline.osu.edu/factsheet/HYG-5338
Ohio State University Extension, Basics for Canning Vegetables, http://ohioline.osu.edu/factsheet/HYG-5344<br>
National Center for Home Food Preservation. www.uga.edu/nchfp
Ohio State University Extension, Canning Basics, http://ohioline.osu.edu/factsheet/HYG-5338
Ohio State University Extension, Basics for Canning Vegetables, http://ohioline.osu.edu/factsheet/HYG-5344<br>
38
Photo Credits Slide 3: Centers for Disease Control and Prevention
Slide 9: National Center for Home Food Preservation
All other photos were taken by the Food Preservation Team. Updated May 2016<br>
Slide 9: National Center for Home Food Preservation
All other photos were taken by the Food Preservation Team. Updated May 2016<br>